Start Installing
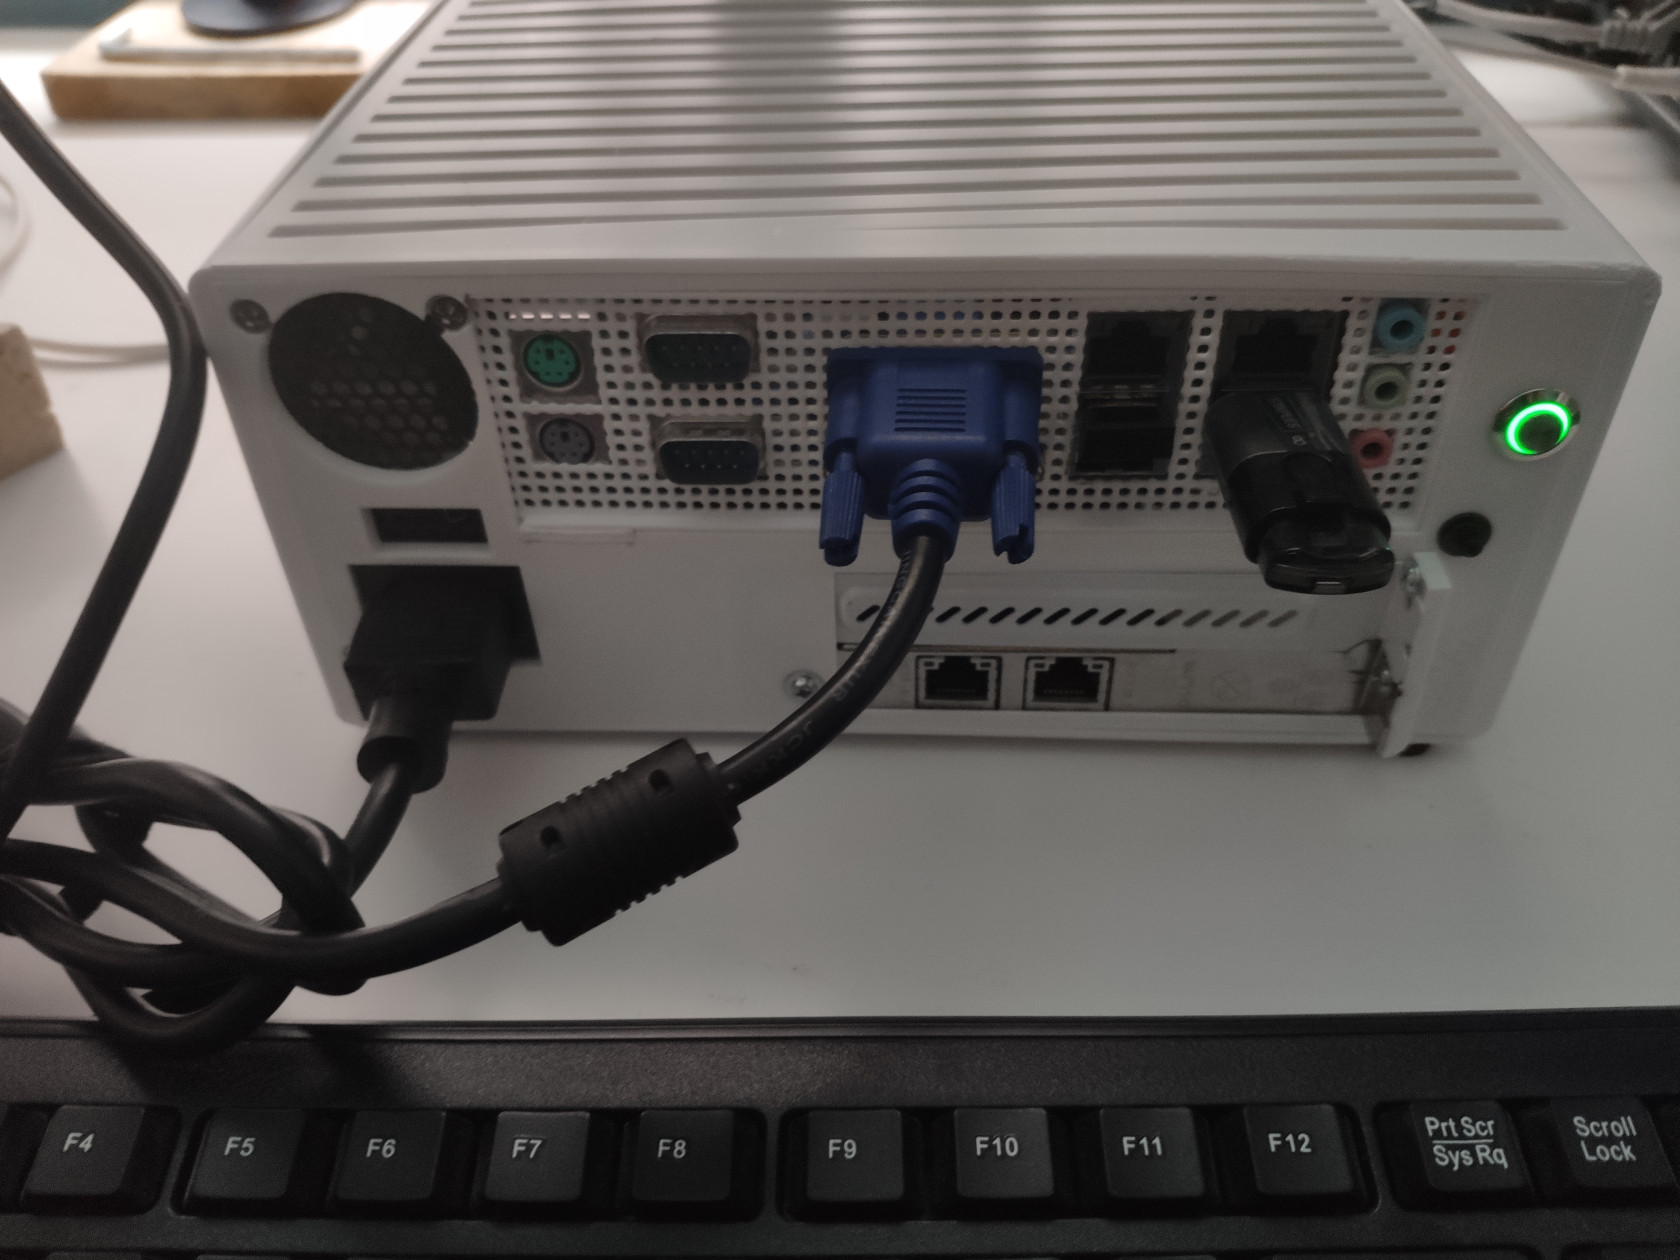
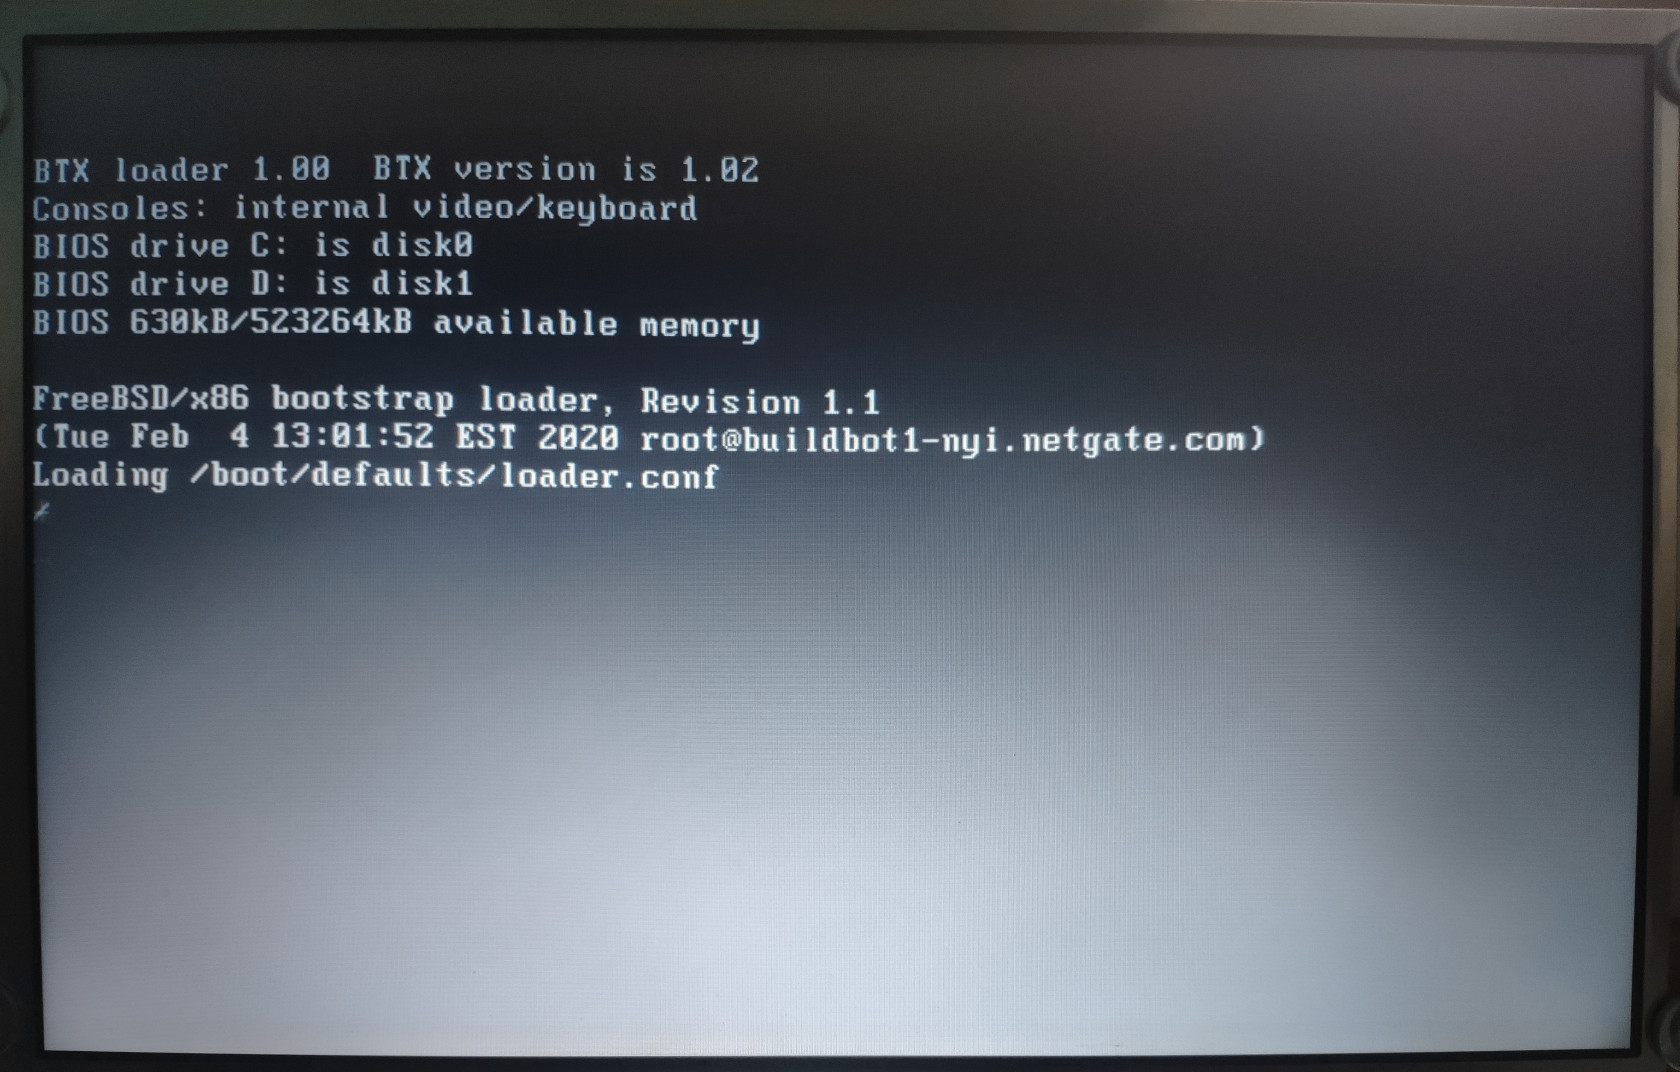
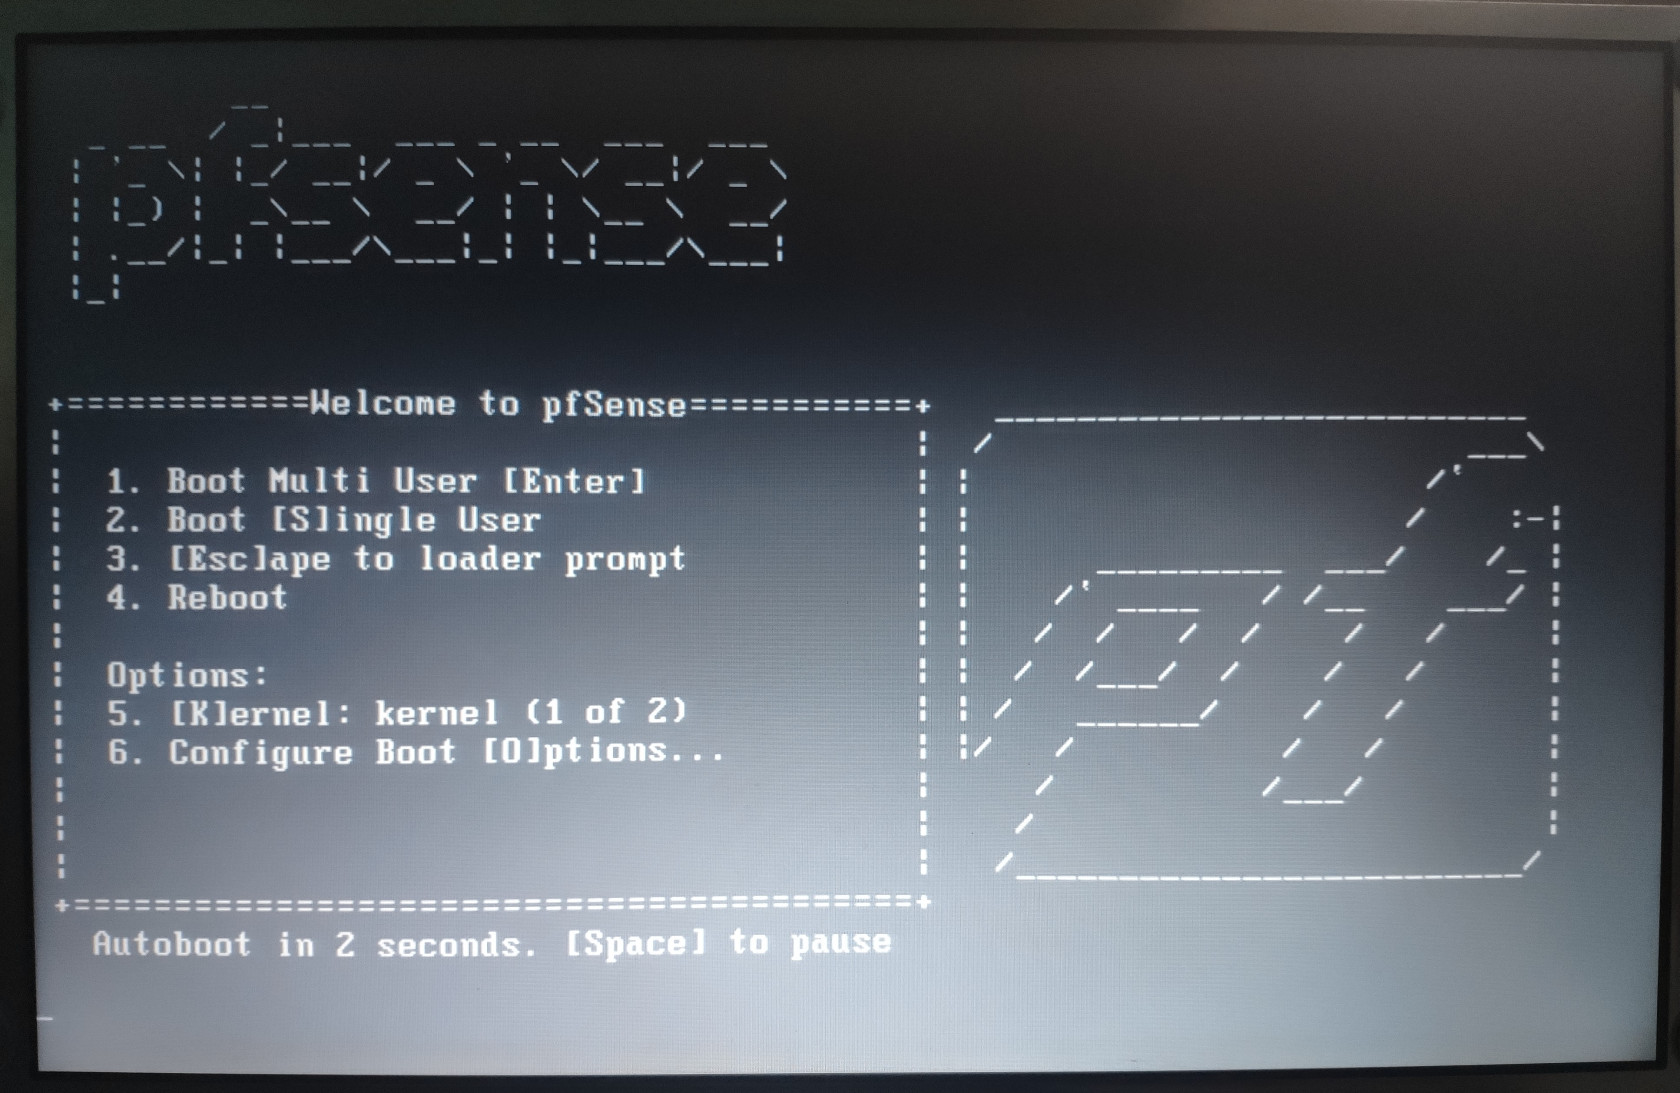
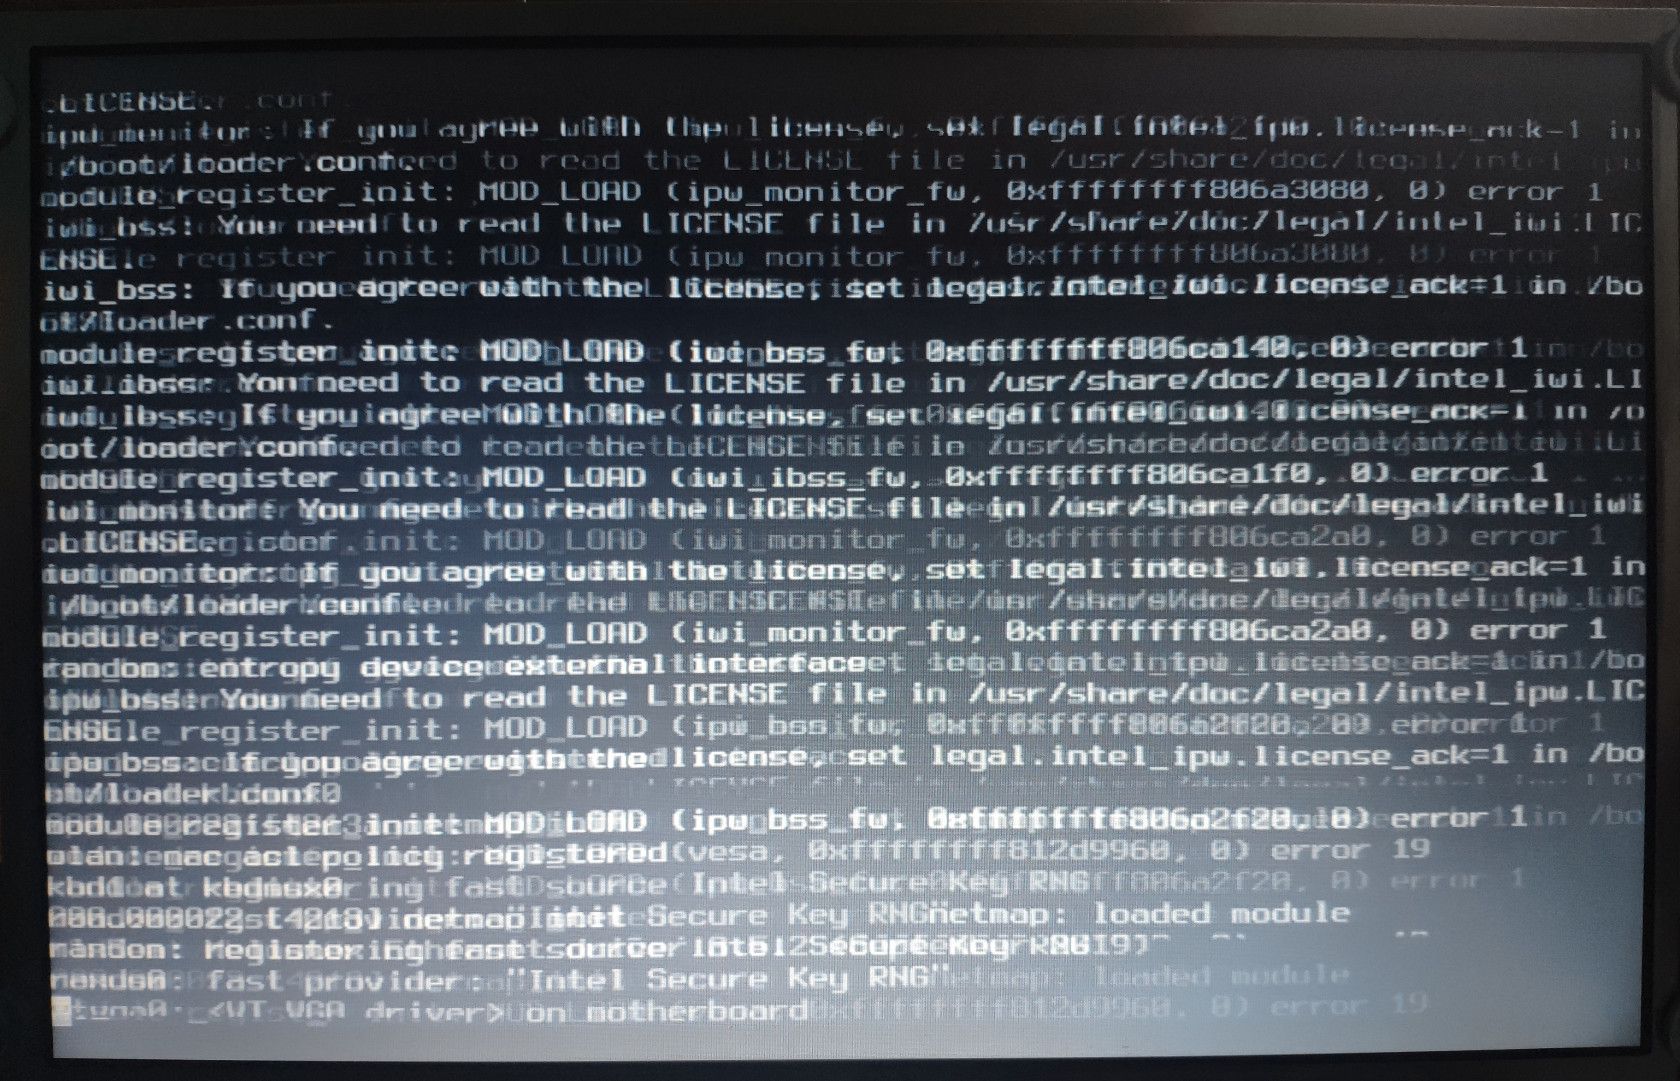
Plug in the USB to the machine, and boot into the USB installer. Upon booting into the installer, you will be greeted with the pfSense logo, and then a fury of command line text. Wait a few seconds and it will launch the graphical user interface.
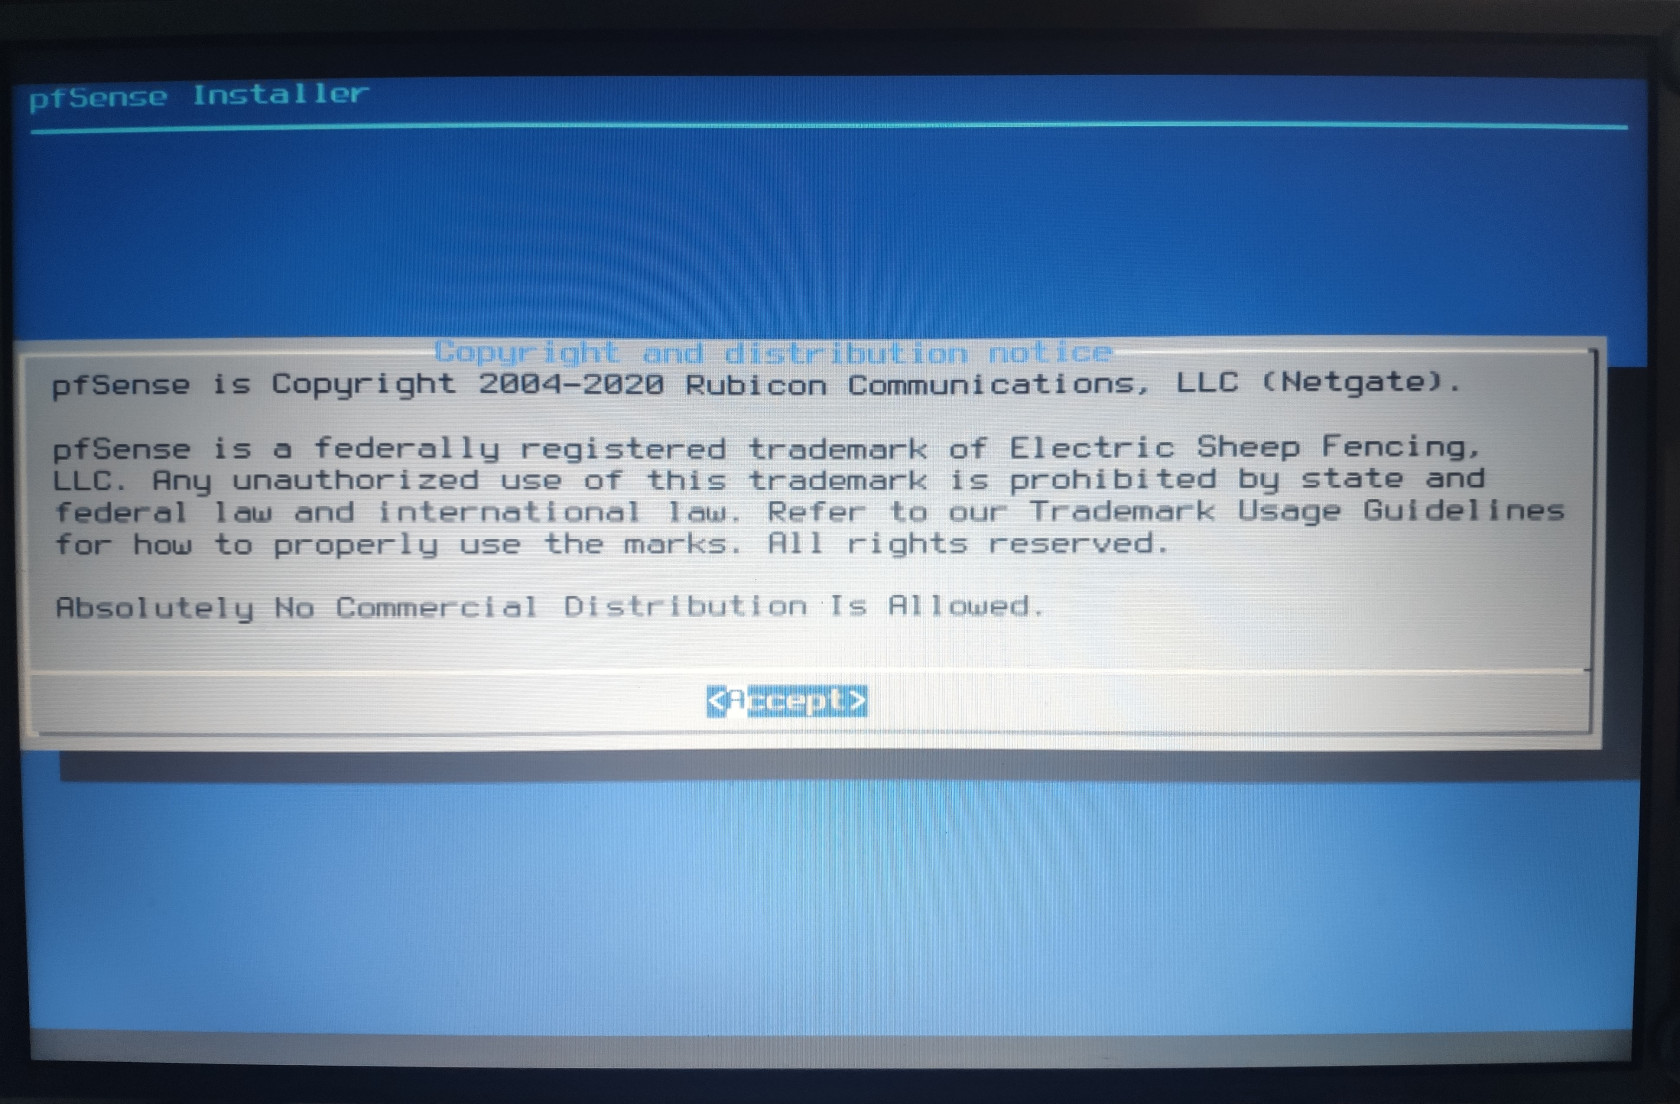
Accept the Copyright and Distribution Notice to continue the installation process.
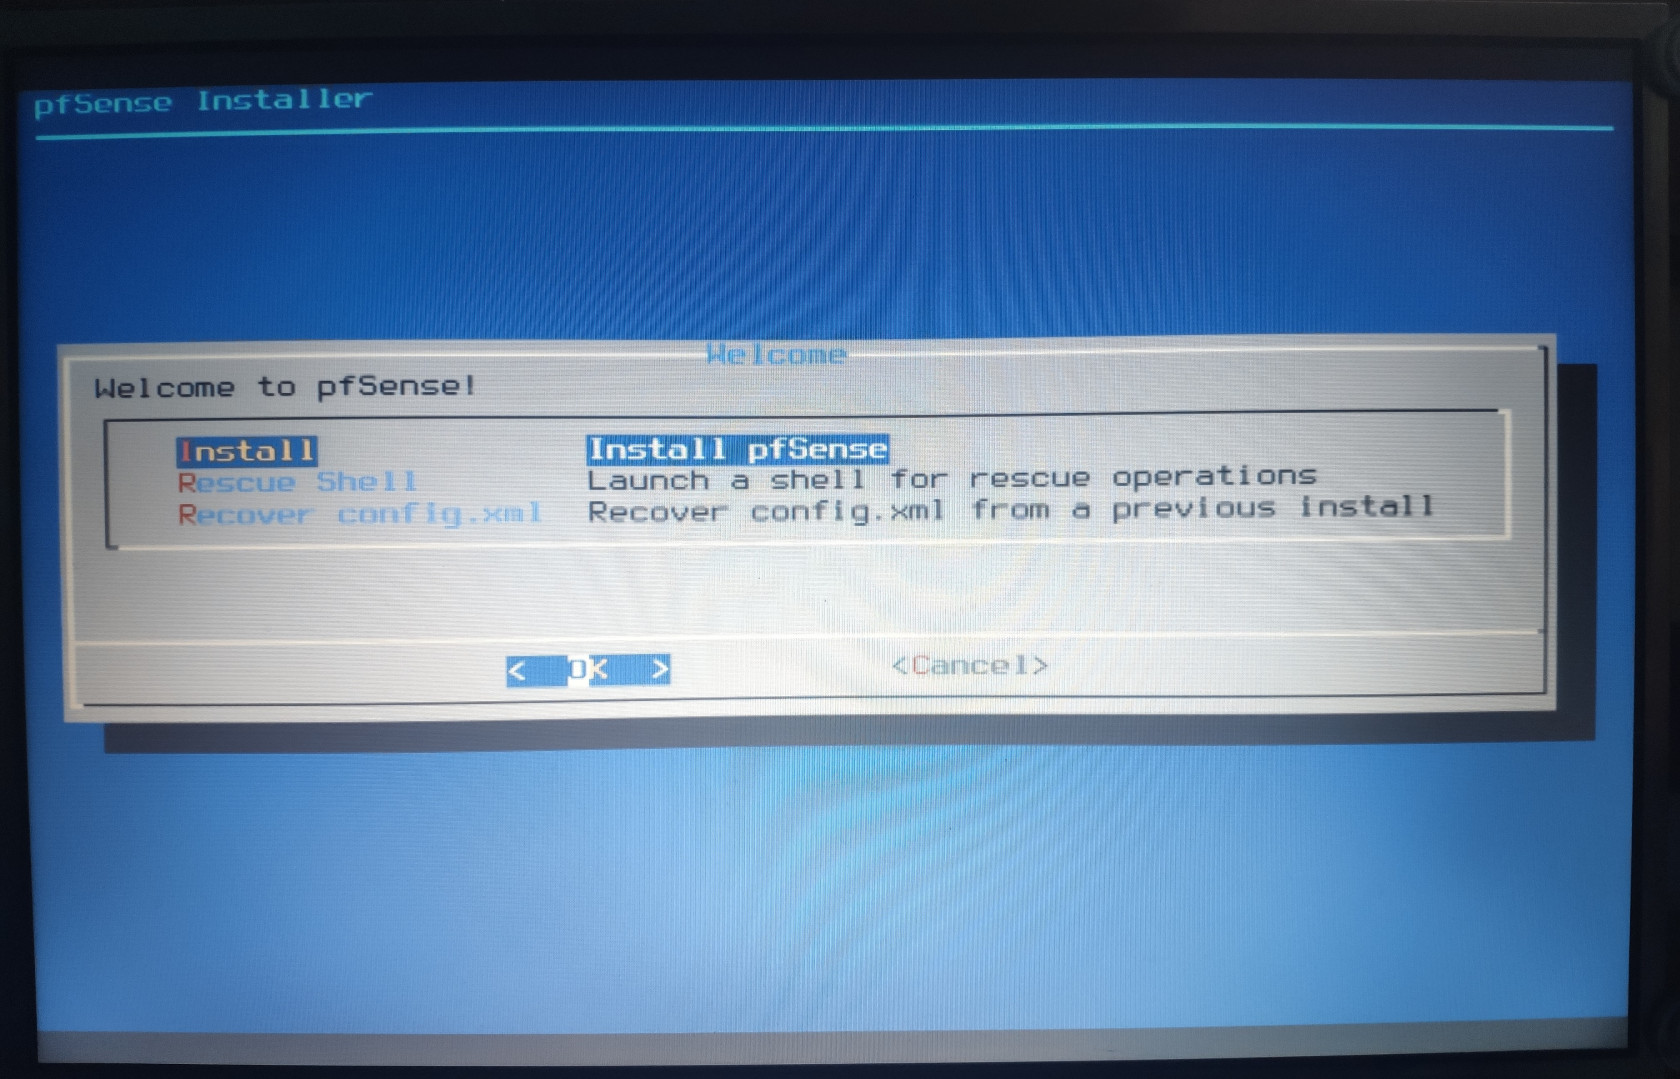
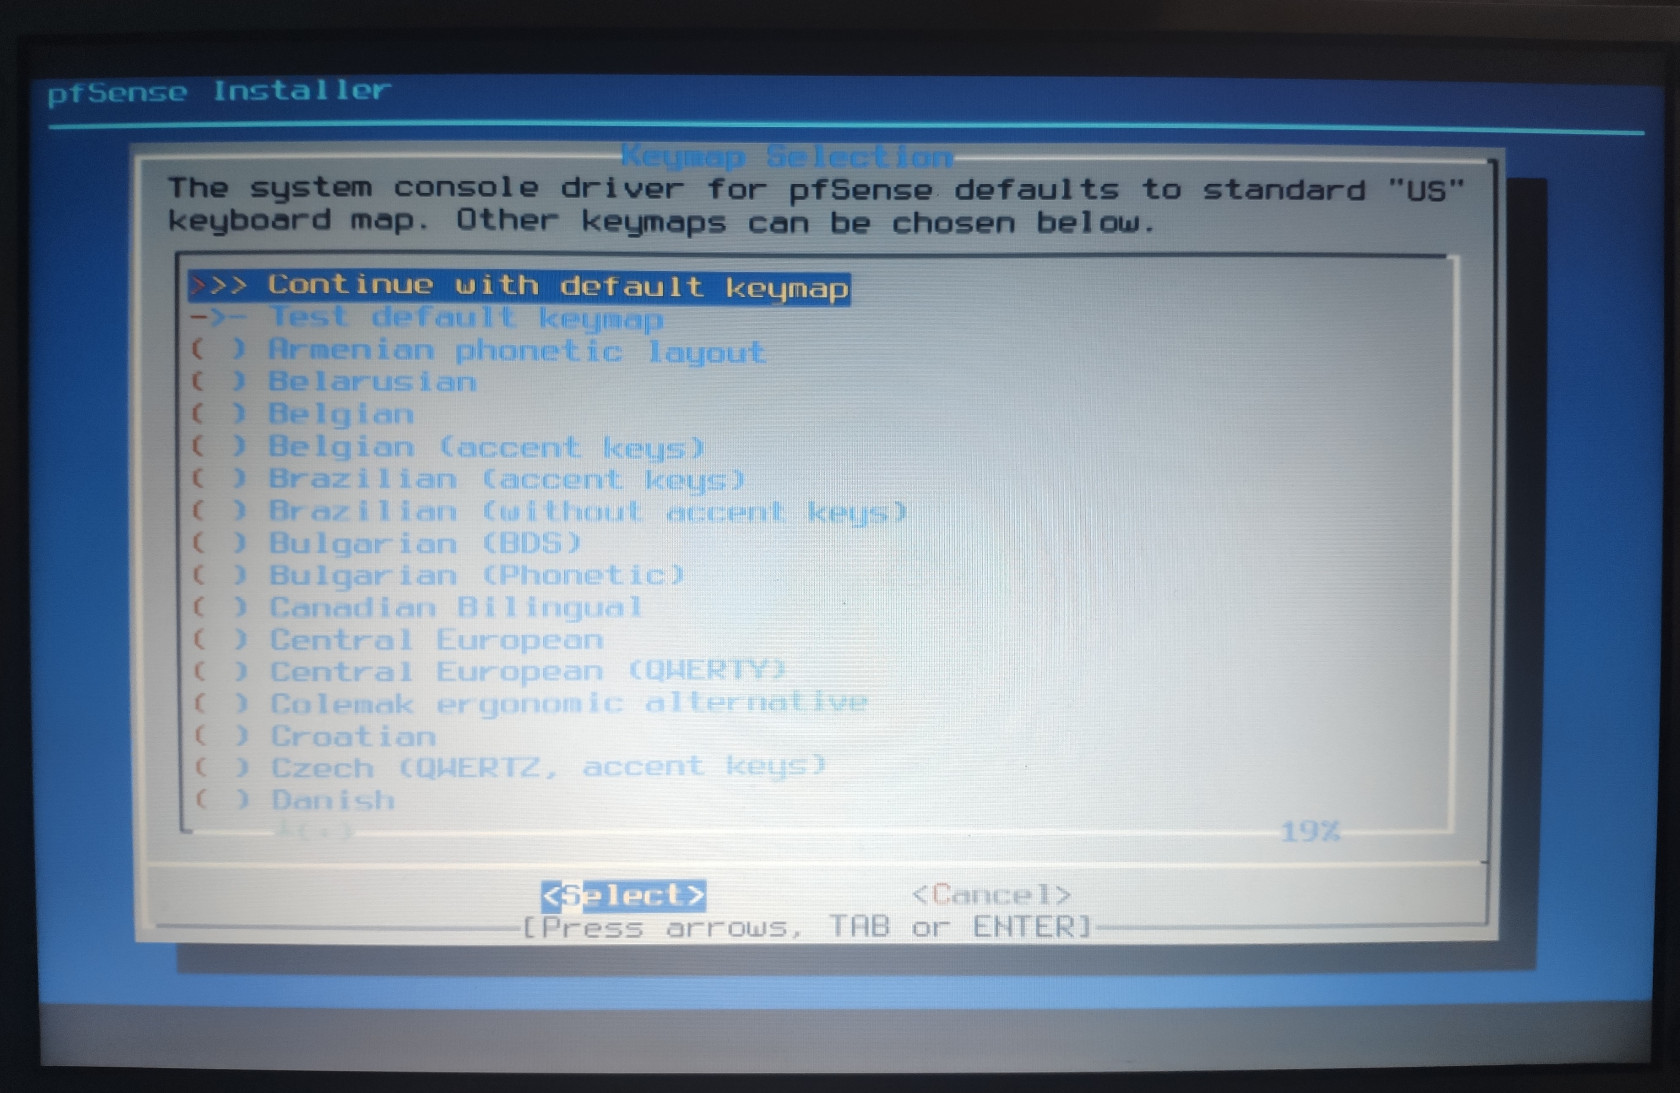
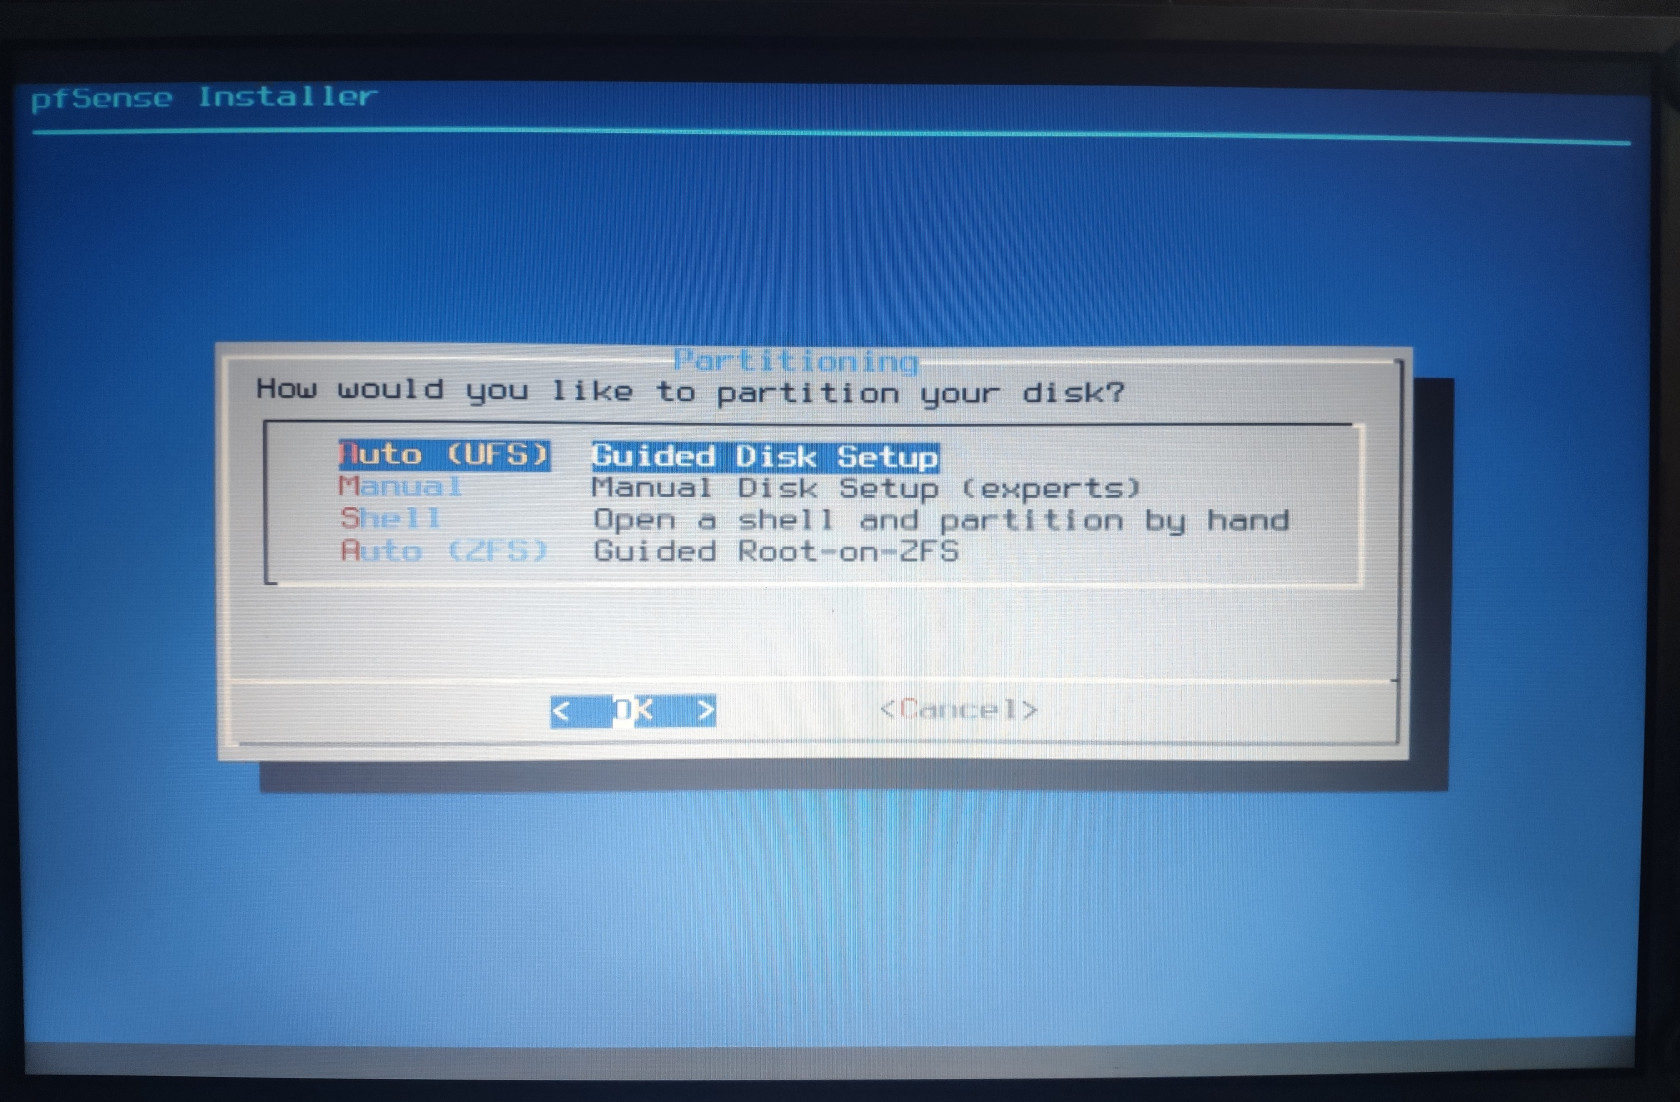
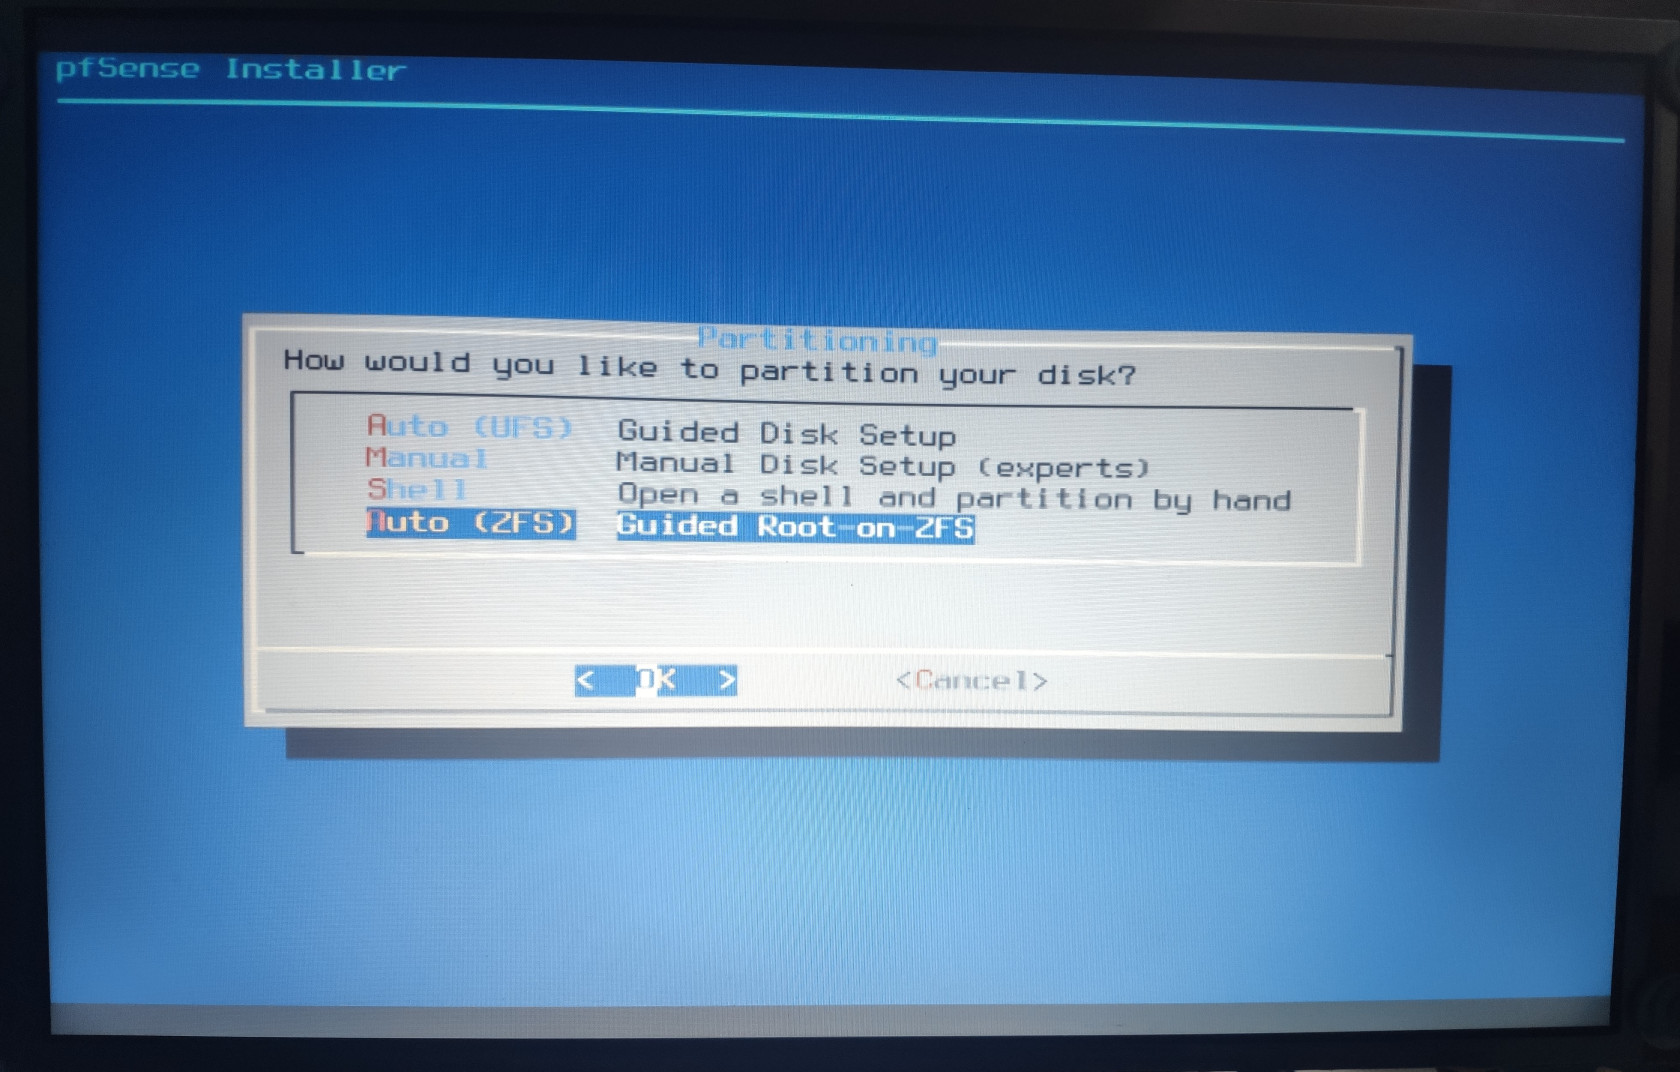
For the disk installation setup, use ZFS as a file system as it provides better RAID setup, encryption, compression, and much more. Press OK to continue to disk selection.
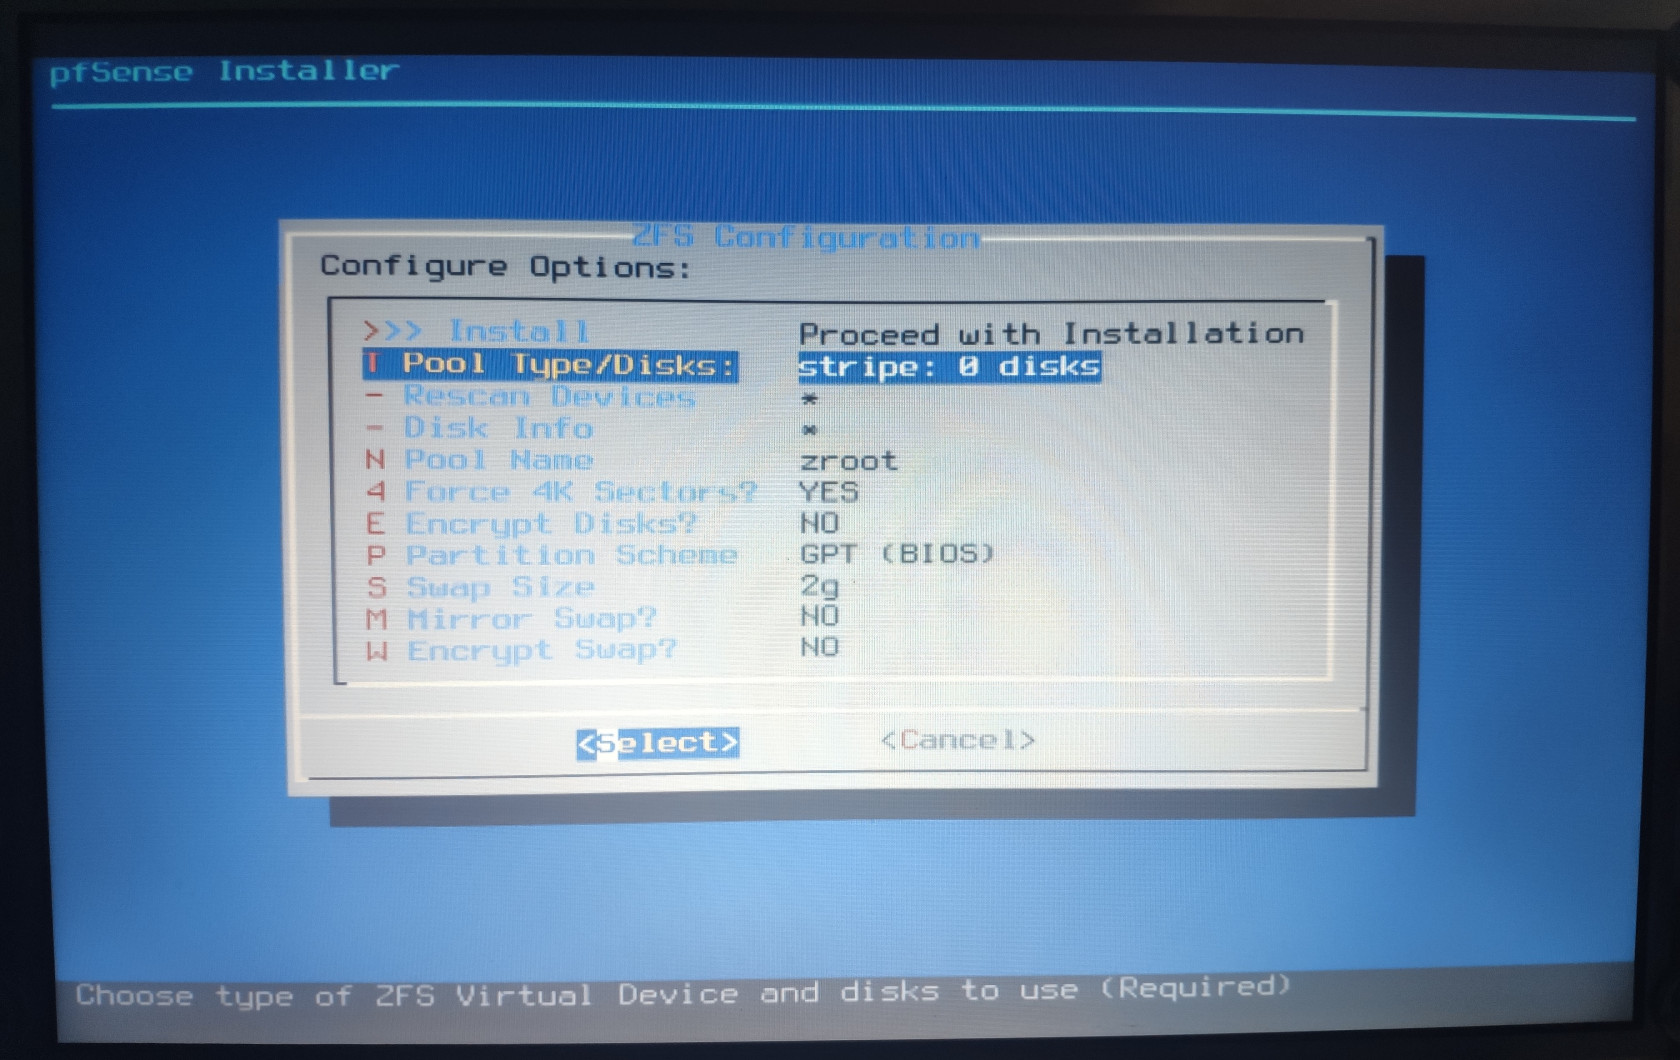
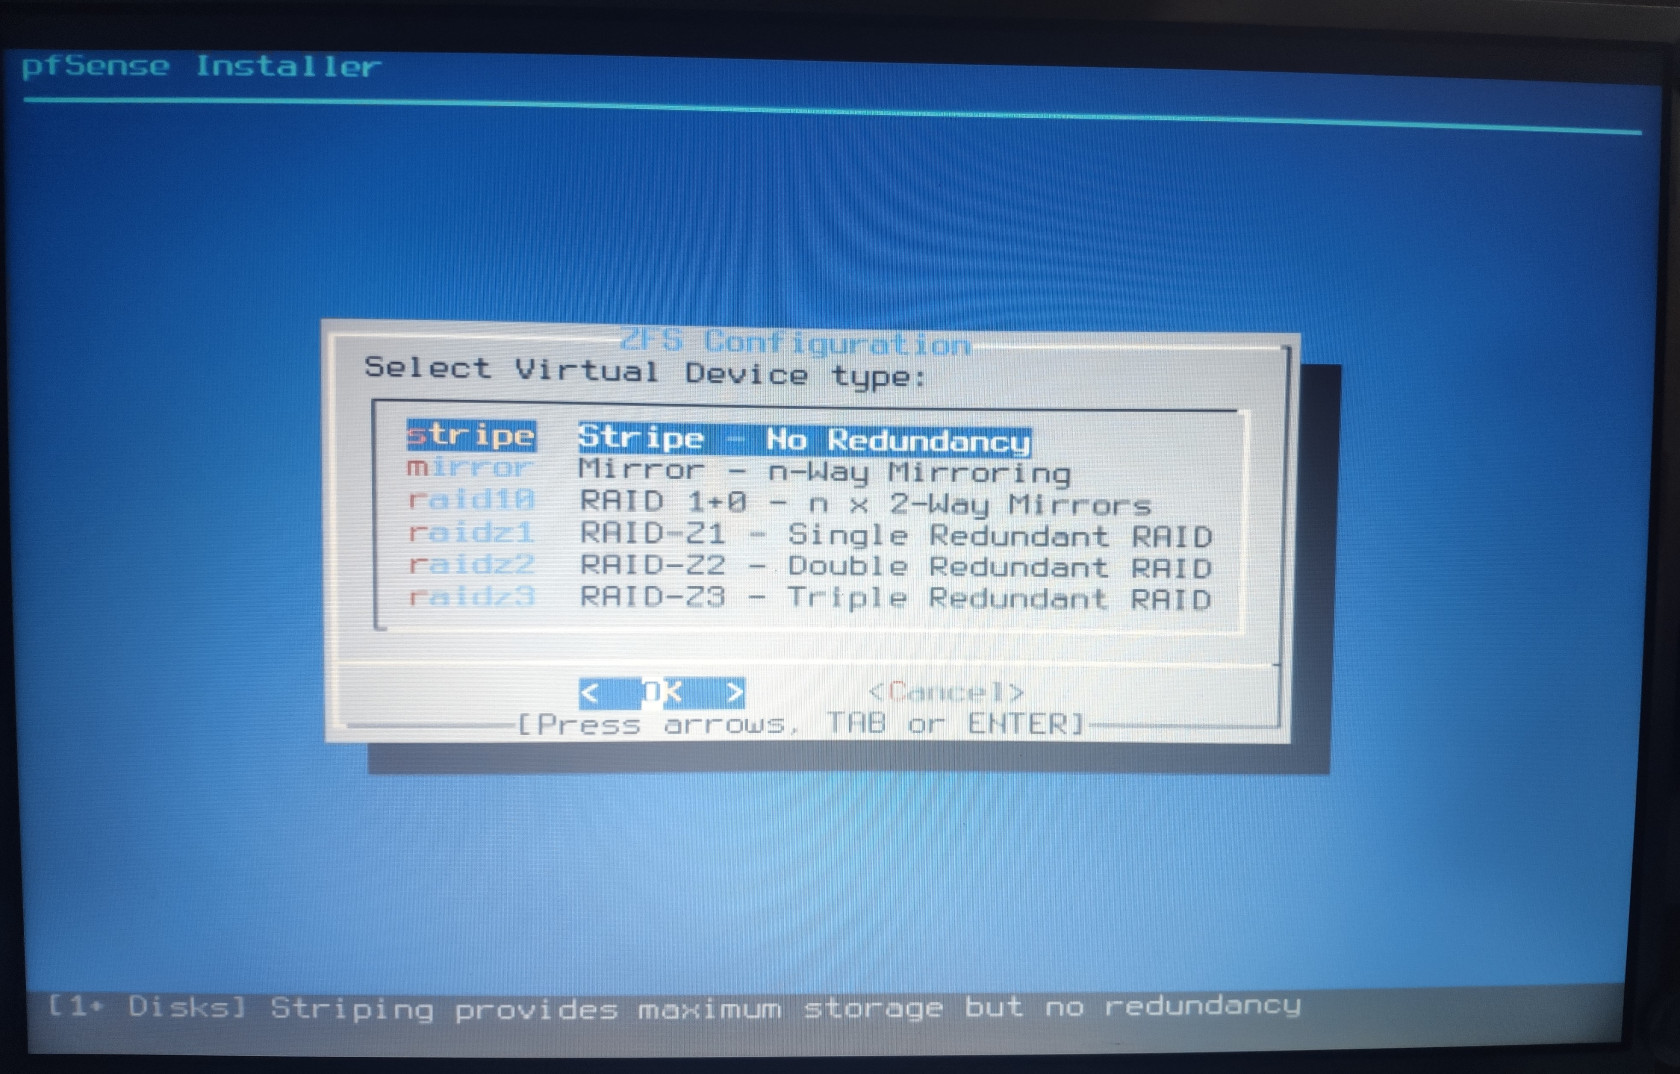
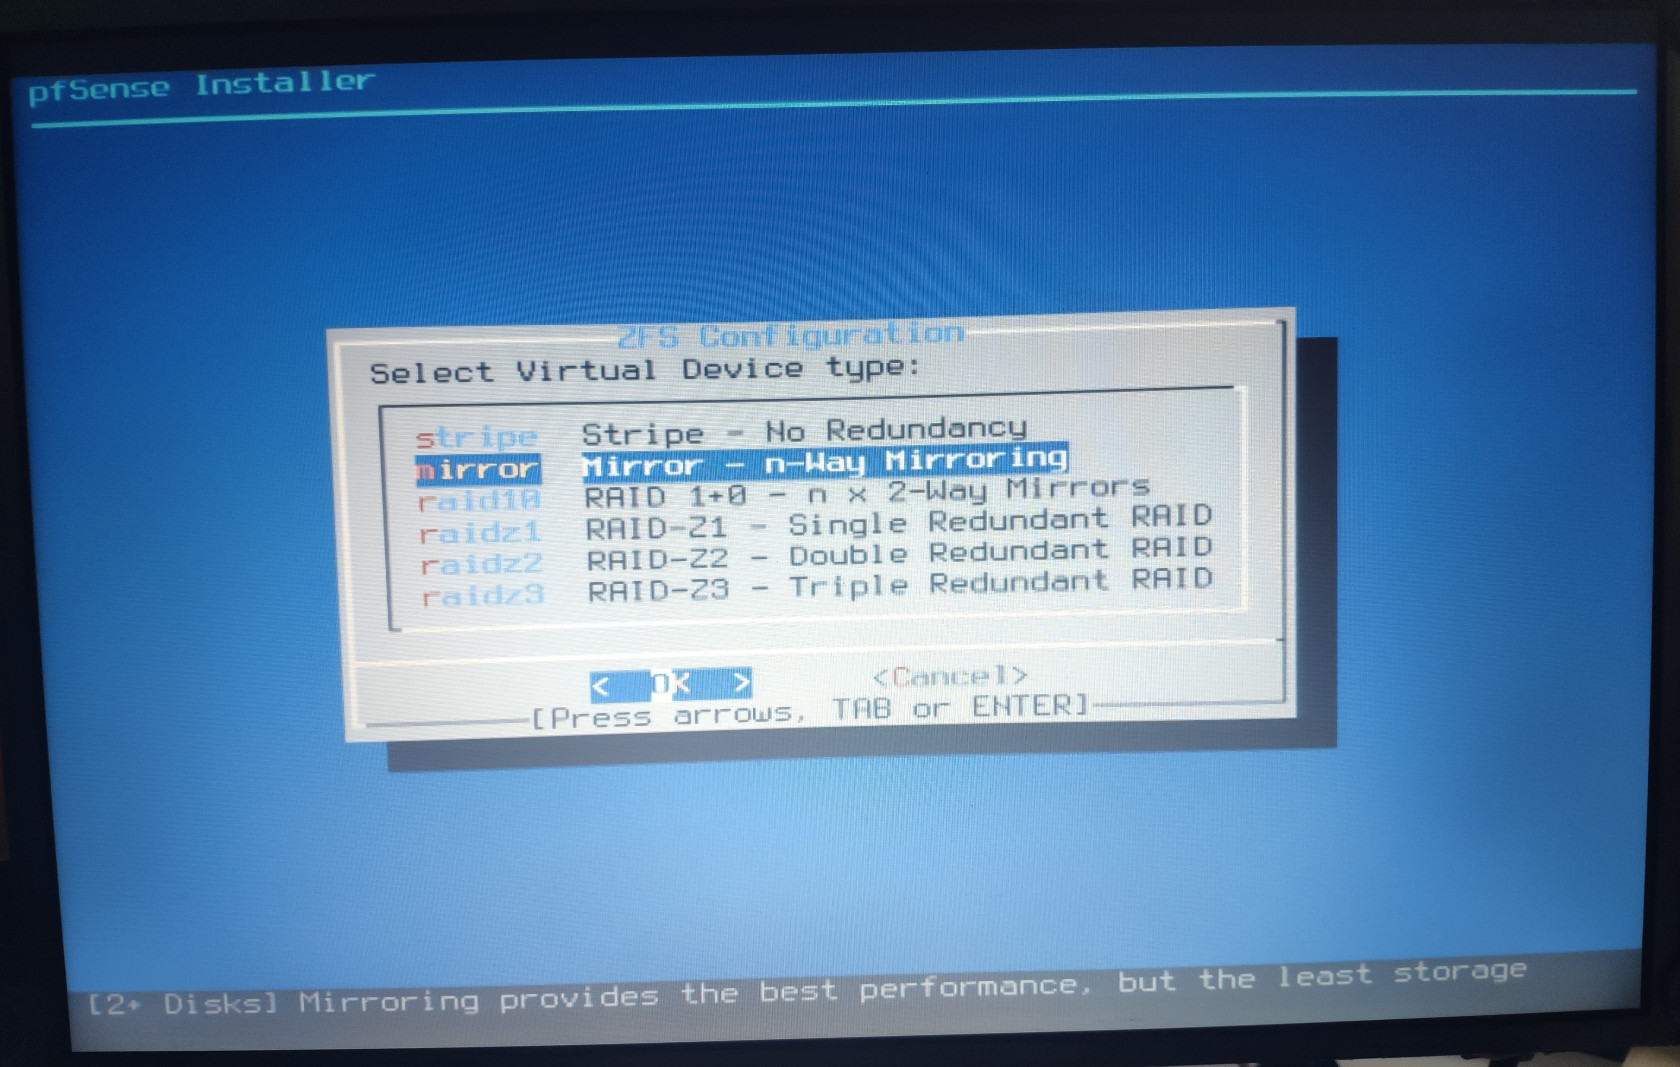
If you have two or more drives on the system, you can set them up in a mirror RAID setup where the system will continue to function as long as one drive is alive and well. Mirror RAID is recommenced for mission critical system like a firewall. If you only have one drive, select the stripe option to continue with one drive.
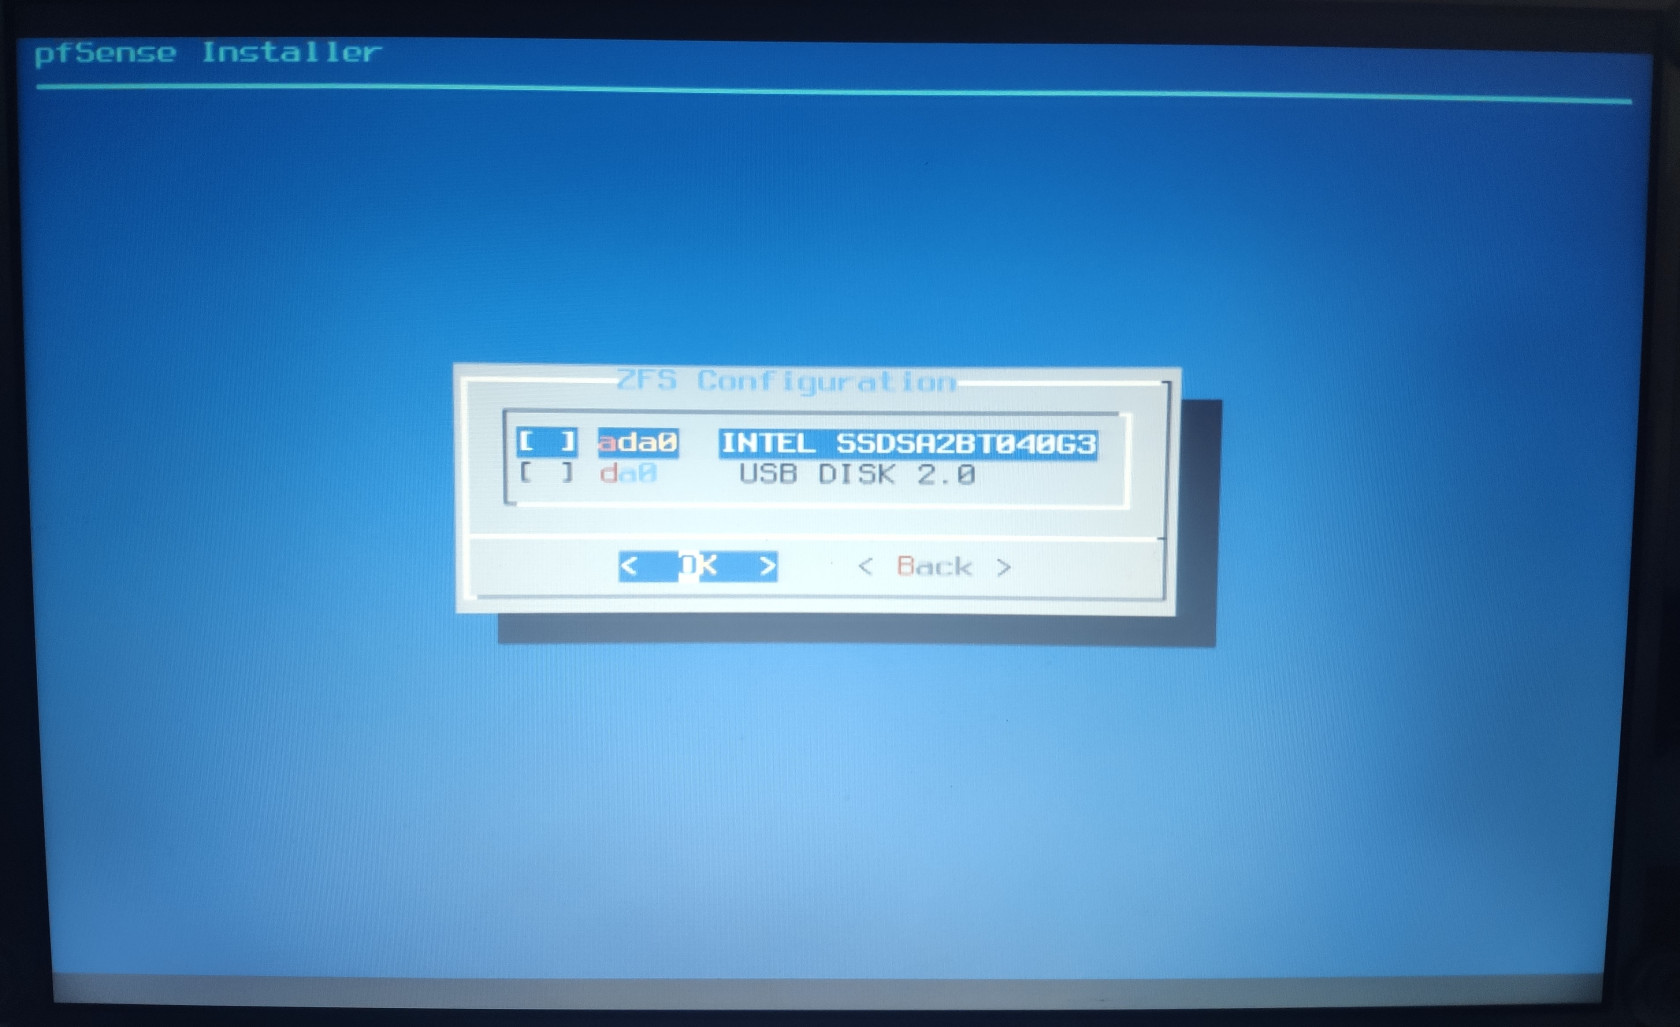
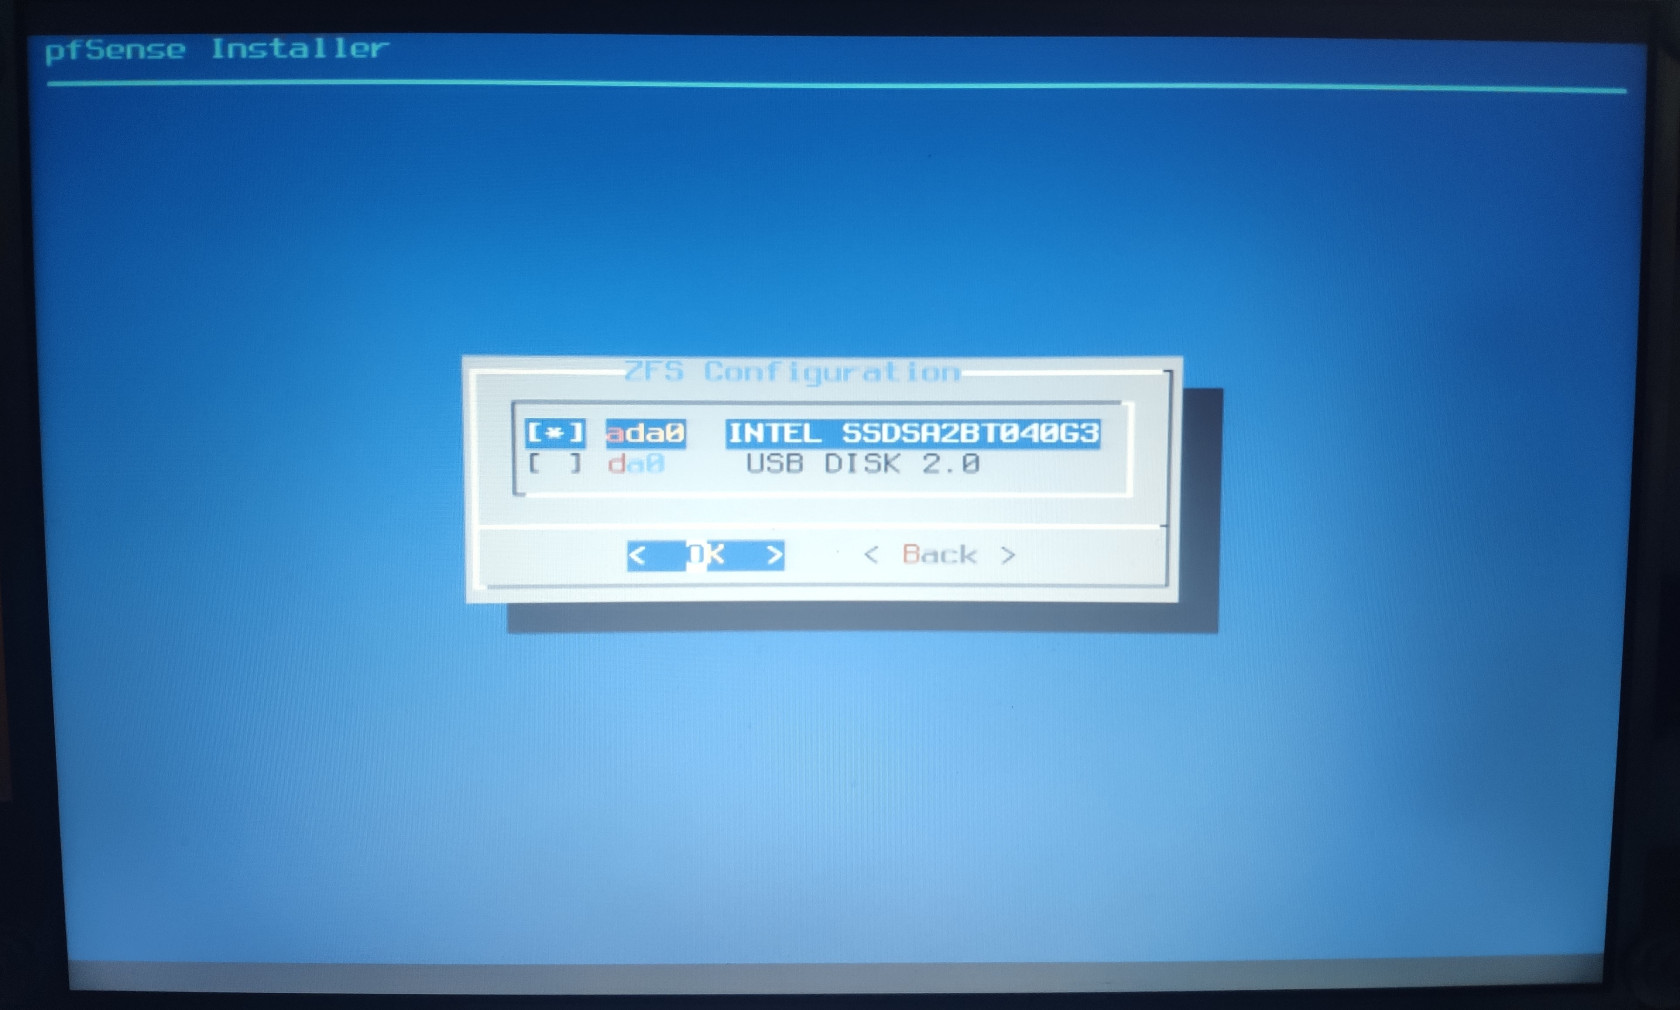
Press Space to select the drive. Ok to continue.
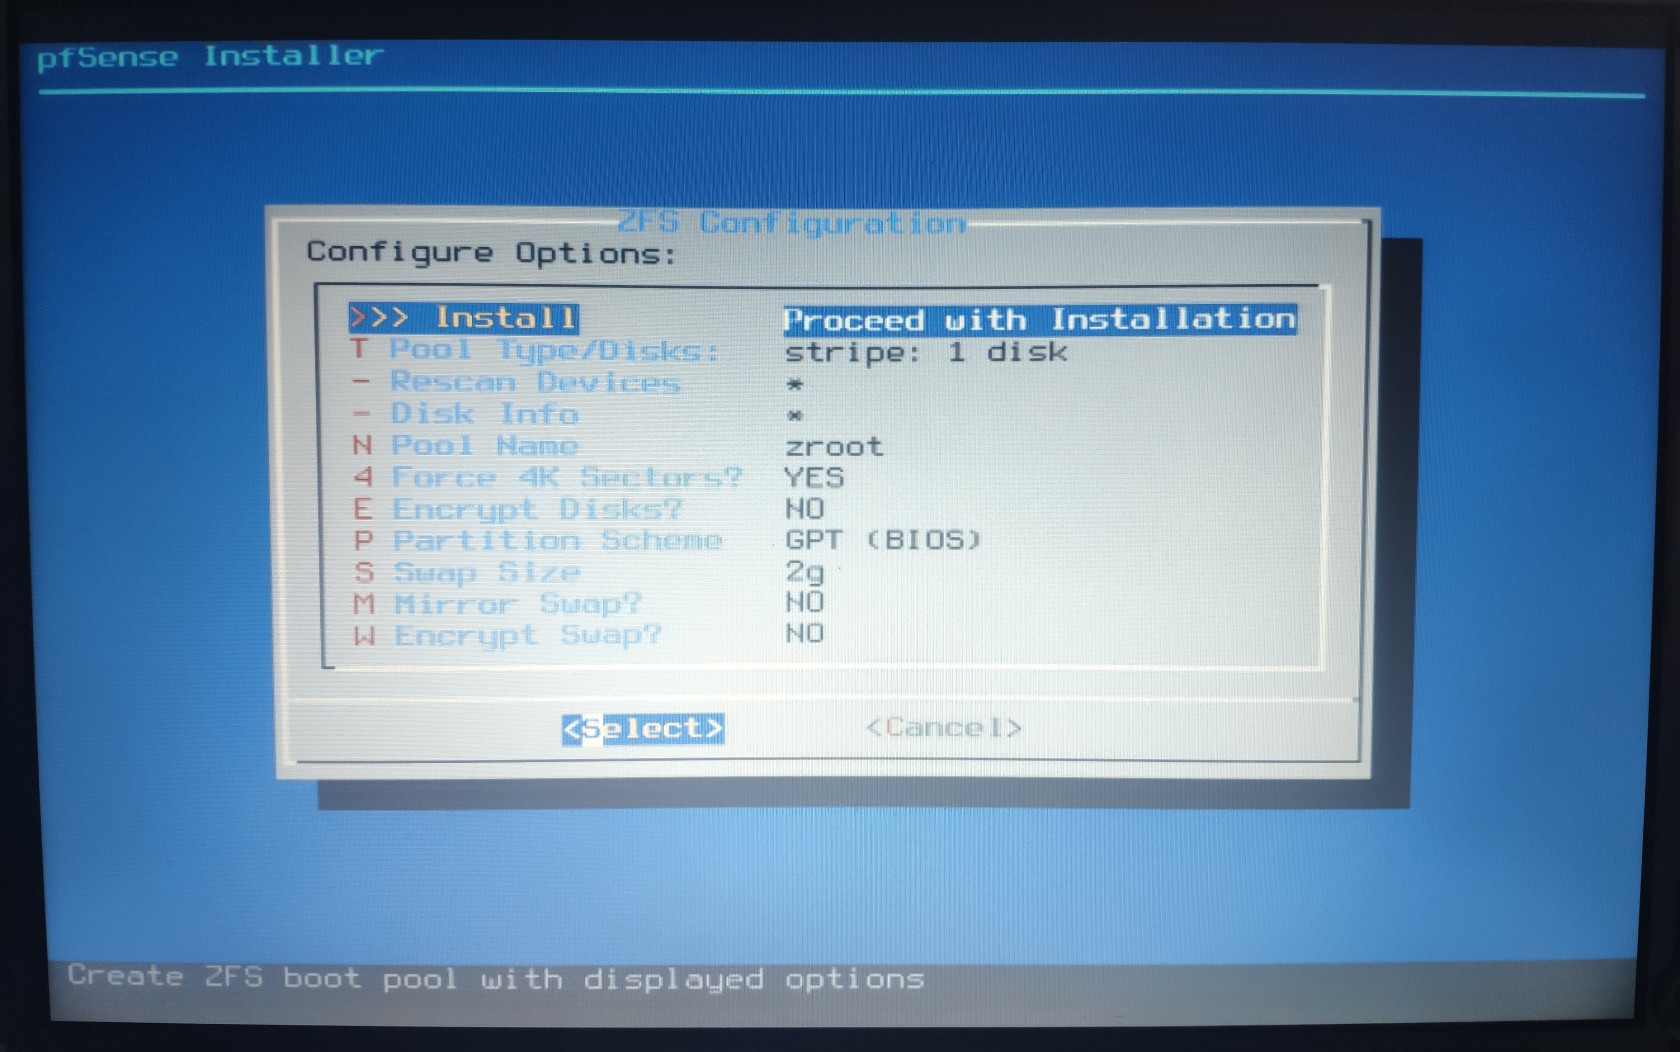
Proceed with the installation onto the system drive.
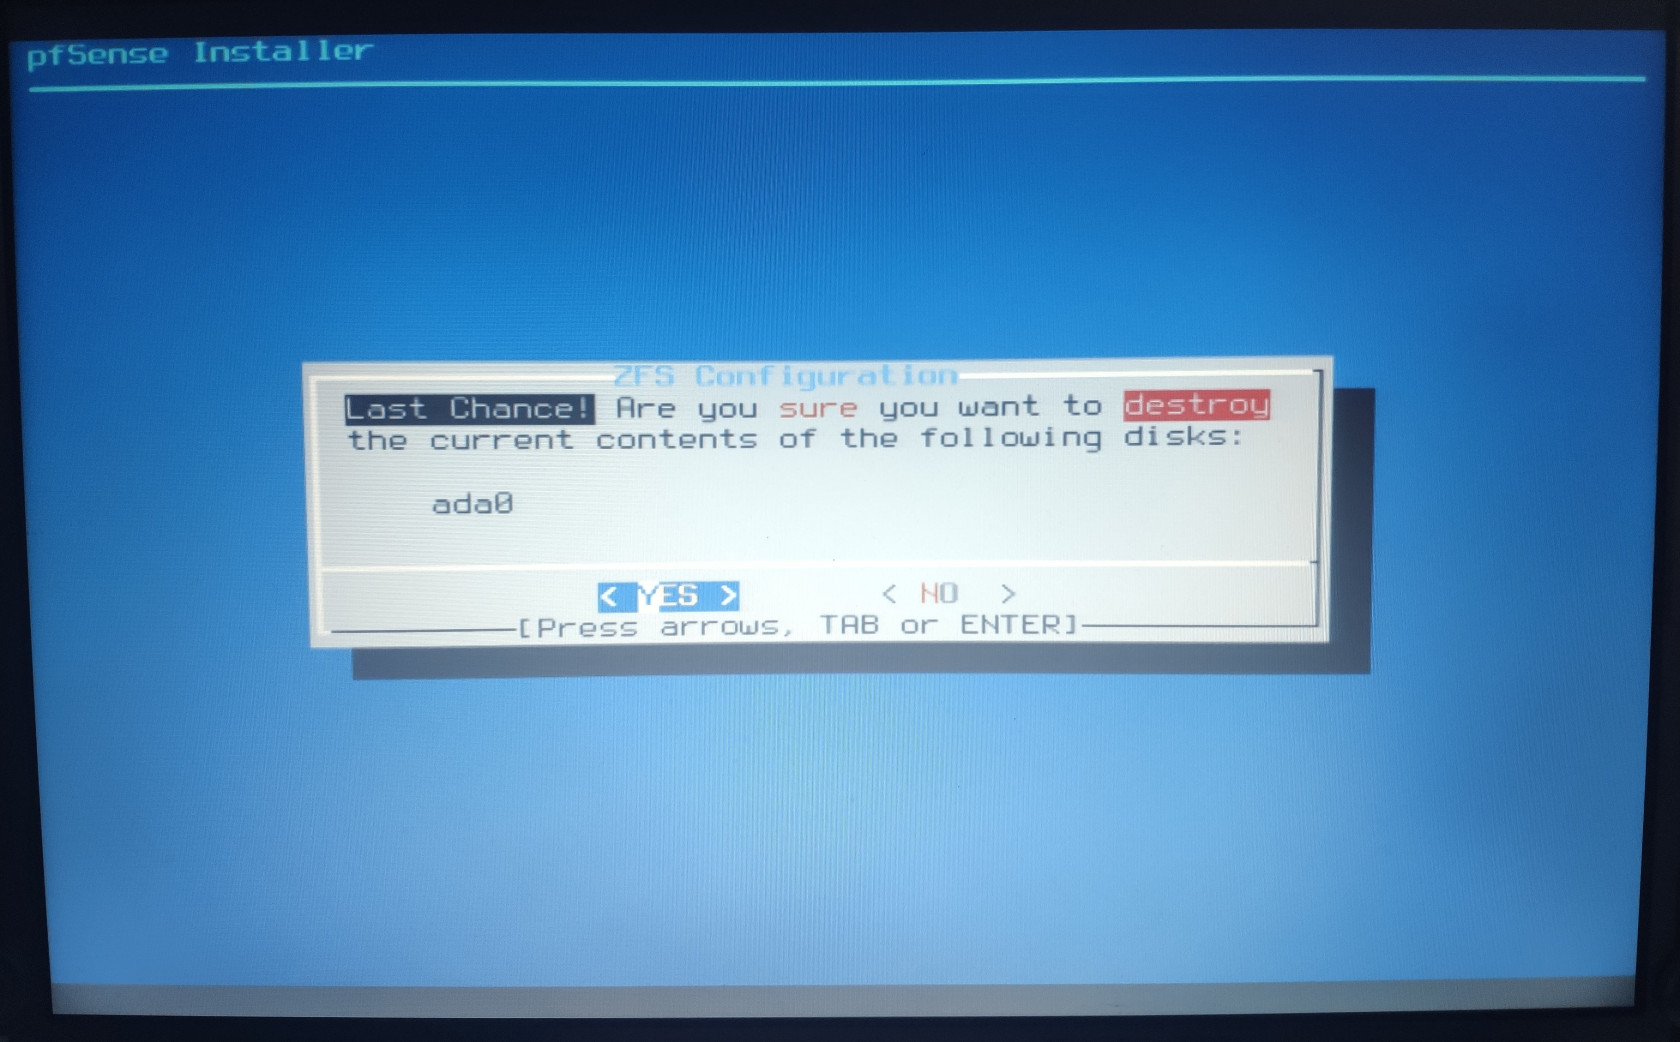
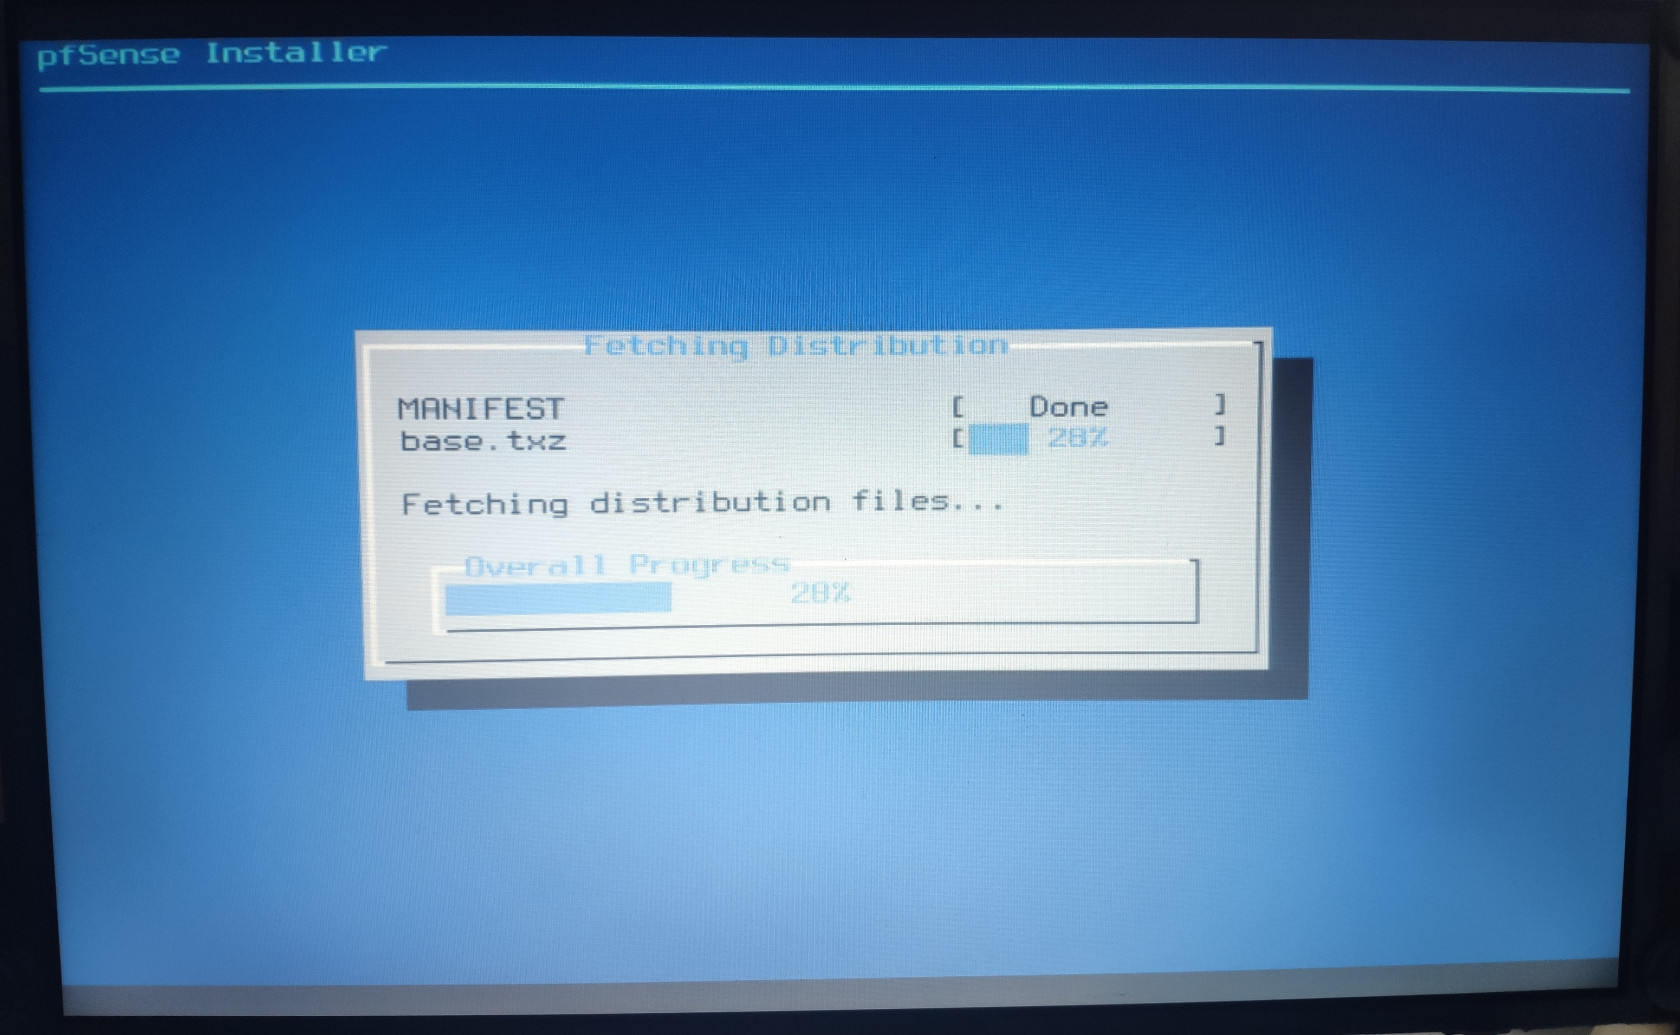
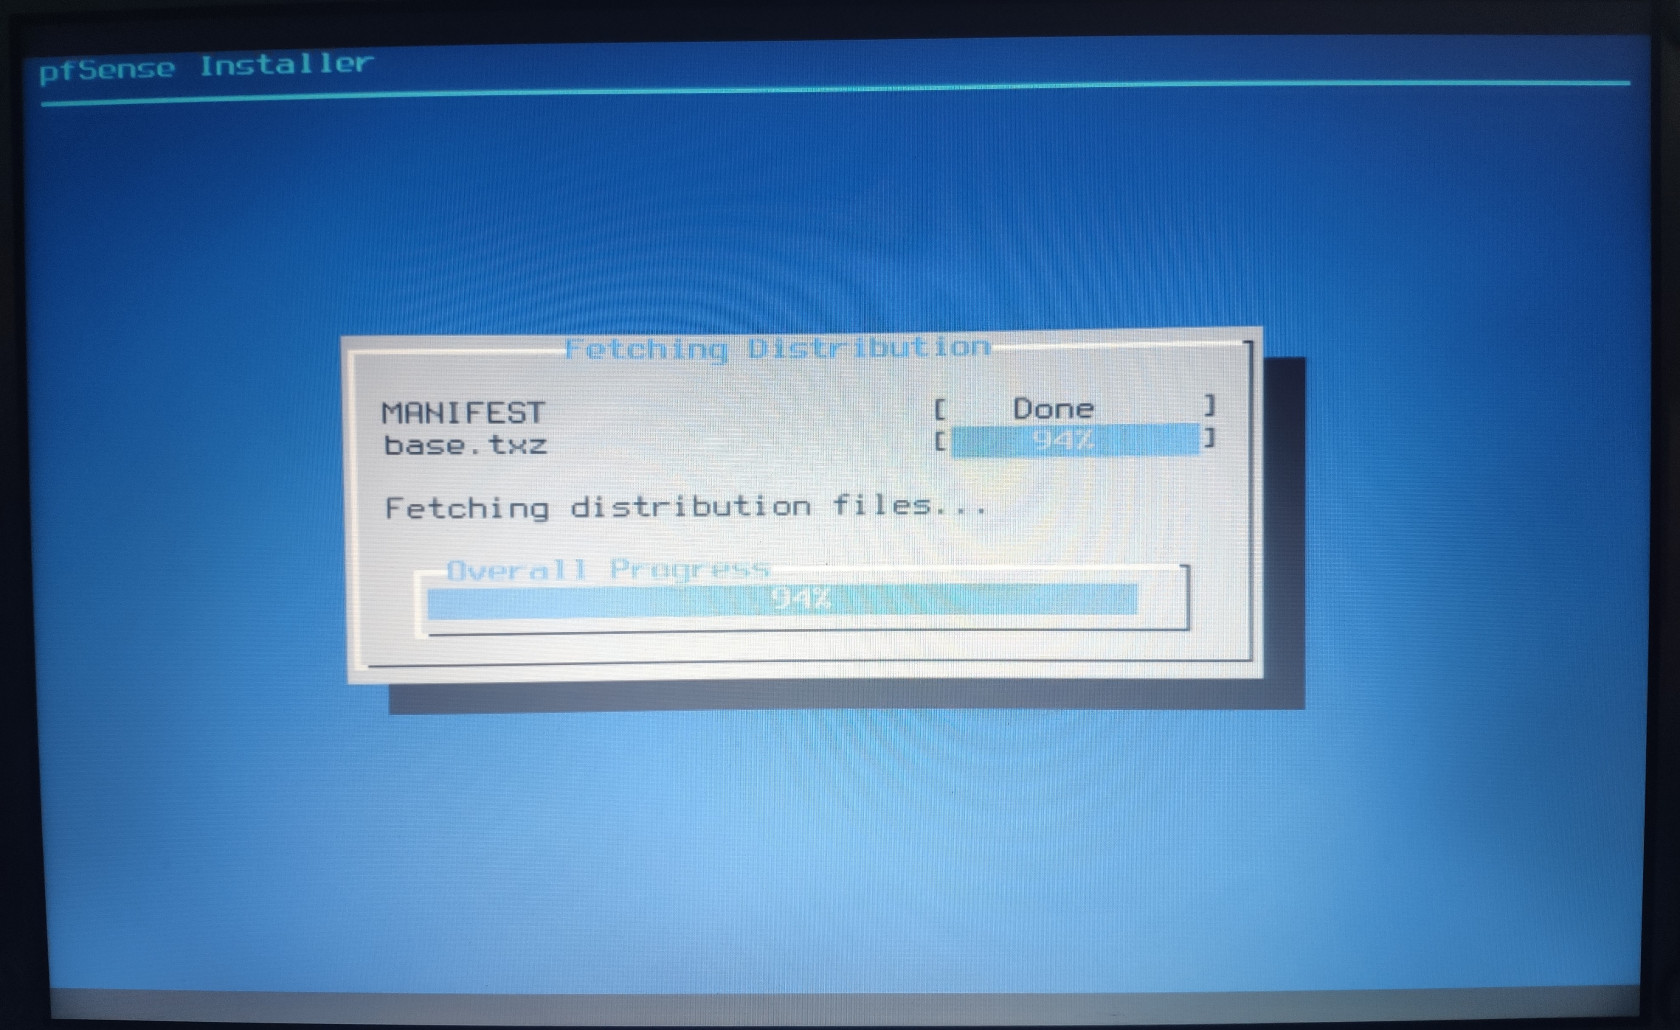
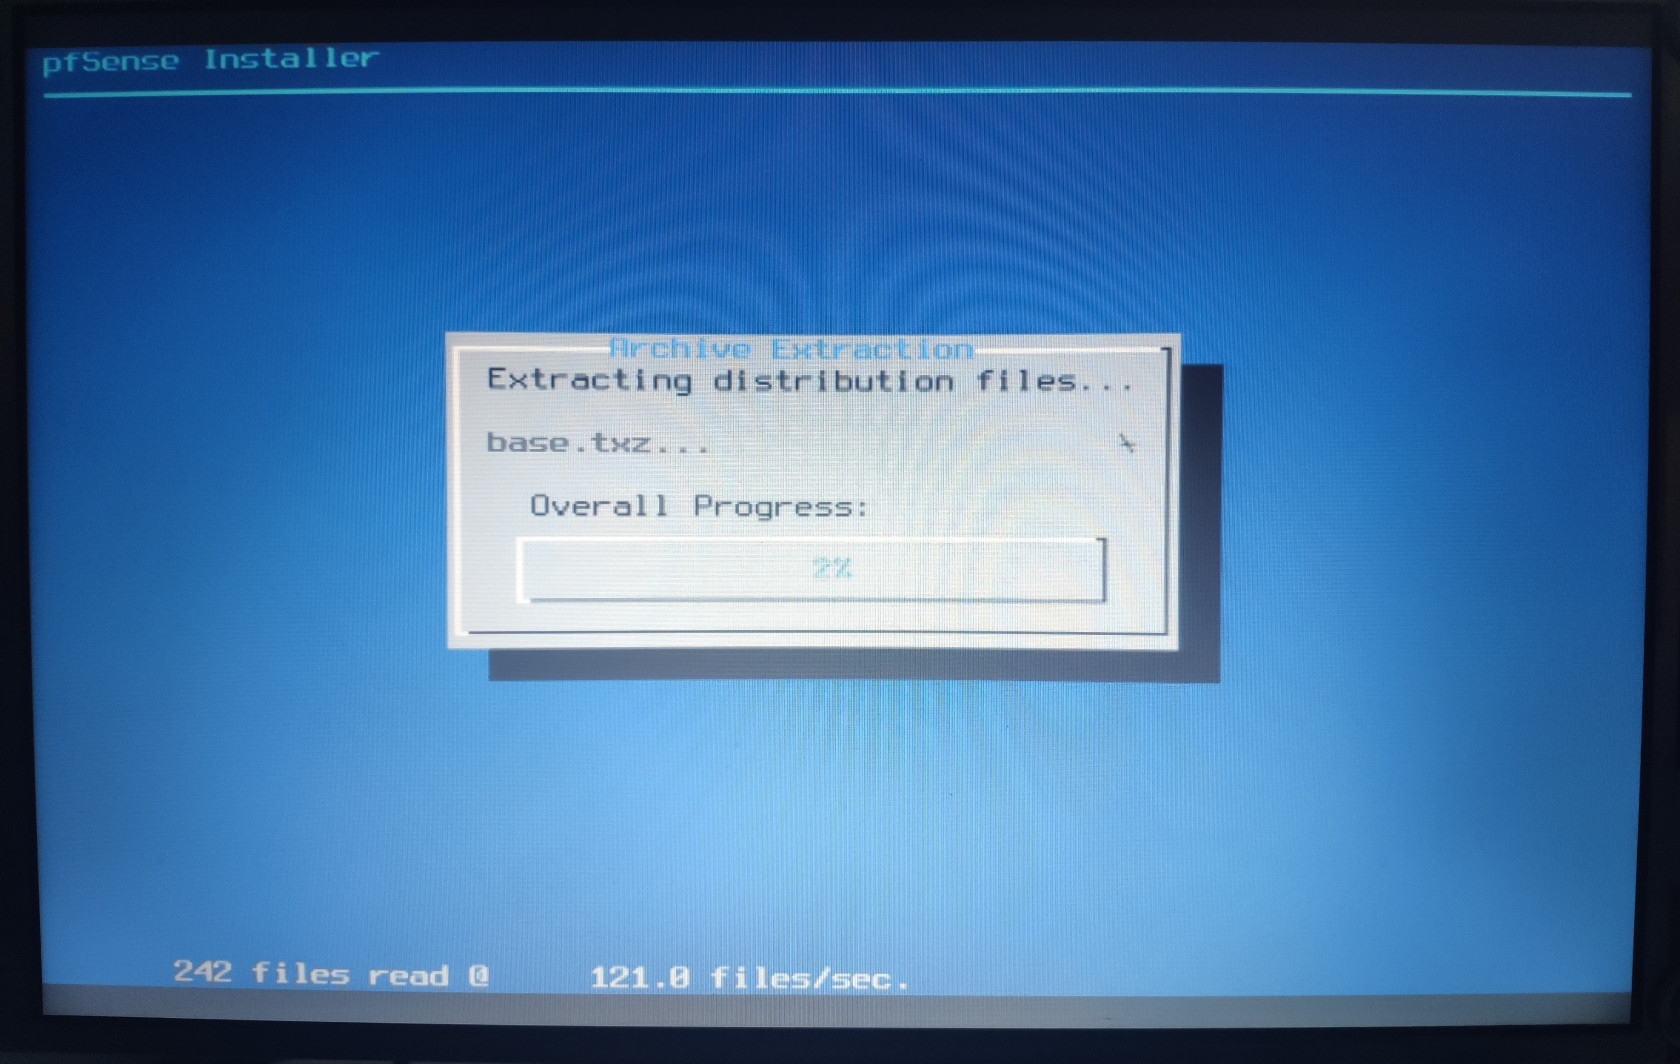
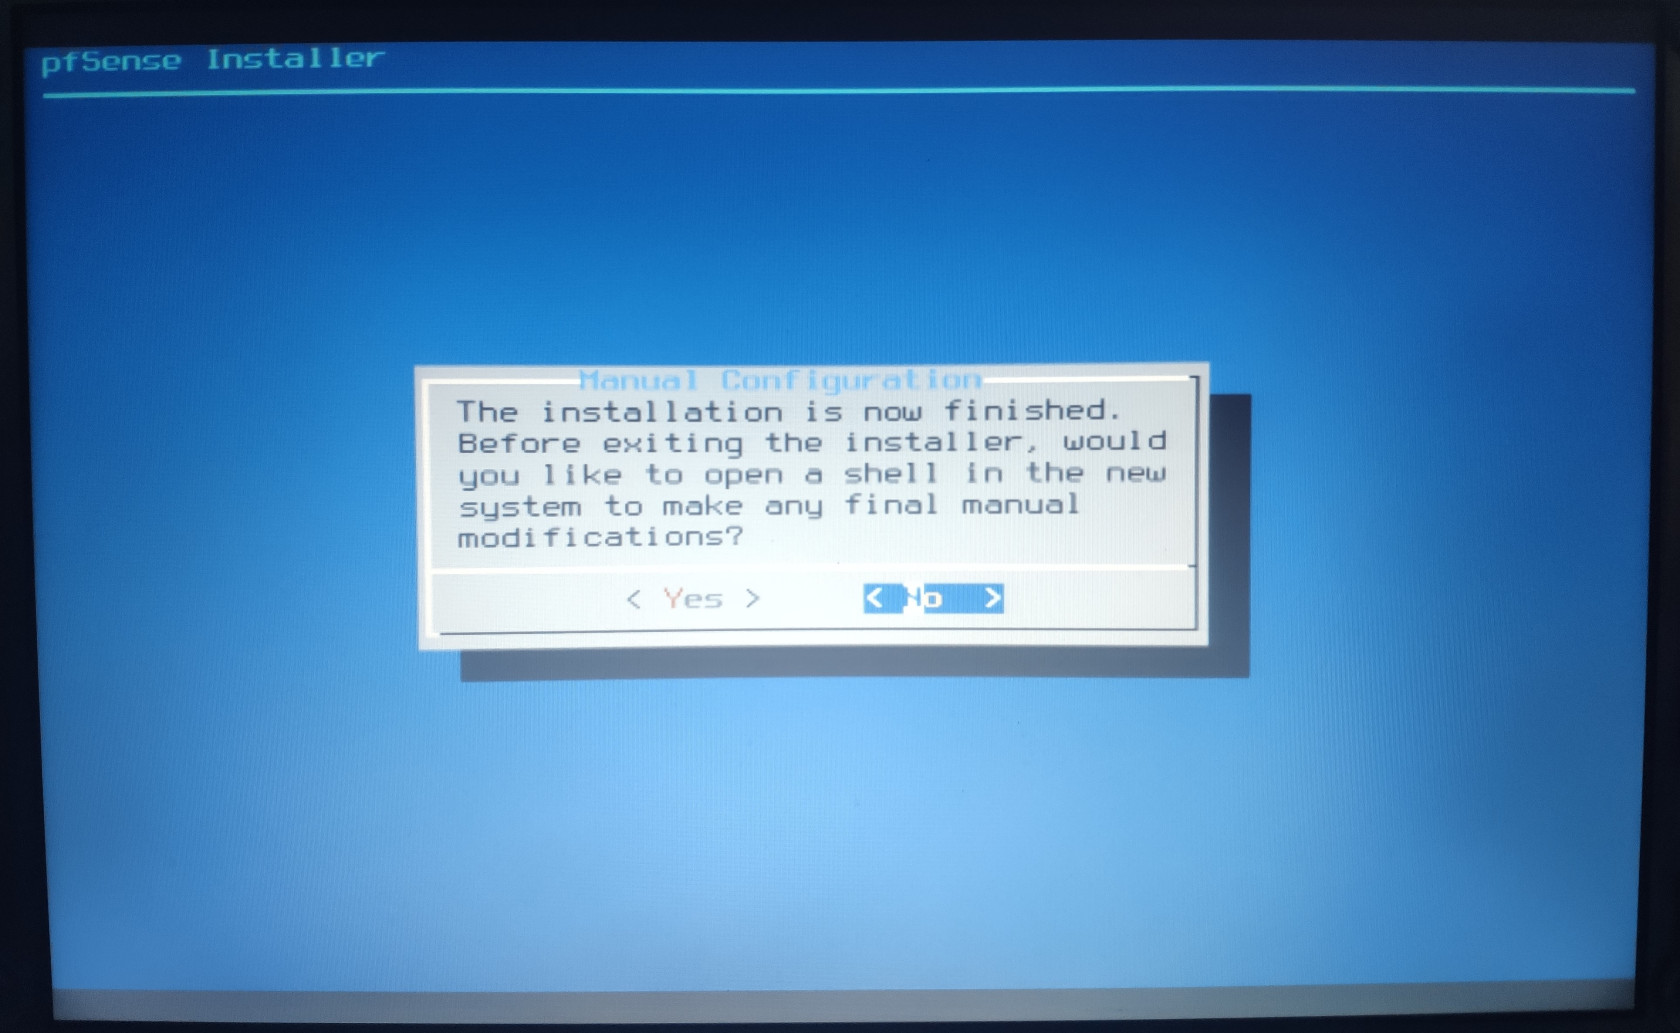
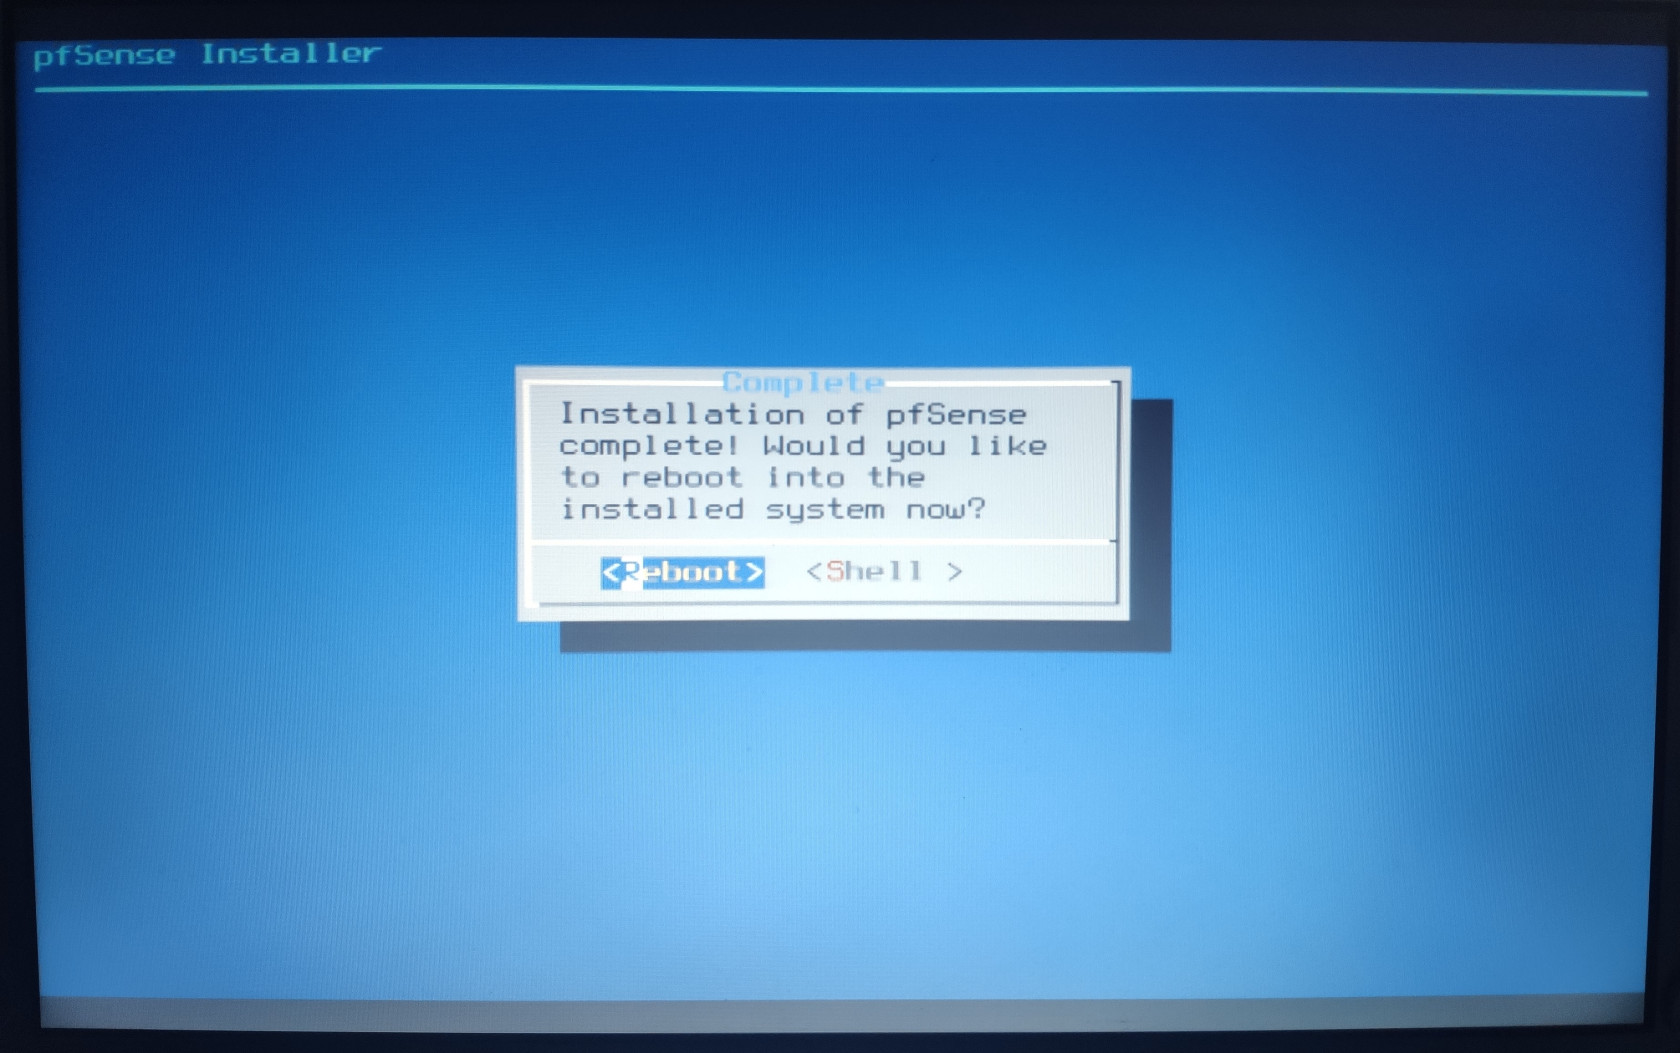
Choose No, and then Reboot the System.
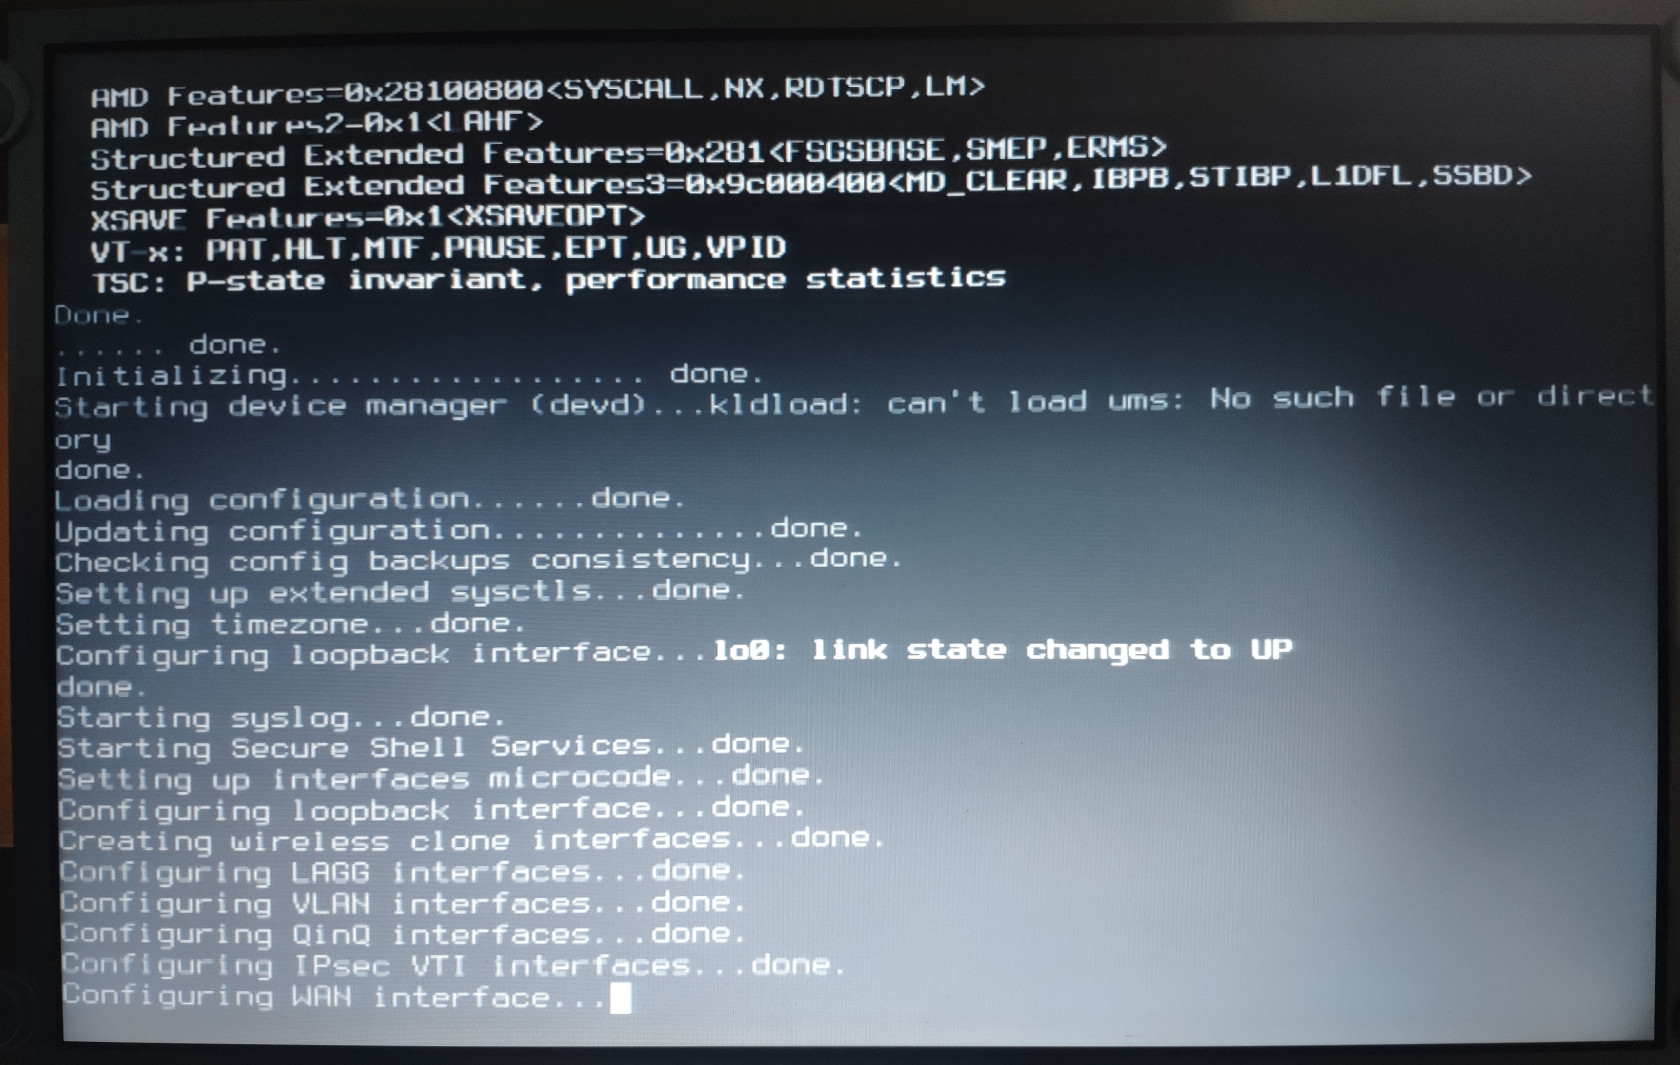
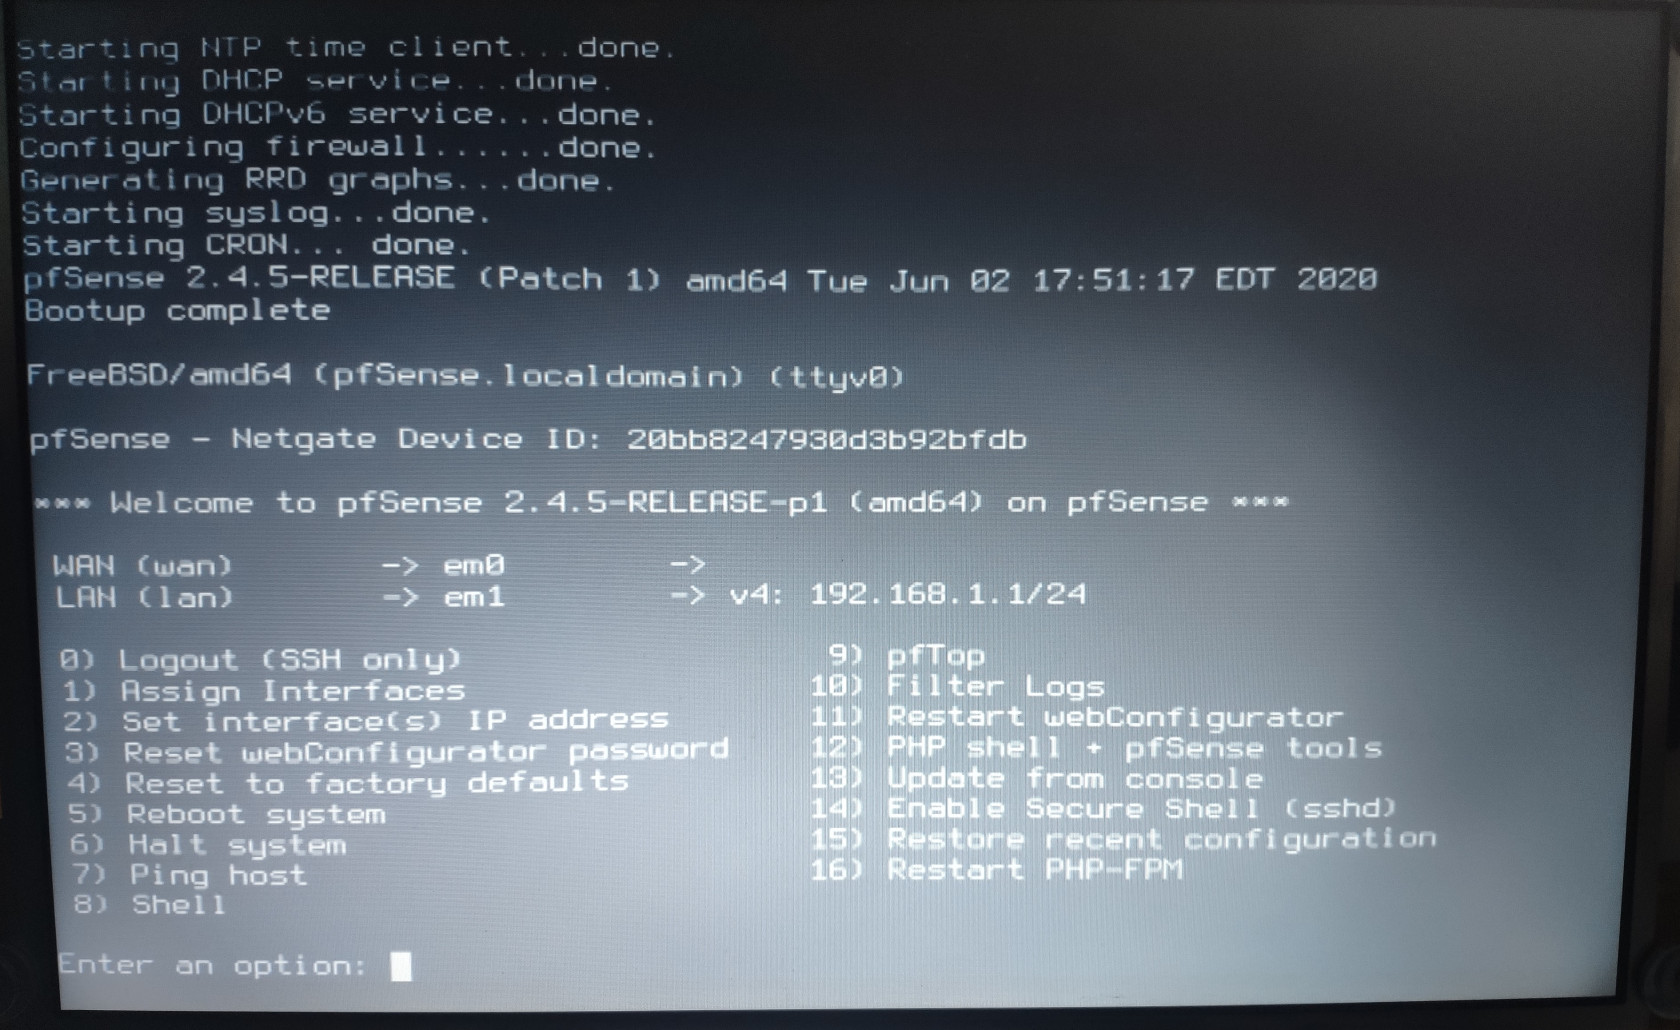
Upon rebooting, you will be greeted by the default pfSense console screen. As you can see in the above picture, it will auto detect compatible NICs and assign two of them to WAN and LAN.
It is a good idea to label your NICs at this point. You can easily identify the NICs by plugging in your ISP’s WAN connection directly to one of the NICs, press the Enter key to refresh the console, and check if the WAN interface have receive an IP or not. If it does, then that Ethernet NIC port is the WAN interface. To find out LAN interface port, simply plug a device into a port to see if it gets an private IP address or not. If it gets an IP, then that port is the LAN interface.
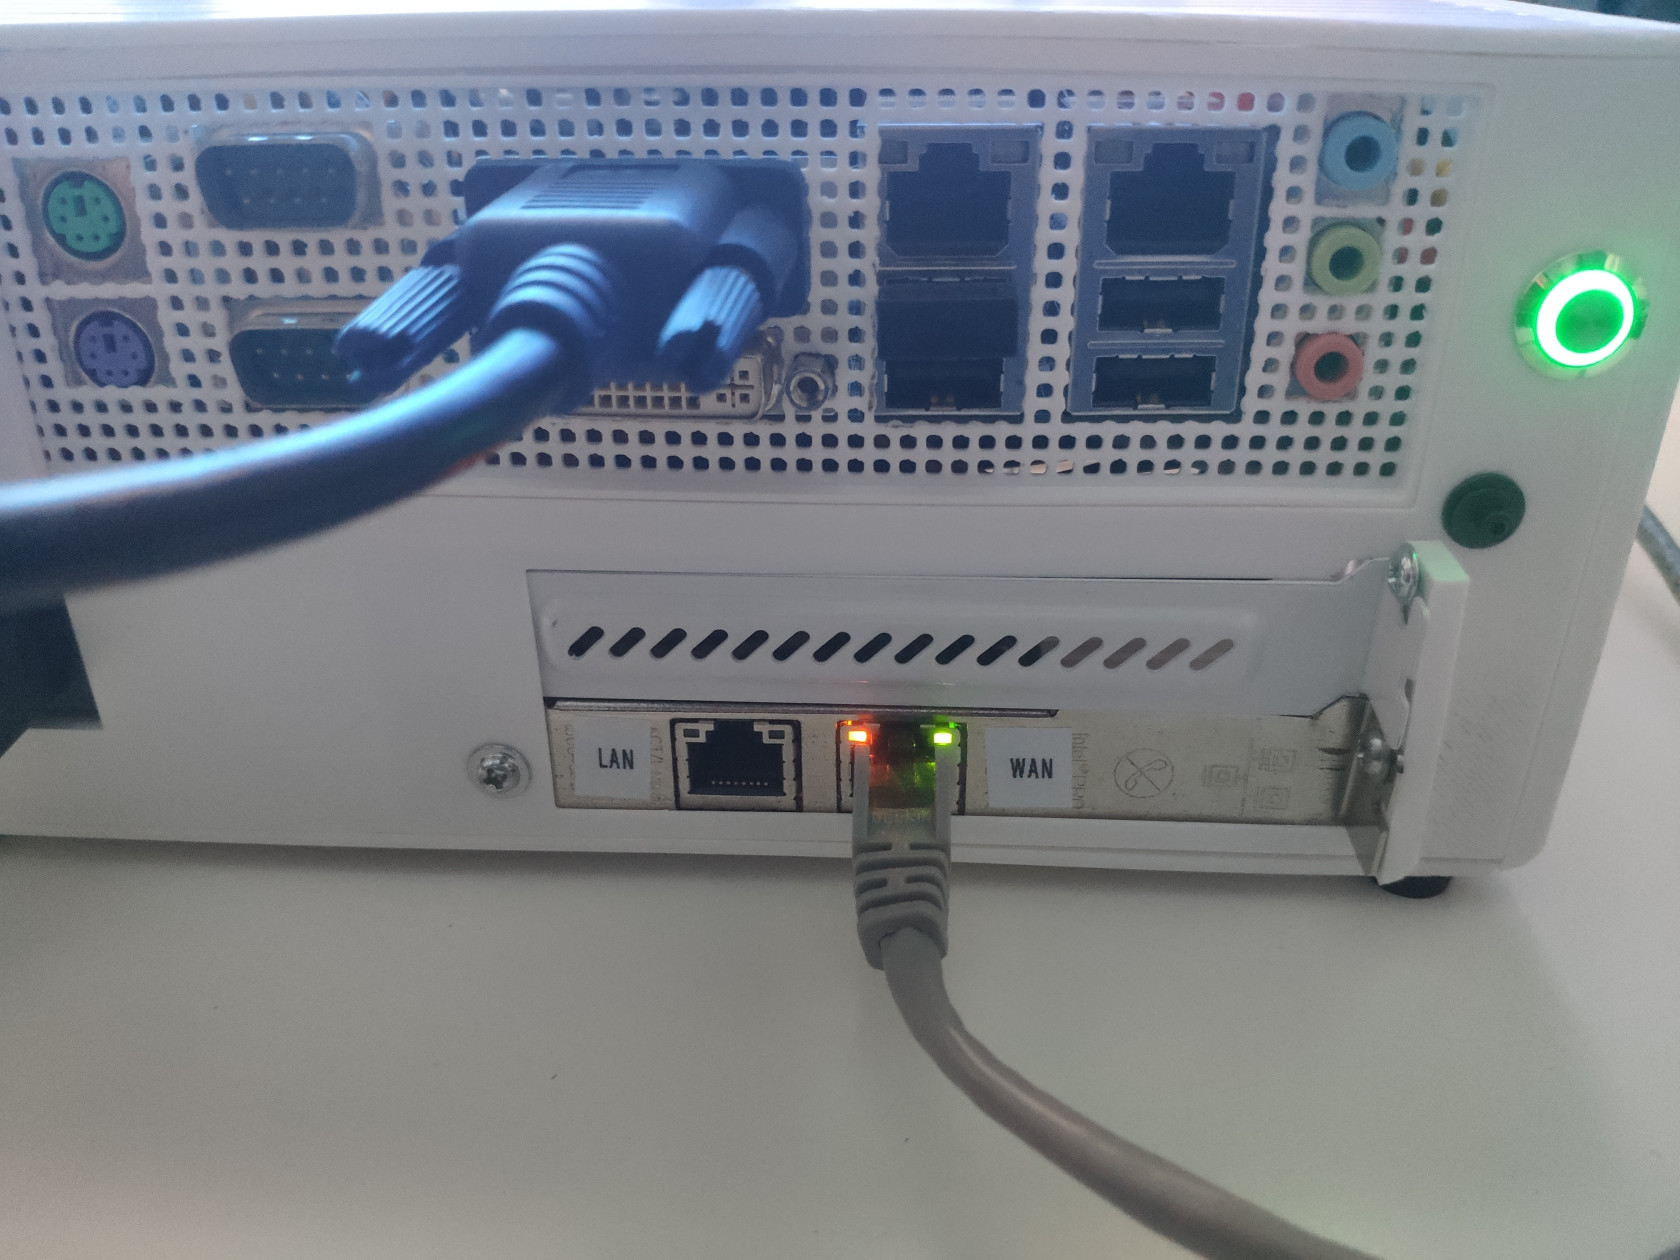

Once you have identify the ports, you can plug in a laptop or computer to the LAN port to start the initial configuration process.
