
Initial Configuration Wizard
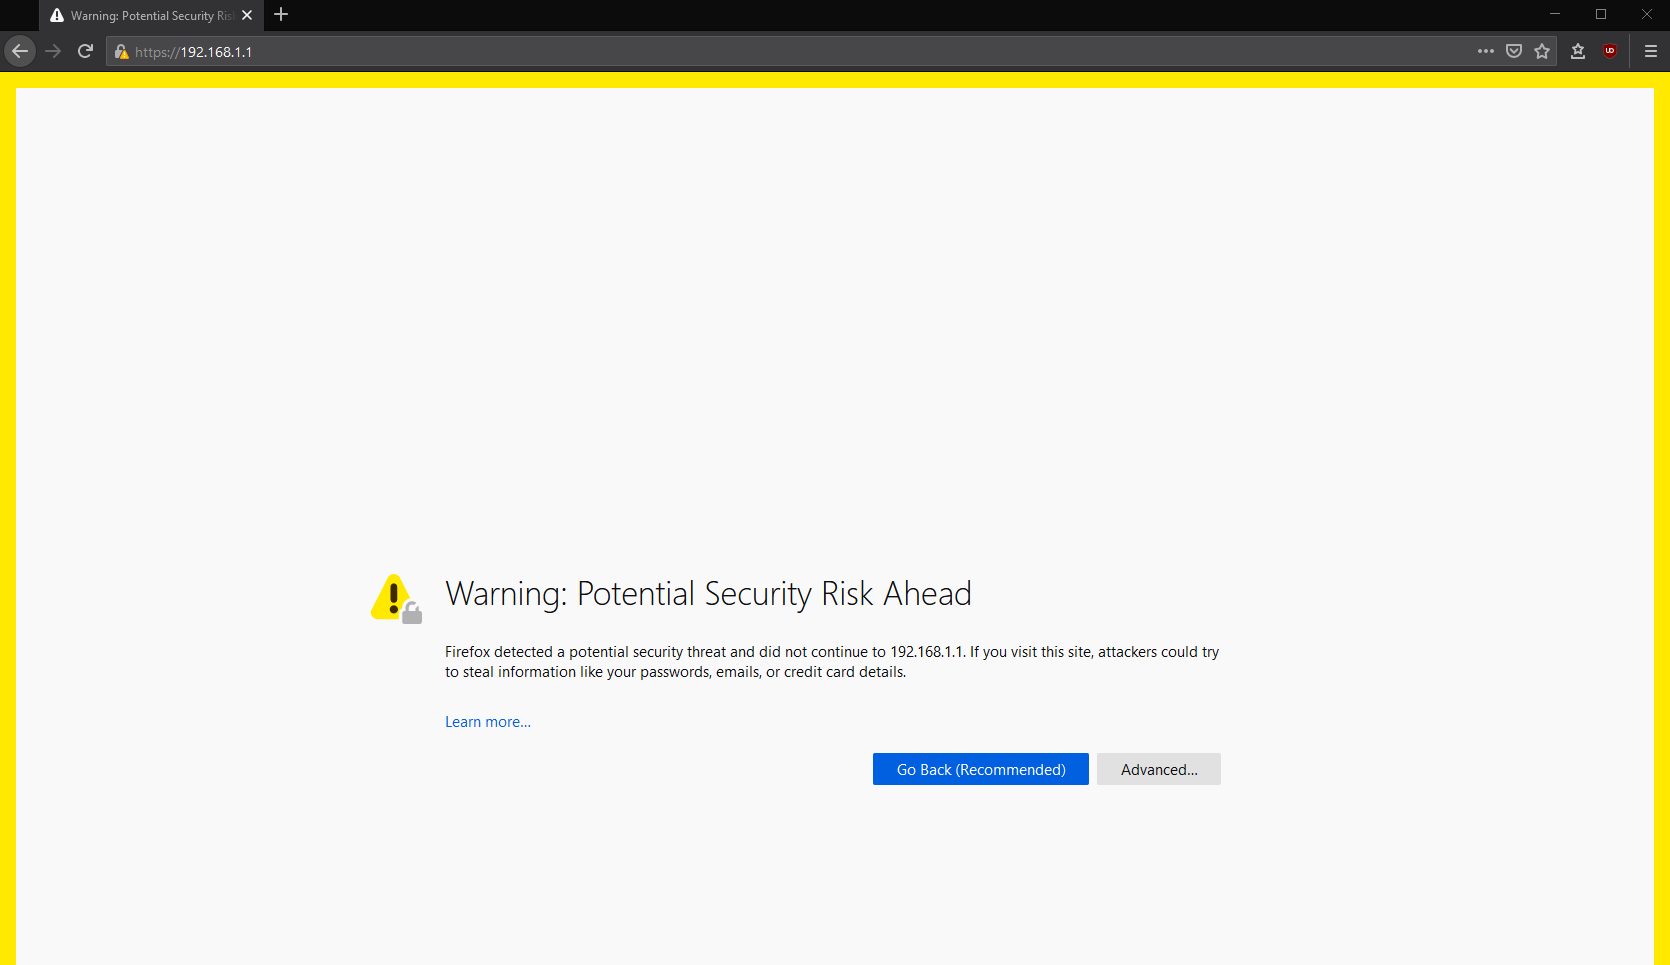
By default, the LAN interface for pfSense is set to a 192.168.1.1/24 network. Open up a browser like Firefox on your computer, and type in the address 192.168.1.1 and hit enter. This is the default pfSense WebGUI address.
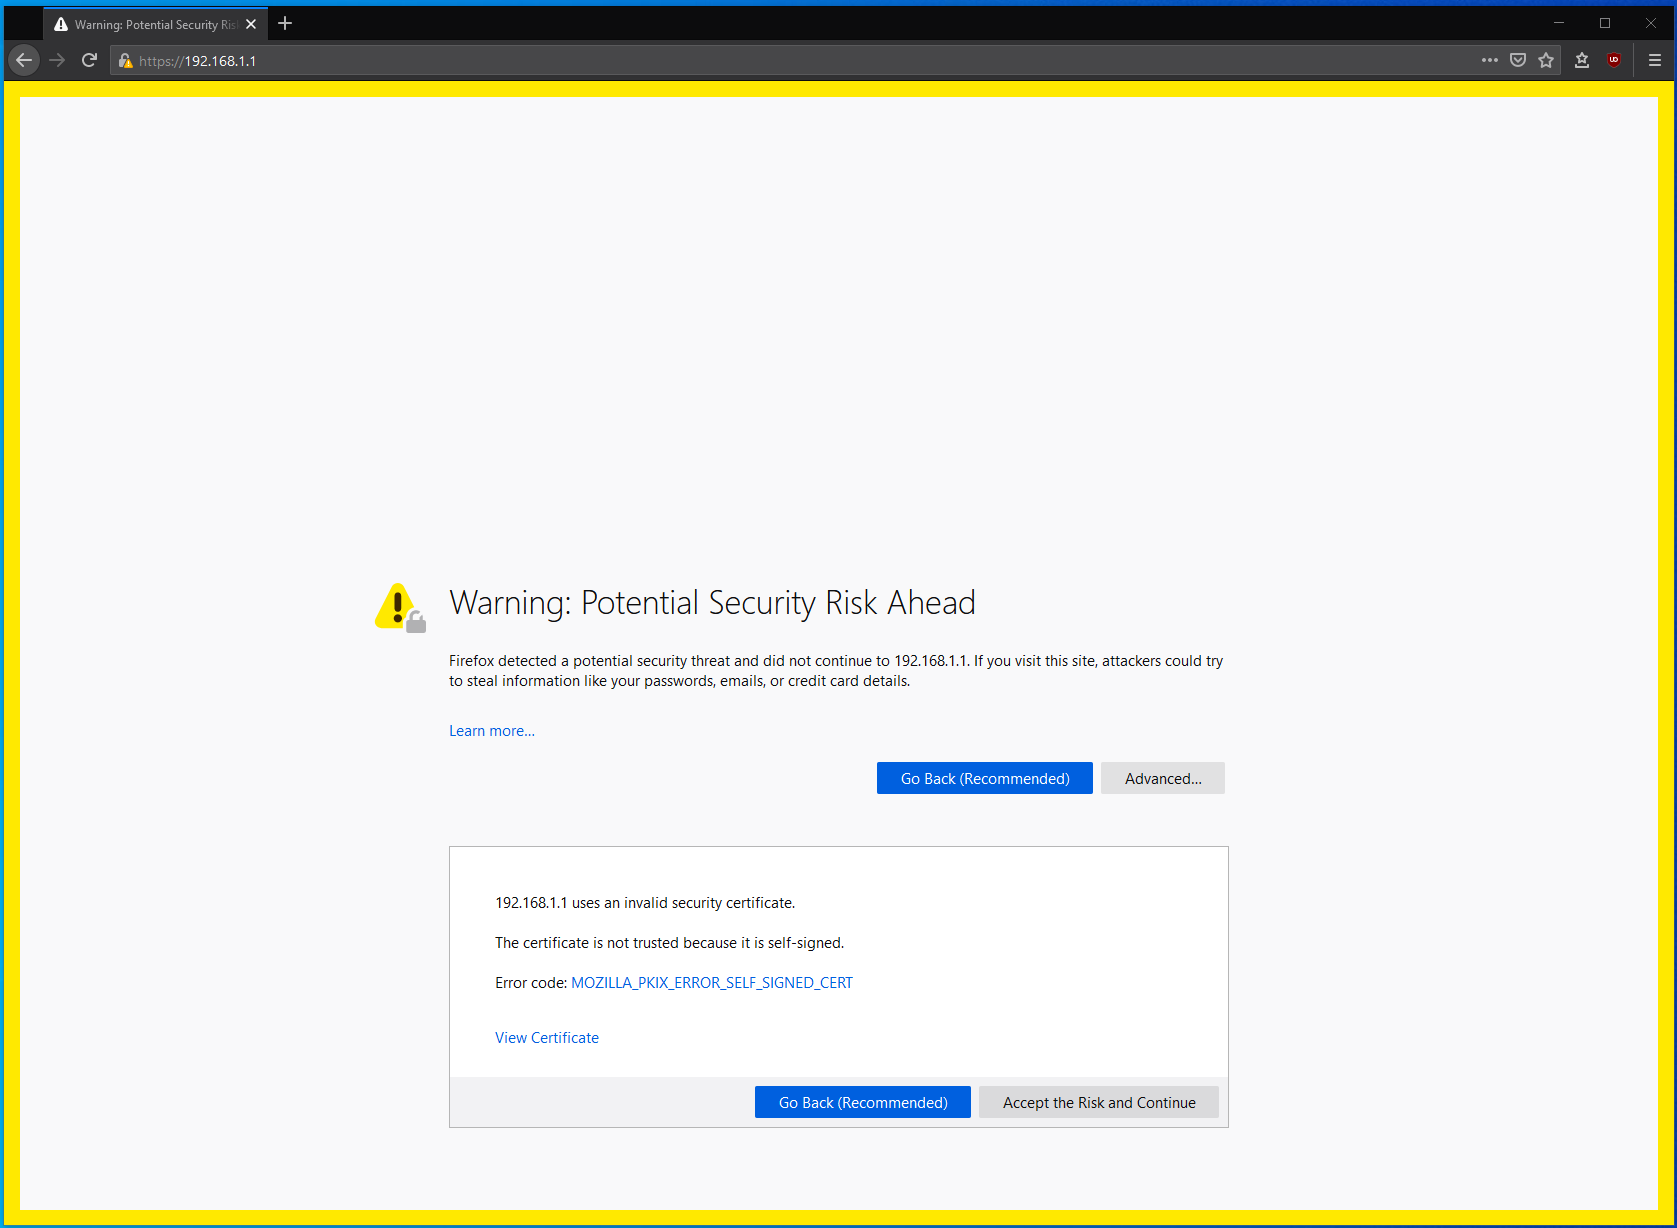
pfSense defaults to HTTPS for its WebGUI connection, using a self-signed SSL certificate. All modern browser will give you an warning that there’s potential security risk due to the certificate being self-sign. You can safely ignore this warning as the connection to pfSense is safe. After you finished following this guide, you can follow my other guides to have the browser trust the self-sign certificate in the future.
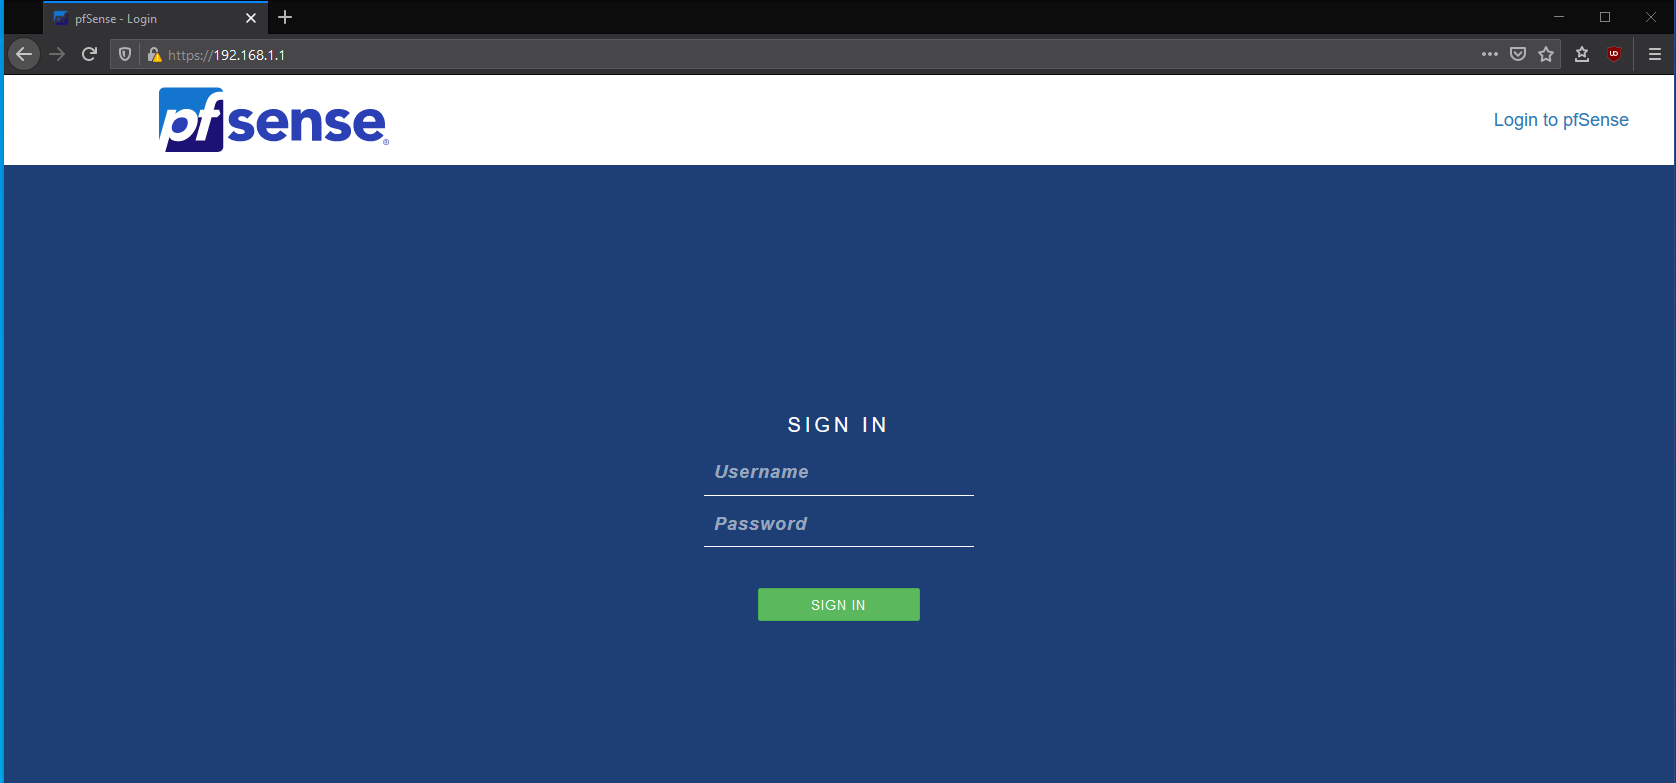
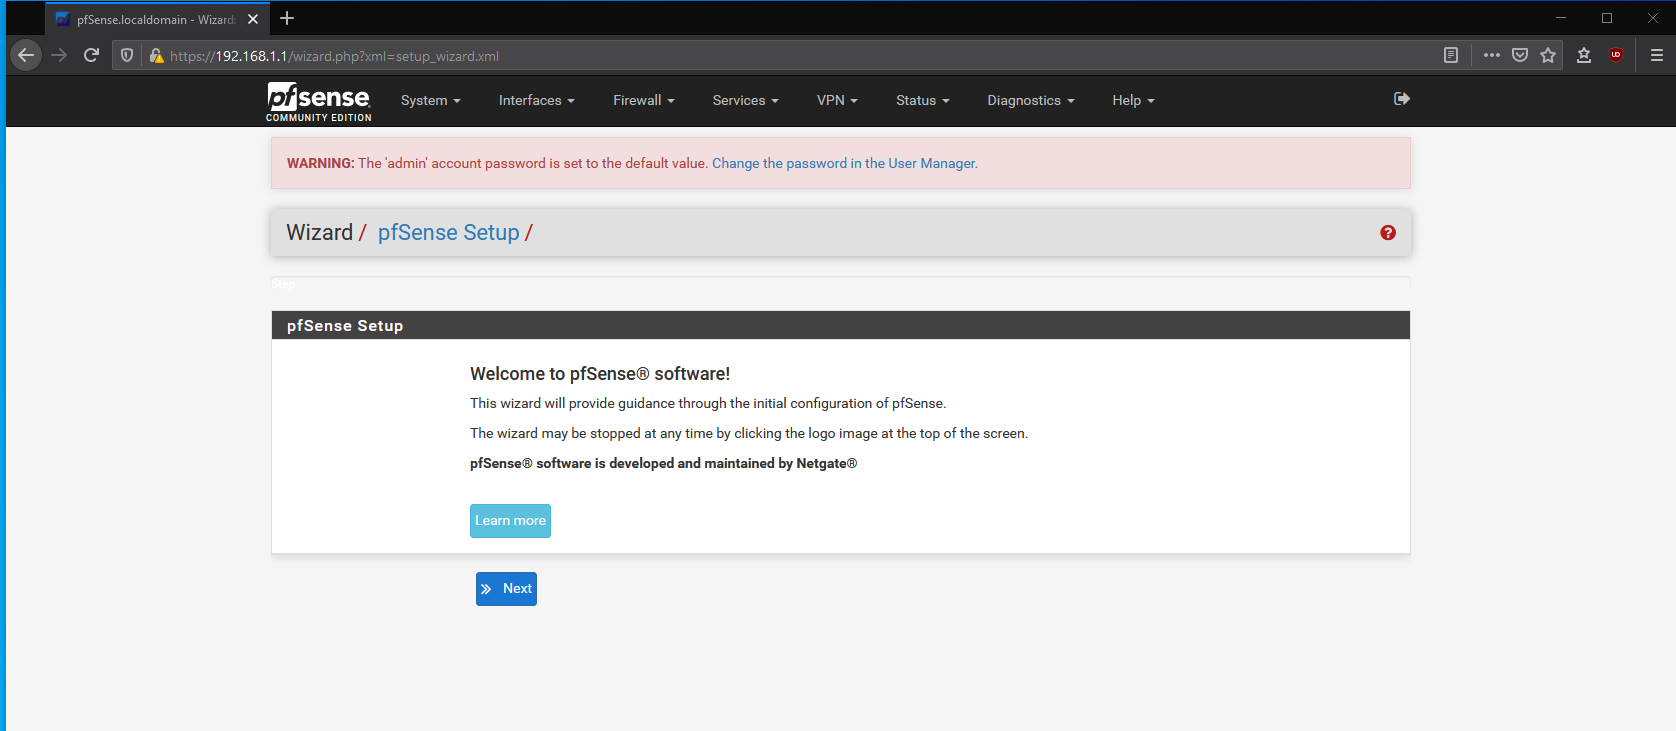
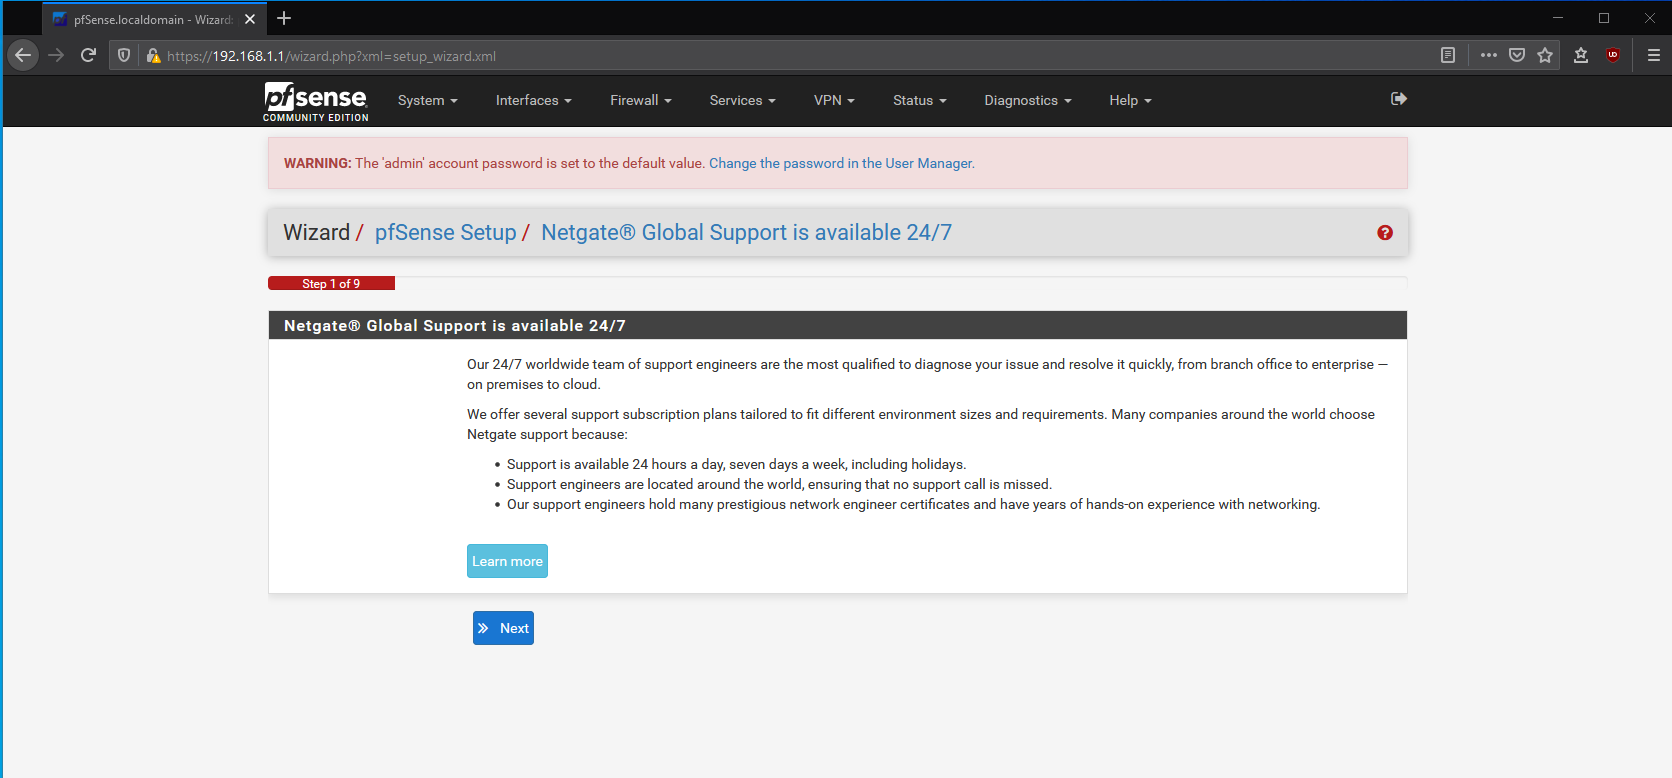
The default username is admin. The default password is pfsense. Upon logging in, you will be greeted by the initial setup wizard. You will prompted to change the default credentials, as well as some basic settings, during this setup wizard.
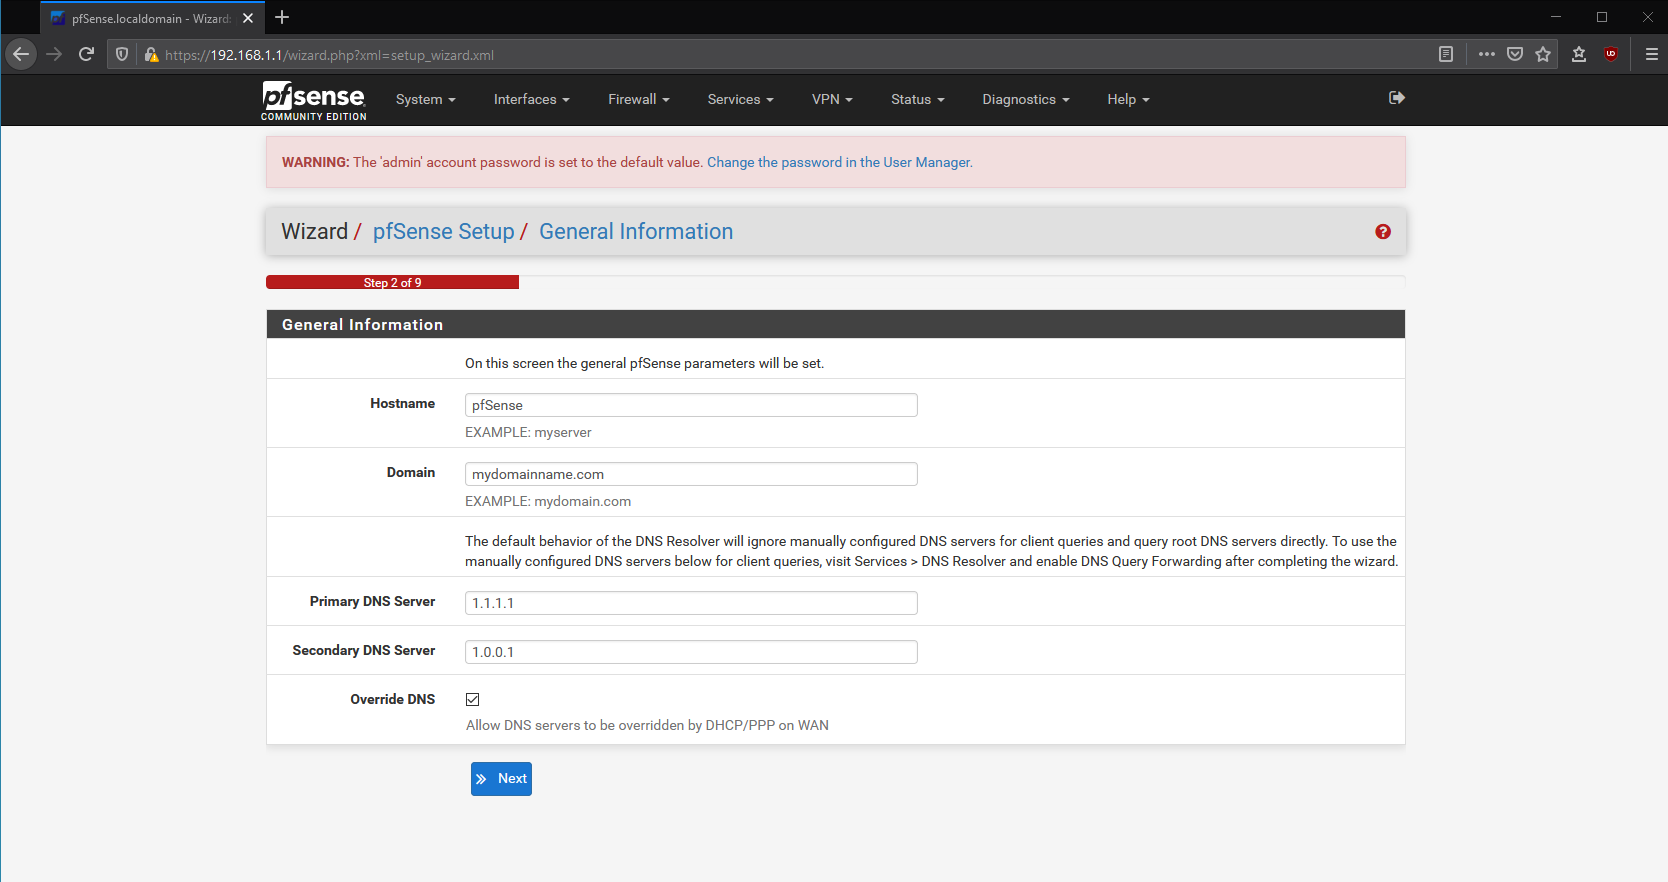
For this Step 2 of 9, give your pfSense a host name and a domain name. The domain name does not have to be a domain you already own. You can use a domain name like mynetwork.localhome or mynetwork.home to simplify things. This is NOT an internet route-able domain name, so feel free to use any domain name you want.
For the DNS server, you can use any DNS server you like. I generally stay away from any ISP provided DNS servers for privacy reasons, and use Cloudflare’s 1.1.1.1 and 1.0.0.1 DNS servers since Cloudflare are known to be more privacy focus. Uncheck the box for Override DNS so that the ISP DNS servers does not override your preferred DNS servers.
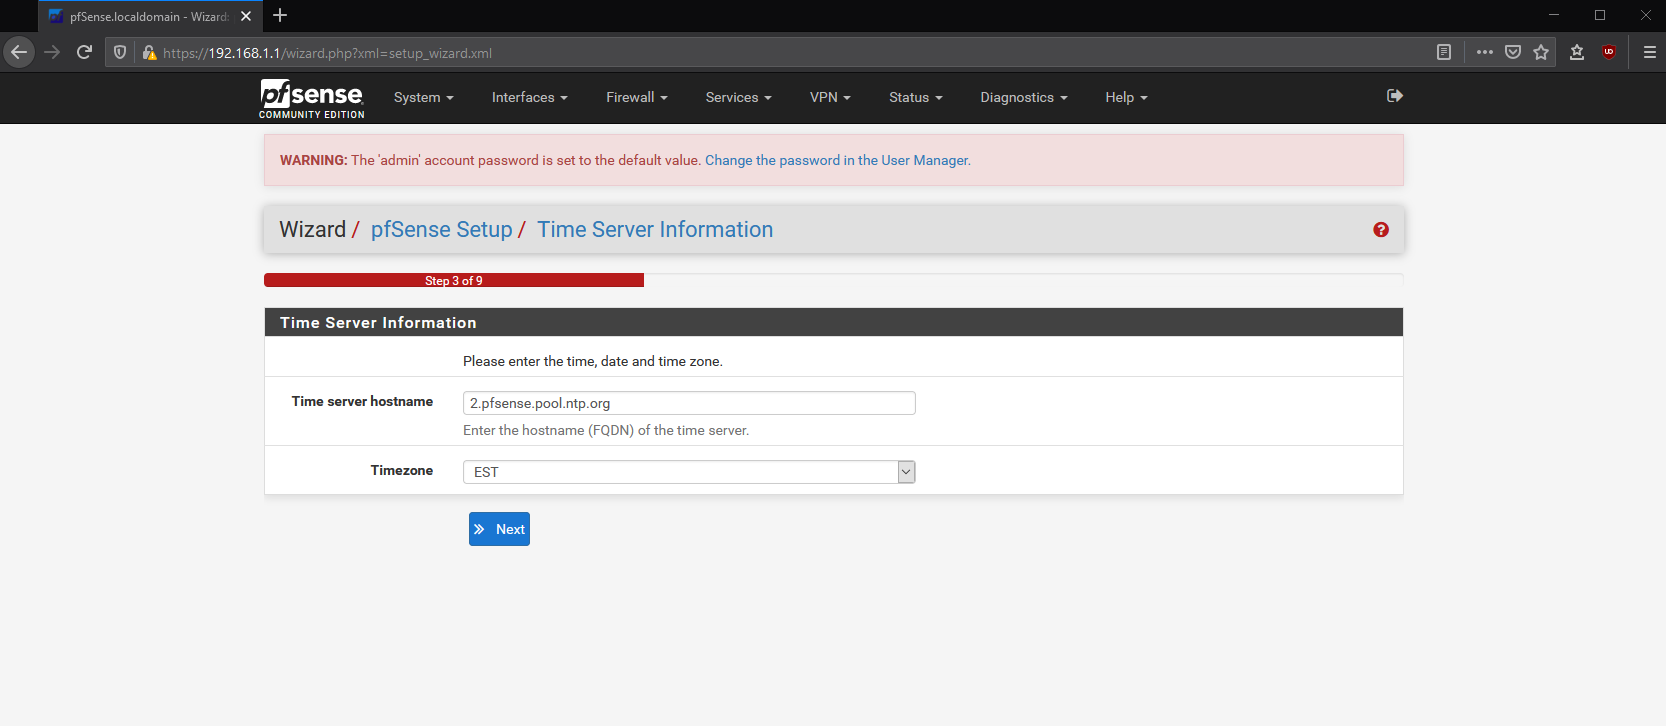
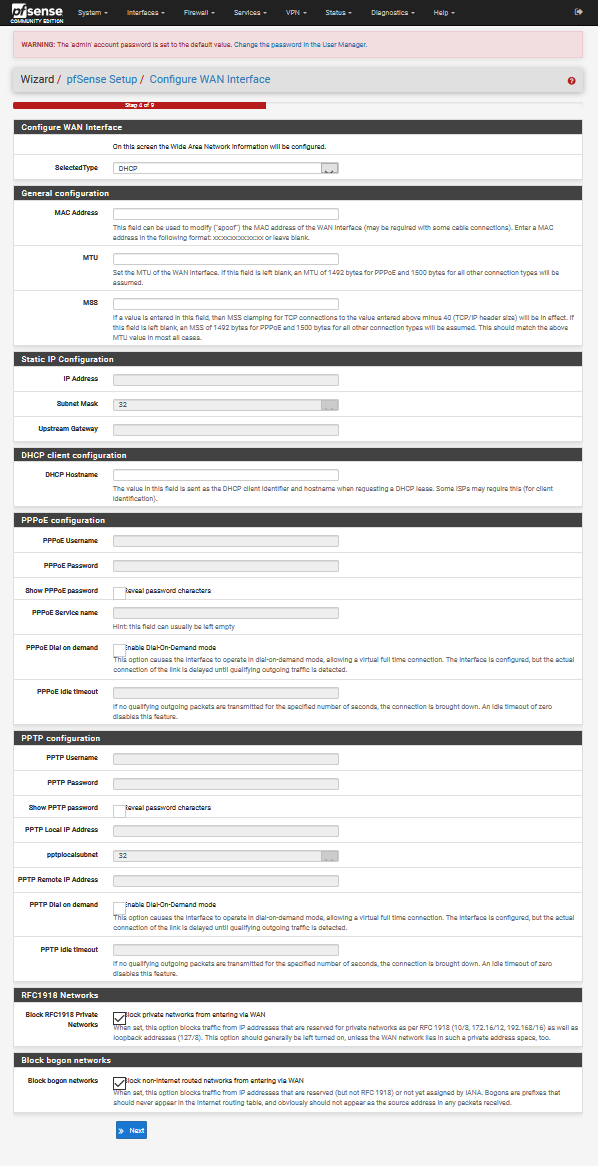
Continue through Step 3 and 4 of 9, setting your timezone and leaving the options on the default selections.
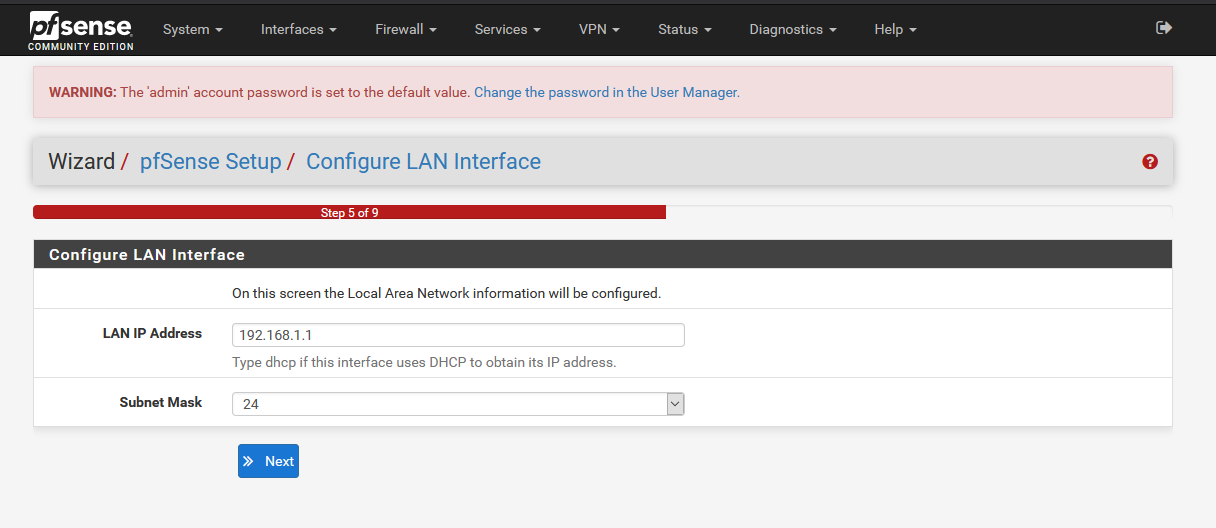
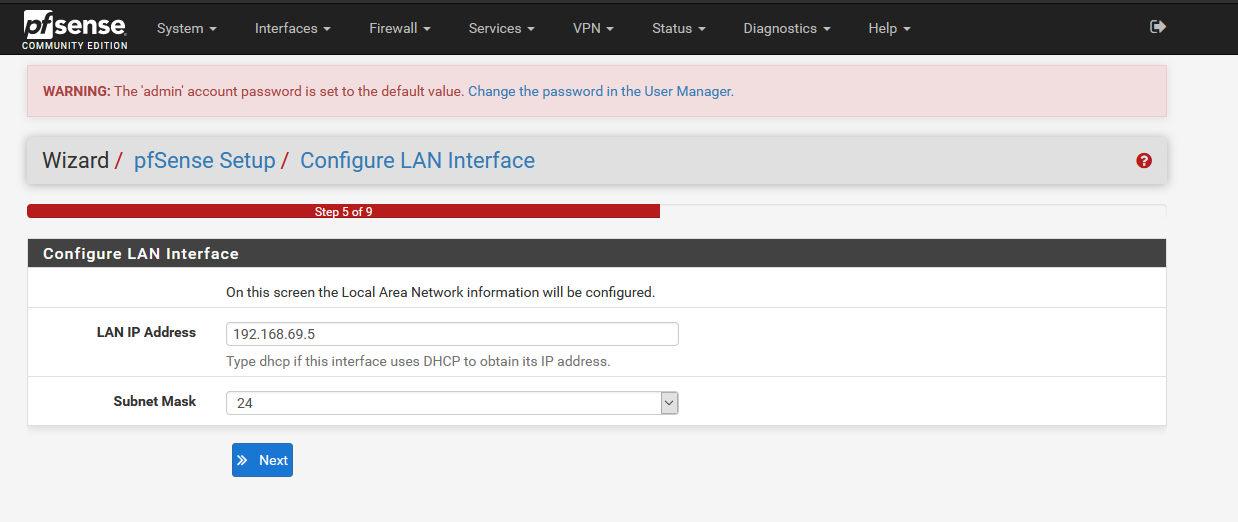
For step 5 of 9, you can set a different LAN address for your LAN network. I like to stay away from the 192.168.1.1/24 network so that I do not run into potential IP conflicts if I ever need to setup IoT devices in the future. Refer to Google and IP Subnet cheat sheets to choose a private IP range you like to use for your network.
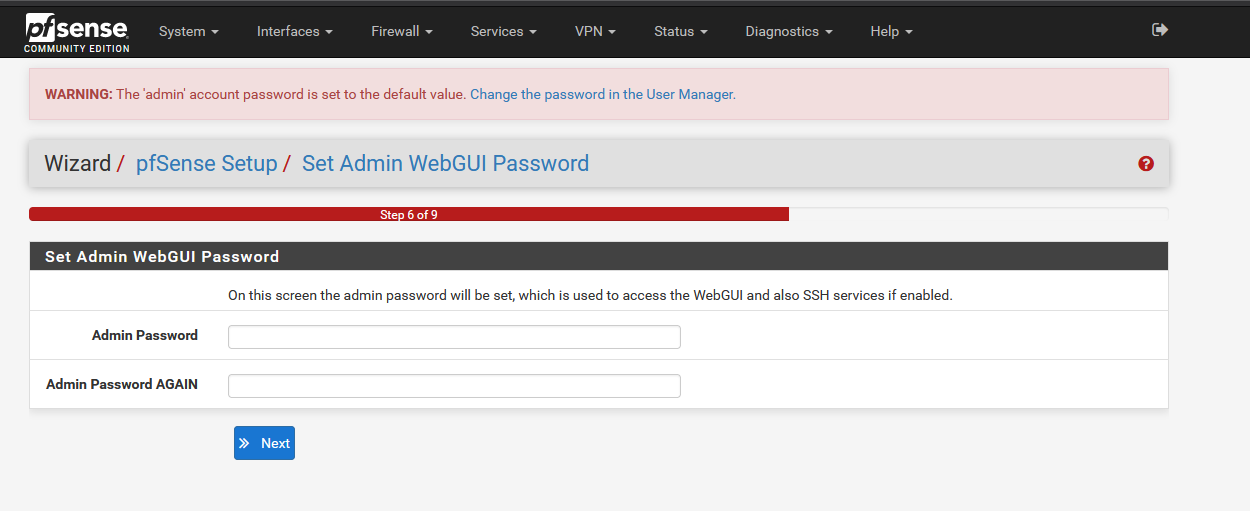
For step 6 of 9, set a new password for the admin account in order to secure your firewall. You won’t be able to change the admin username in this configuration wizard, but you can change the admin user to a different custom username later on.
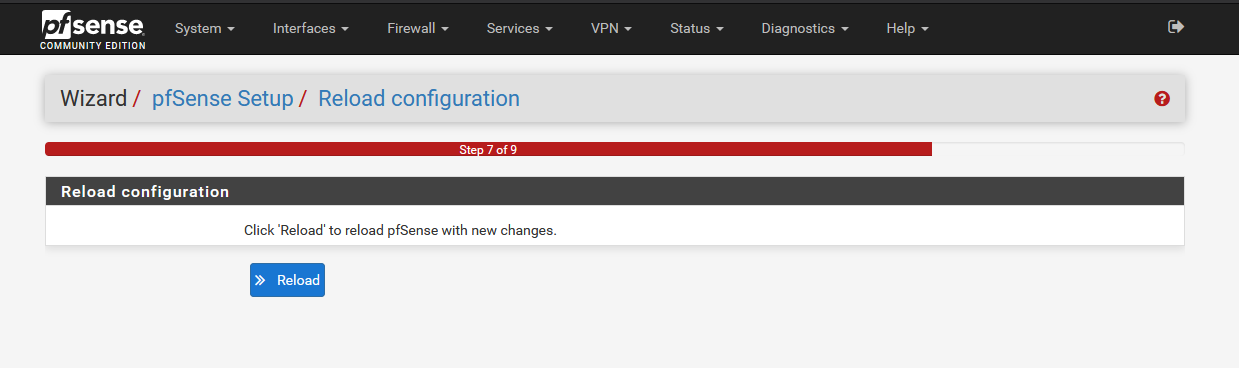
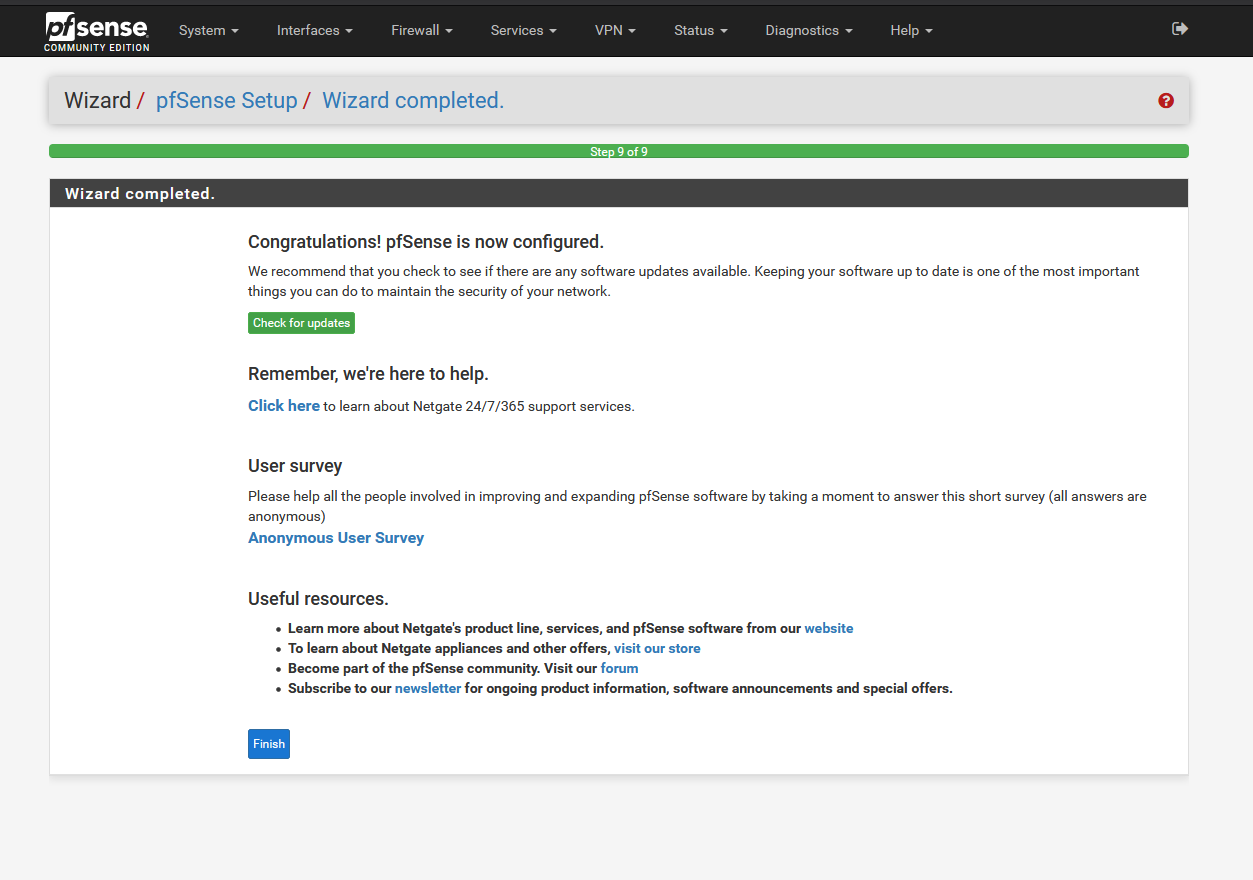
Reload the configuration in step 7 of 9, and you are done with the configuration setup. Reboot your firewall at this point by physically pressing the power button on the firewall. Press and hold the power button to hard power down if needed.
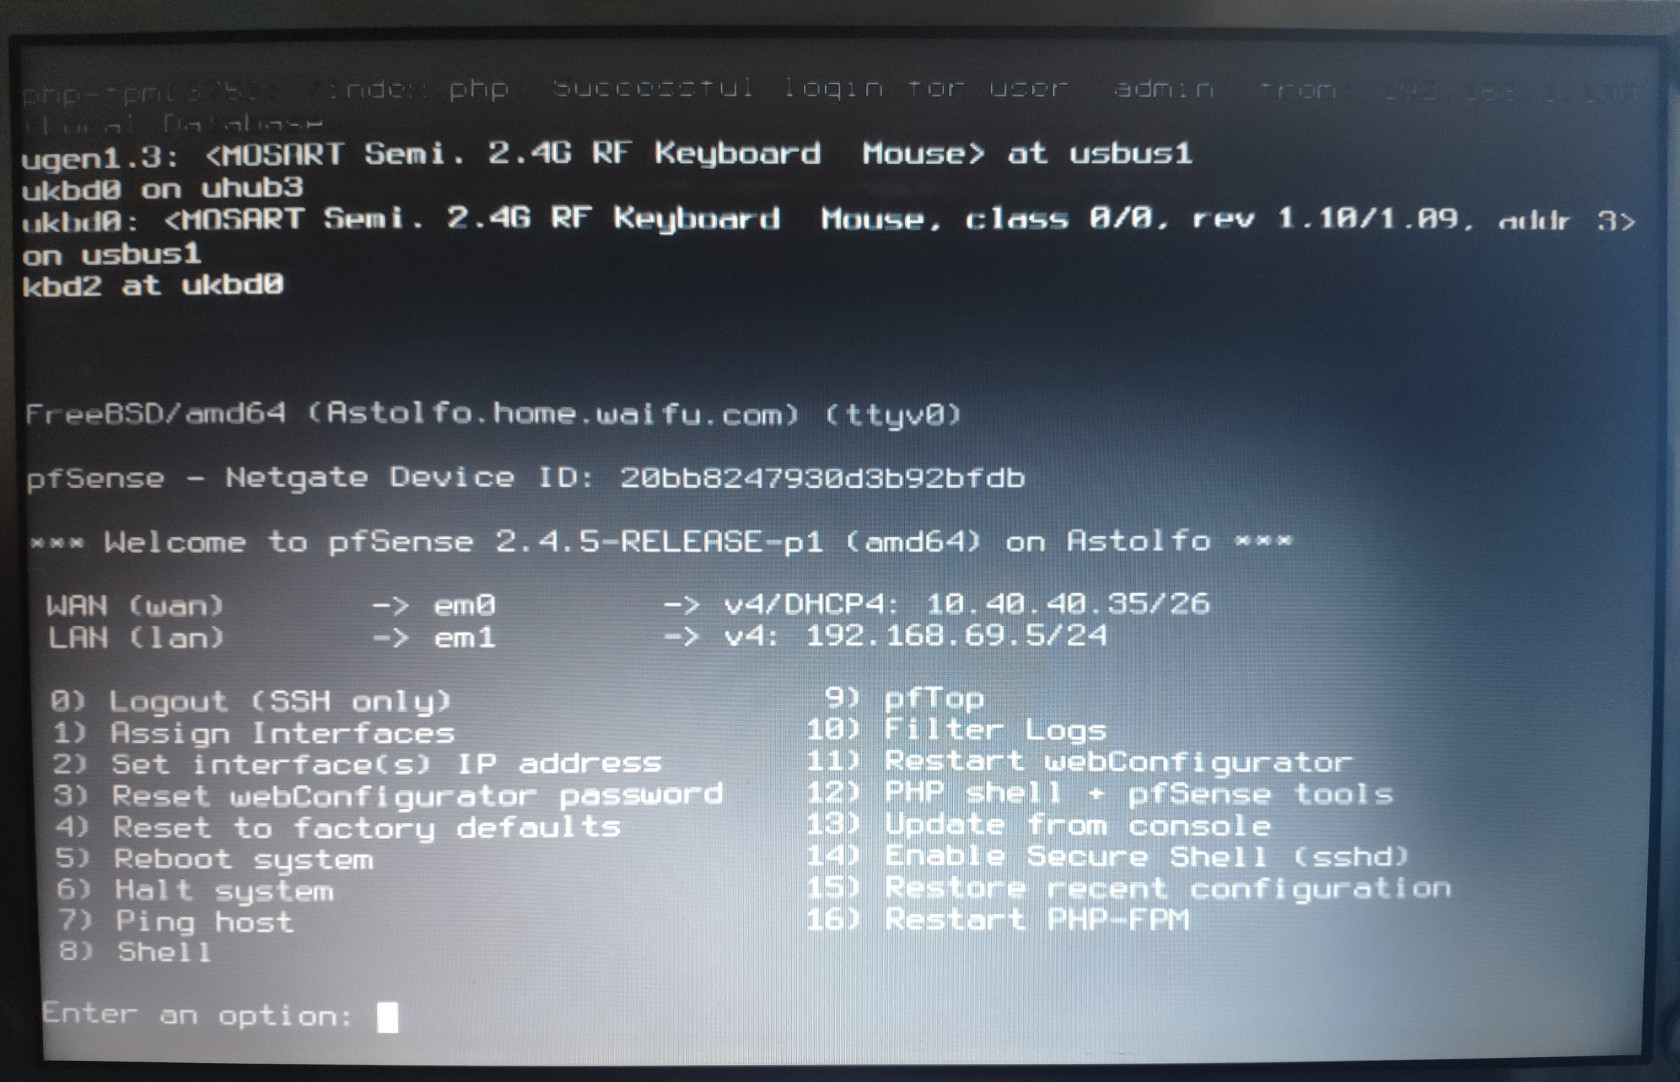
Once rebooted, you should be see the console showing the new LAN network (if you have change the IP range) and the new host name.
If you chose to use a different subnet than 192.168.1.1/24 for your LAN, disconnect your computer from the LAN connection and reconnect it in order to receive the new IP from the firewall. Navigate to the new LAN interface IP in the browser and login.

Accept the agreement for pfSense, and you will see the default dashboard for the firewall. This dashboard contains a lot of information about the firewall at a glance.
Congratulations, the installation of pfSense is now complete. The pfSense project takes security very seriously, so all the default options are the secure options. You can leave the firewall as it is at this point and enjoy having a better security than most consumer routers out there.
There’s a lot more you can do in pfSense to suit your network needs!
Now that you have pfSense installed, you can check out my other guides on what you can do with pfSense in your network.