Adding More LAN Interfaces
For most people, a simple WAN/LAN two interface setup is enough for a firewall. For some, that may not be enough. There are plenty of motherboards out there with more than two NICs onboard, or you might have come across a cheap quad-port PCIe NIC that you want to fully utilize. pfSense’s WebGUI makes it very easy to add new LAN interfaces to the firewall.
In this guide, I will show you how to add more LAN interfaces to your pfSense.
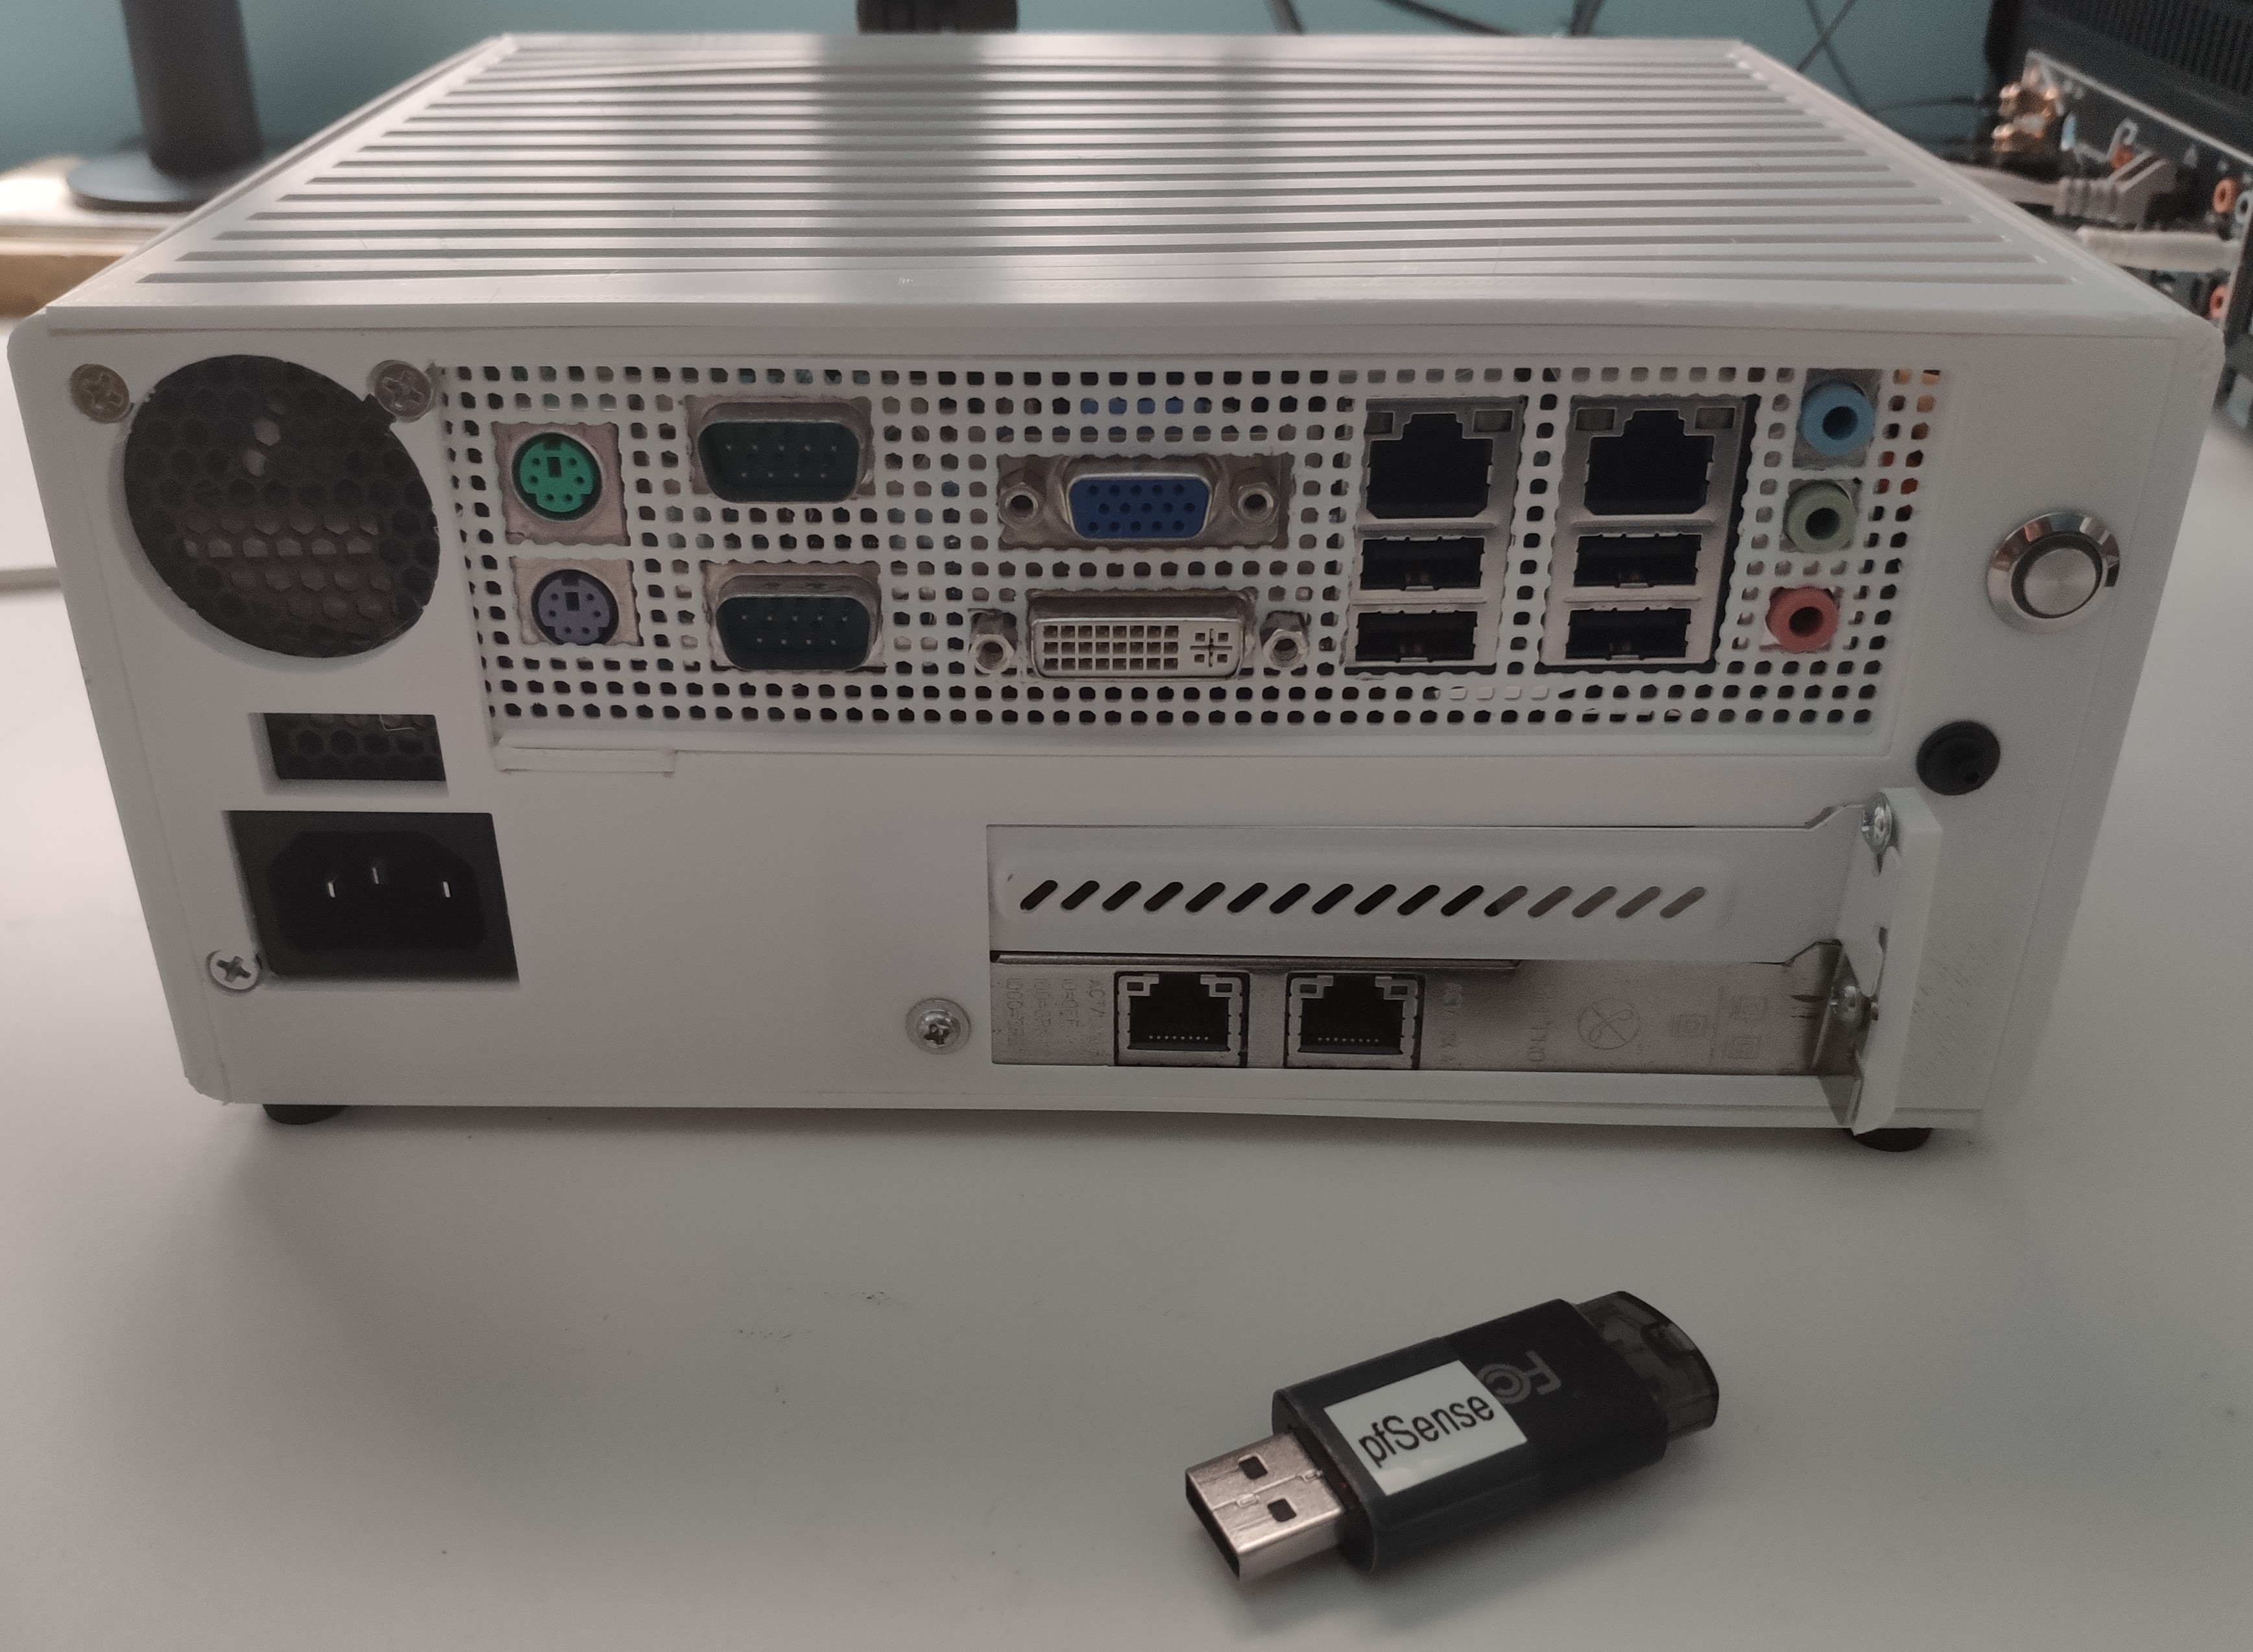
Prerequisite – Make Sure You Have Spare NICs Available!
You will need to have spare NICs available in order to add additional LAN interfaces. My mini-ITX pfSense below have two onboard NICs as well as a dual-port PCIe NIC card.
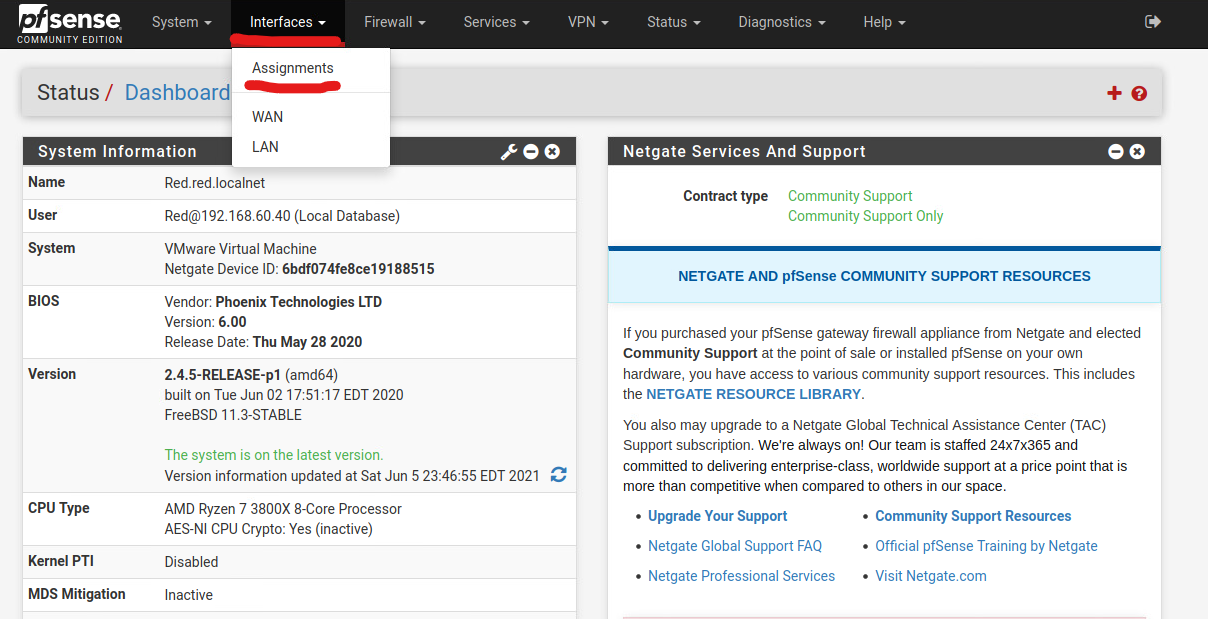
Adding a New Interface
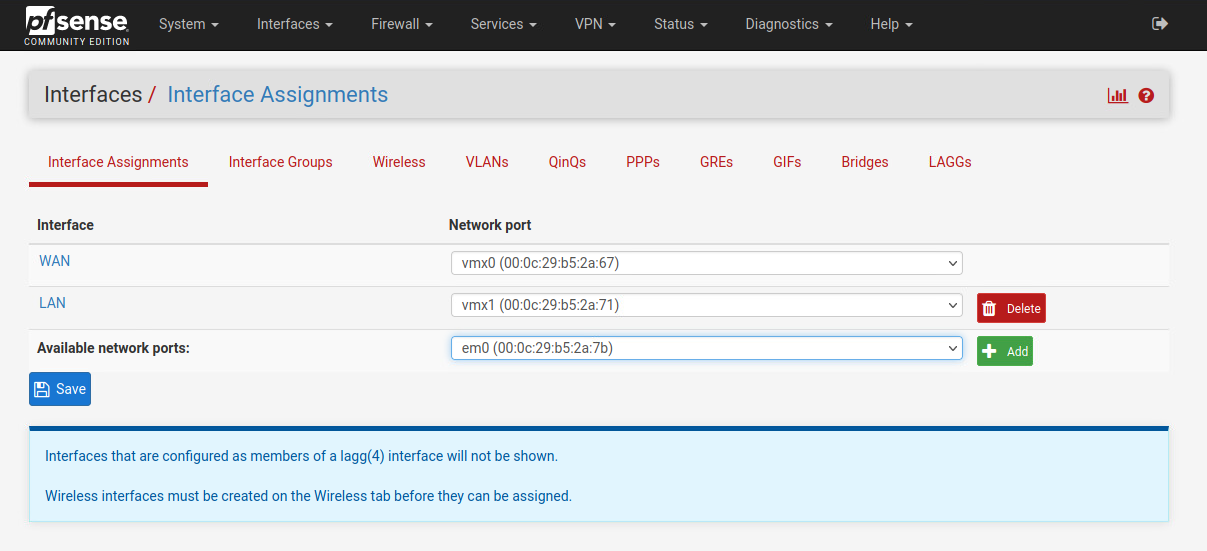
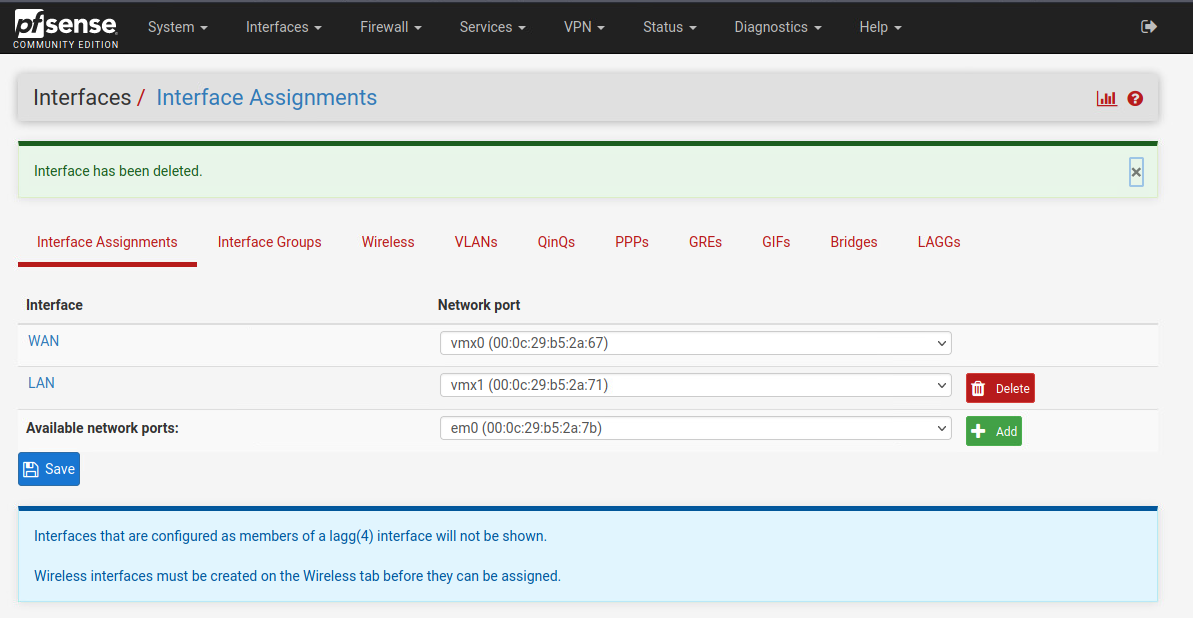
In the Available network ports: drop down, you will see all the possible NICs that can be added to pfSense.

Sometimes, if you physically have spare NIC on your system, but do not see the NIC in the drop down, there is a chance that pfSense does not have the driver for that NIC controller. You will have to research a bit on Google to find out if pfSense have support for your particular NIC or not.
Once you select the NIC you want to add, click on the green Add button to continue.
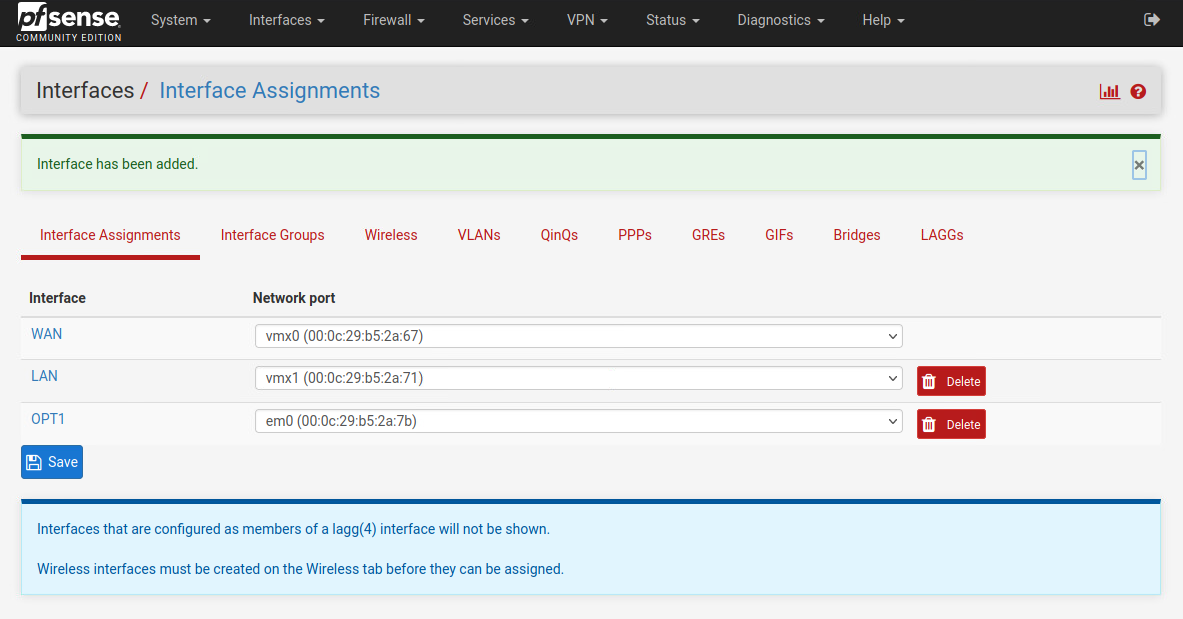
pfSense will add the new interface as OPT1, short for Optional 1. Although the NIC has been successfully added, it is NOT active yet. No traffic will be allow to pass through the NIC at this point.
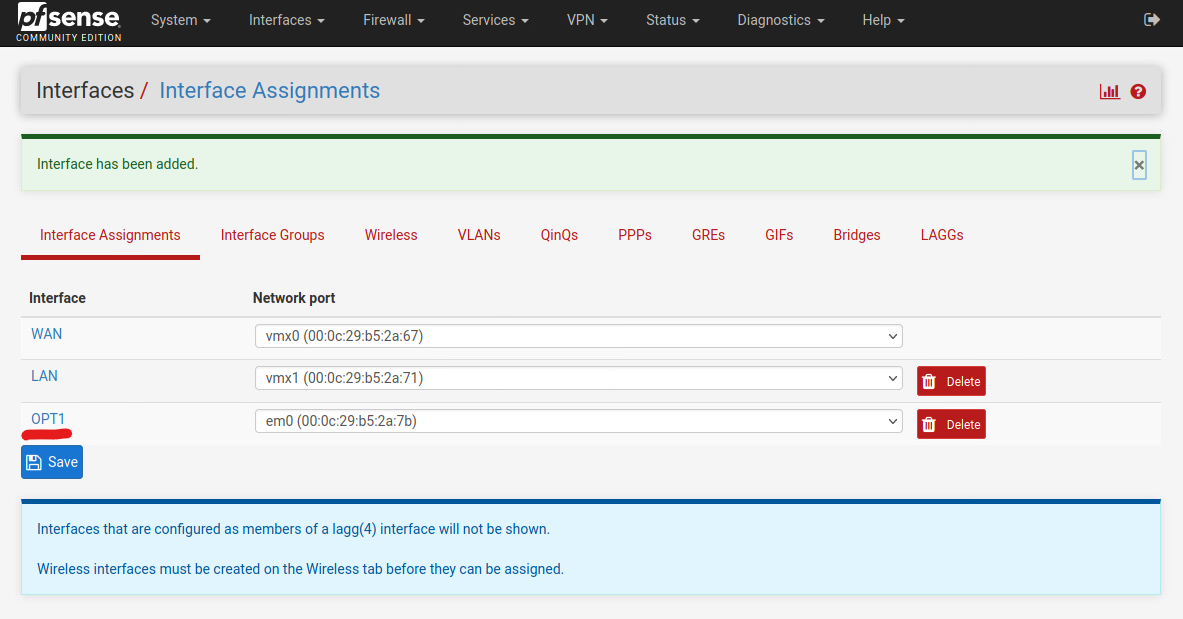
Click on the OPT1 interface name in order to open up the configuration page.
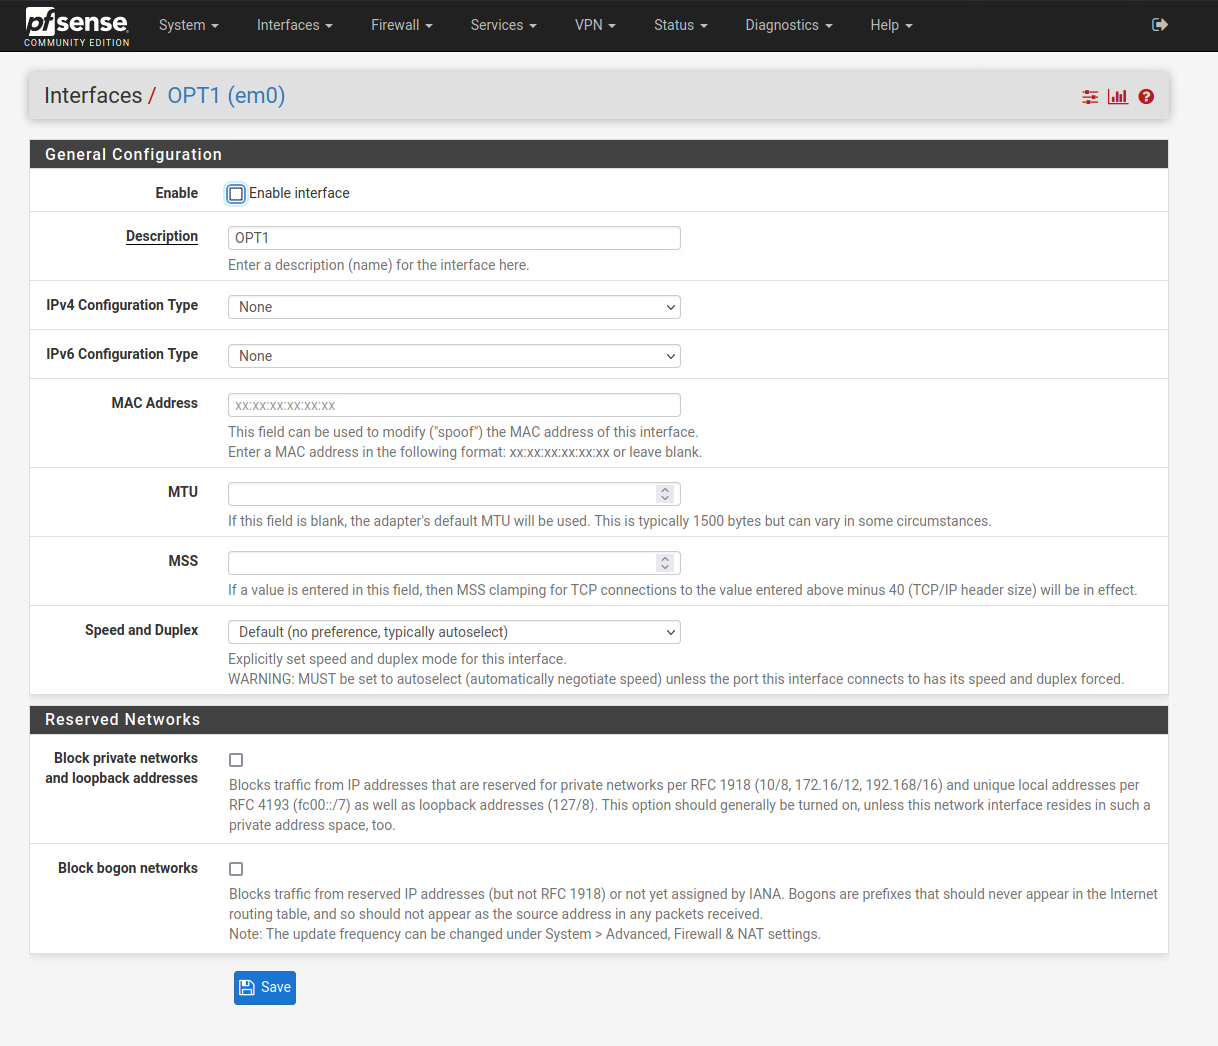
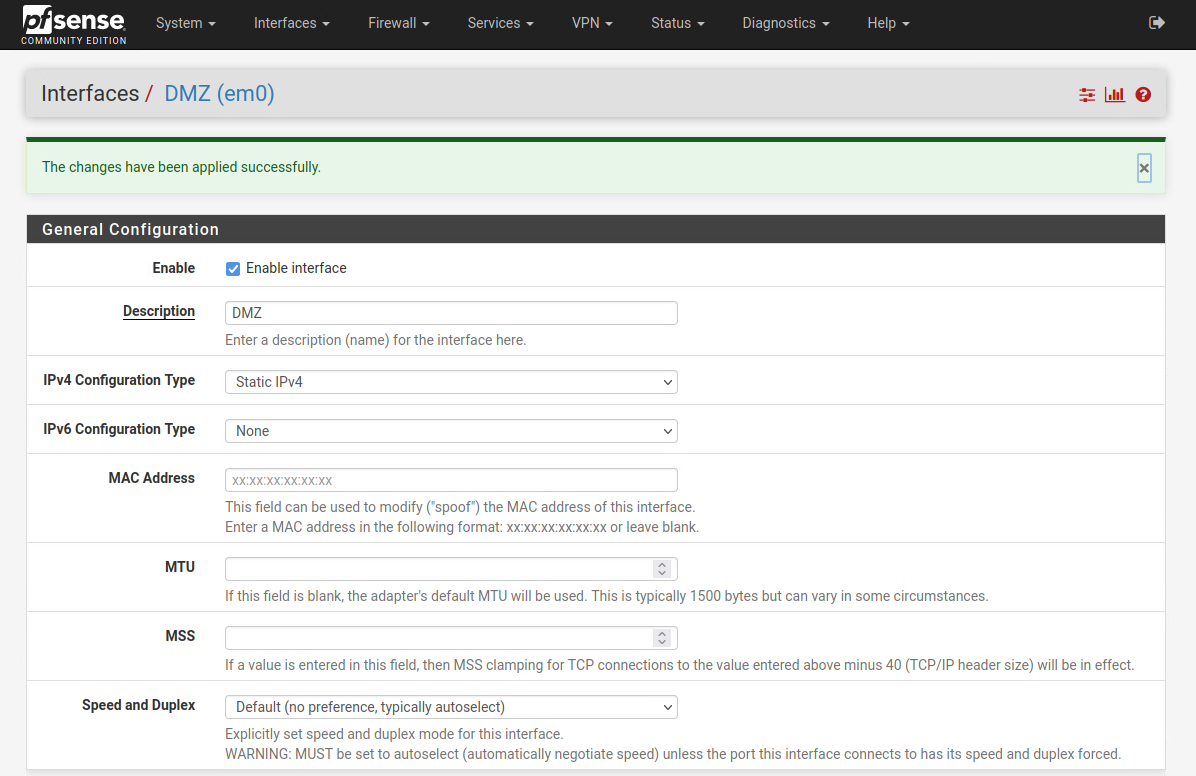
In the configuration page, check the Enable box in order to enable the interface.
Give your interface a name in the Description section so that you can easily identify the interface.
Since this is going to be added as an additional LAN port where traffic will be passing through, set the IPv4 Configuration Type to Static IPv4. Give the interface a private IP network in the IPv4 Address section.
Below is an example of adding an additional LAN interface as an DMZ network:

Click Save to save the configuration, and then Apply Changes to apply the new settings.

At this point, the new interface is enabled and active. However, traffic will not be able to pass through the interface yet, and no device will be able to get an IP from this interface via DHCP. This is because pfSense has not enable the DHCP server on the new interface yet, and the firewall rules for the new interface is currently empty.
You can check out my other guides on how to create firewall rules and how to enable DHCP server.
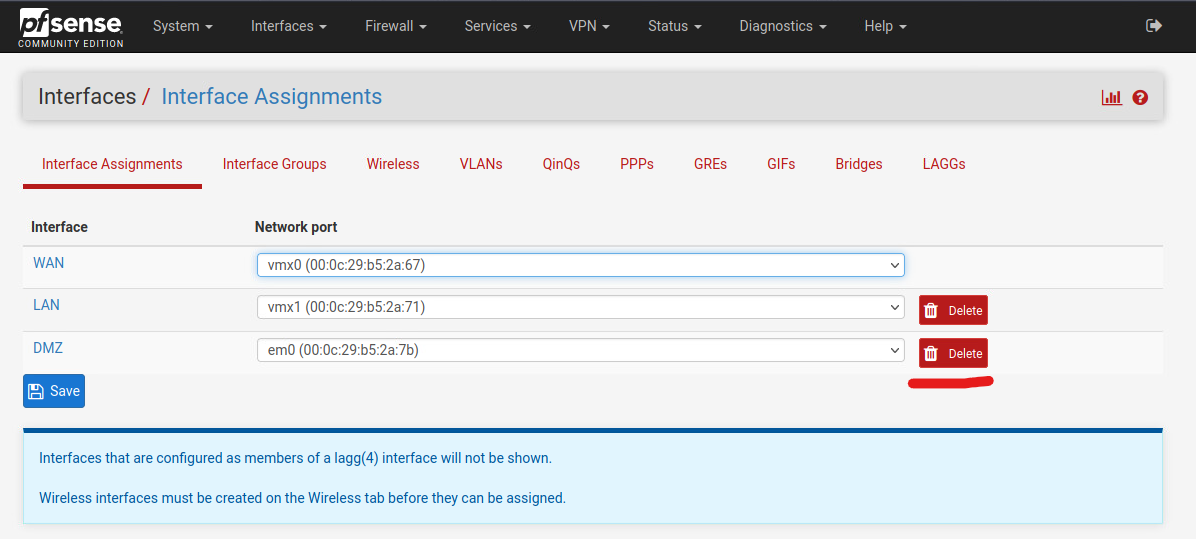
Deleting Interfaces
To delete an interface, click on the Delete button next to the interface, and confirm OK.