
Fresh Install and Restore Config on First Boot
pfSense have the option to restore from the configuration file on the USB installer during the initial install process. This is very useful when you are looking to upgrade pfSense from one major version to another, such as going from version 2.4.5 to version 2.5.2.
When upgrading pfSense from one major version to the next, I recommend exporting the current config file, then restoring it to a fresh install instead of performing an in-place upgrade. This will reduce the likelihood that older packages will cause problems in the upgraded versions.
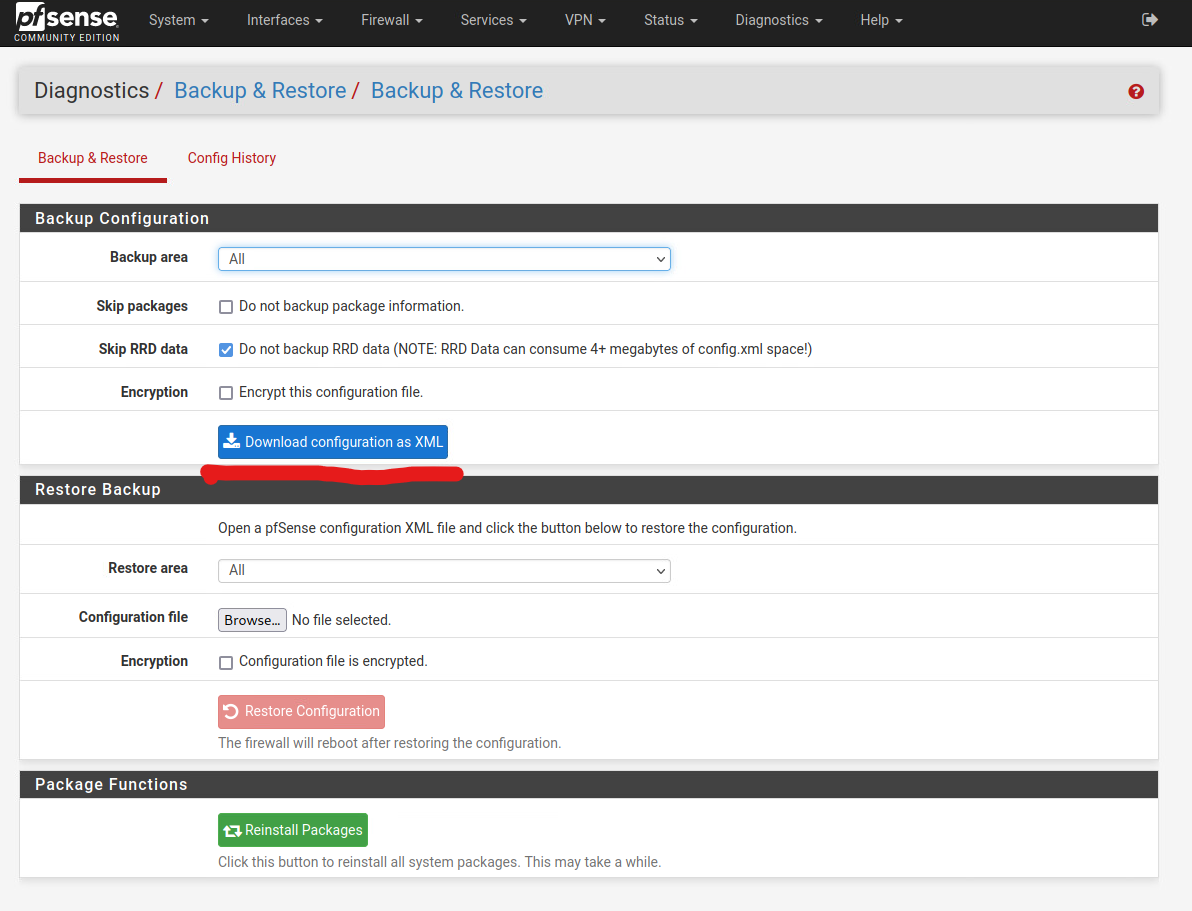
First, backup and export the config file from the current pfSense webGUI.
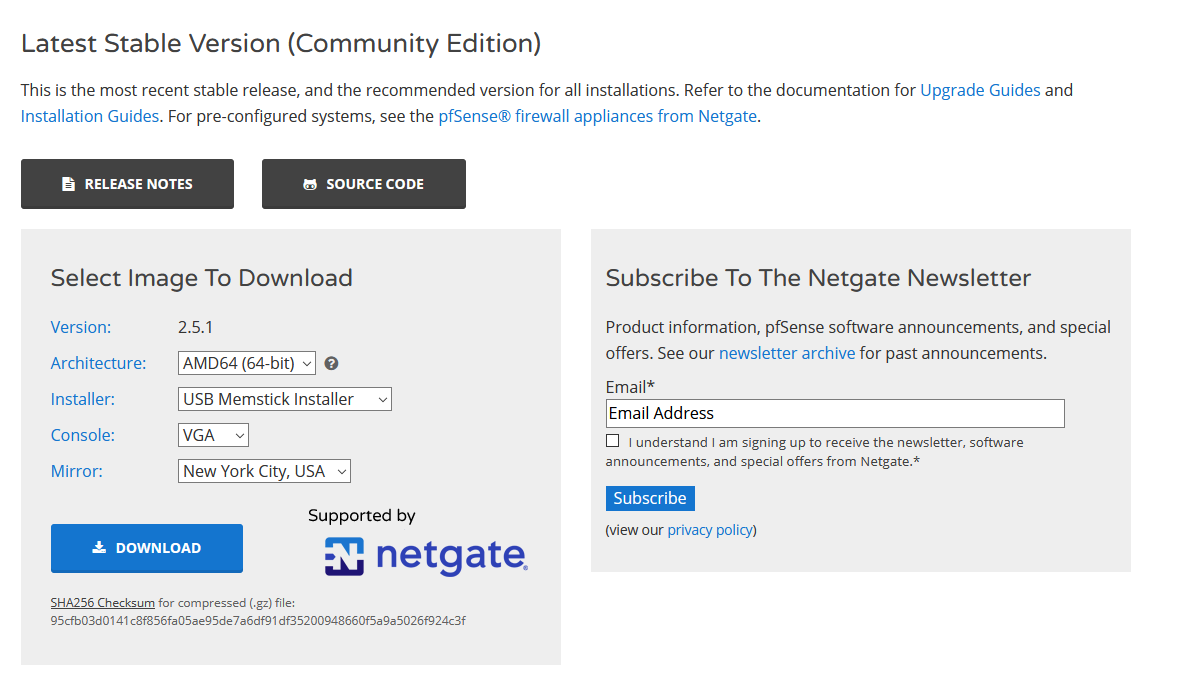
Next, create a bootable pfSense installer on a USB drive
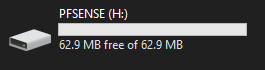
Plug in the USB drive to your computer. Navigate to the USB’s pfSense directory.
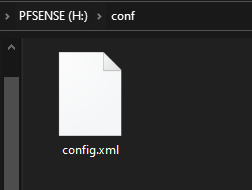
Create a new folder called conf.

Go into the newly created conf folder, and paste the pfSense config file there. Rename the config file to config.xml
You can unplug the USB from you computer and start fresh installing on your pfSense hardware. The config will automatically be read and apply during the installation process.