Adding, Removing, and Modifying Users
Adding new user accounts to the pfSense local database can be useful for services such as OpenVPN and Captive Portal. You can add a new admin user to increase the overall security for your pfSense machine. One good security practice is to disable the built-in admin user account and setup a new username account with admin privileges instead in order to slow down brute-force attacks against the default admin user account.
In this guide, I will show you how to add, remove or modify users on the pfSense User Manager settings tab.
Adding a New User:
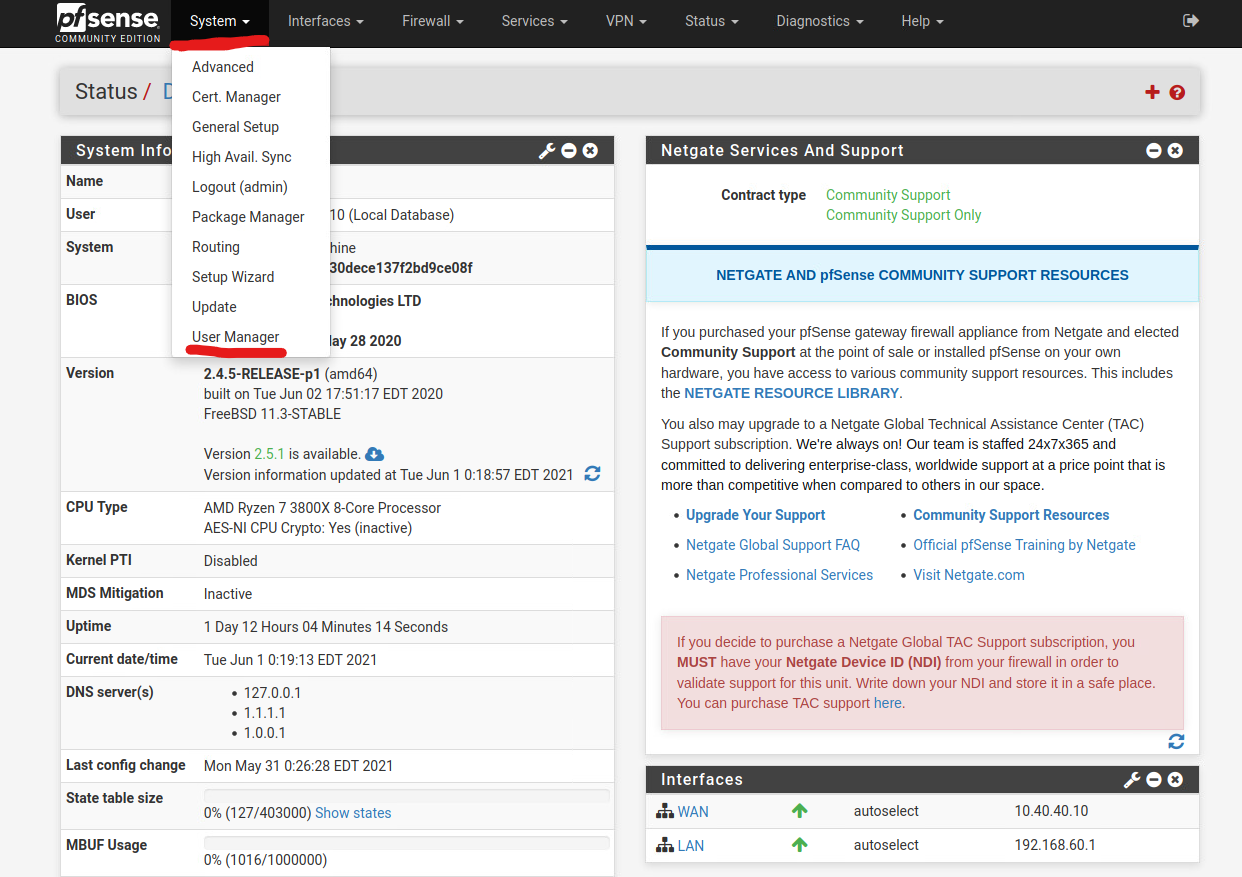
Login to your pfSense WebGUI. Click on the Systems tab at the top left, and choose the User Manager tab.
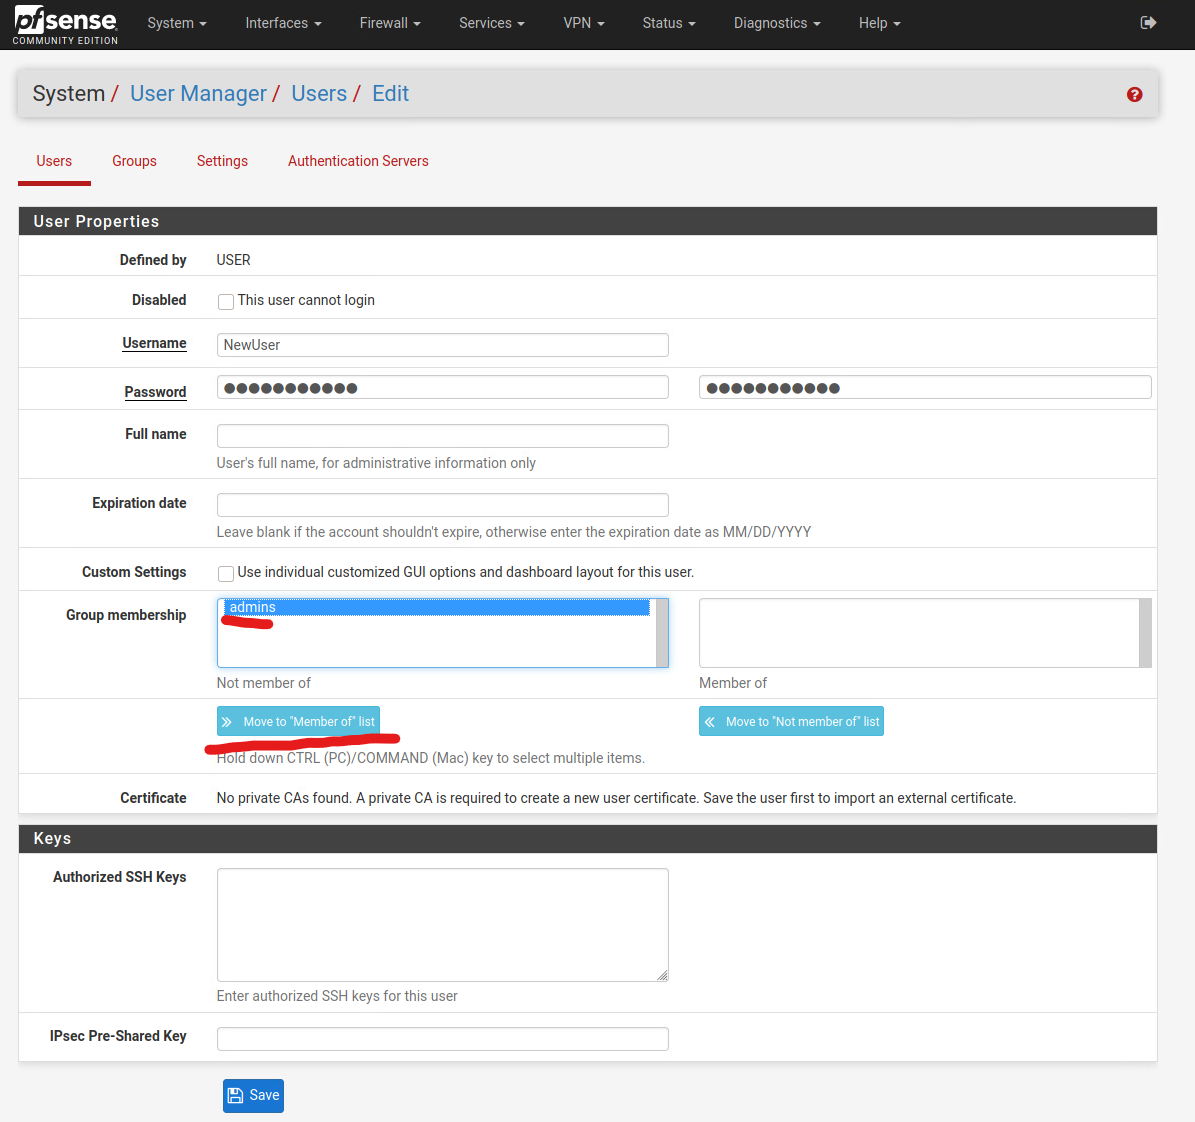
Click on the Add button to start adding a new user.

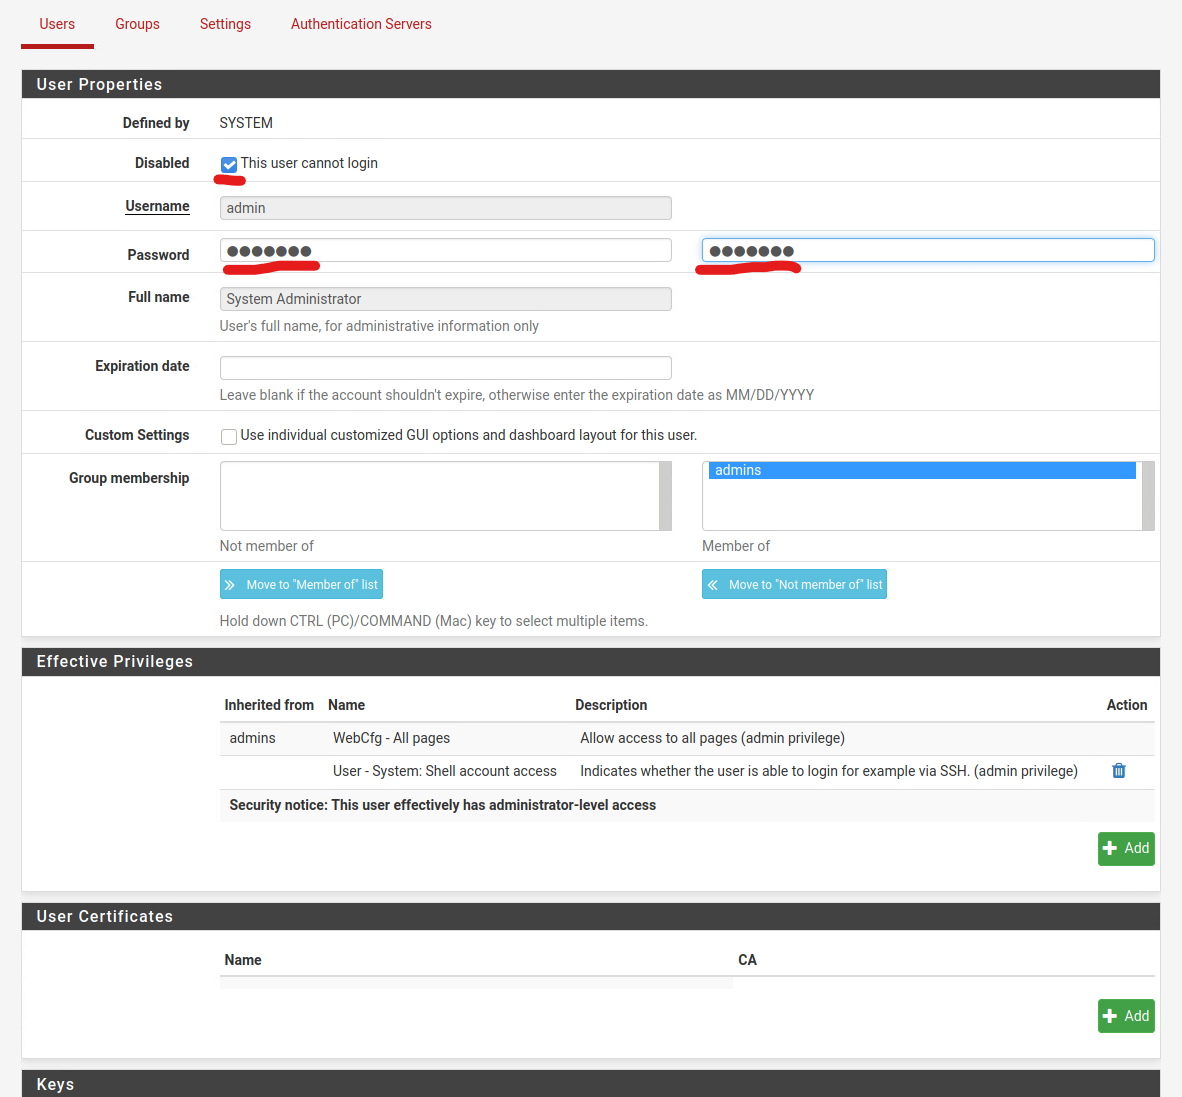
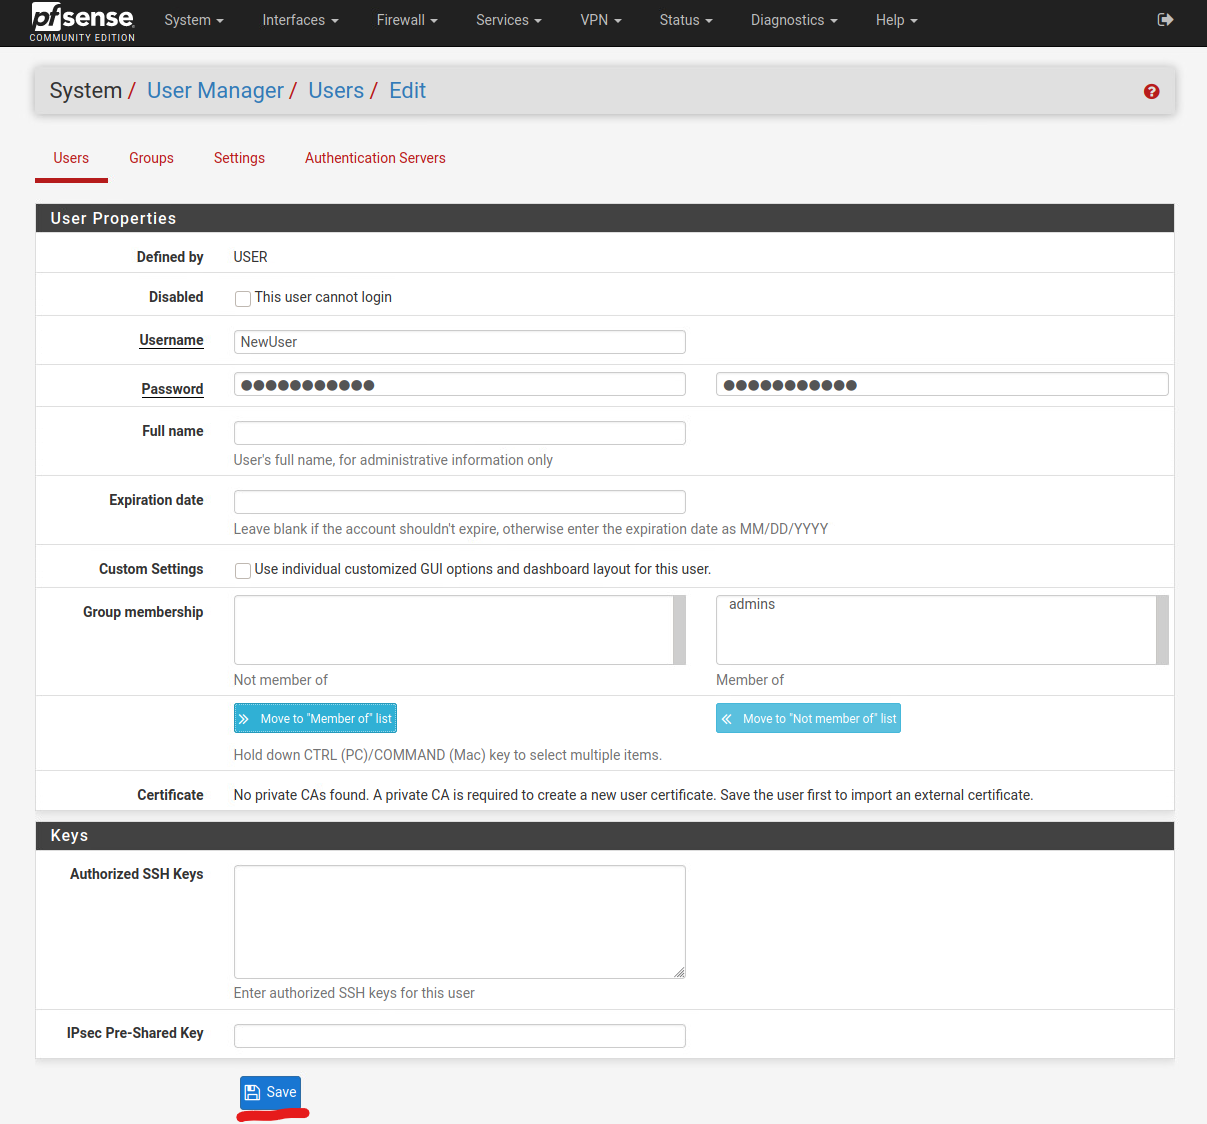
Type in a new username and password. In the Group Membership box, click on the groups that you want the new user to be part of, and click the Move to “Member of” list to have the new user join the group.
For a new admin user account, use a unique username that’s relatively hard to guess, and pair it with a strong password. A password manager like Bitwarden (https://bitwarden.com/) can help with generating and remembering strong passwords.
Click Save to save the new user.
Deleting a User
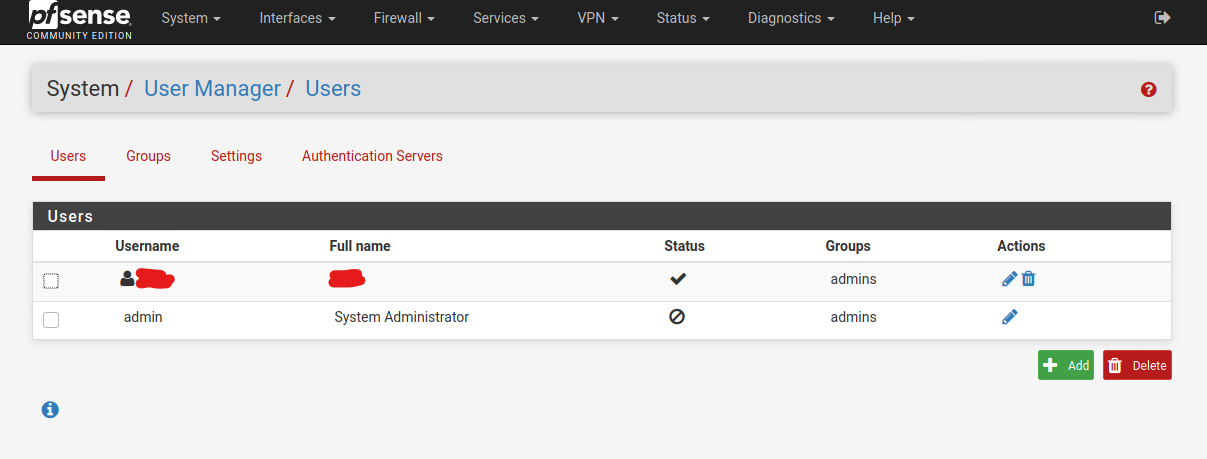
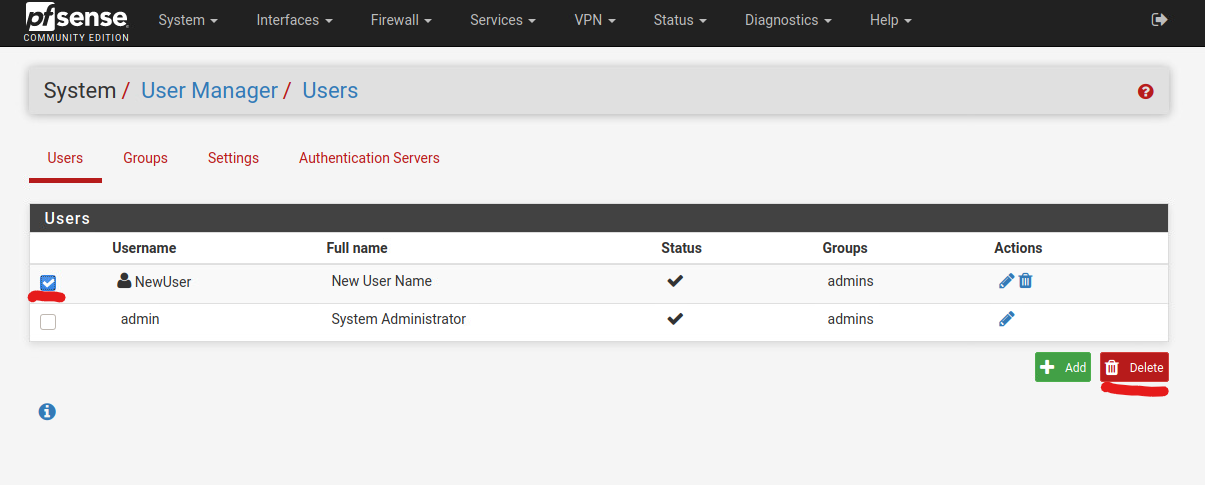
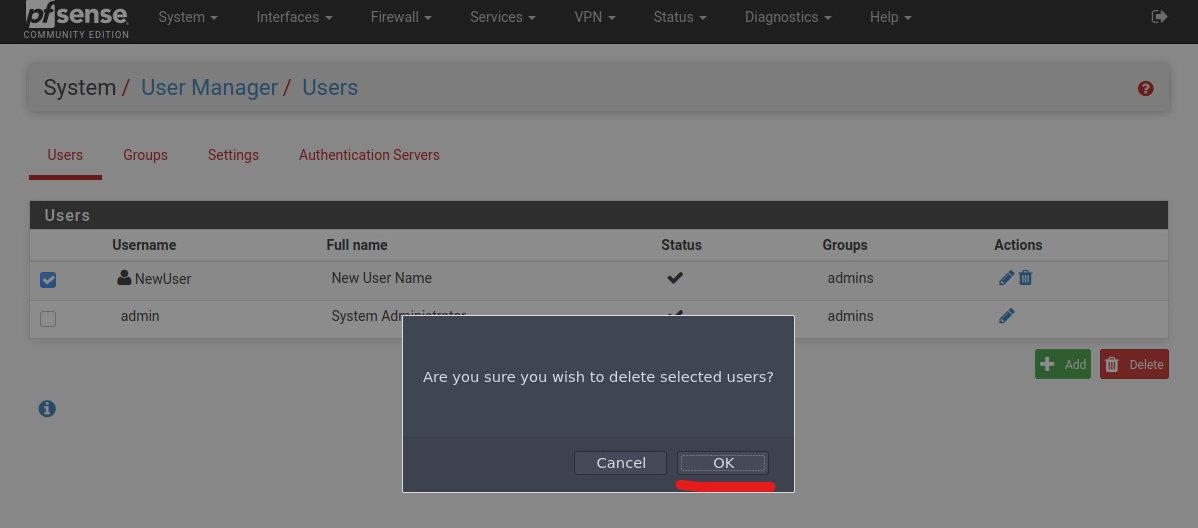
To delete a user, click on the checkbox next to the username, and click the delete button. A confirmation box will pop up asking for confirmation. Click OK to delete the user.
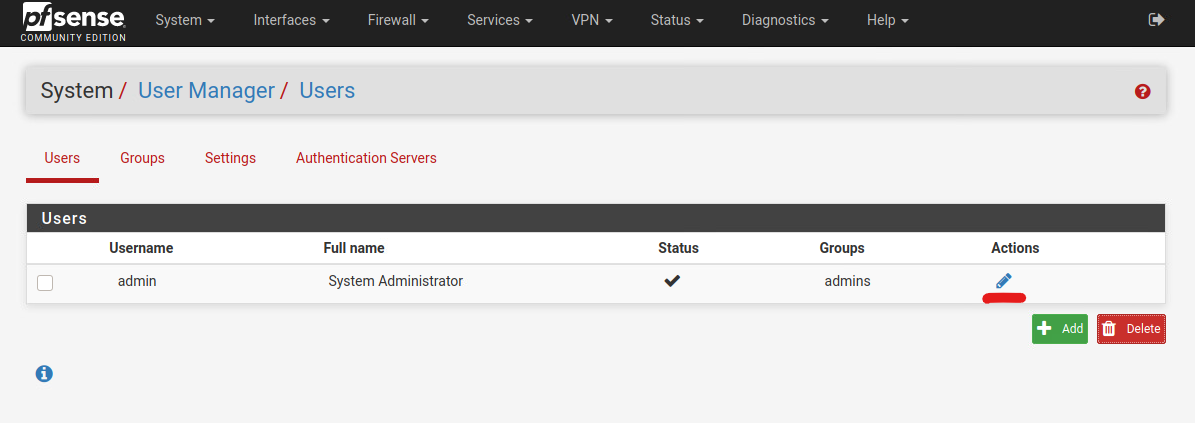
Modifying a User
To modify a user, click on the pencil icon under the Actions column.
For the original admin account, it is a good idea to disable it completely once you have a new admin user created.