
Adding pfBlockerNG
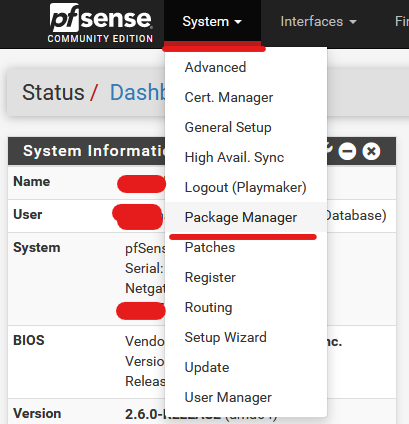
Login to your pfSense, and go to Systems -> Package Manager.
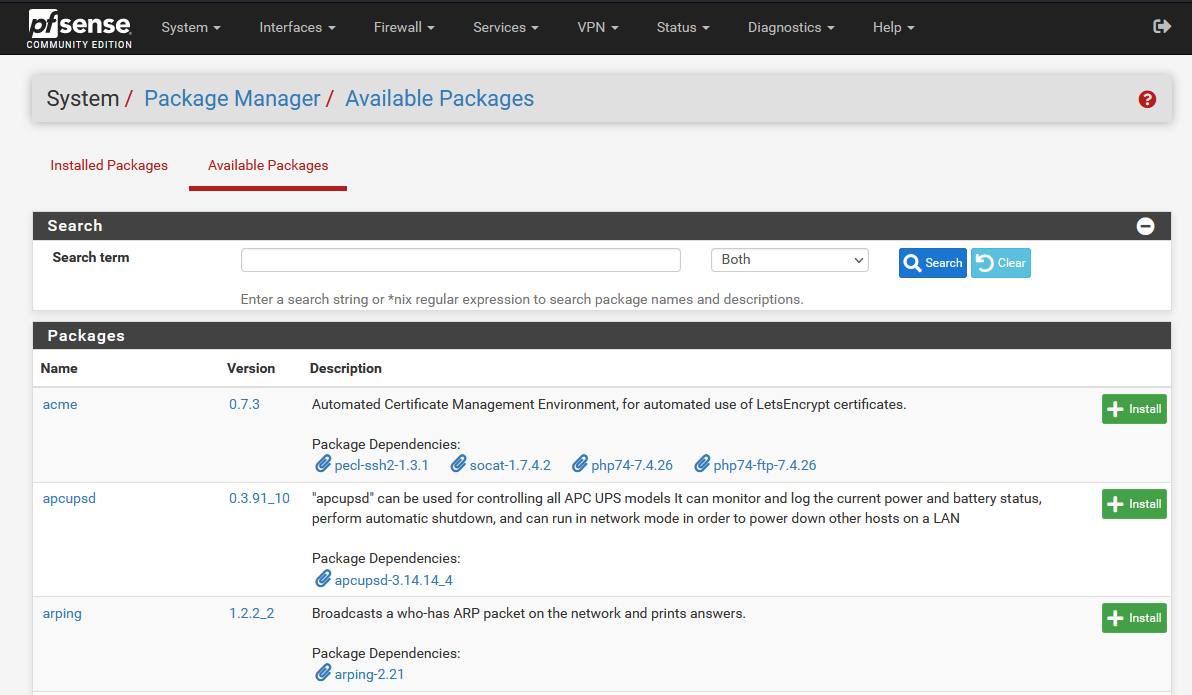
Find the pfBlockerNG package in the Available Packages list.
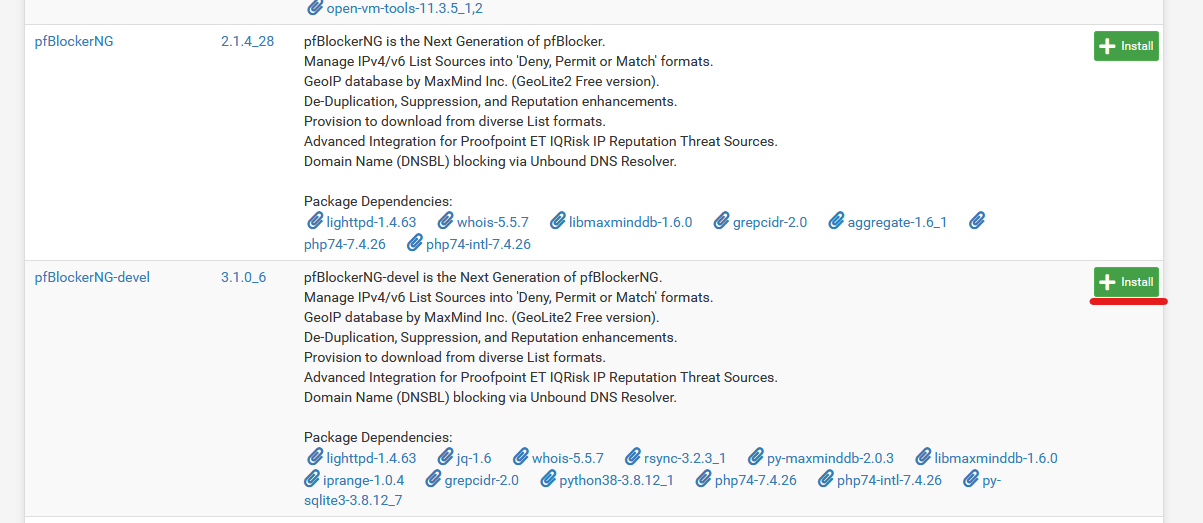
You will notice that there is two versions of pfBlockerNG. The devel version is a few version ahead of the other package, and may contain more features. This is the version I use on my system. Click install to install the package.
Confirm.


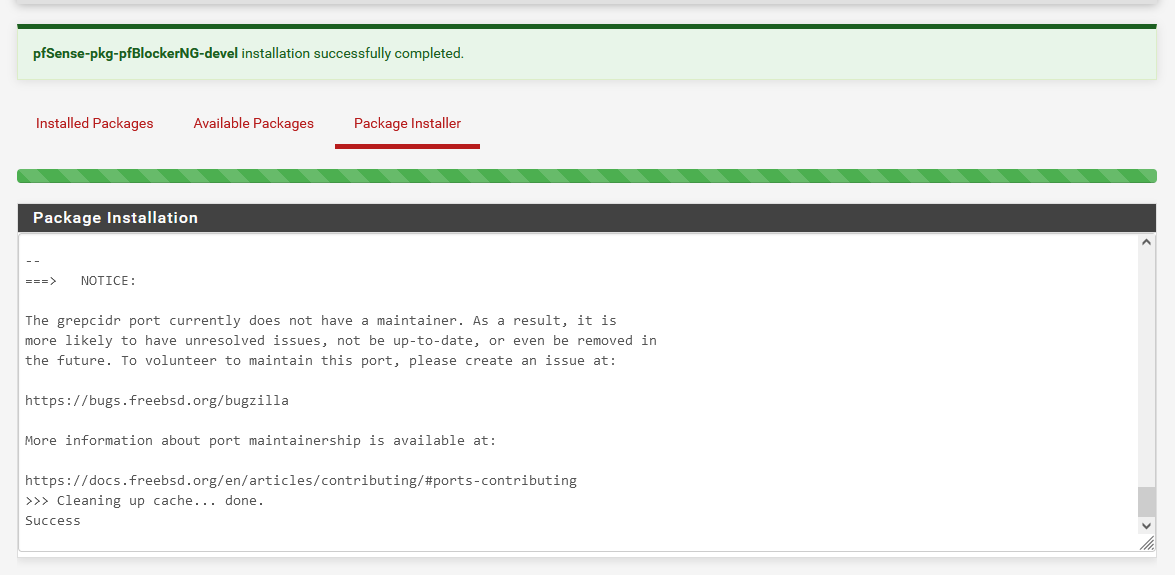
That's it! pfBlockerNG is now installed.
To enable the pfBlockerNG, go to Firewall -> pfBlockerNG.

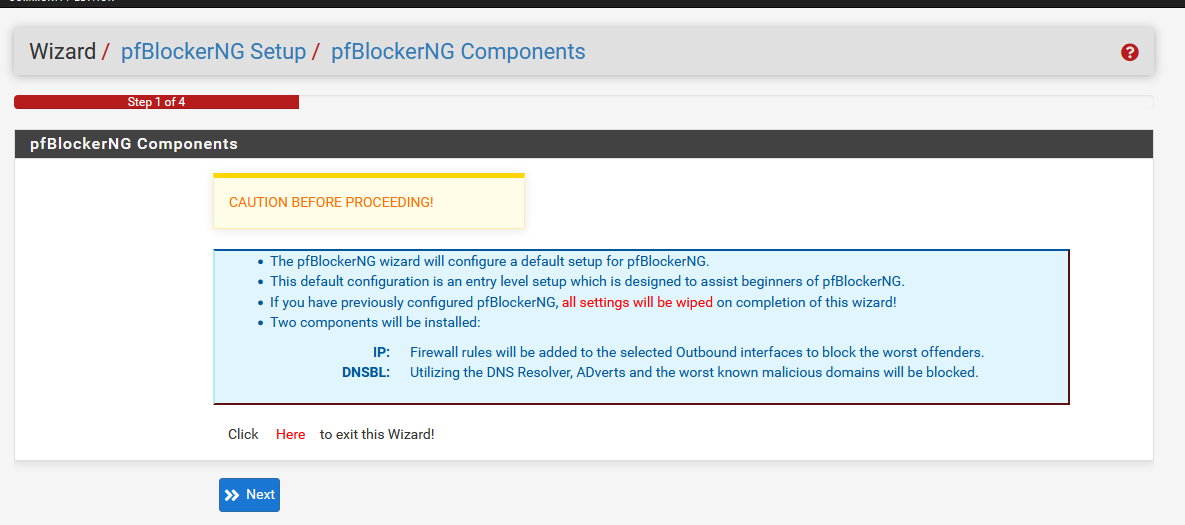
pfBlockerNG will go through a simple initial setup wizard. You can go through the wizard to configure basic pfBlockerNG settings.

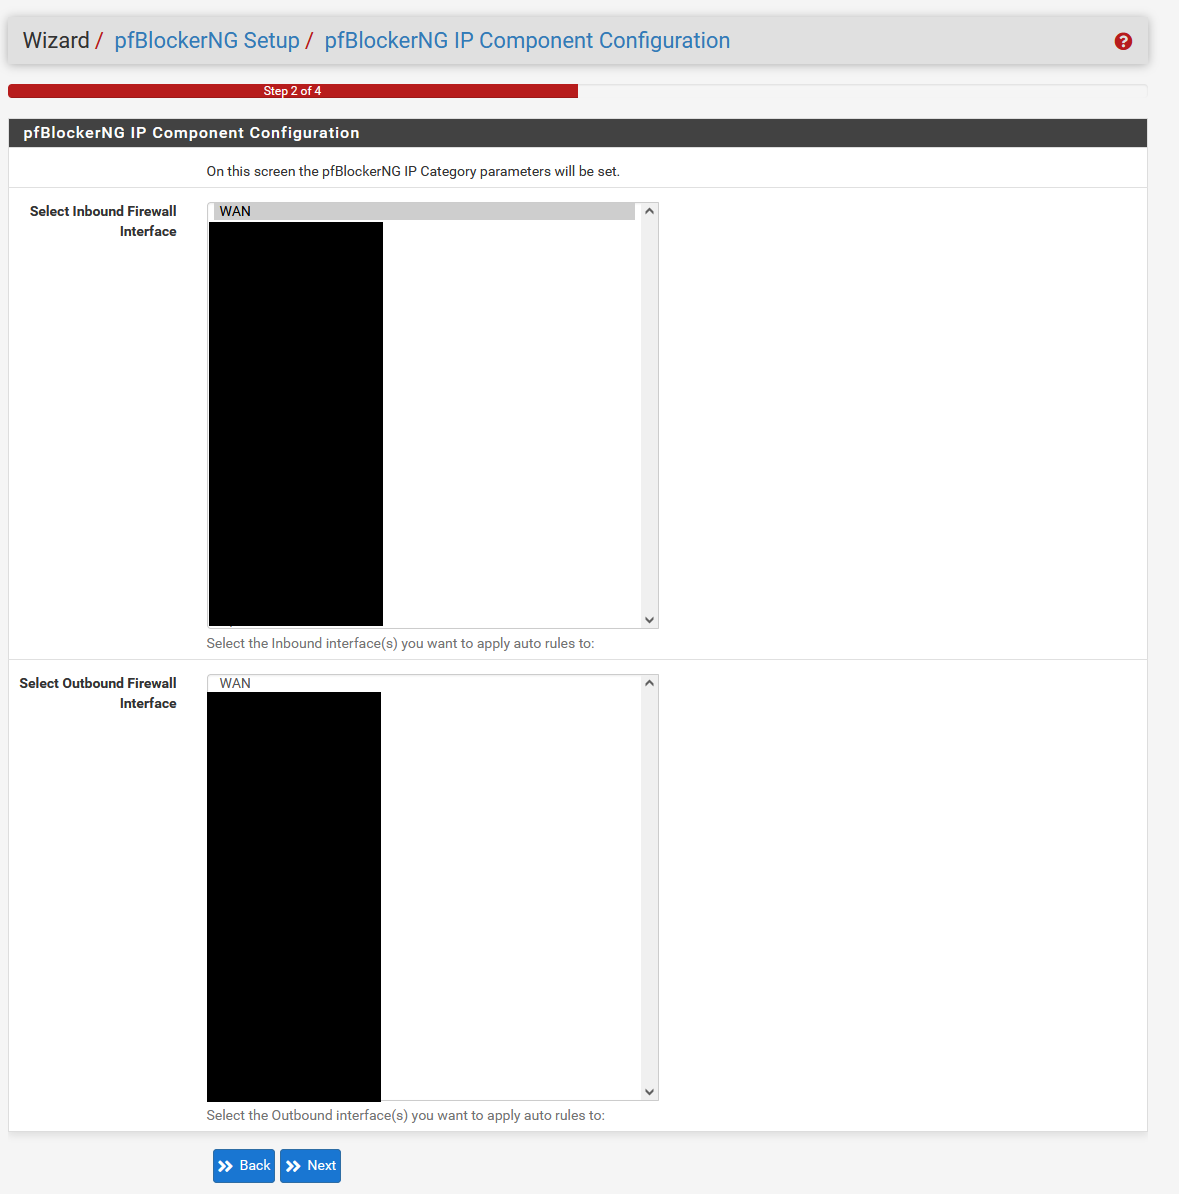
The Inbound Firewall Interface is for interfaces that you want pfBlockerNG to act on incoming traffic. Typically this is use for the WAN interface, to allow pfBlockerNG auto block inbound traffics from malicious IPs.
The Outbound Firewall Interface is for pfBlockerNG to act on traffics going out of the interface. This is usually set for the LAN interfaces, to block connections toward advertisement DNS or IPs.
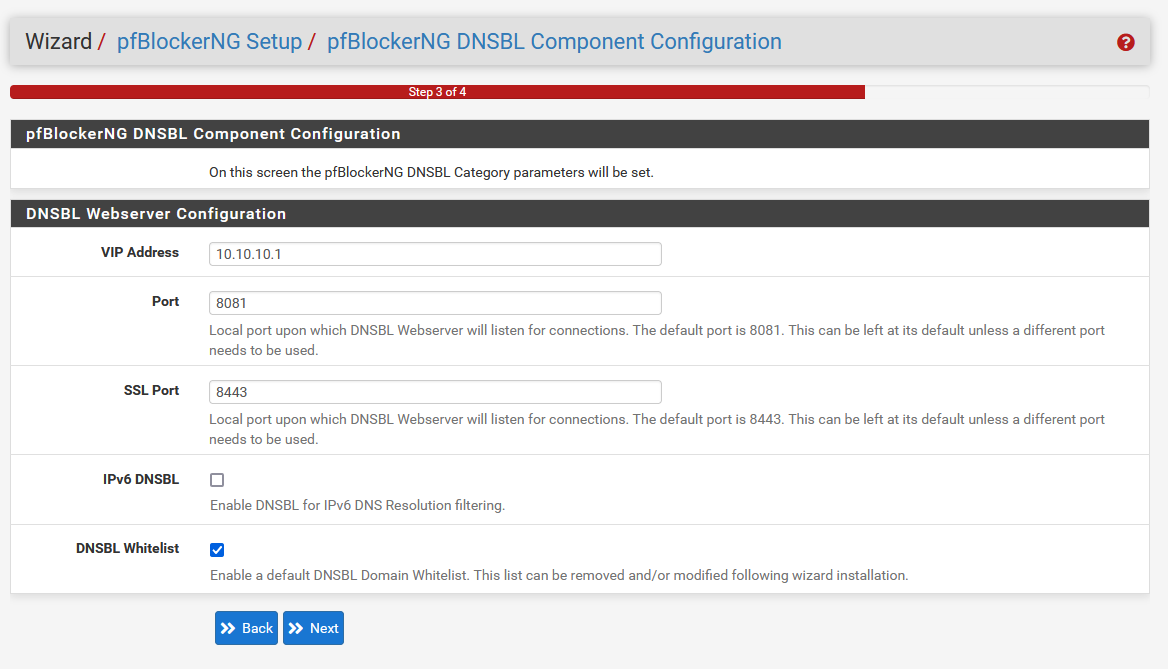
The VIP address is the virtual IP address that will act as the DNS sinkhole destination. You can leave this section on the default parameters. If any of your interfaces is using 10.10.10.X network, change the VIP address to something that is NOT in any of your interface's IP range.
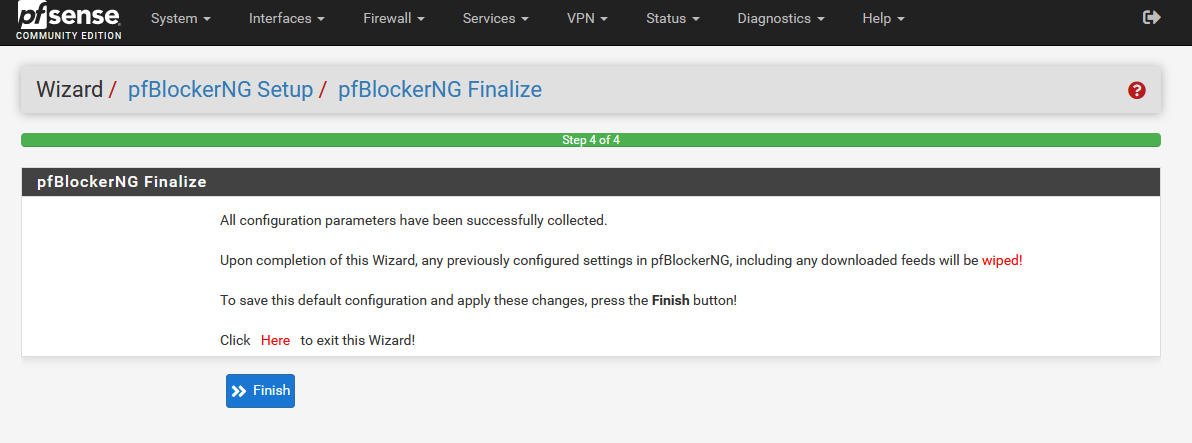
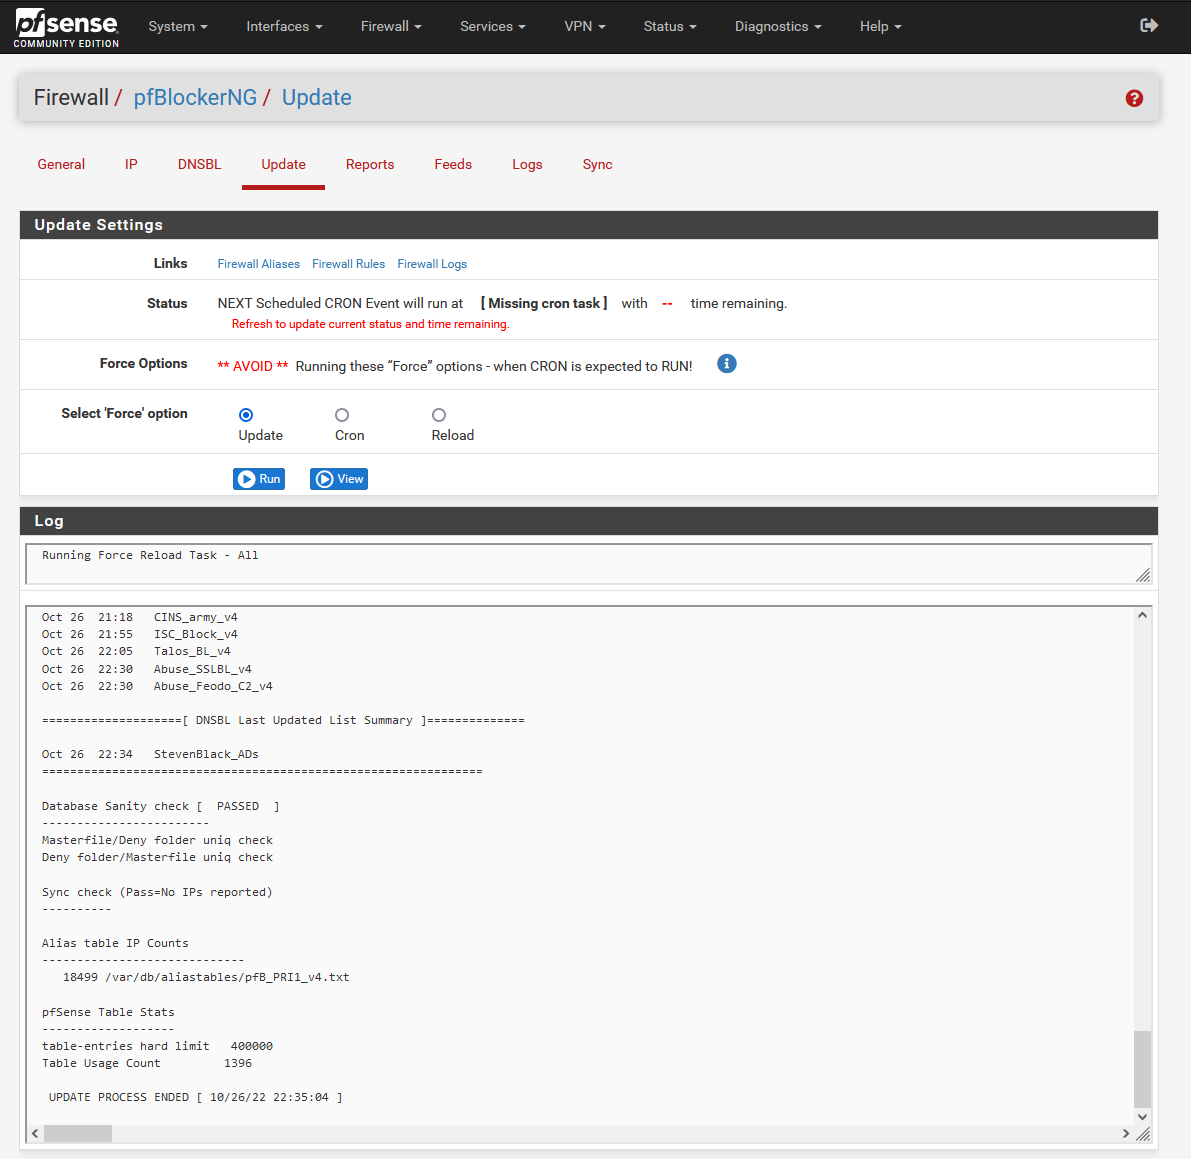
Once finished, pfBlockerNG will update and reload with some default DNS Blockfeeds.
You can check out my other guides to fine tune the feeds for pfBlockerNG, and how to utilize it for WAN blocking and/or ad-blocking.