Preparation
Download and Prepare Installation Media
Once you have decided on your hardware and built the machine, it is time to prepare the installation media.
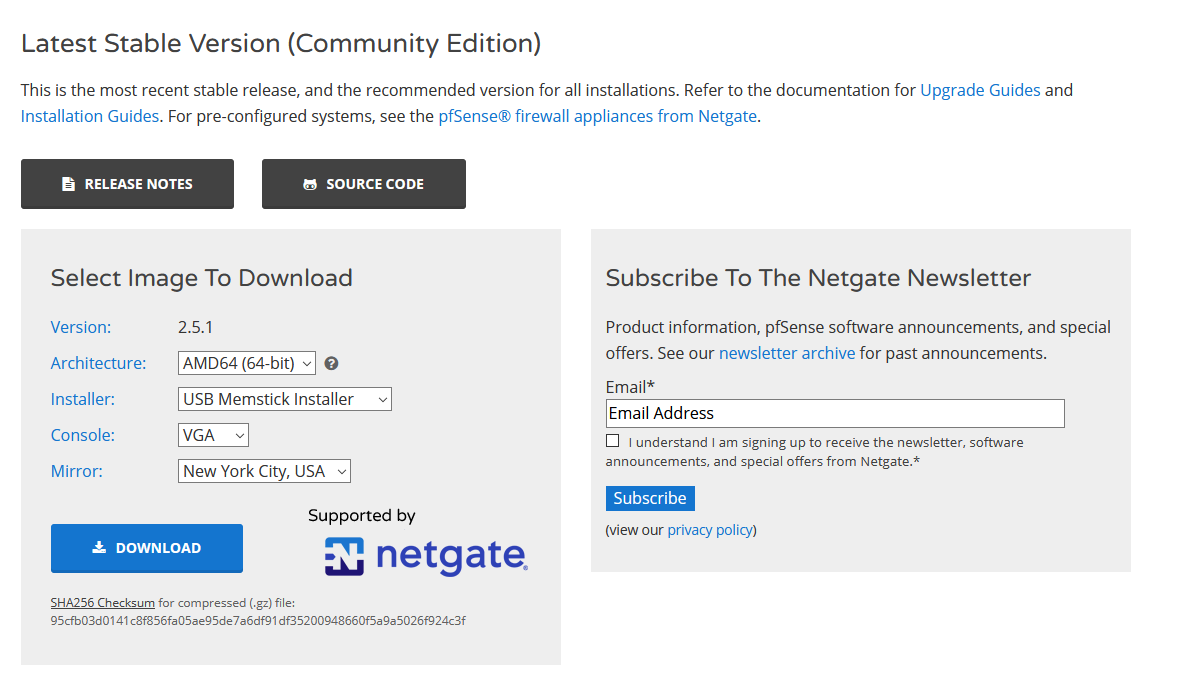
Download the official pfSense OS image from https://www.pfsense.org/download/. Choose the correct Architecture for your hardware. For this guide, I will be using AMD64 as my hardware is x86 64-bit compatible. Choose the USB Memstick Installer option with VGA console. This will let you download a USB bootable installer version that have a Graphical User Interface.
As of May 2021, the latest version of pfSense is 2.5.1, released in early May 2021 . For this guide, I will be installing and configuring a previous pfSense version, version 2.4.5 p1, onto the machine since this will become a production firewall for my friend, and version 2.4.5 p1 has been stable and tested for a longer amount of time than version 2.5.1.
The image will be downloaded as a .gz compressed file. Decompress the file first, using the built-in extract commands for your operating system. For Linux, use the gzip command to decompress. For MacOS, it is the gunzip command. For Windows, you can use the 7-Zip utility (https://www.7-zip.org/) to decompress the file.
Once you decompress the file, you will get a .img file. Plug in an USB flash drive to your operating system to start making a bootable USB installer. You can use the dd command on Linux or Mac to write the image directly onto an USB. For Windows users, you can use a program like Rufus (https://rufus.ie/en_US/) to flash the file.

Prepare the Motherboard BIOS Settings
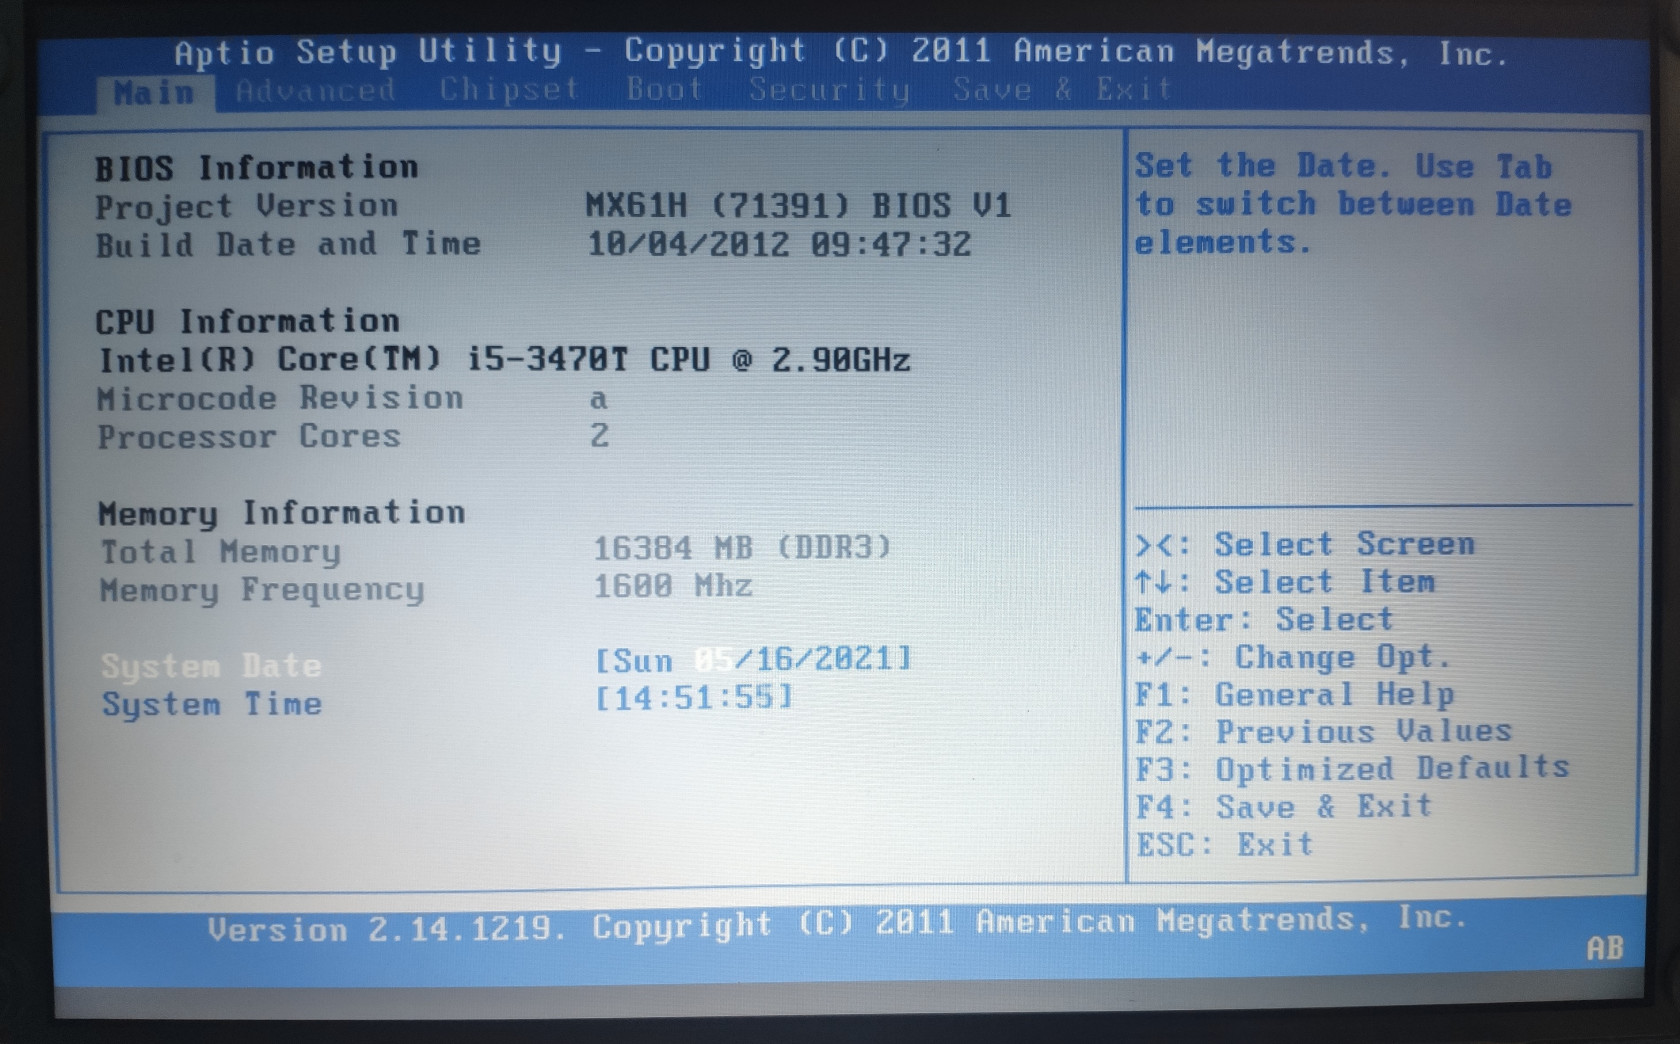
Since this is going to be a 24/7 firewall that will be protecting the network, it is important to check and change some BIOS settings.
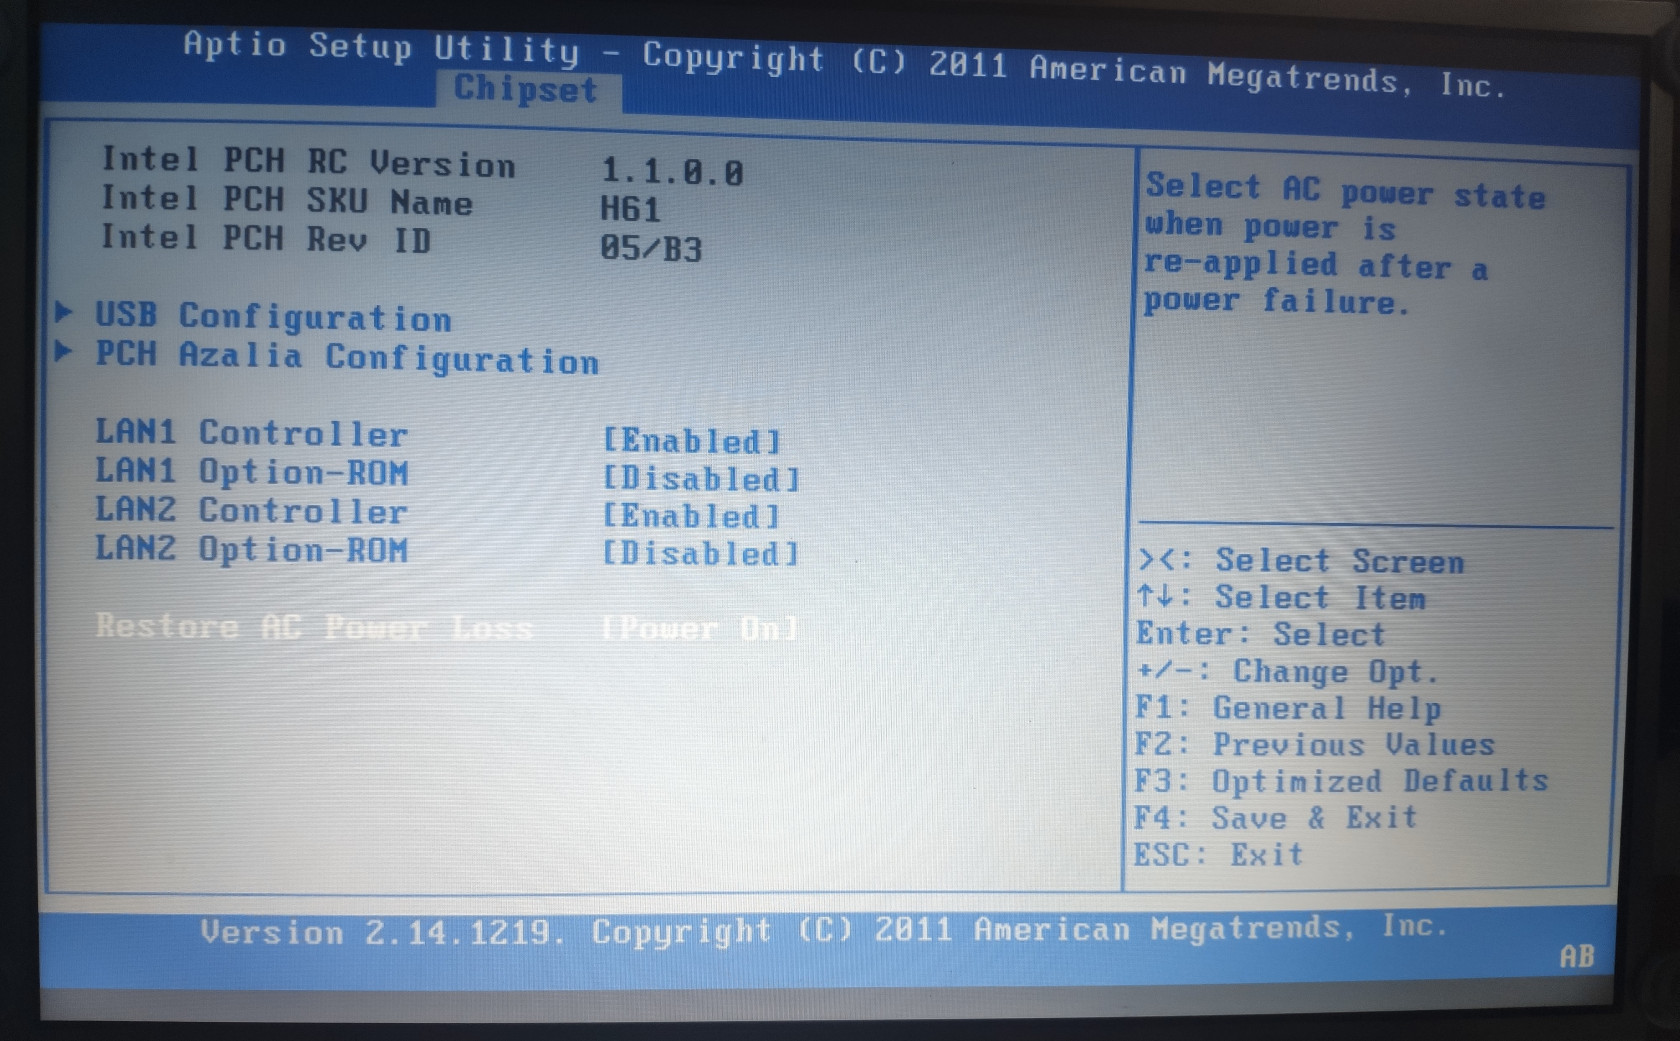
Make sure the Power settings is set to Power On after AC Power Loss so that in the event of a power loss, the firewall will auto boot itself once power resumes.
Set the first boot option to USB boot so the machine will boot into the USB installer first.
If you are planning on using the motherboard’s onboard NICs, it is also a good idea to check in the BIOS to make sure the onboard NIC are enabled.