Creating Self-Signed Certificate Authority and Certificates
pfSense’s WebGUI makes it very straight-forward to create your own CA for your local network. In this guide, I will show you how to create and install your own self-signed CA and Certificates on pfSense 2.4.5 p1.
Creating the Certificate Authority
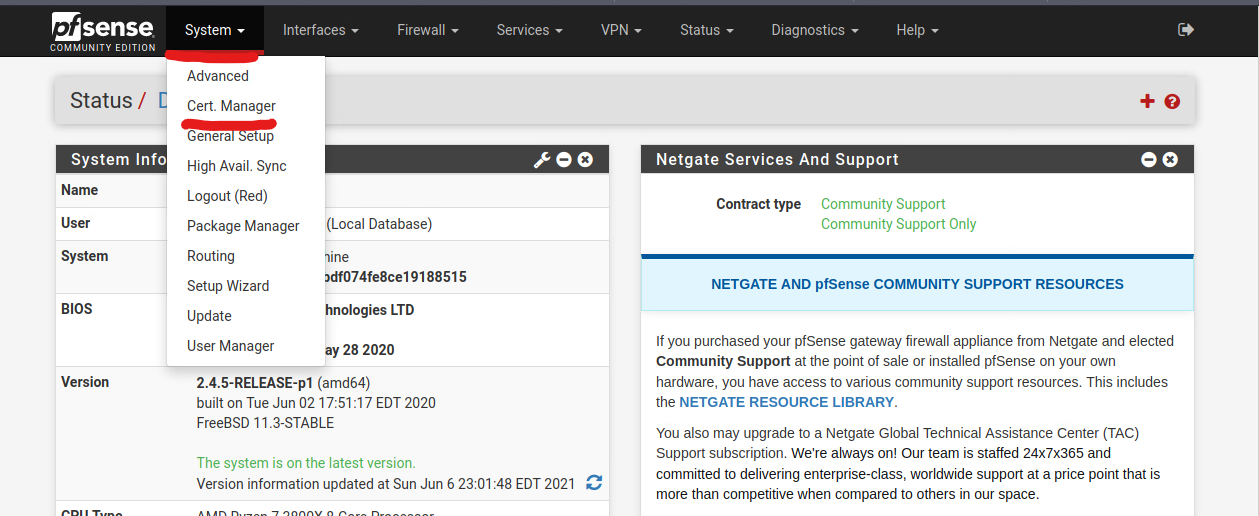
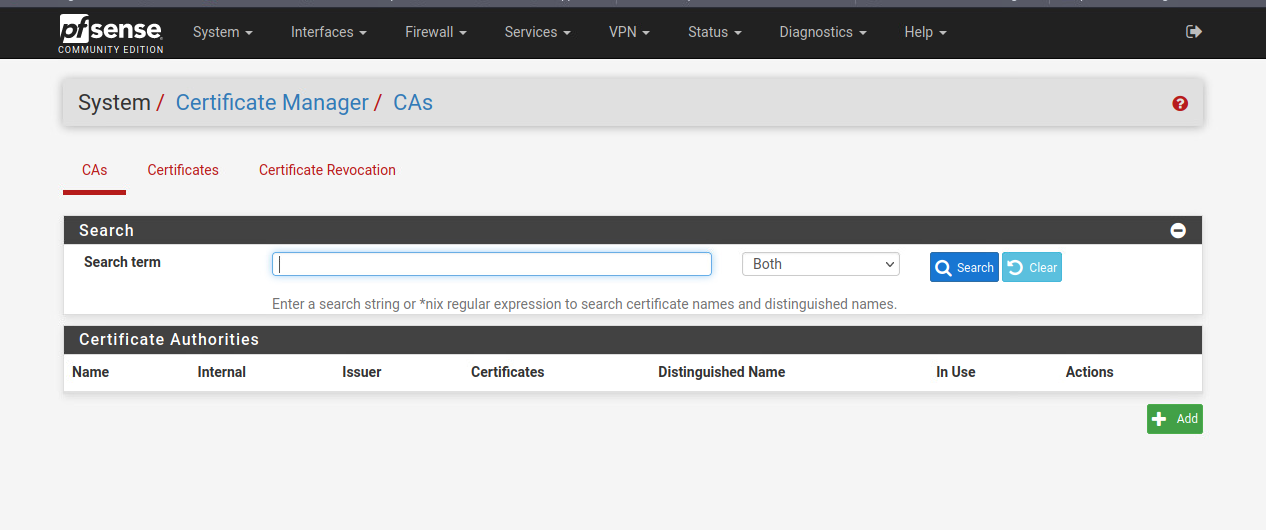
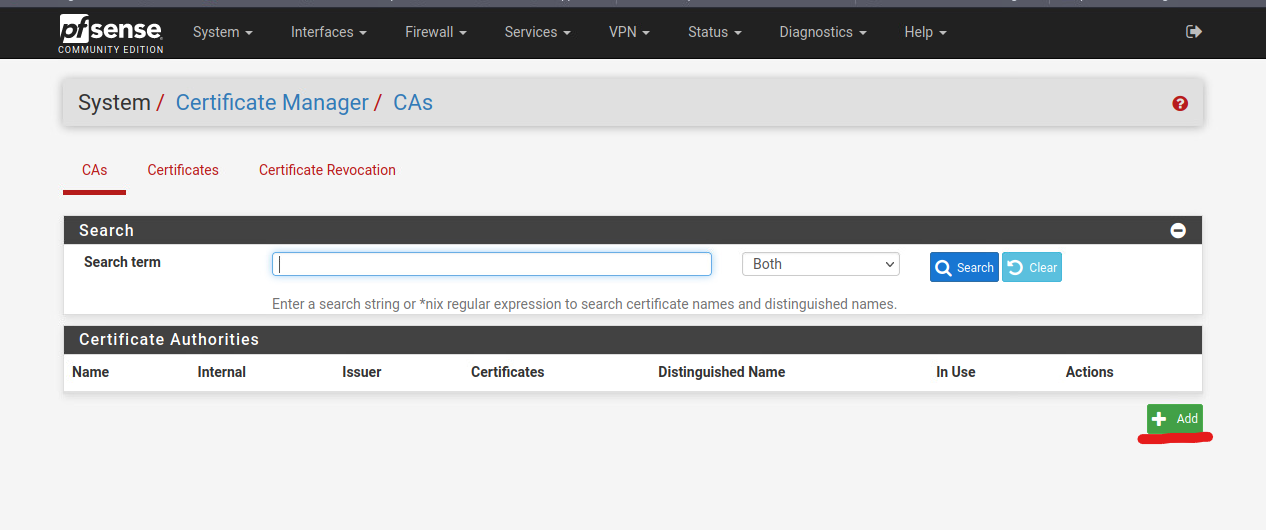
You will see the settings for the Certificate Manager. Click on the green Add button to create a new Certificate Authority.
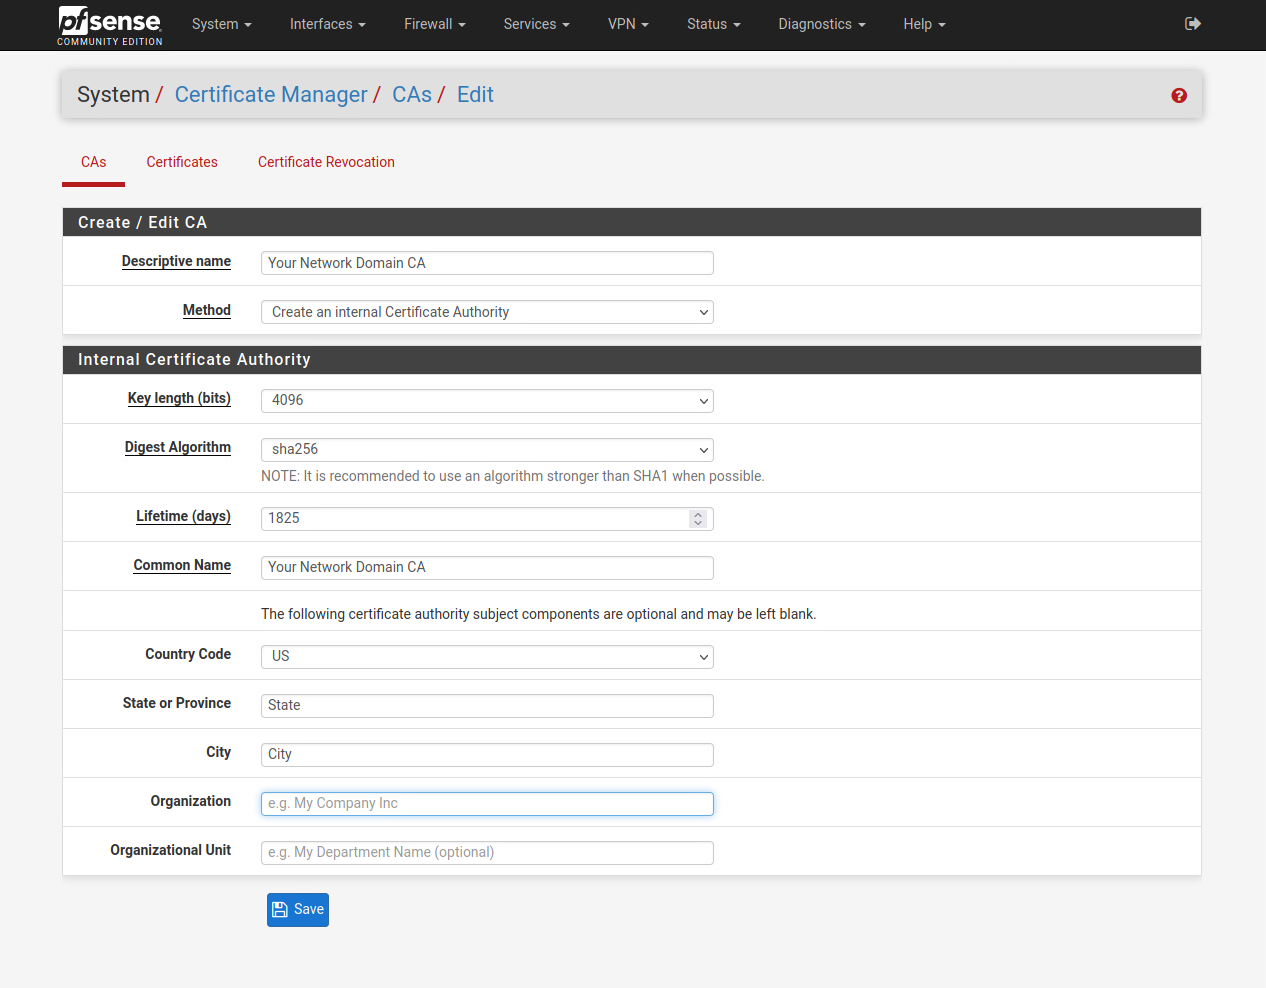
The Descriptive Name field is the name of your CA. I generally use the domain name as the CA name as this CA will be used for the WebGUI and other certificates for the domain later on.
The Method is Create an Internal Certificate Authority.
For Key Length, 2048 is the default option selected. While 2048 bit key length is generally considered secured enough, I recommend going with 4096 key length or higher since the longer the key length is, the harder it is to break the encryption. You can choose higher key length if you think your hardware can handle it. DO NOT use a key length that’s lower than 2048 bits as lower key lengths are insecure, and are easier to crack through brute force methods.
The Digest Algorithm is defaulted to sha256. Choose sha256 or higher.
The Lifetime for the CA is defaulted to 3650 days, or 10 years. This is generally fine for internal network uses, but I recommend setting this time shorter and rotate it periodically. I personally use 1825 days, or 5 years, for my internal CAs.
The Common Name section for a Certificate Authority can be anything, but I do recommend sticking with a naming convention such as Your Domain Name CA.
The rest of the fields are pretty straight forward. It is not mandatory to fill them out.
Click Save to save the new CA.
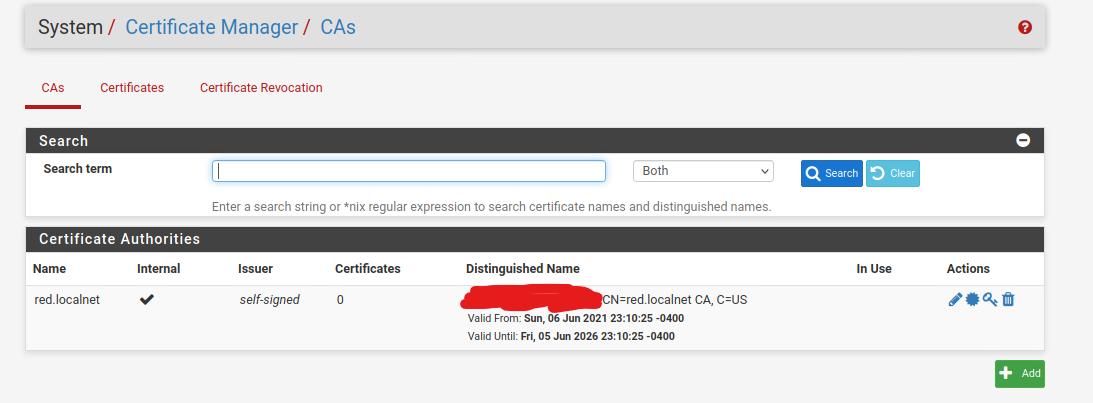
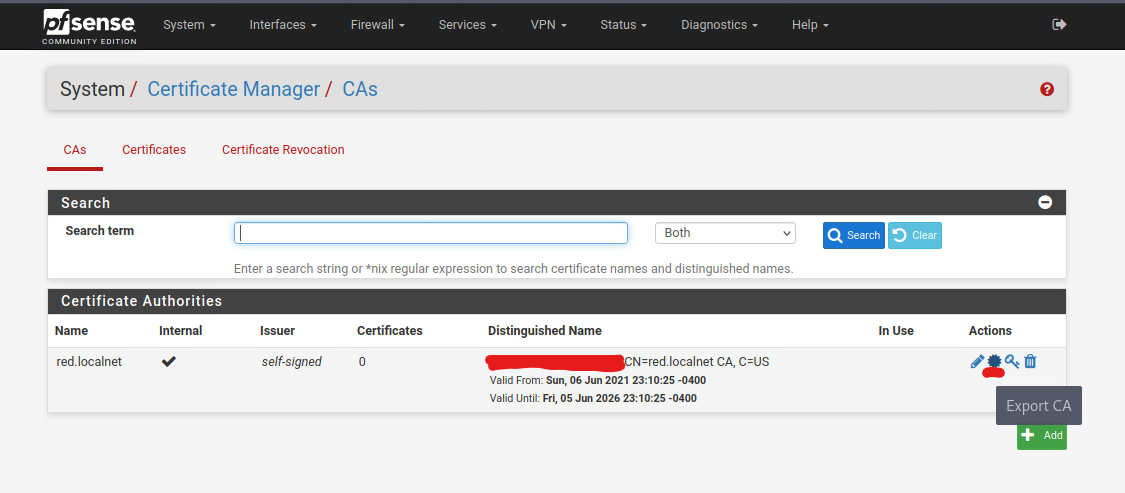
Hover over to the second icon on the right side, the one that looks like a circle with pointy tips. This is the Export CA option. Export the CA to your computer. This will be needed later.
Creating a Self-Signed Certificate
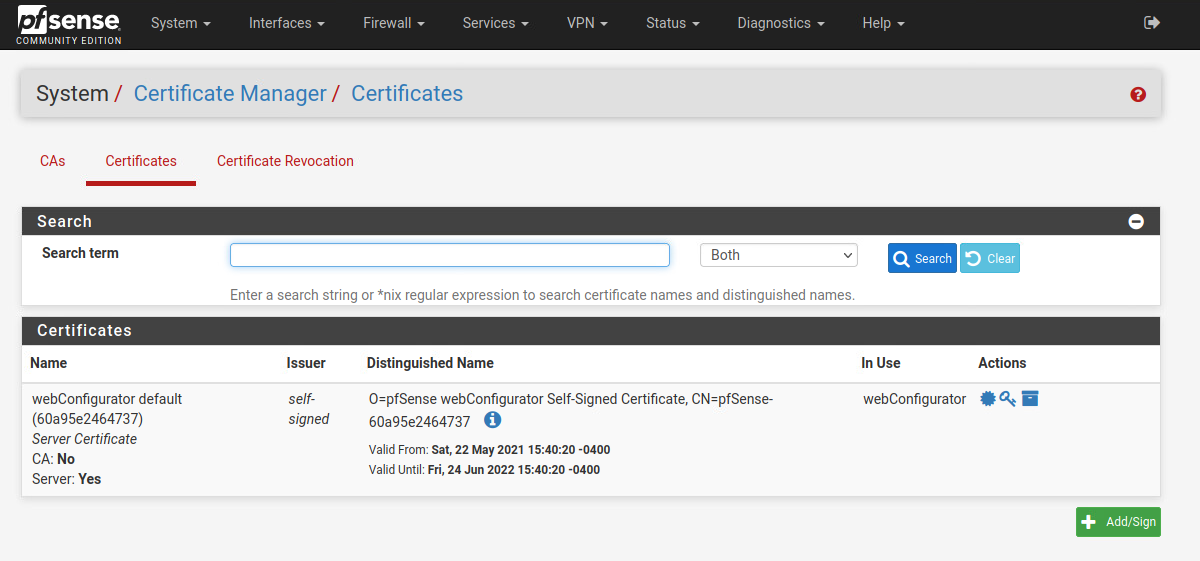
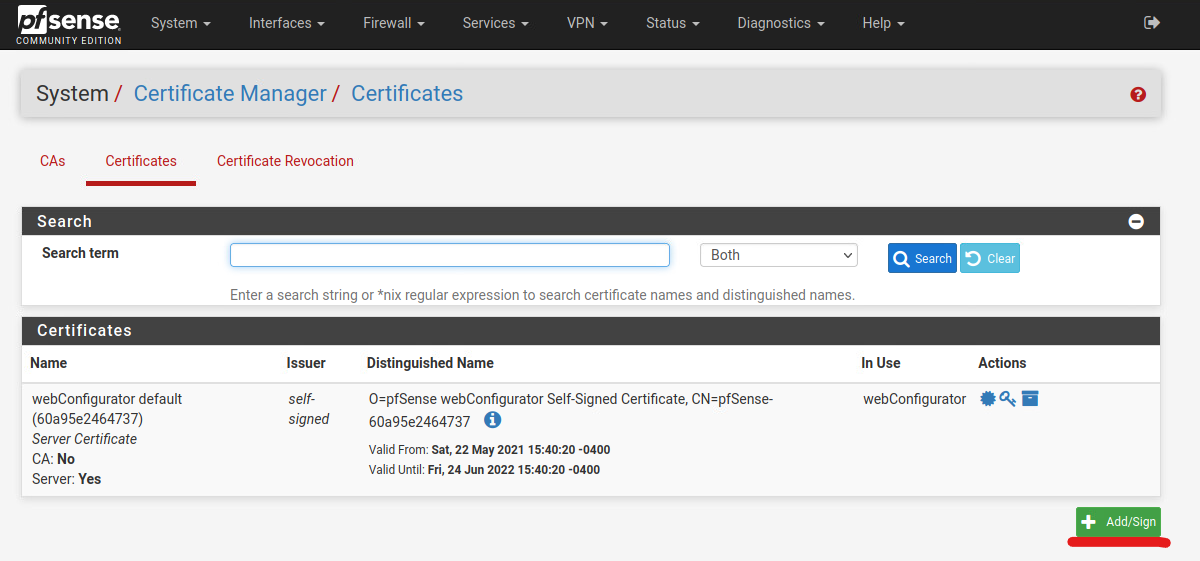
Now head to the Certificates tab near the top, and click on the green Add button to start adding a new certificate.
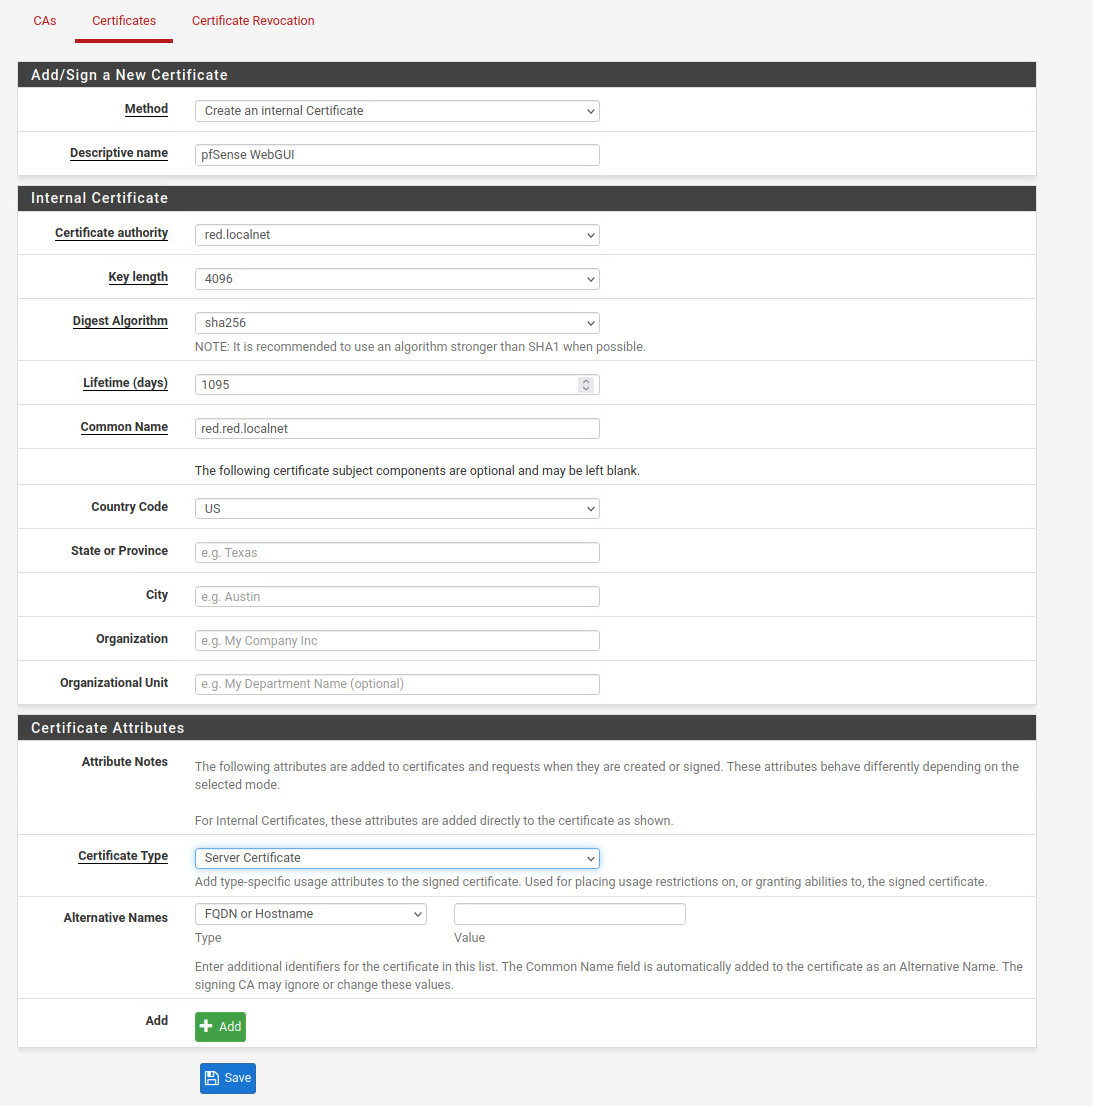
The Method is Create an Internal Certificate.
The Descriptive name is the name of this certificate. For this guide, I will be creating a certificate for the WebGUI to use, so I named the certificate WebGUI for easier identification later on.
For the Certificate Authority, choose the CA that you just created in the previous steps.
For the Key length and Digest Algorithm set this to the same key length and algorithm as your Certificate Authority. Since my CA is 4096 bits and sha256, I will be using 4096 bits and sha256 for this certificate as well.
For the Lifetime of the certificate, choose a time that is shorter than or the same as your CA. If you set the certificate lifetime to longer than your CA, it will cause the certificate to unable to be validated since the CA will no longer be valid anymore. Please note, the current best practice is to set the certificate lifetime to be less than 395 days, as modern browsers will now give you warning that certificate length is too long if you have it set to be more than 395 days.
For the Common Name, use the Fully Qualified Domain Name of your pfSense. Generally, this is the hostname of the pfSense, follow by the domain name. If you are unsure, you can check the pfSense dashboard to find the name of the pfSense machine.
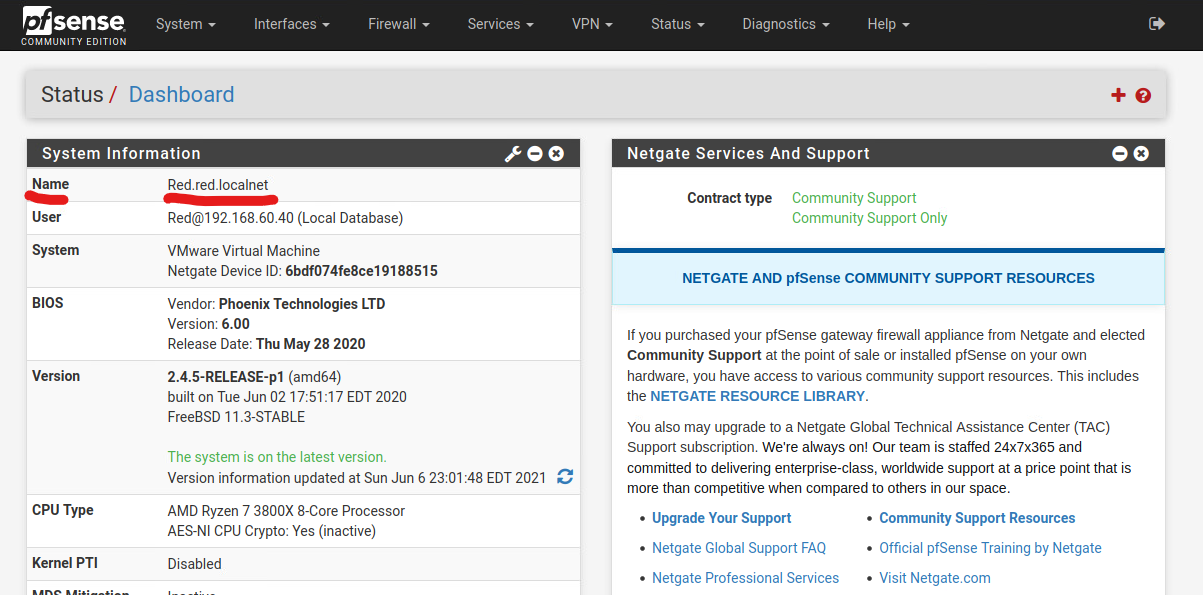
The rest of the optional fields are auto-filled according to the information from your CA, if you have filled it out in the CA in previous steps.
Under the Certificate Type, choose Server Certificate as this will be used for the pfSense’s WebGUI.
Click Save to save the certificate.
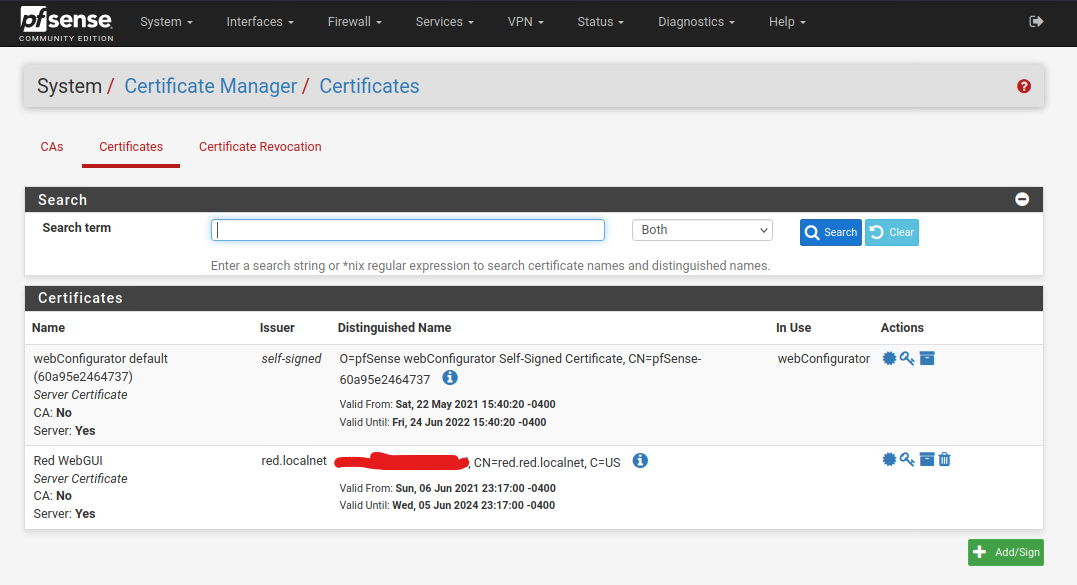
Setting pfSense WebGUI to Use the New Certificate
Click on the Systems -> Advanced tab.
In the SSL/TLS Certificate drop-down menu, choose the new Certificate you created in the previous steps.
Check that the Protocol is set to HTTPS.
For the TCP Port, it is a good security practice to set the WebGUI to use a different port other than the default 443.
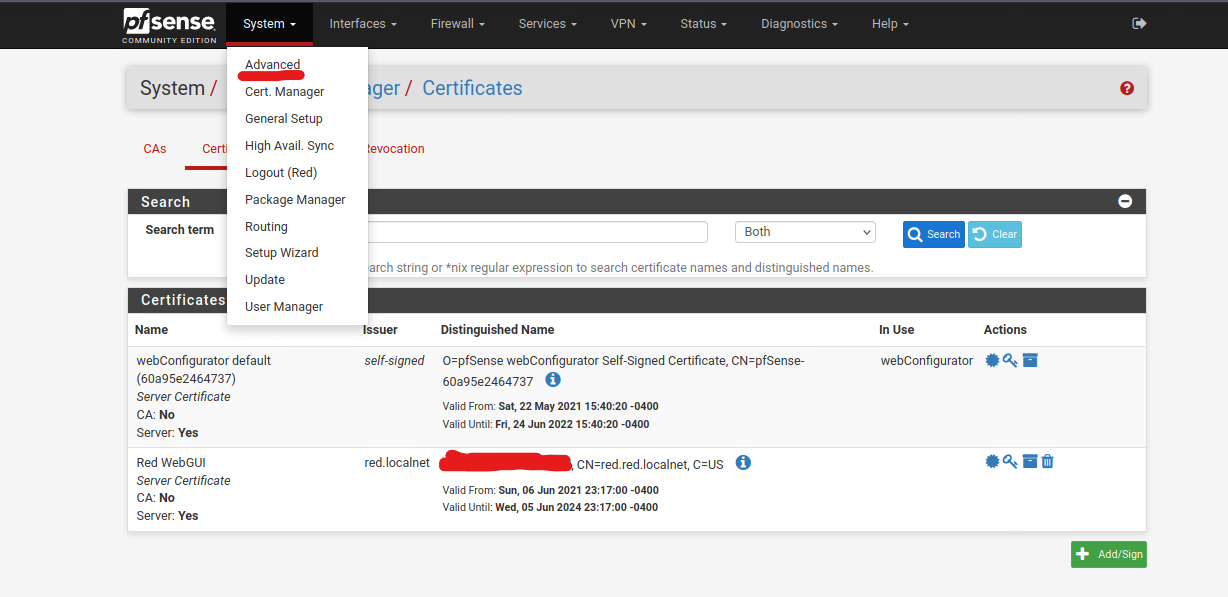
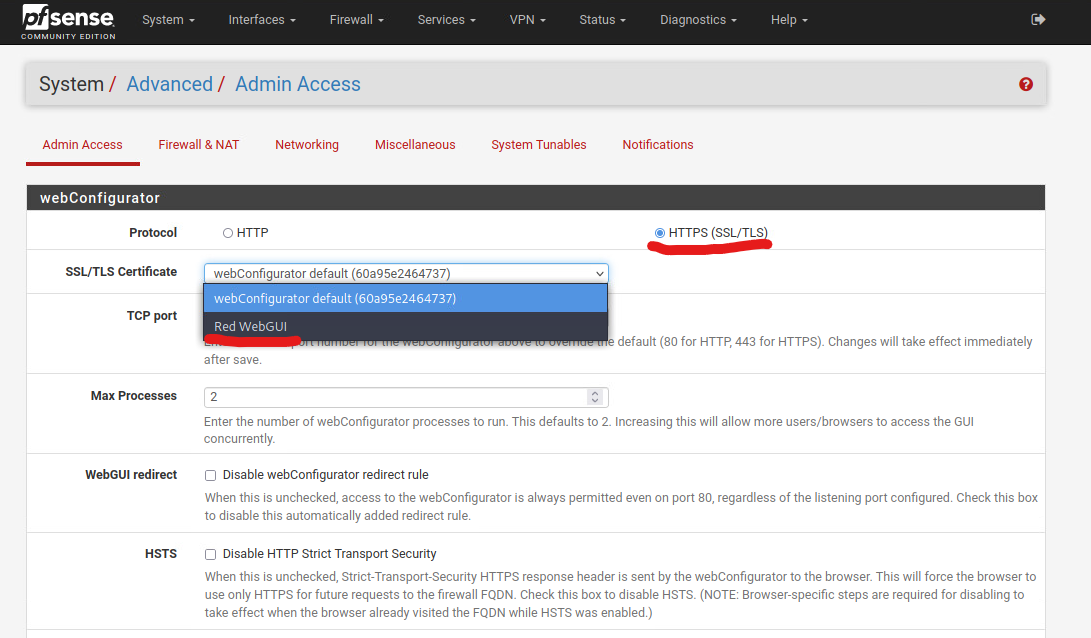
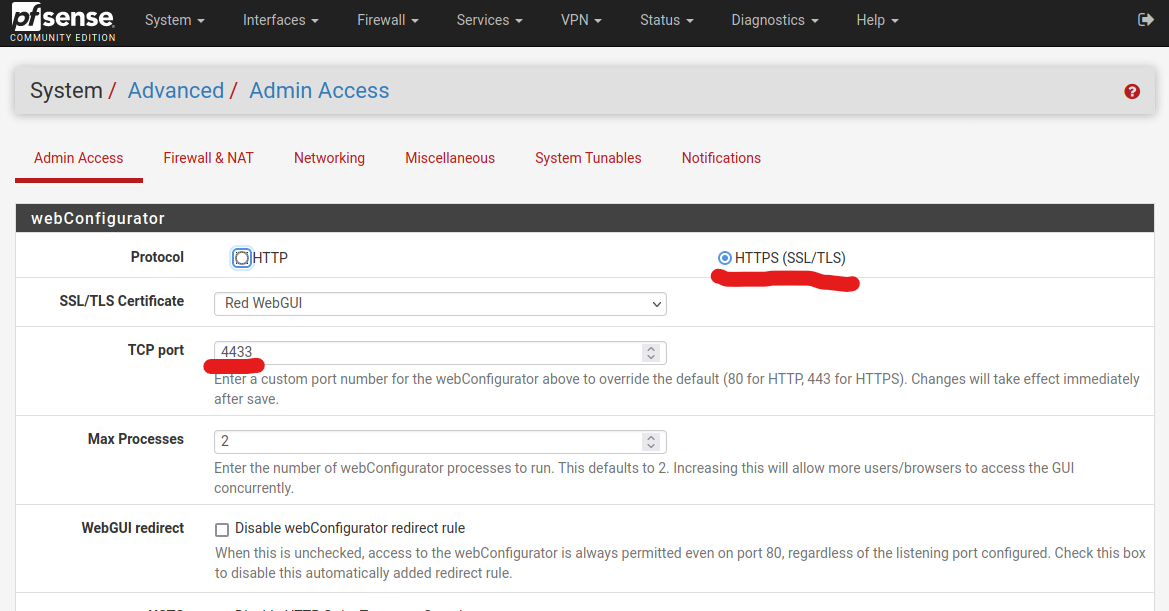
Click Save, and the page will refresh. At this point, your browser may give you a connection timeout error, if you have chose to change the TCP port number earlier. You can close your browser and start it again, and this time, head to pfSense’s WebGUI using the FQDN instead of IP address.
Adding the CA to Your Browser
In order for the browser to trust the cert, you would need to add the CA to your browser. You can follow my guide over here: How to Add Self-Sign Certificate Authority to Your Browsers
