Xen Orchestra Appliance
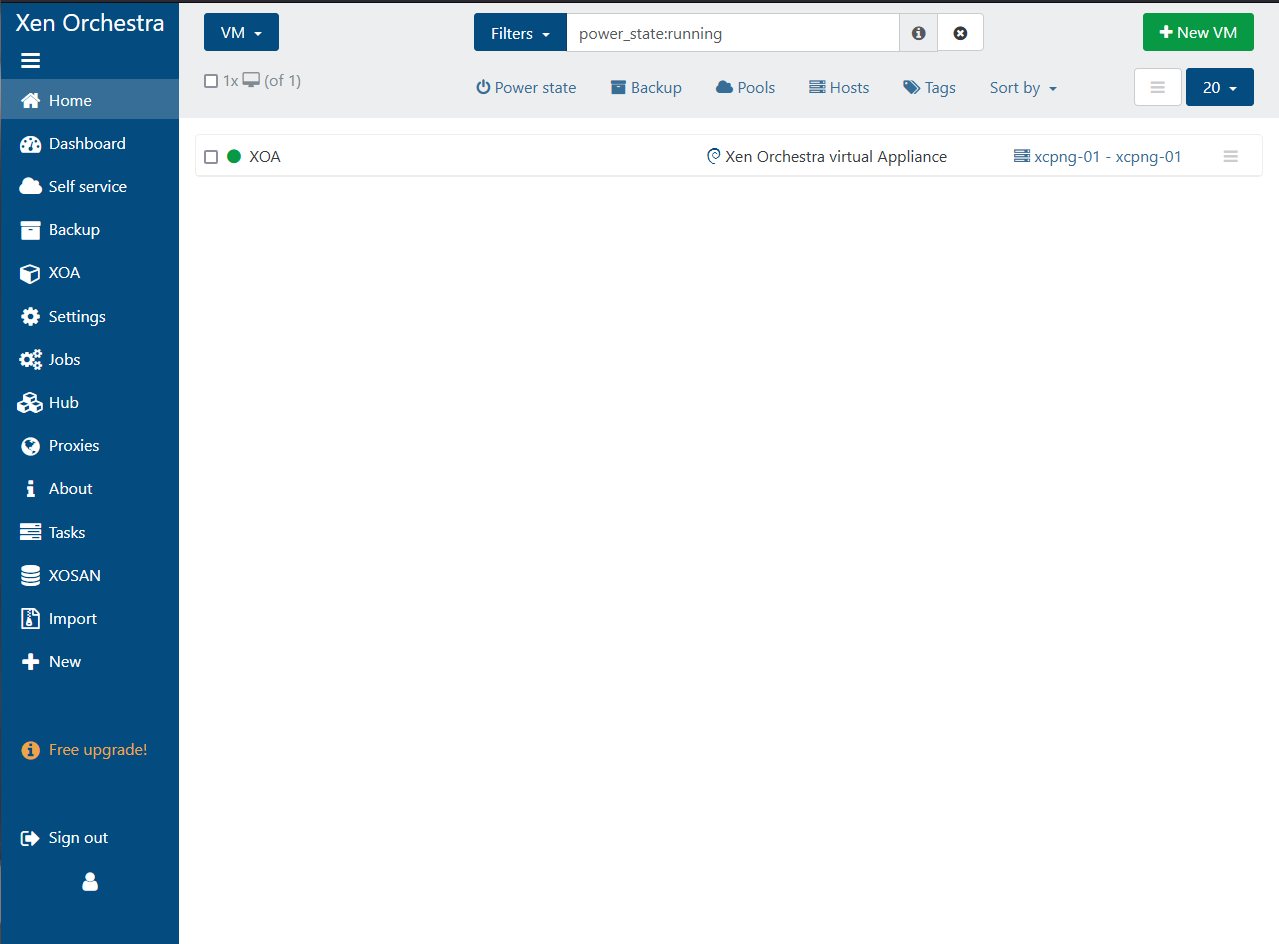
Xen Orchestra is an open-source web-based platform for managing and monitoring XCP-NG and Citrix Xen Servers. It is the recommended way to manage XCP-NG hosts. It provides a user-friendly interface for managing virtual machines, networks, storage, and hosts. With Xen Orchestra, administrators can perform tasks such as creating and managing virtual machines, configuring networks, and monitoring the health of their infrastructure.
You can get started with Xen Orchestra as a turn-key, appliance style solution from https://xen-orchestra.com/#!/xo-home, which requires license for the advanced features, or you can build it from source. This process is officially documented at https://xen-orchestra.com/docs/installation.html#xoa .
The Xen Orchestra Appliance (XOA) is a turn-key solution from Vates (https://vates.tech/) that can be use to manage XCP-NG hosts and clusters.
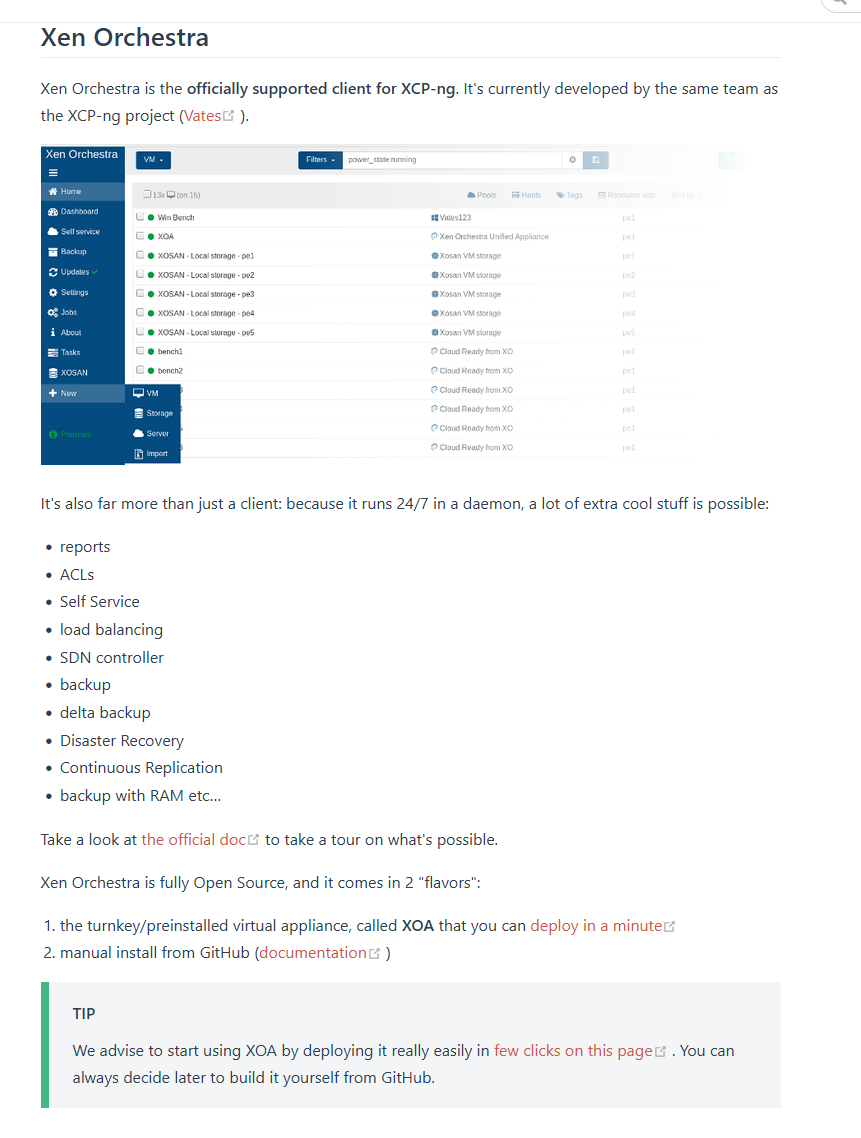
Since XOA is a turn-key solution, there are some features that are locked behind a license. However, you can trial all the features of XOA for free for 15 days. XOA can be deploy in minutes onto a freshly installed XCP-NG host so that you can start creating your first VMs, and then move onto building Xen Orchestra from source so that you can unlock all the features of Xen Orchestra.
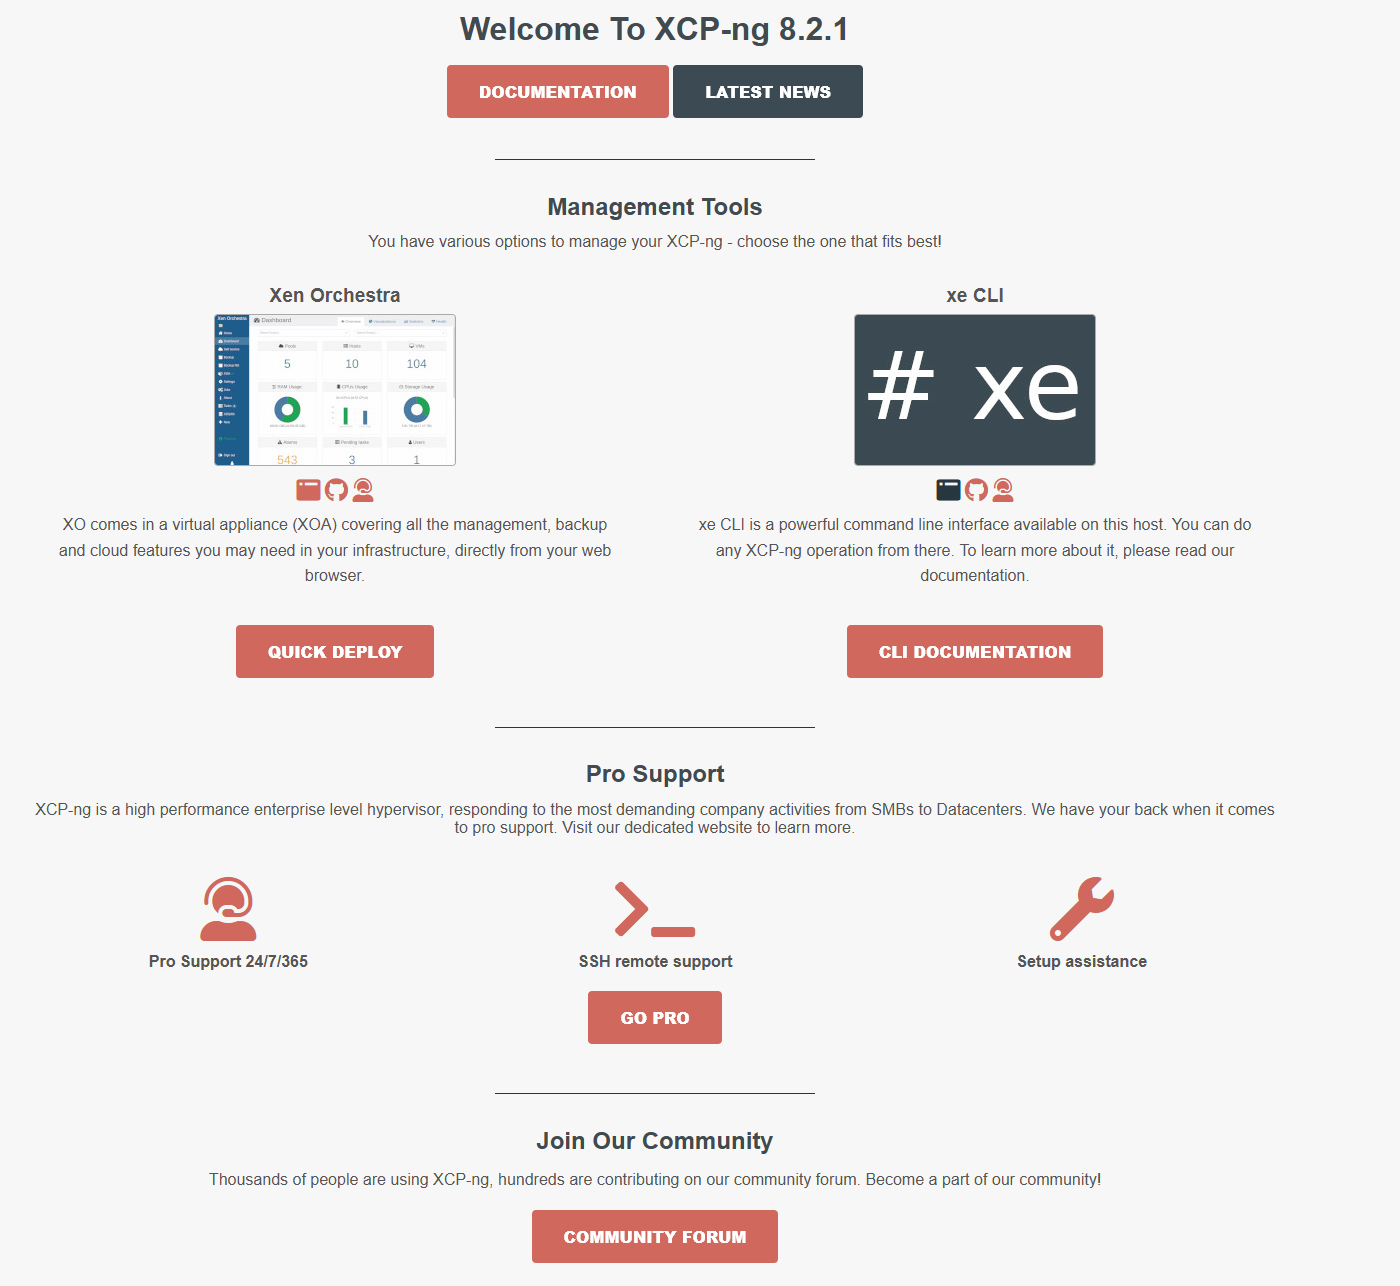
Quick Deploy XOA
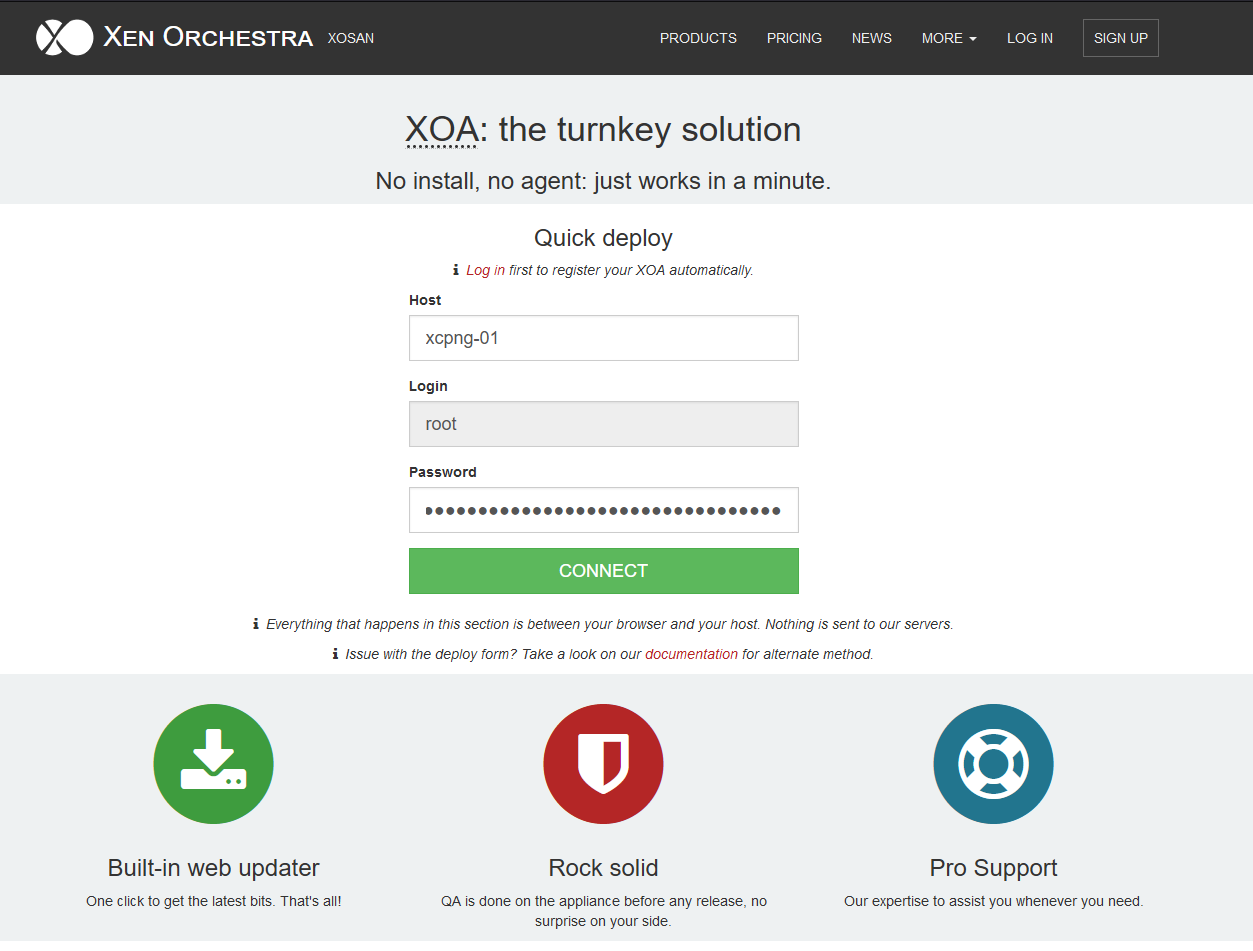
Head over to https://xen-orchestra.com/#!/xoa to get started with deploying the XOA on one of your XCP-NG hosts. All commands for the quick deploy will happen between your browser and your XCP-NG host, and does not get sent over the internet.

Enter your local XCP-NG host name or IP, type in the root password you have set during install, then click connect.
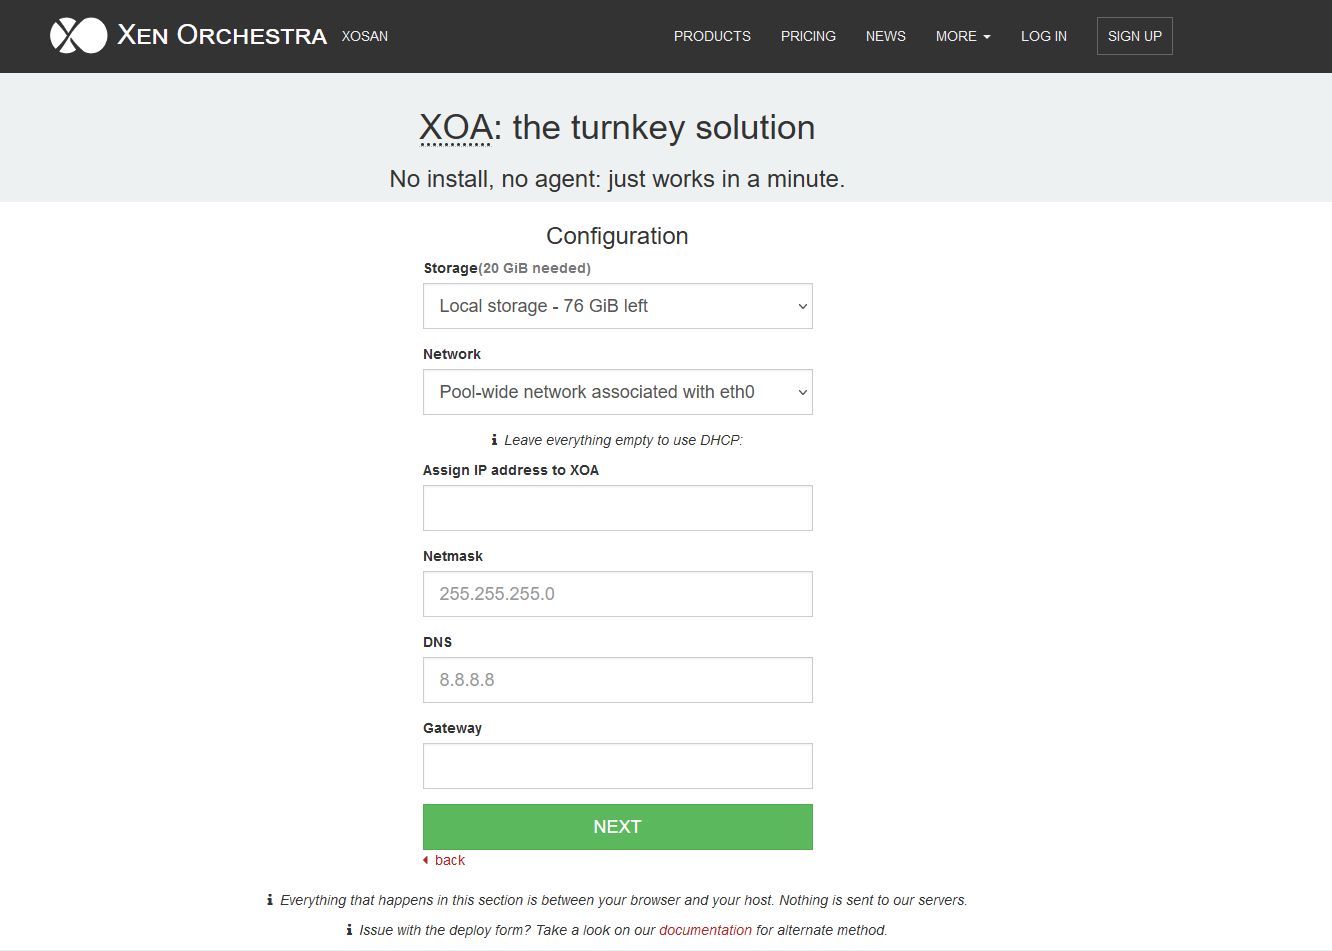
Once successfully connected, choose the local storage and network interface to use. Enter static IP information for the XOA VM, or leave empty to use DHCP.
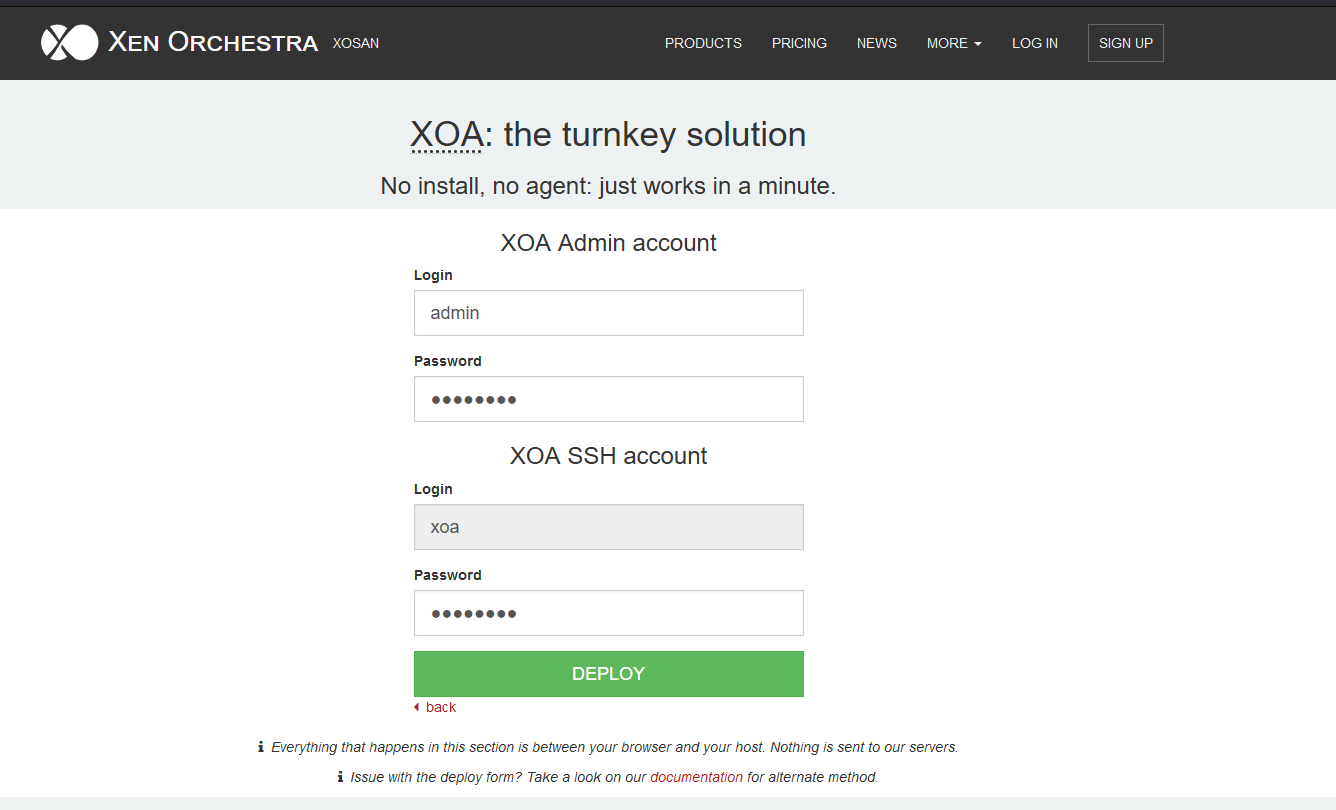
Enter information for your admin account, then click deploy.
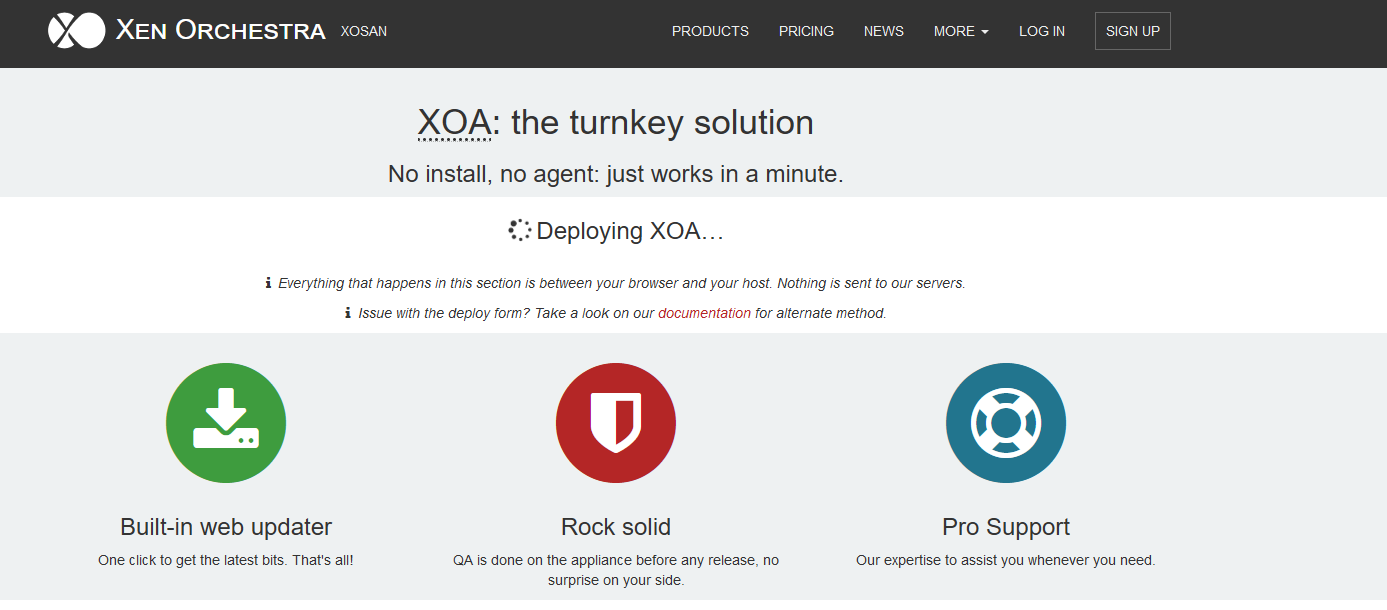
This process can take a while. Take a short coffee break, then come back.
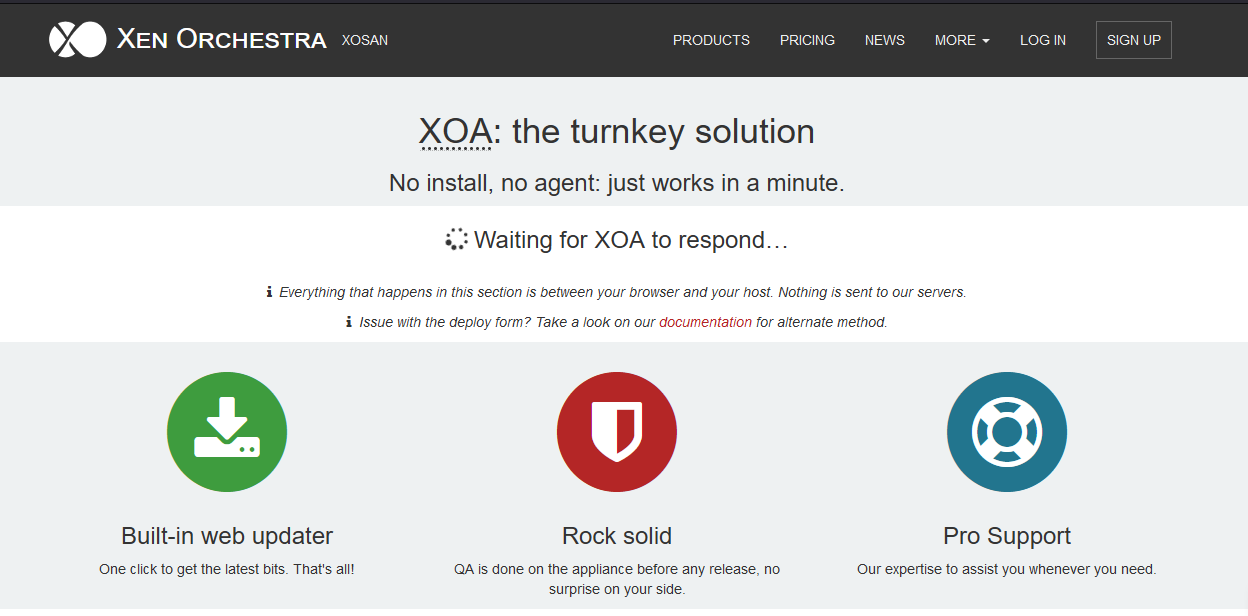
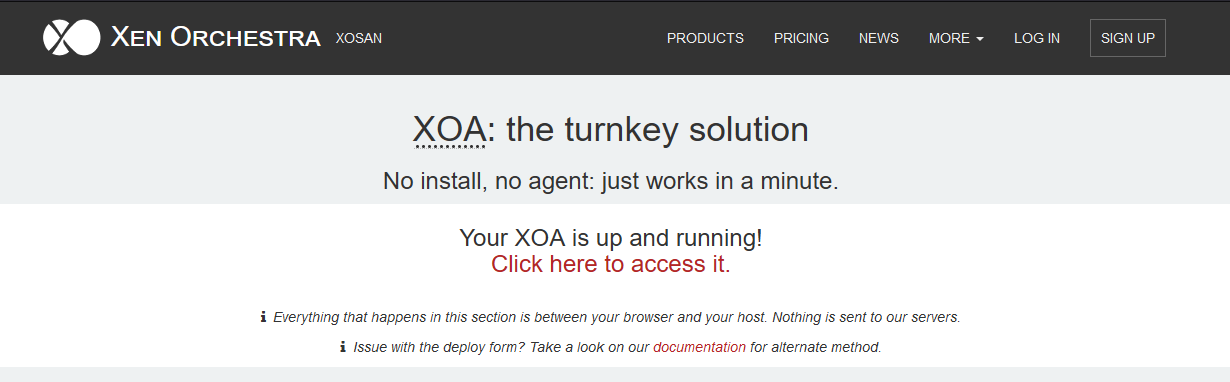
Once it finishes, you will see a link to access the WebGUI. The link is also the local IP address of the XOA VM.
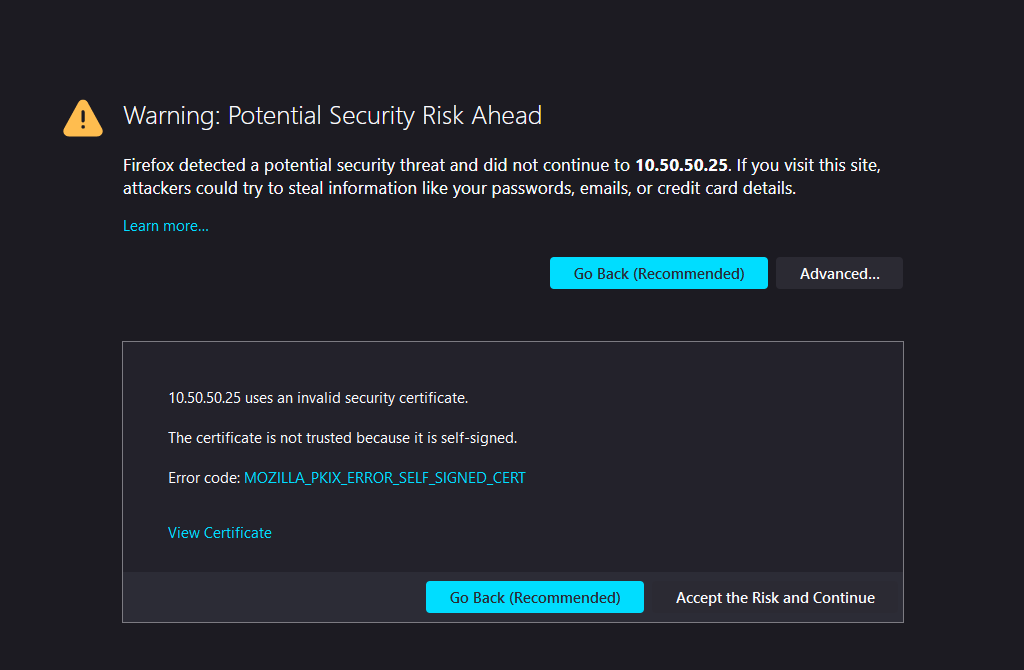
As always, a fresh instance of XOA will be using a self-signed certificate. Depending on your browser, click Accept the Risk and Continue.
Login using the admin credential you have set, and that's it!