Installing XCP-NG
Download the ISO
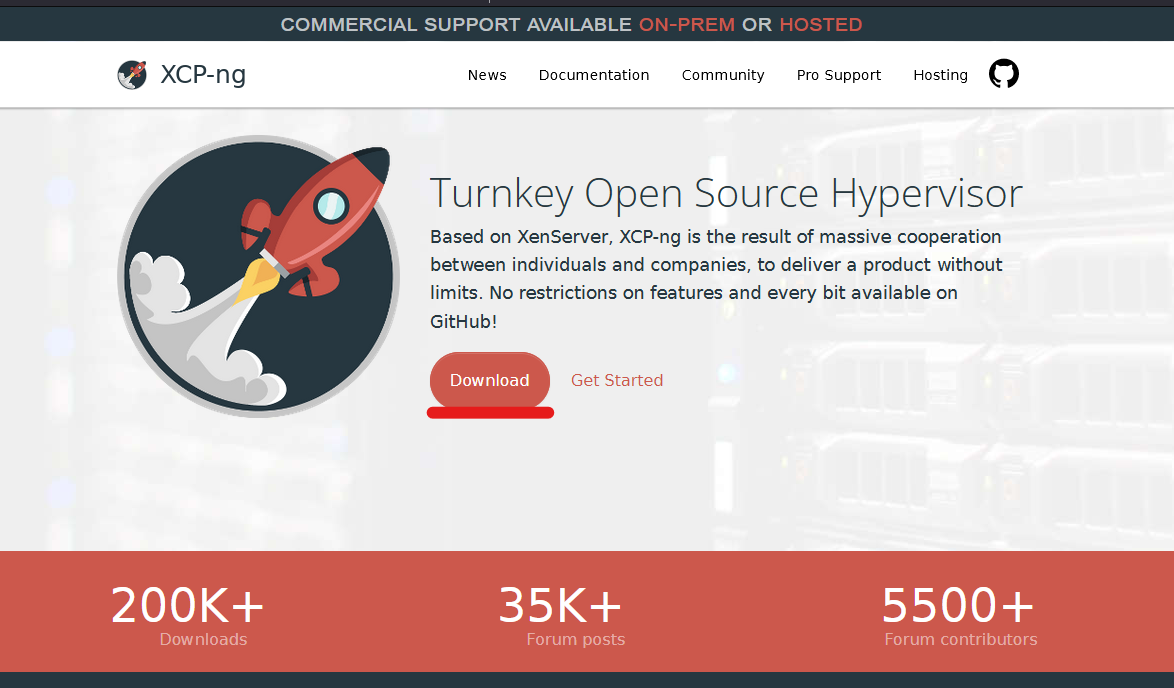
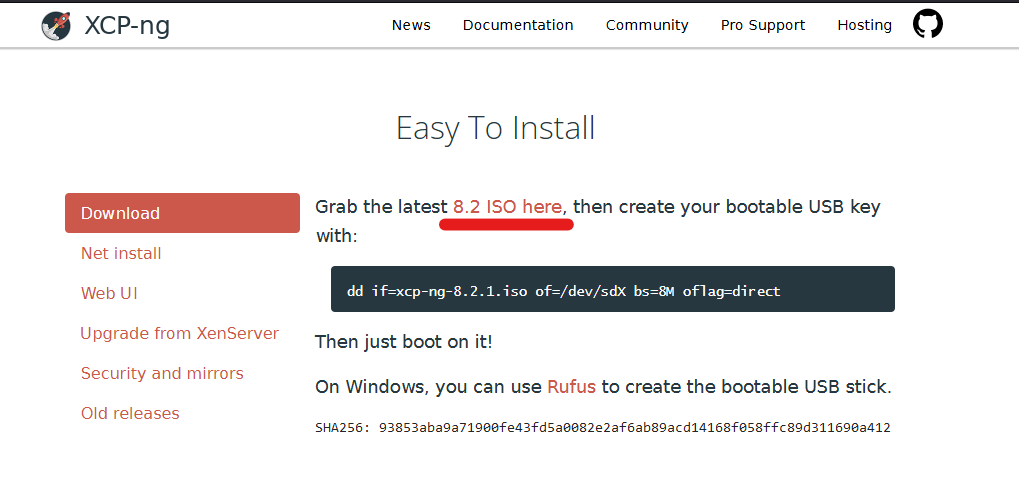
Head over to https://xcp-ng.org/, and choose Download to download the XCP-NG Installer ISO.
As of 2023-01-29, the latest version of XCP-NG is 8.2.1
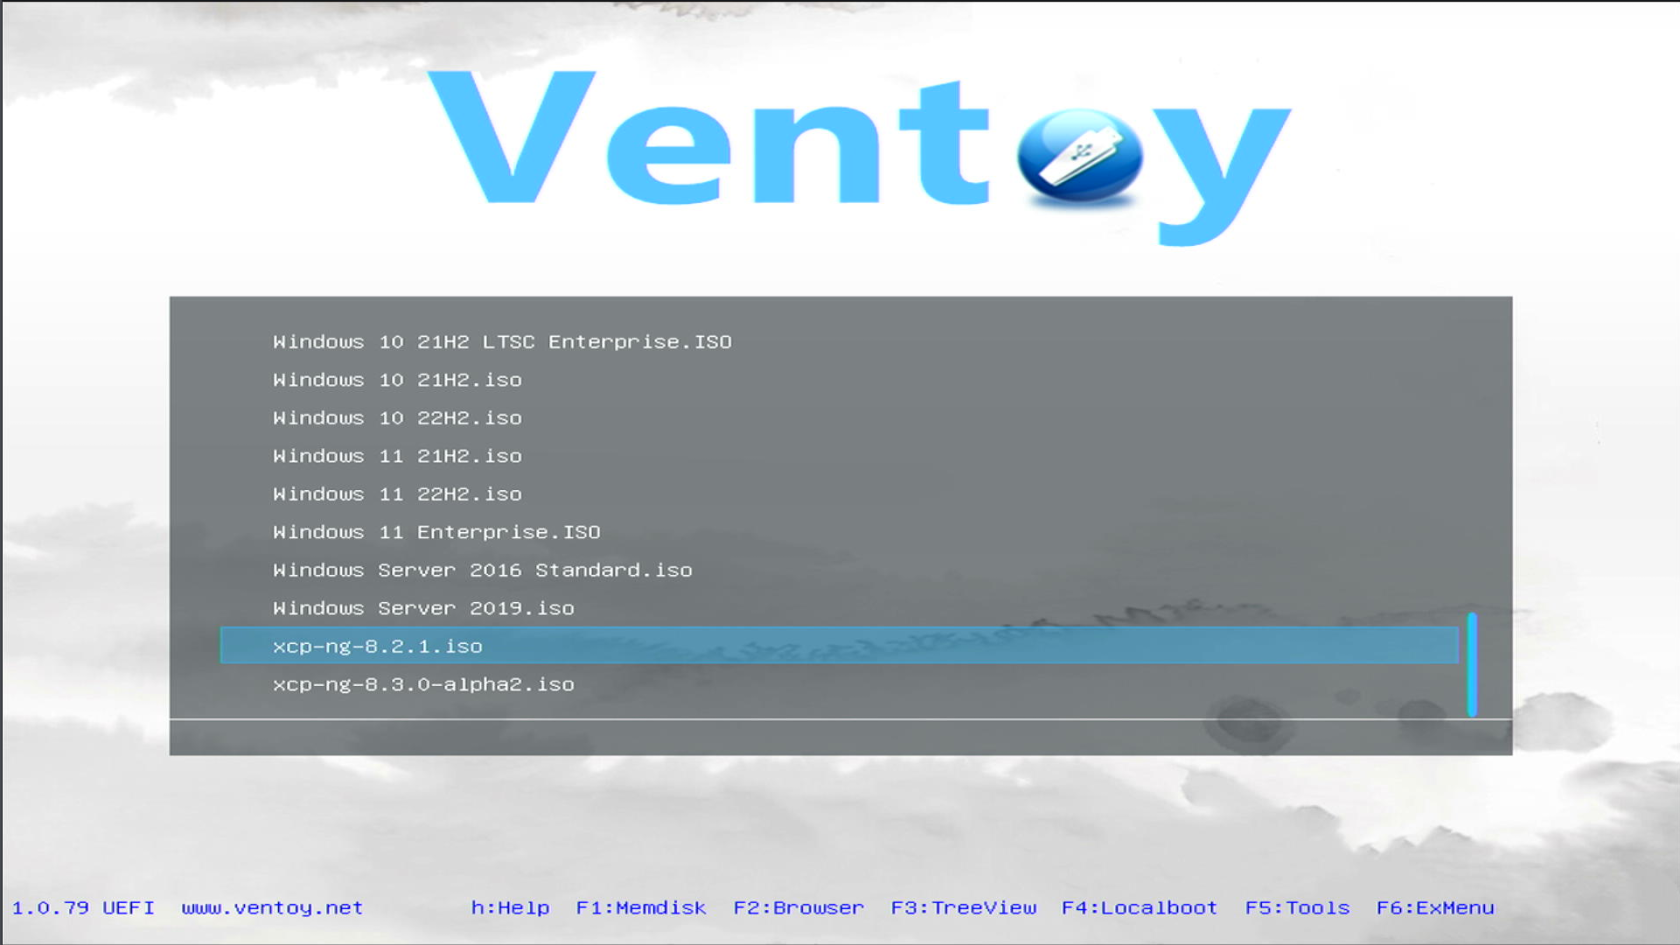
Once the ISO is downloaded, you can burn it to a USB Flash drive using Rufus (https://rufus.ie/en_US/) or Etcher (https://www.balena.io/etcher/), or loaded onto a multi-boot tool like Ventoy (https://www.ventoy.net/en/index.html).
Starting the Install
Plug in the newly flashed USB, and boot into the XCP-NG Installer ISO.

Select your keyboard type.
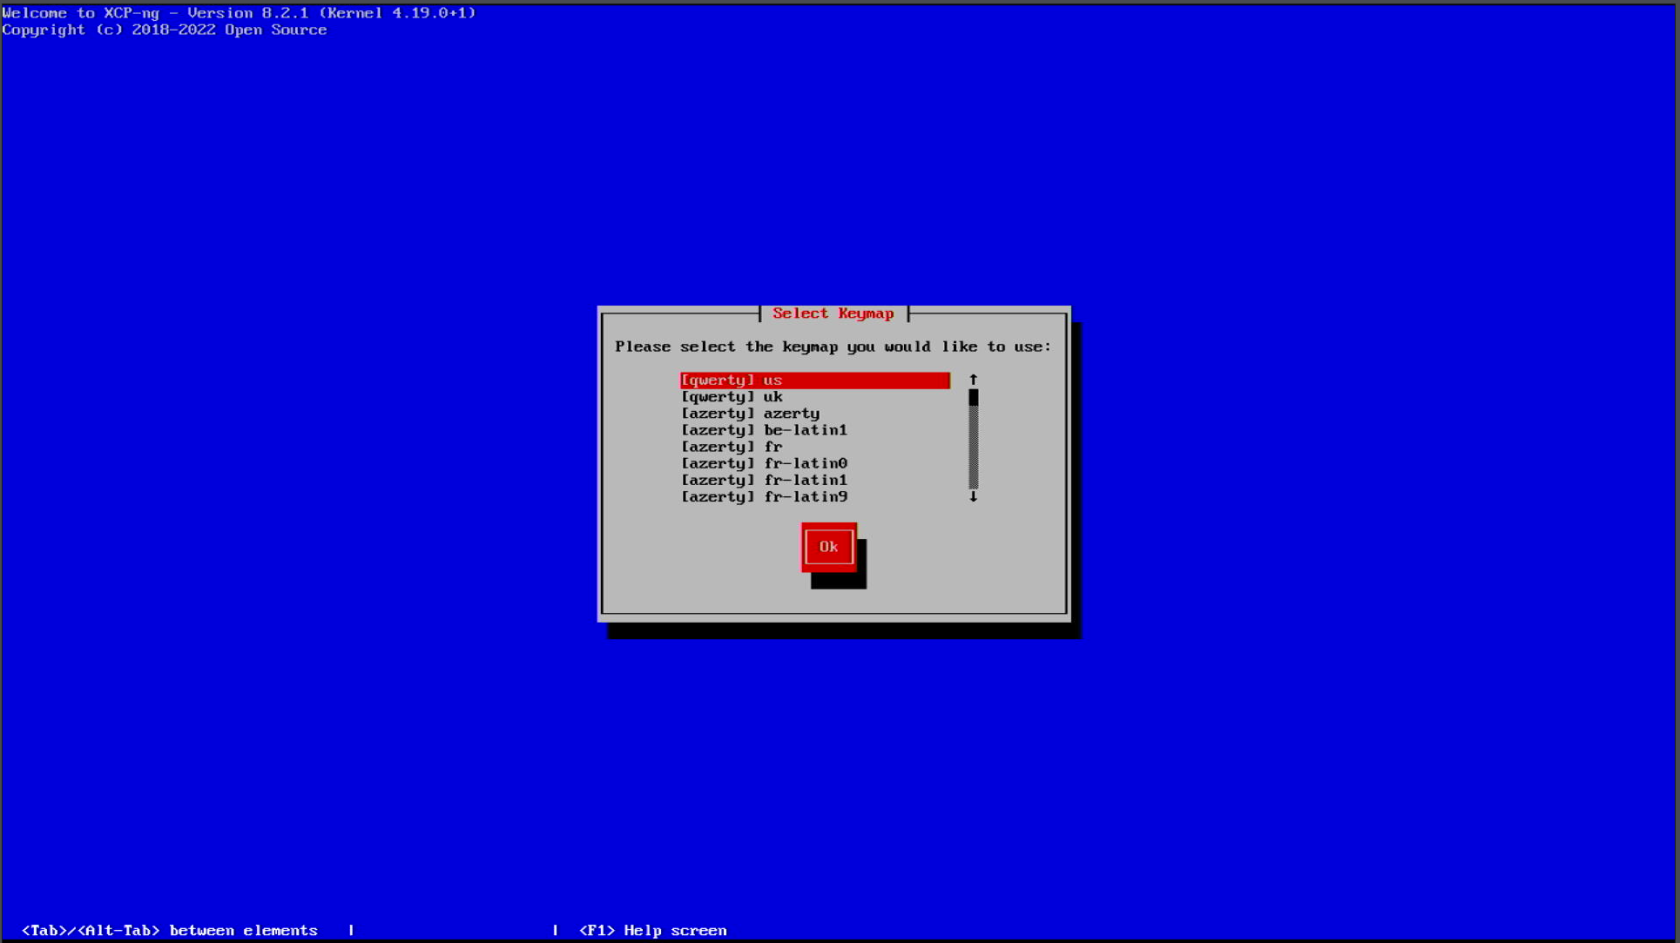
Choose Ok to continue.
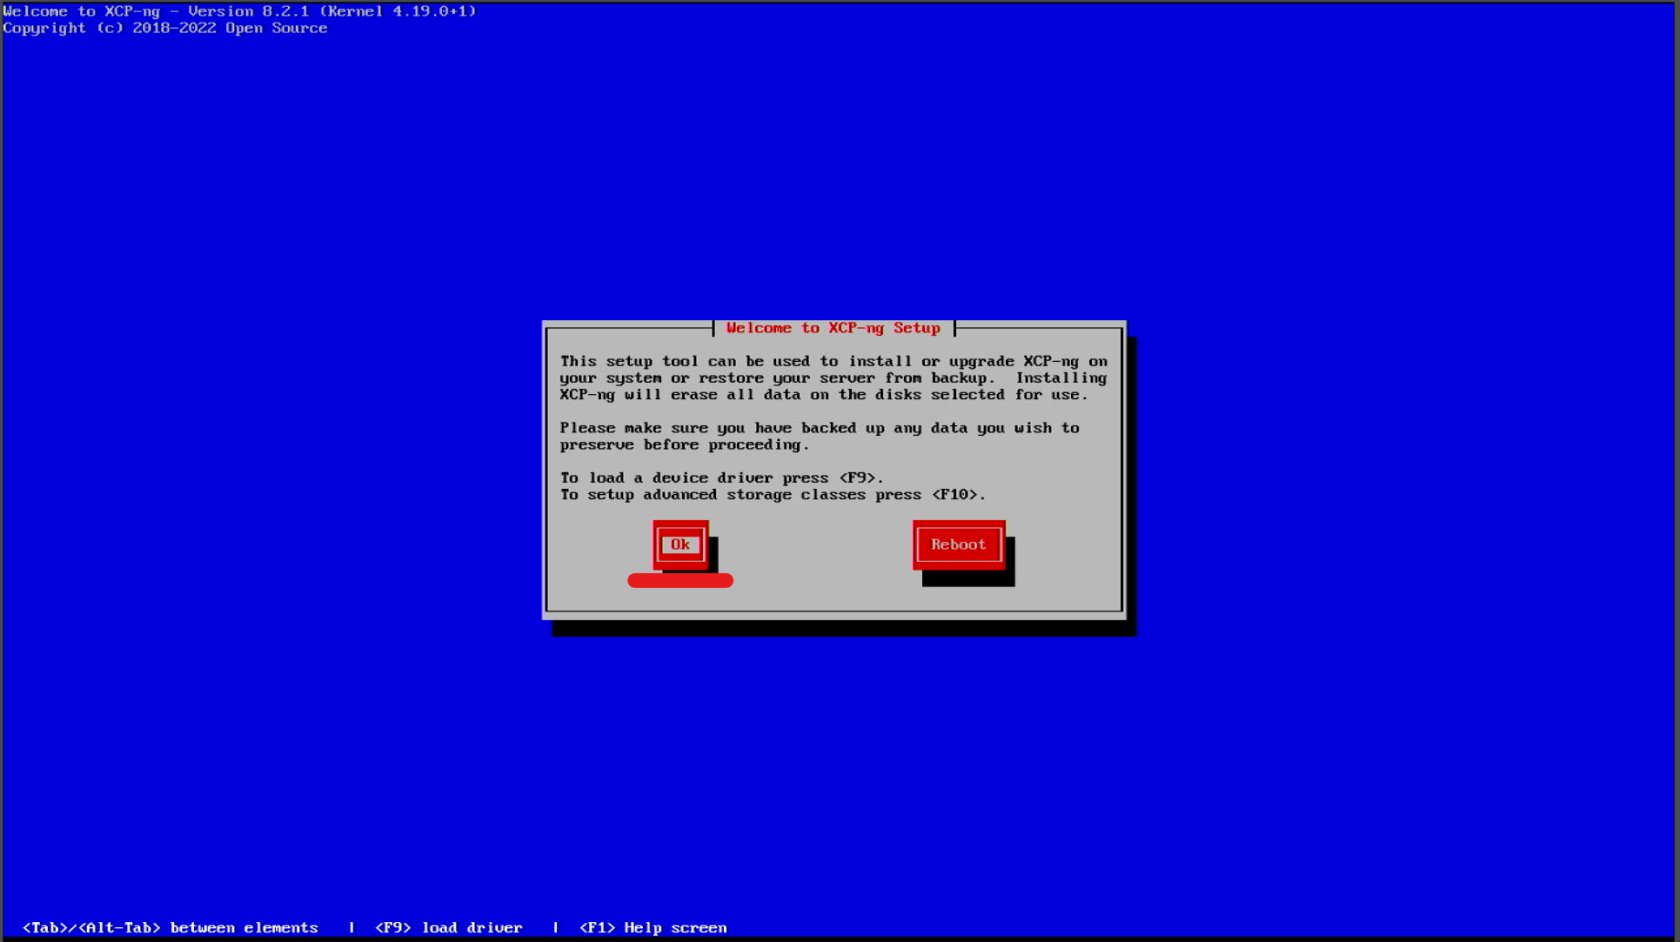
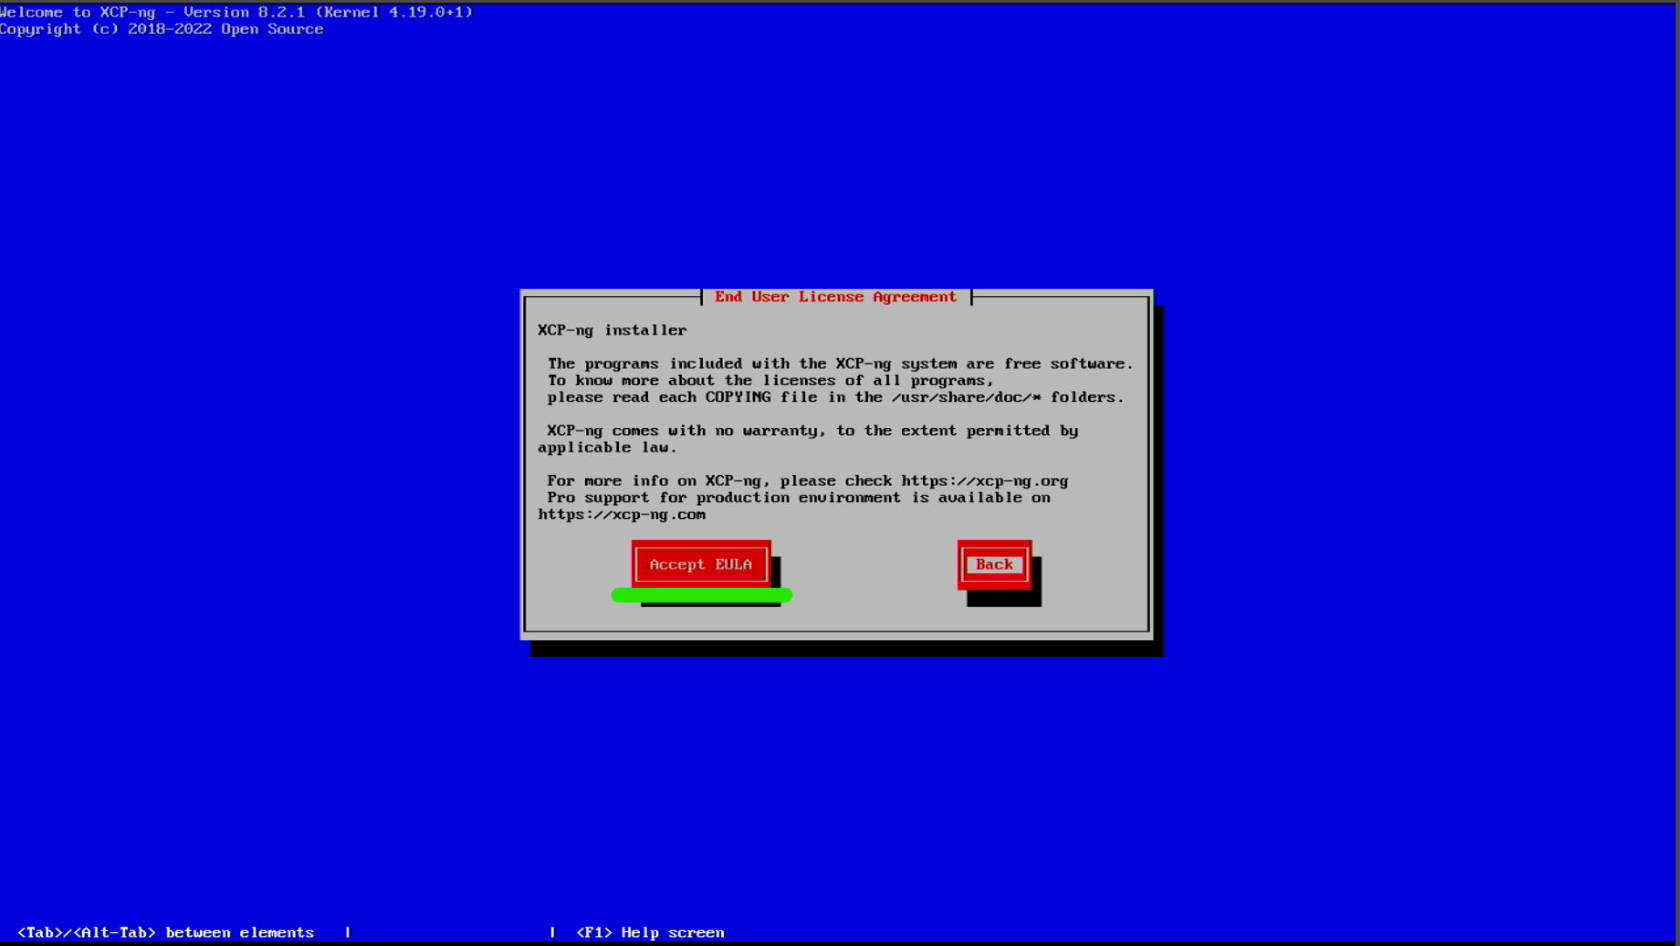
Accept the EULA.
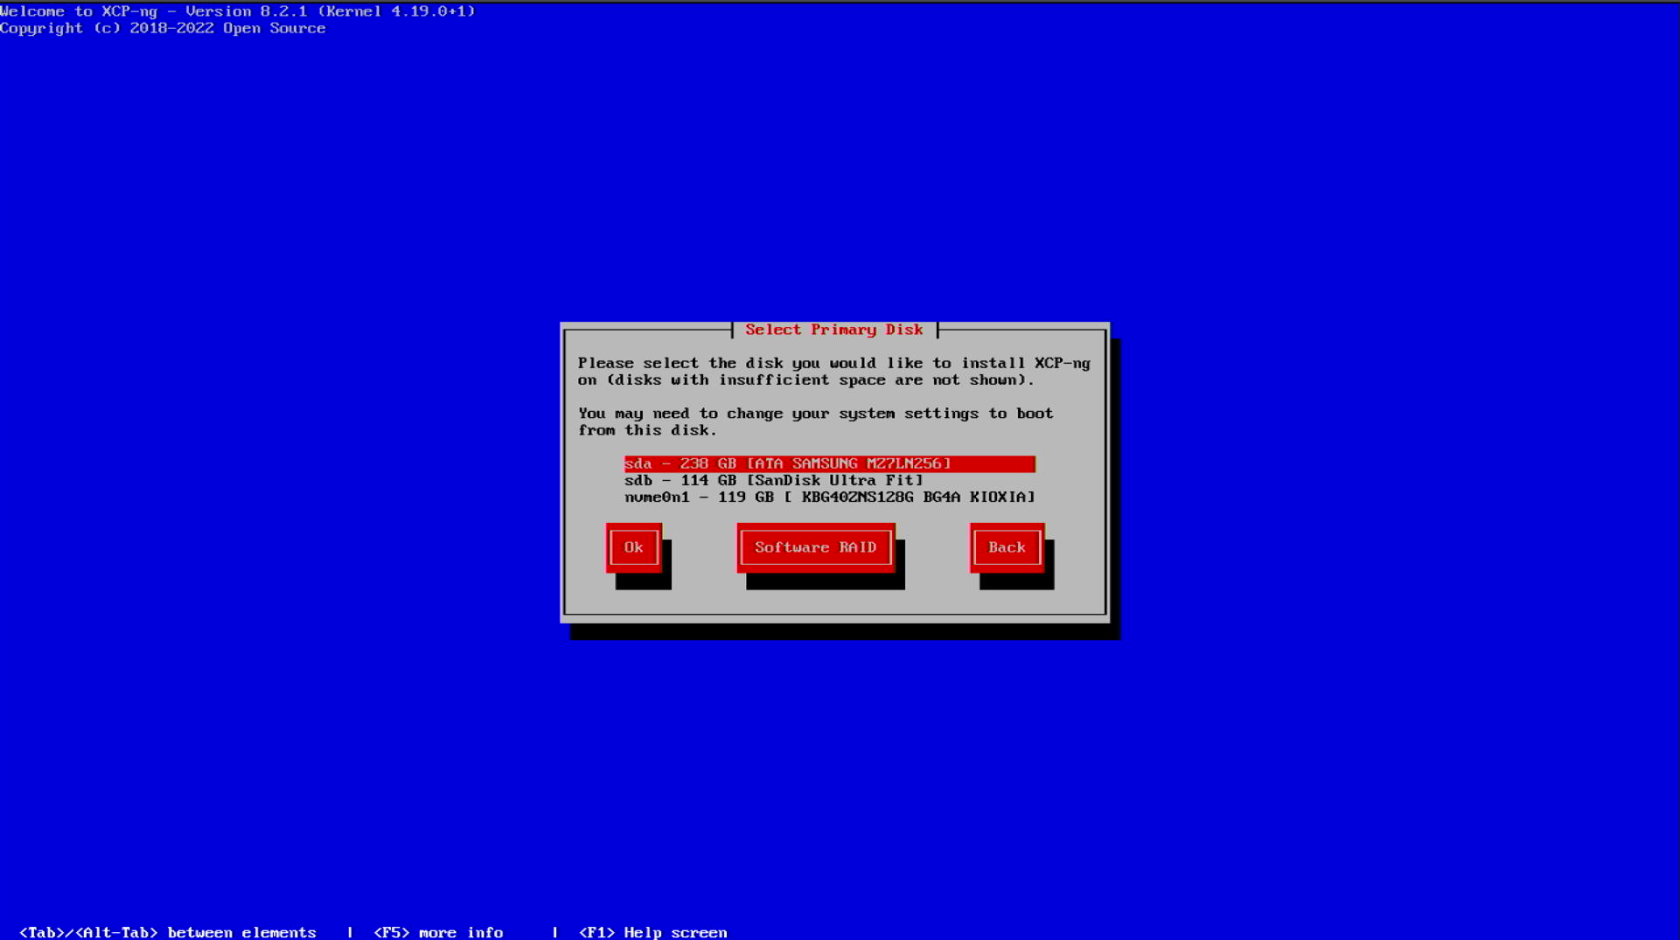
You will be presented with a list of drives to choose from to install XCP-NG on.
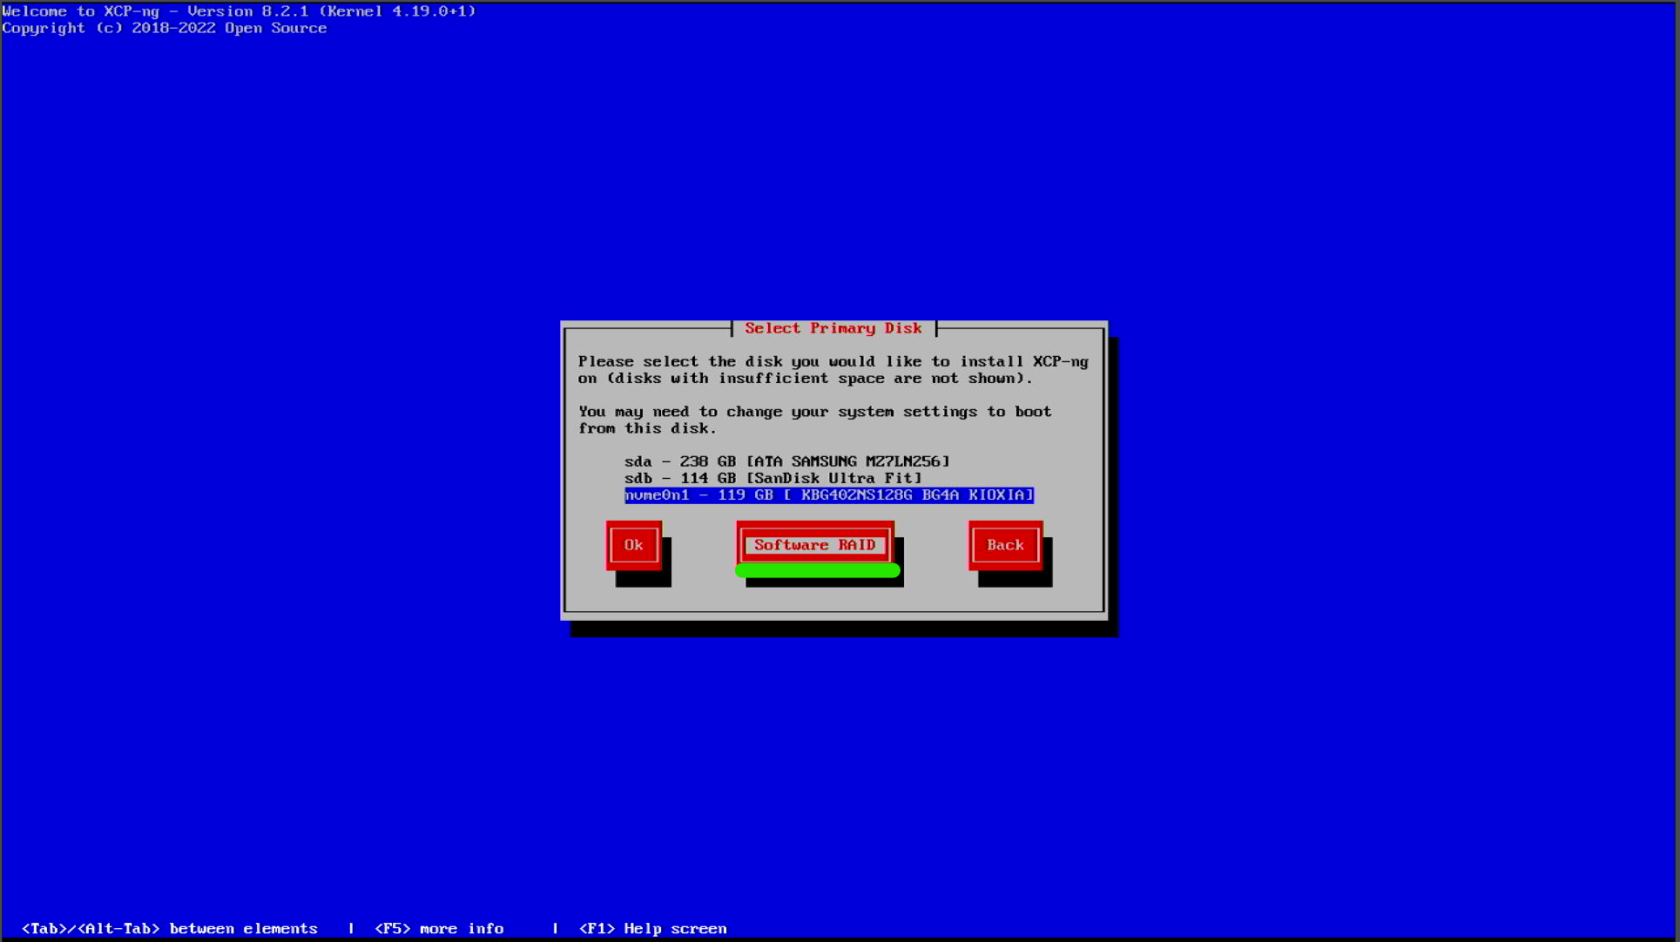
RAID Setup - If you have more than 1 storage device
If you have more than 1 storage device, you can setup Software RAID to have redundancy for the XCP-NG OS. XCP-NG uses MDADM for the software RAID.
Tab to the Software RAID, and hit Enter.
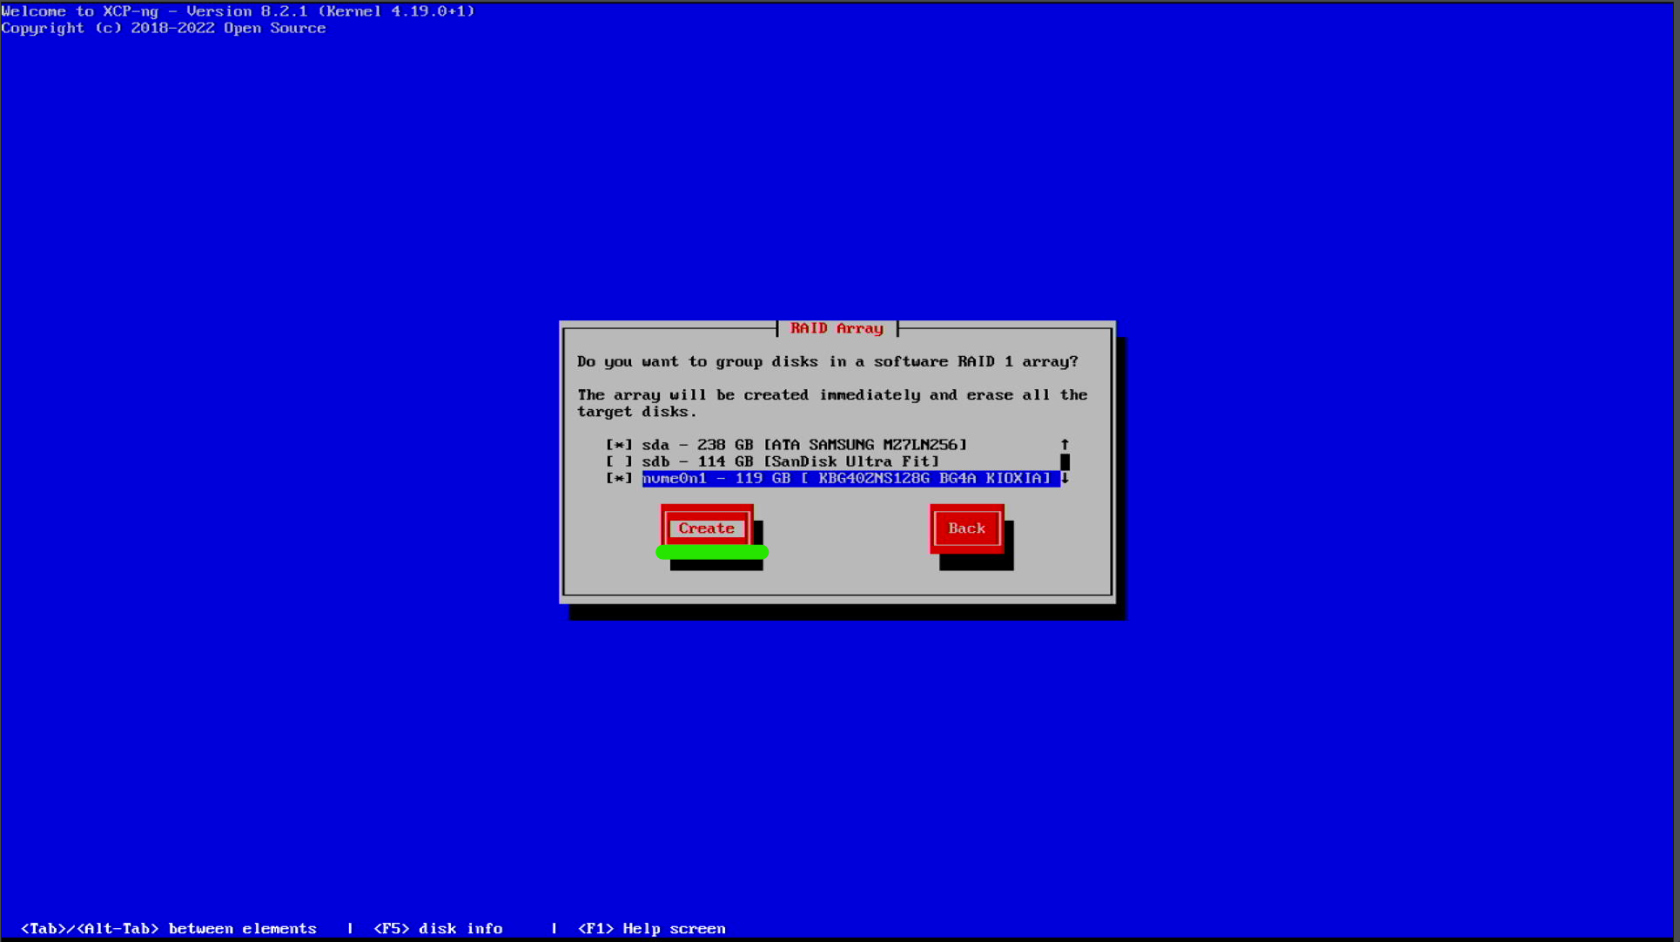
Select the drives you want to be in the Software RAID, and press Space. An asterisk will appear next to the selected drives.
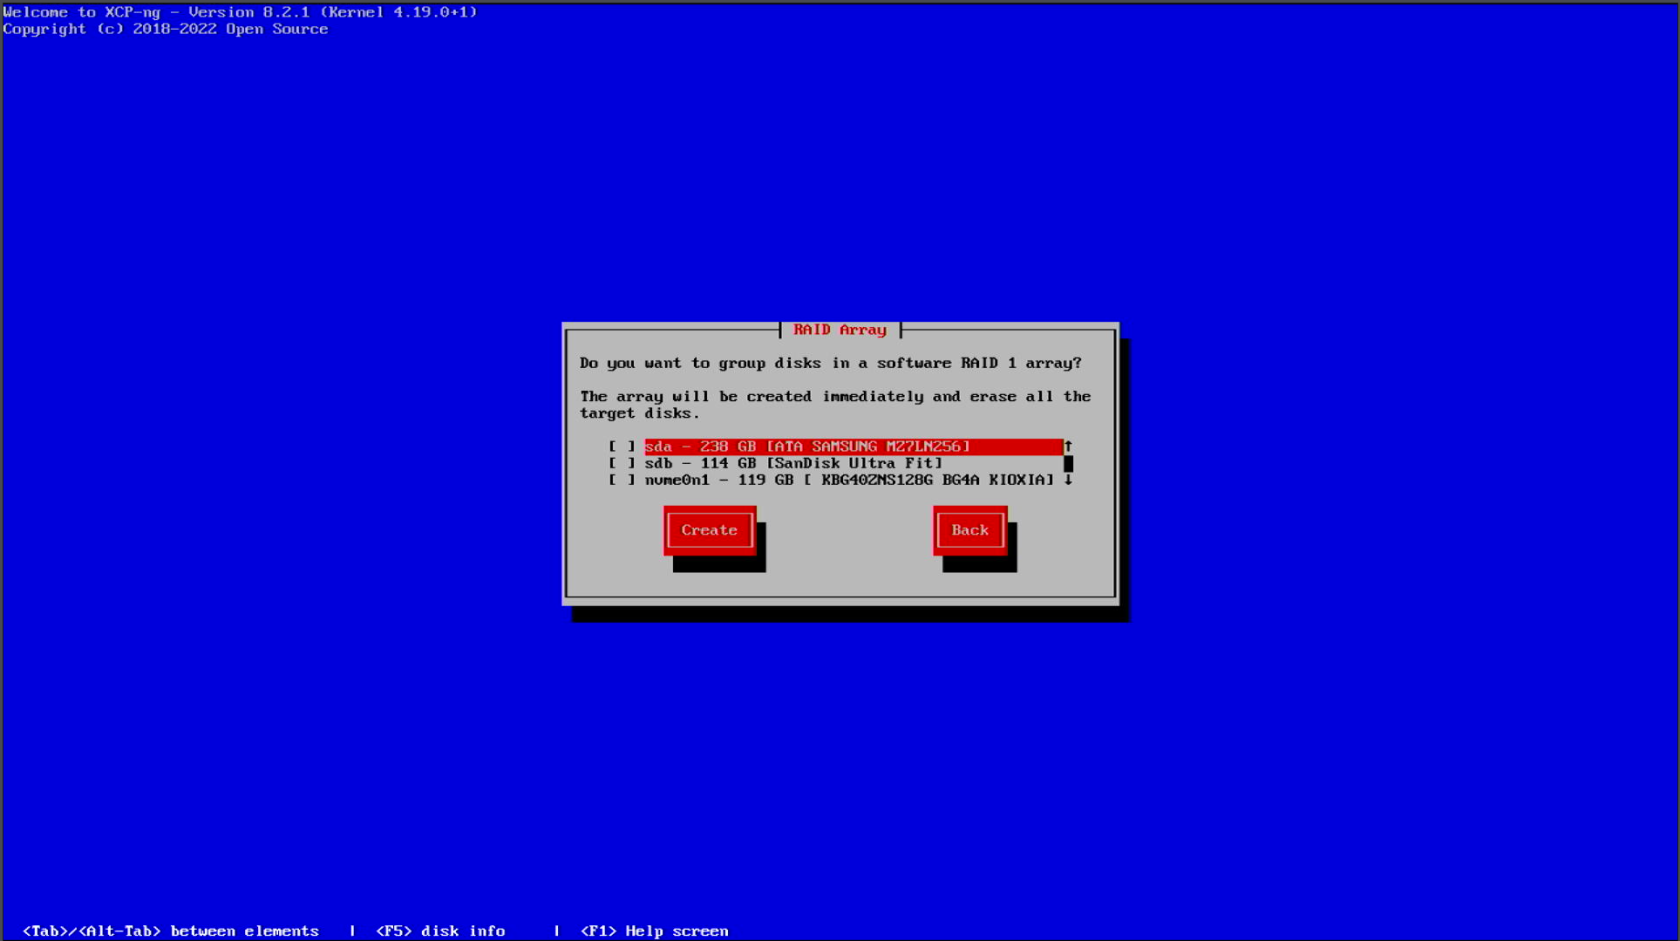
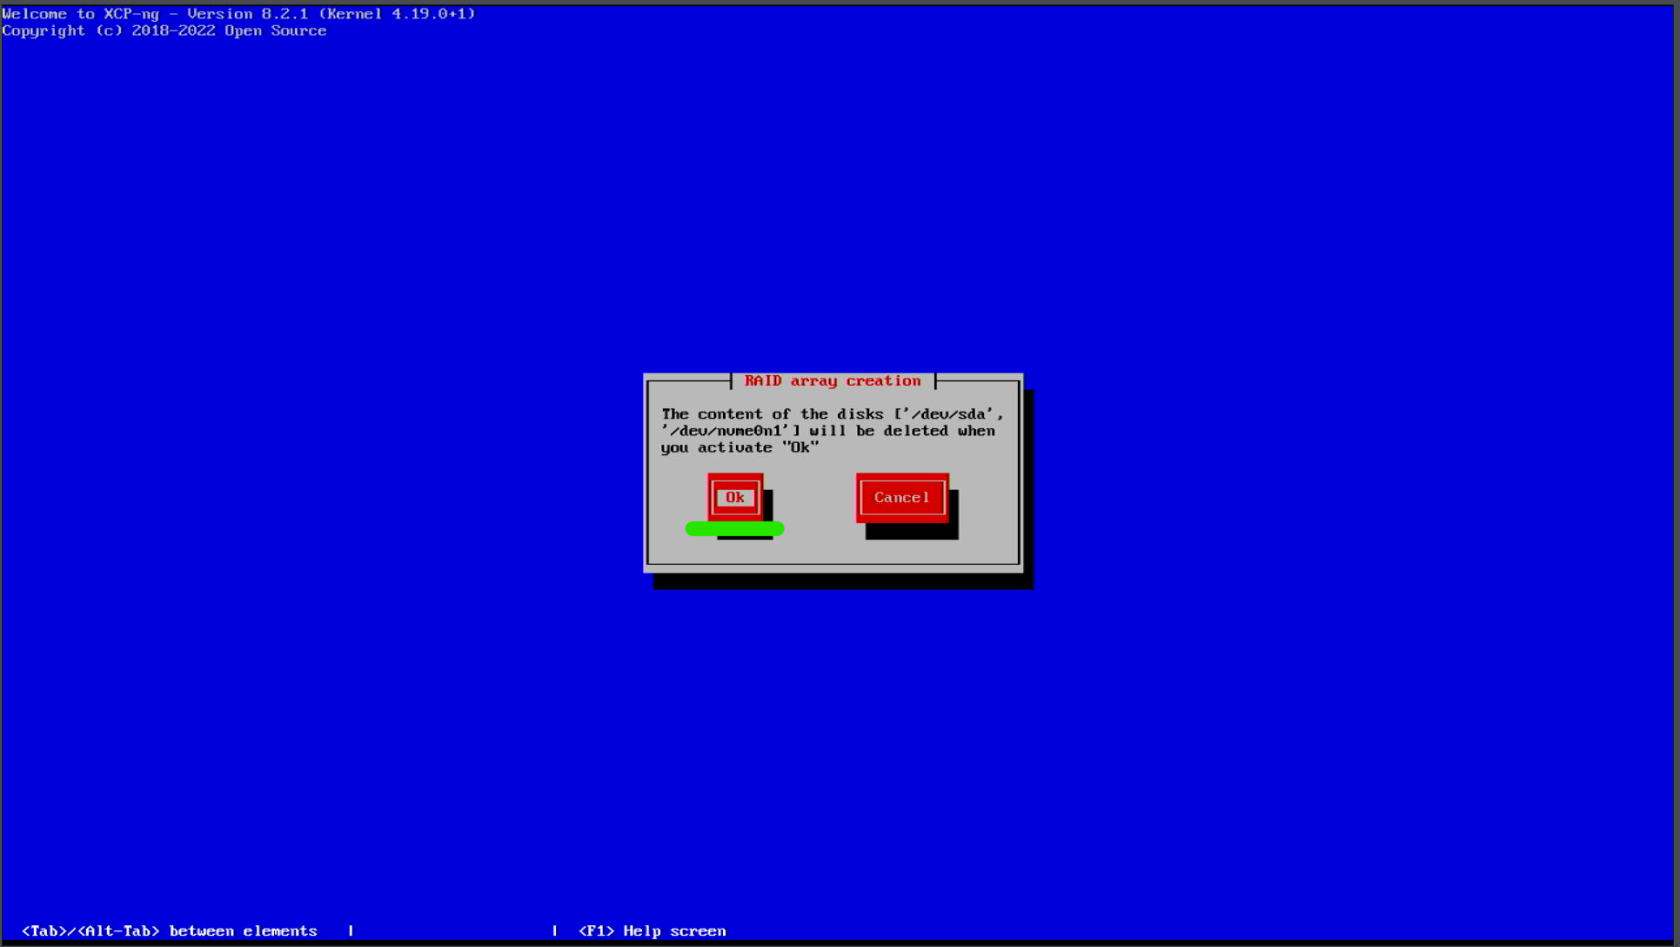
Choose Create. If the selected drives are different size, the final RAID volume will be set to the size of the smallest drive.
Once created, you will be presented with the RAID option to install XCP-NG on.
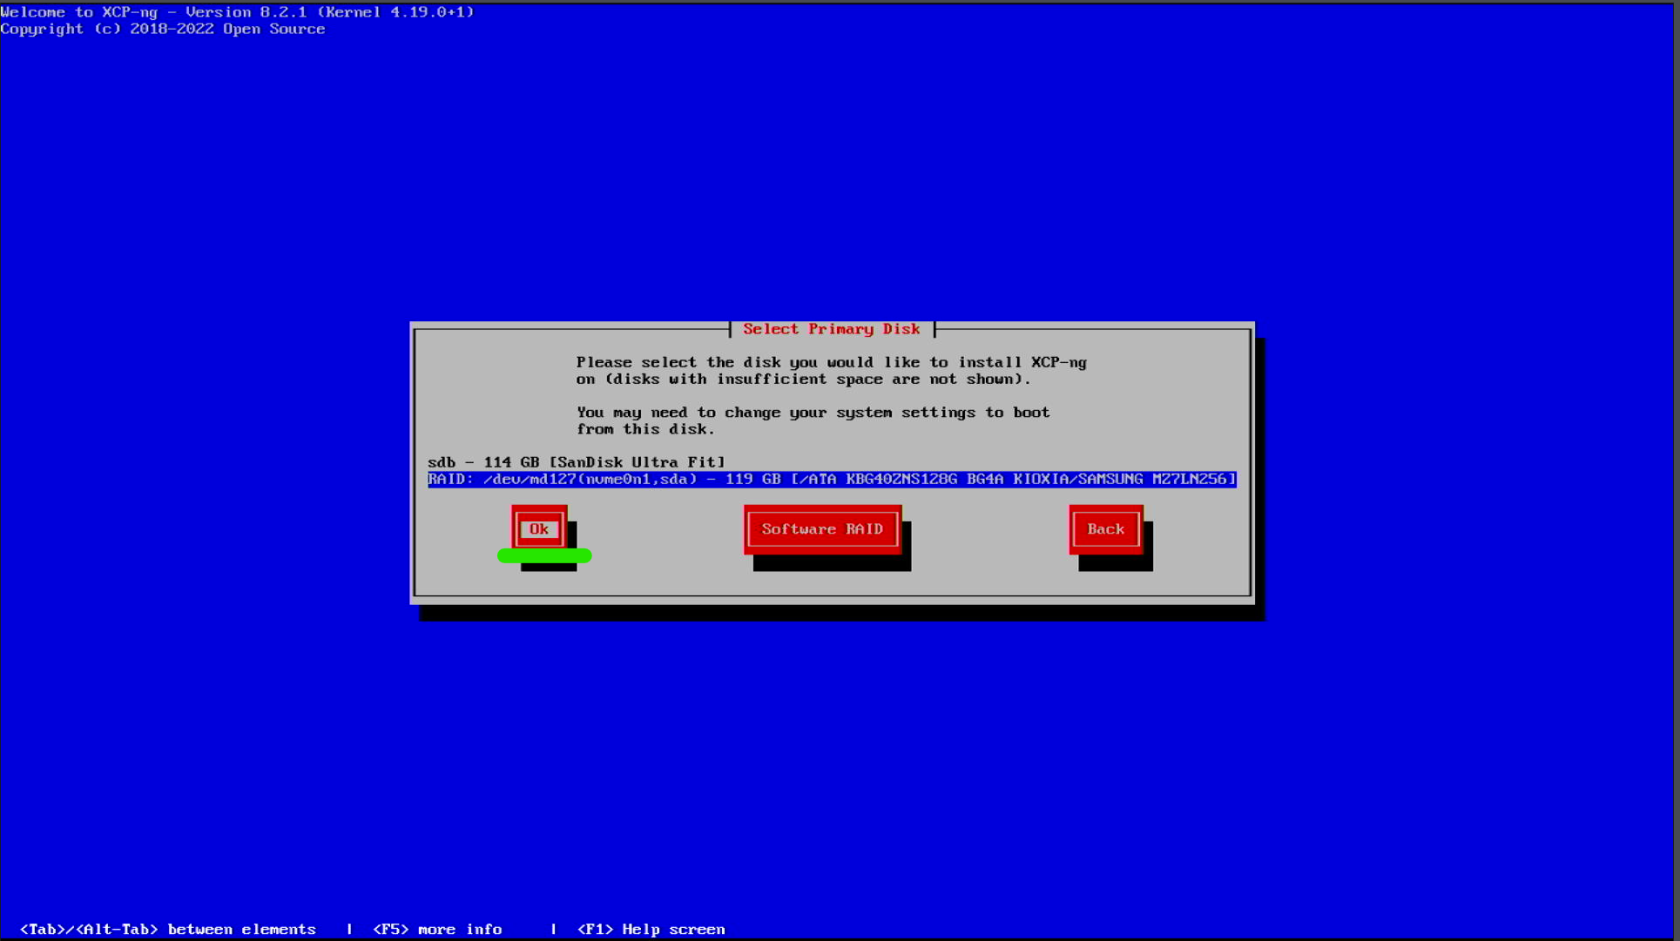
Choose the drive you want to install XCP-NG on, and hit Ok.

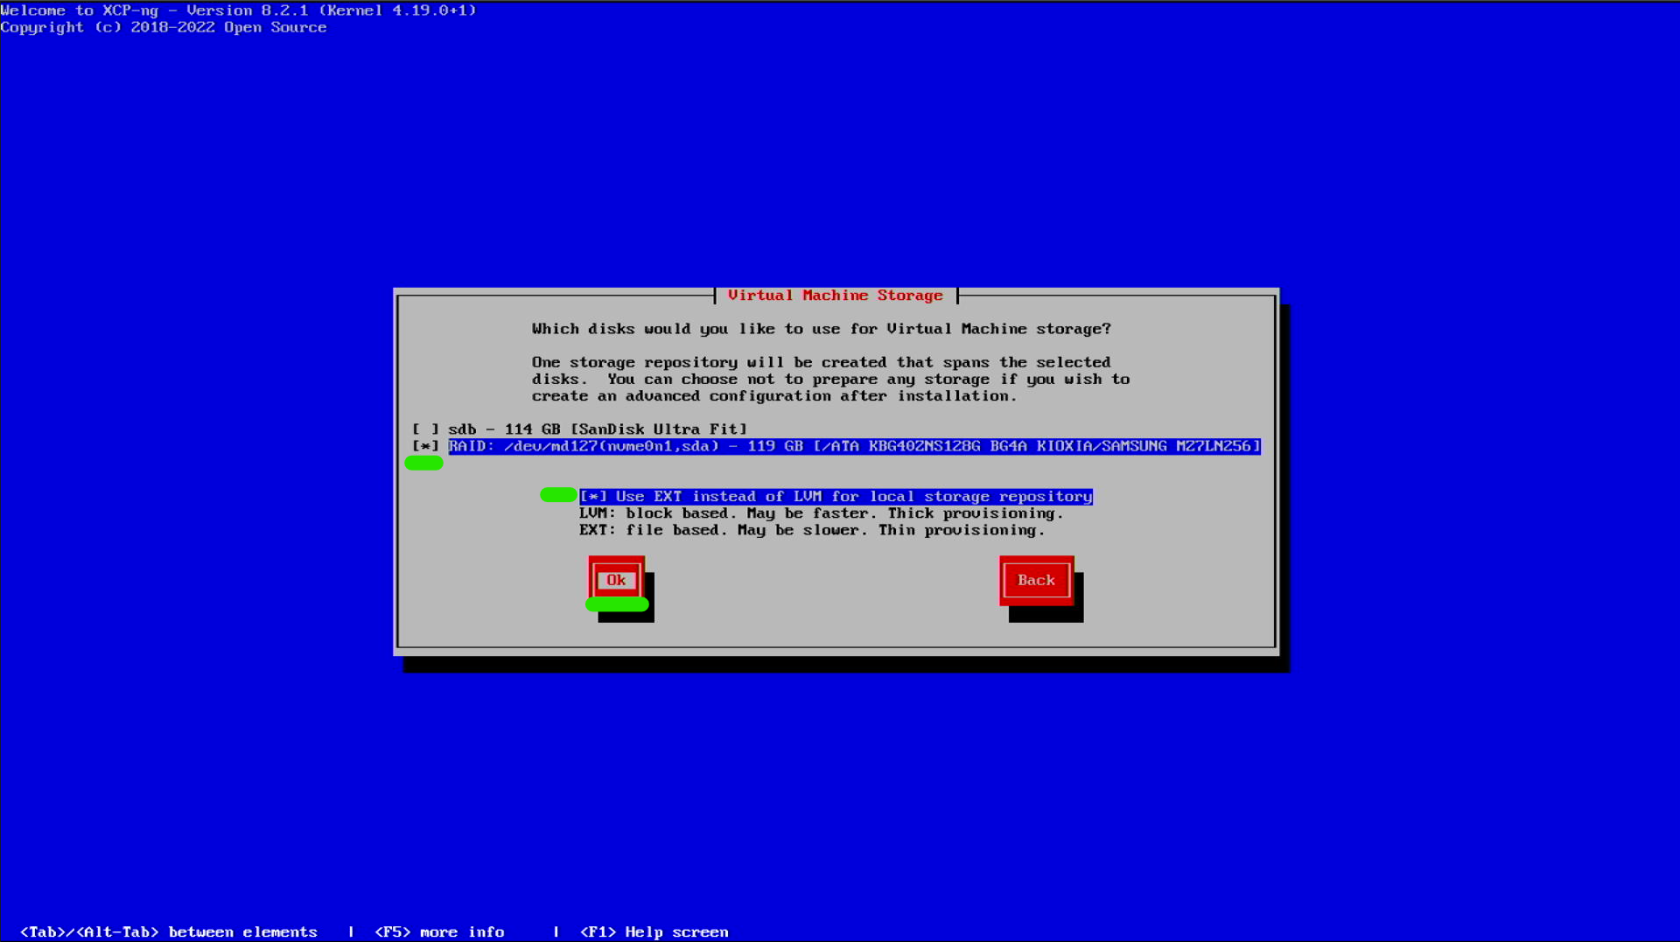
The entire XCP-NG OS takes up about 46GB of space. Any remaining space on the drive can be setup as another partition and be used for VMs.
Choose the same drive you have chose before, and select Ok. I recommend also choosing the use EXT option to benefit from thin provisioning.
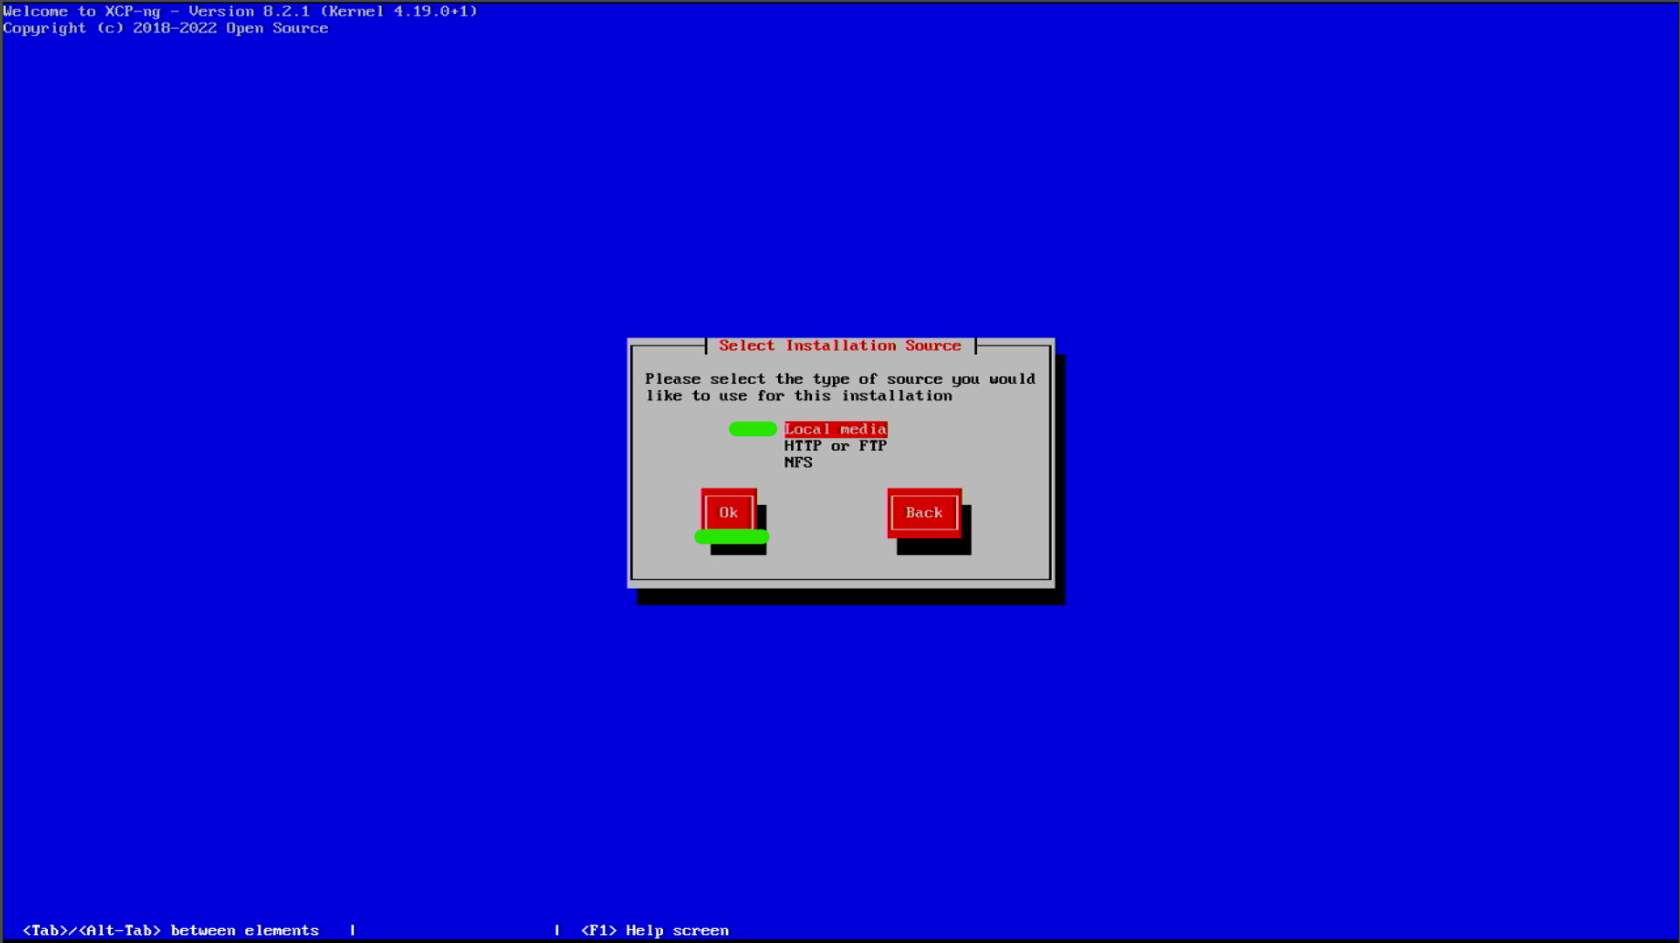
Since we are installing using an USB, select Local Media and continue.
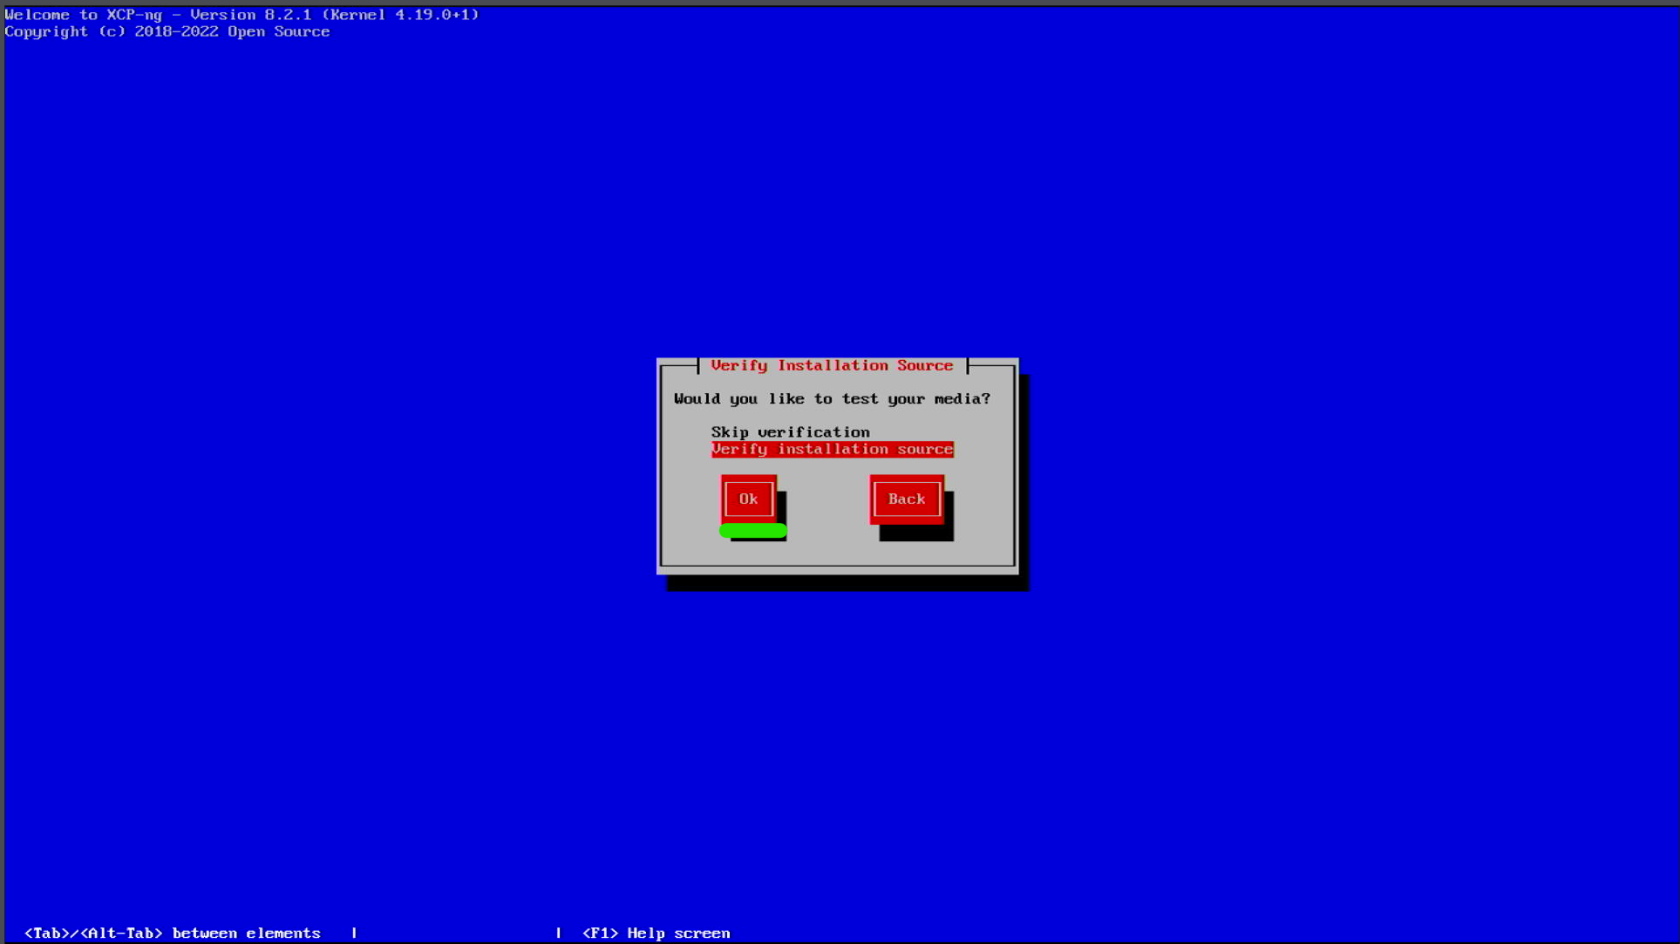
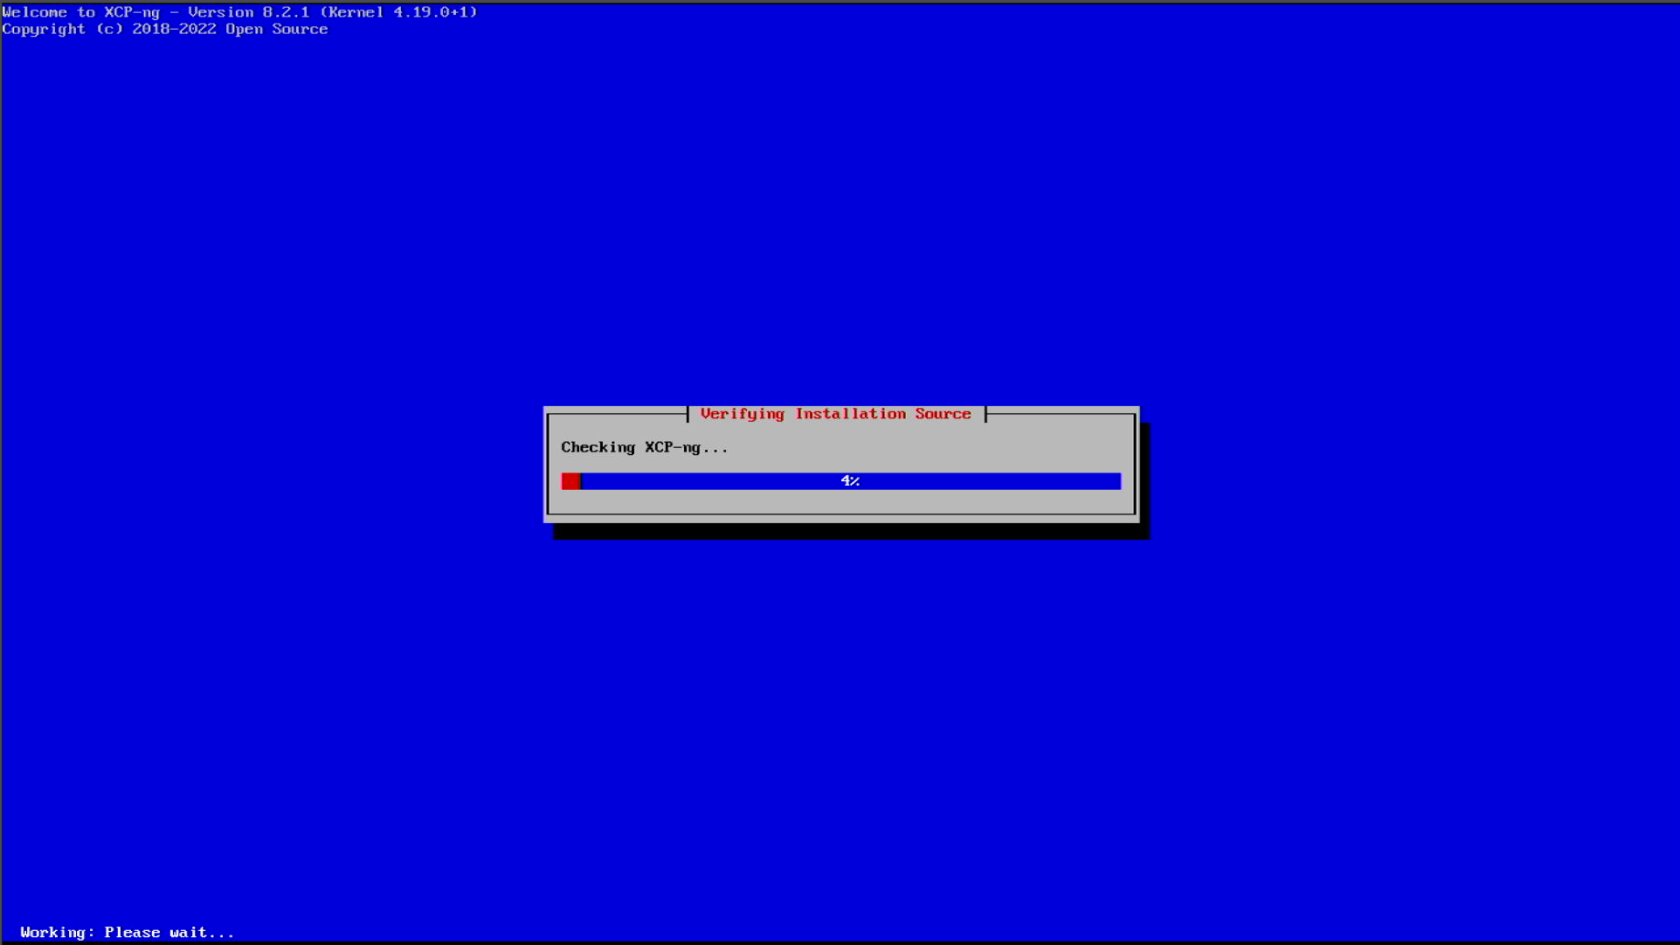
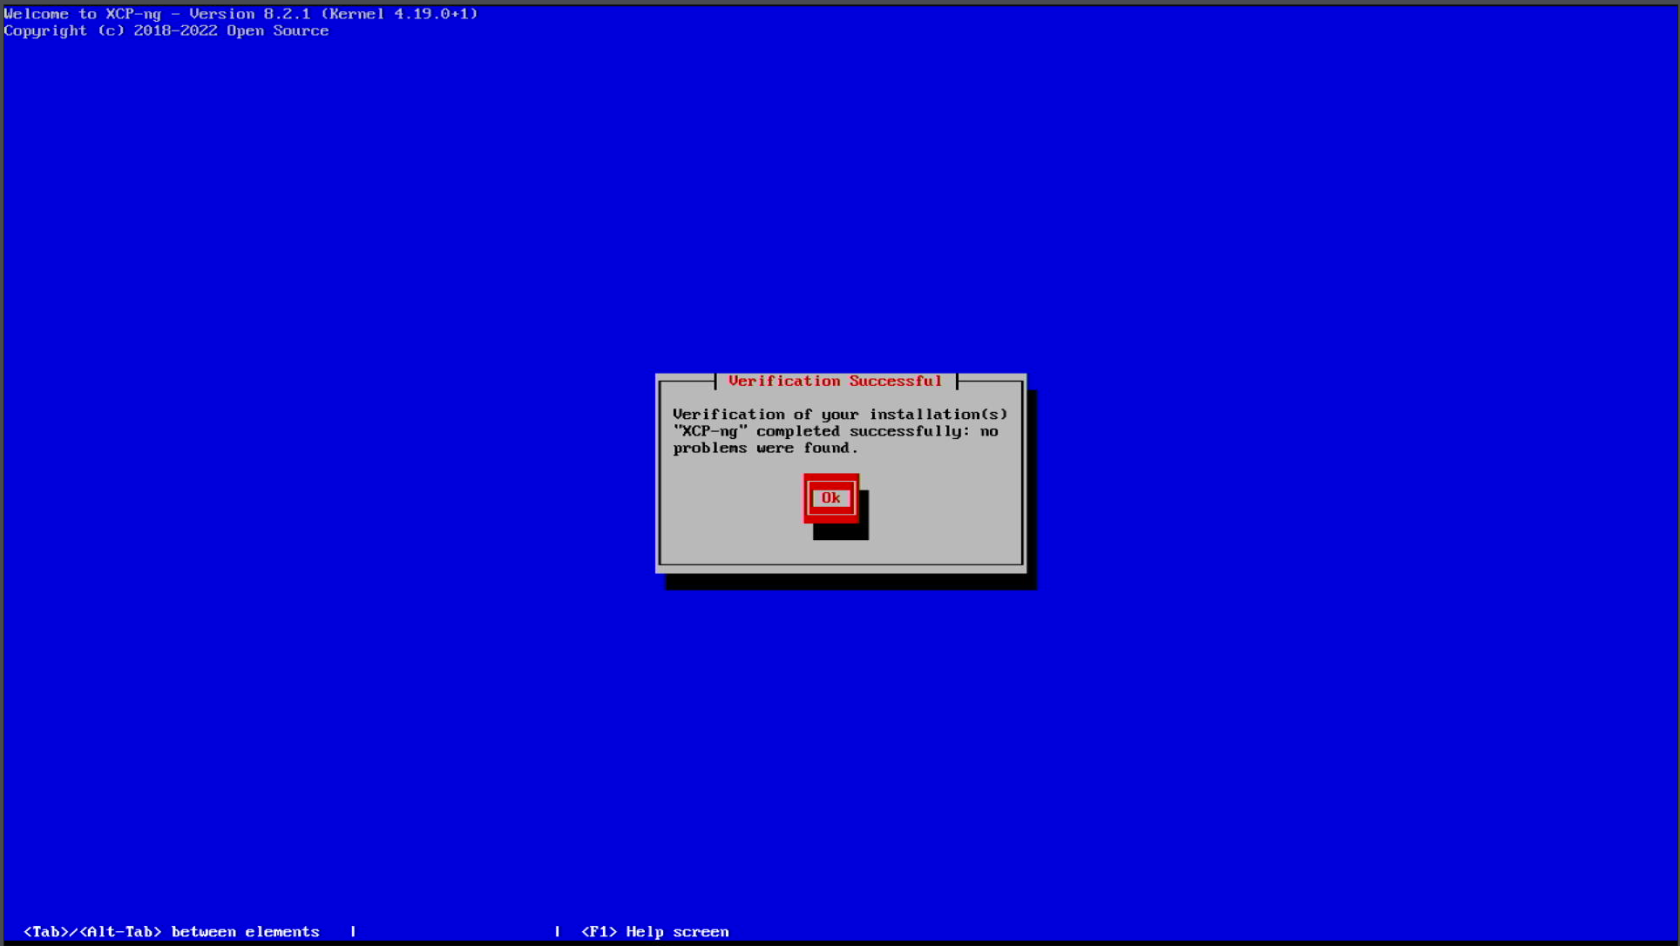
You can choose to Verify the installation source before proceeding to the full install, just in case.
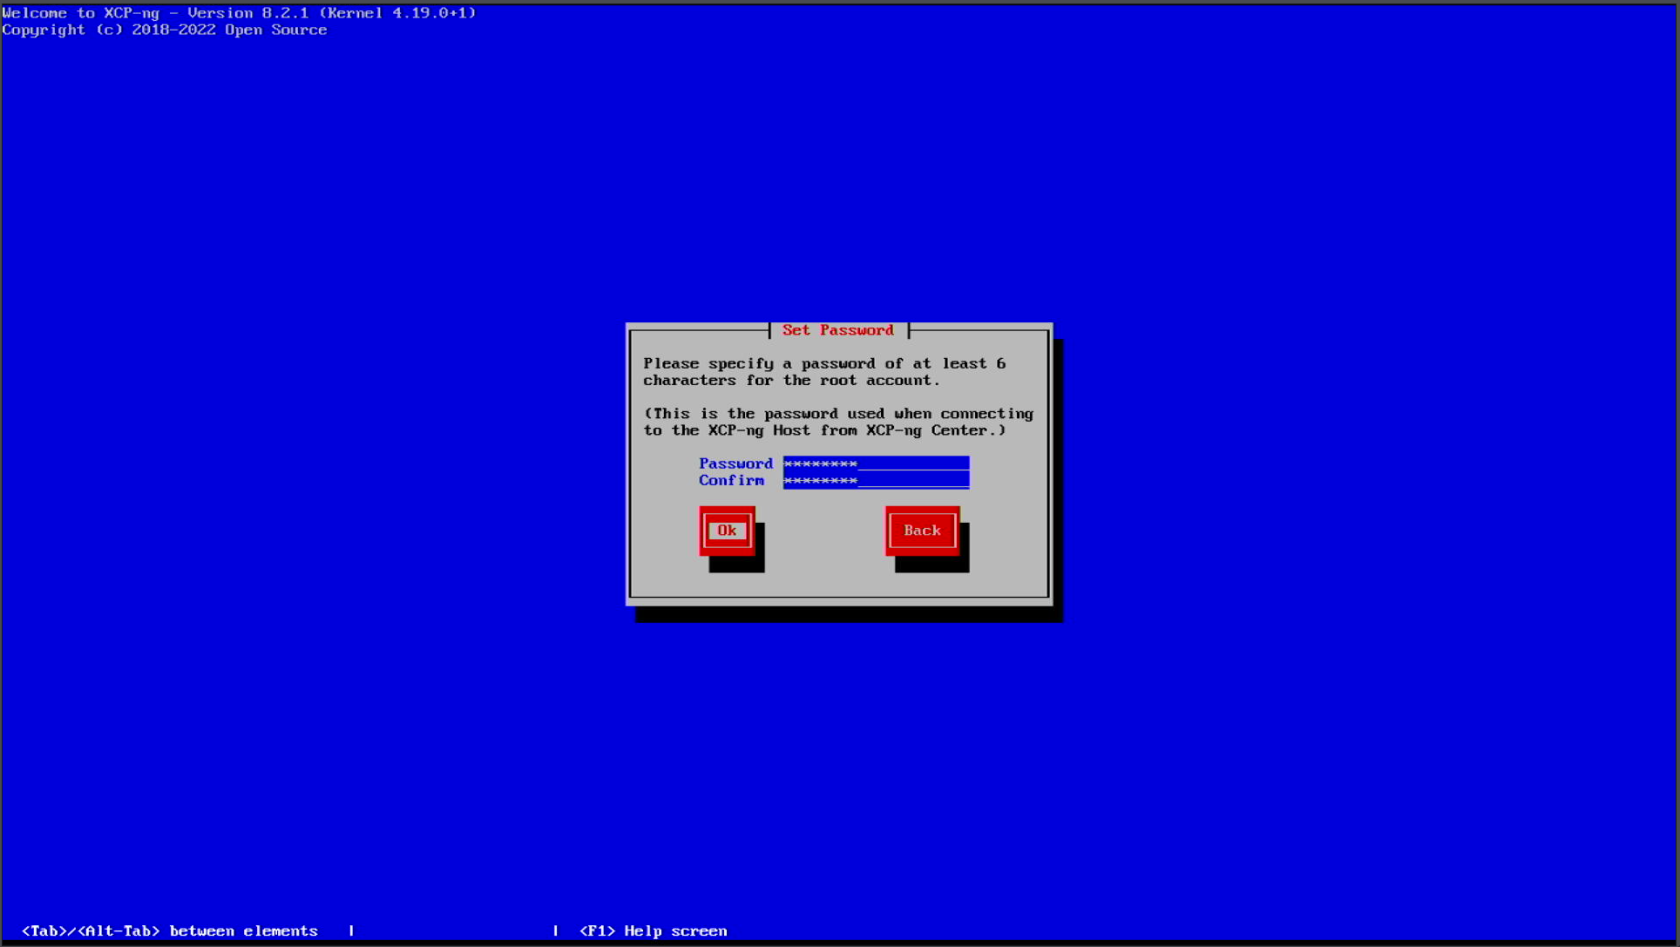
Set a password for the root user account. You can always change this later by running passwd when logged in as root.
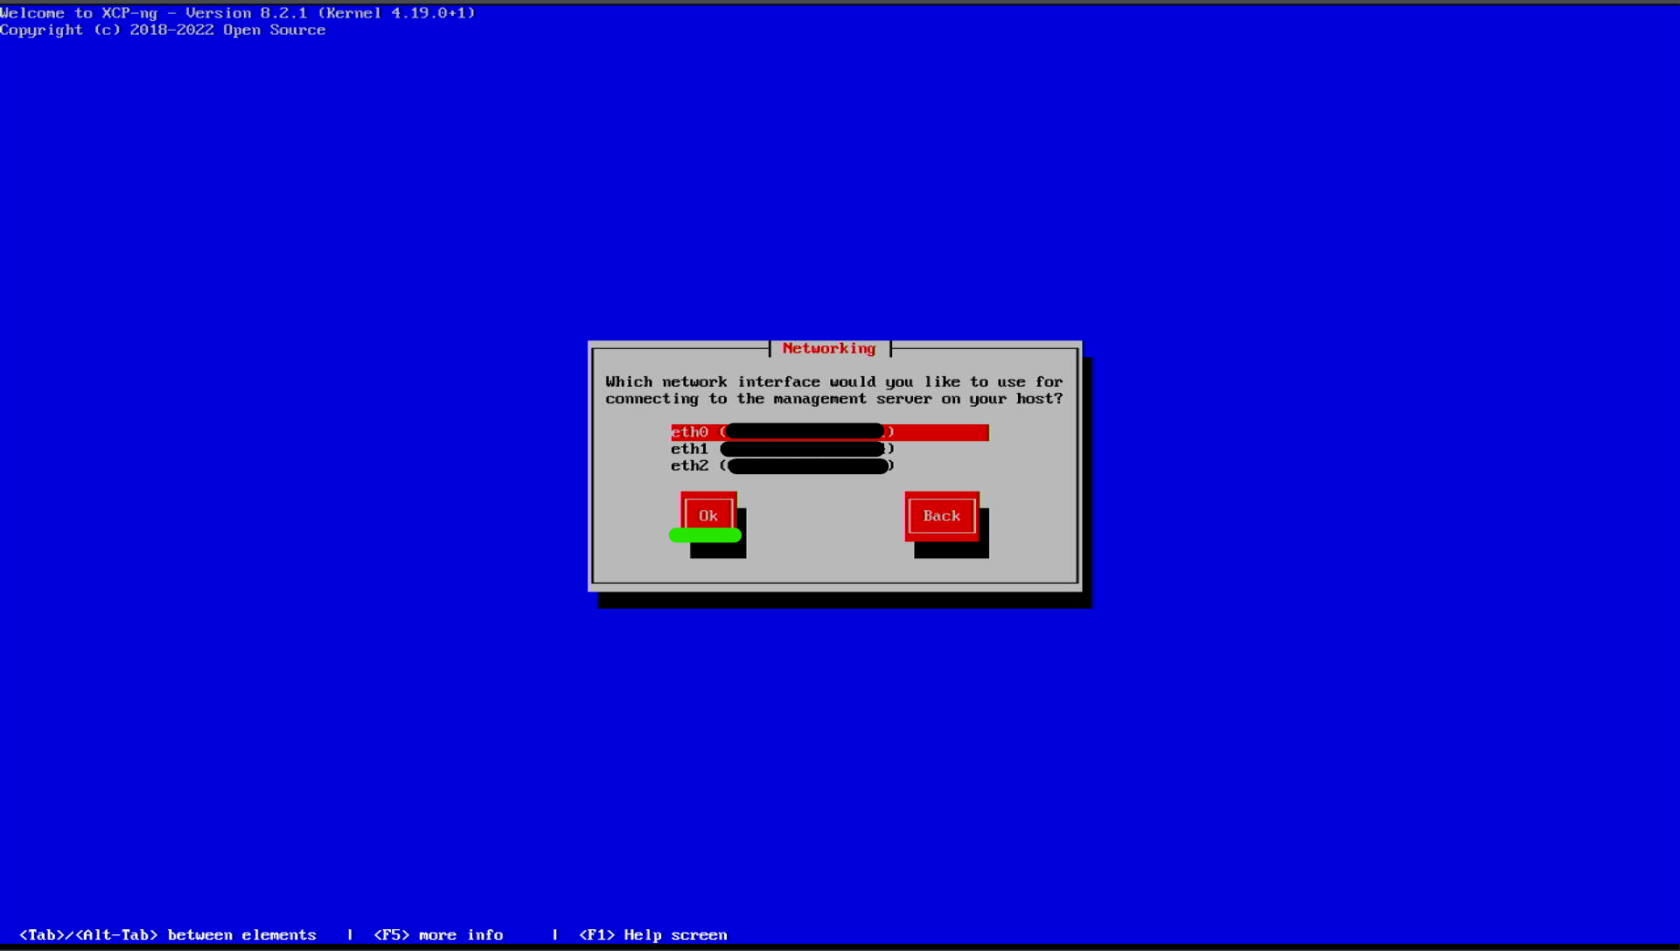
Select the Ethernet NIC that will be used for the management network.
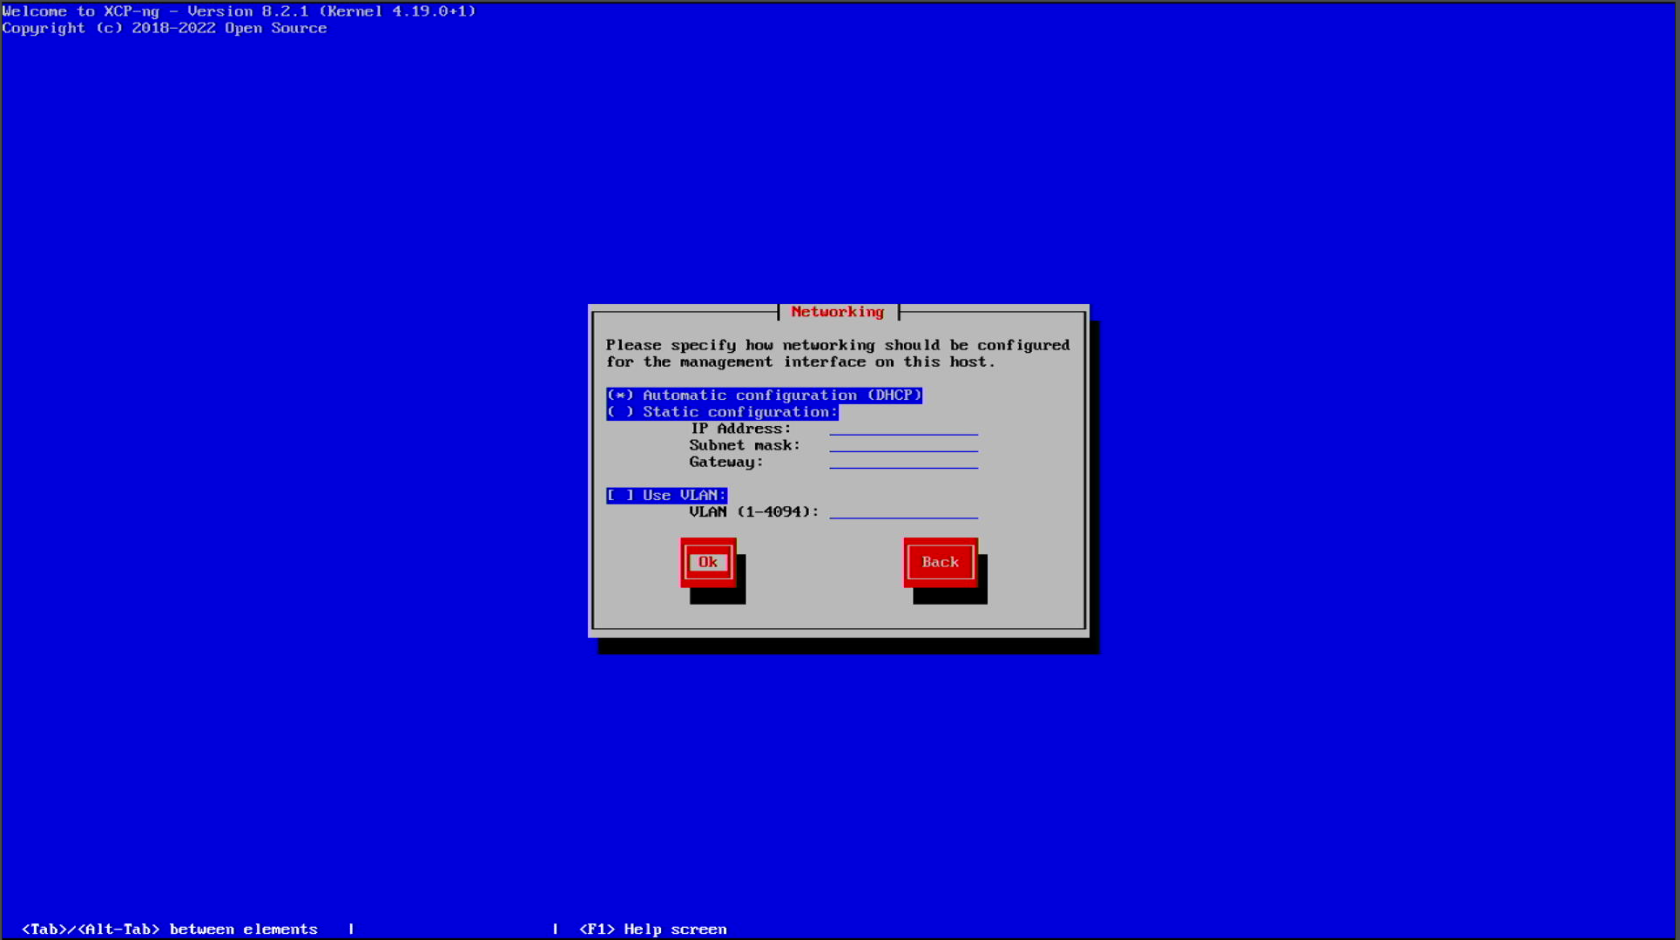
Give your host a static IP, or leave it set to DHCP.
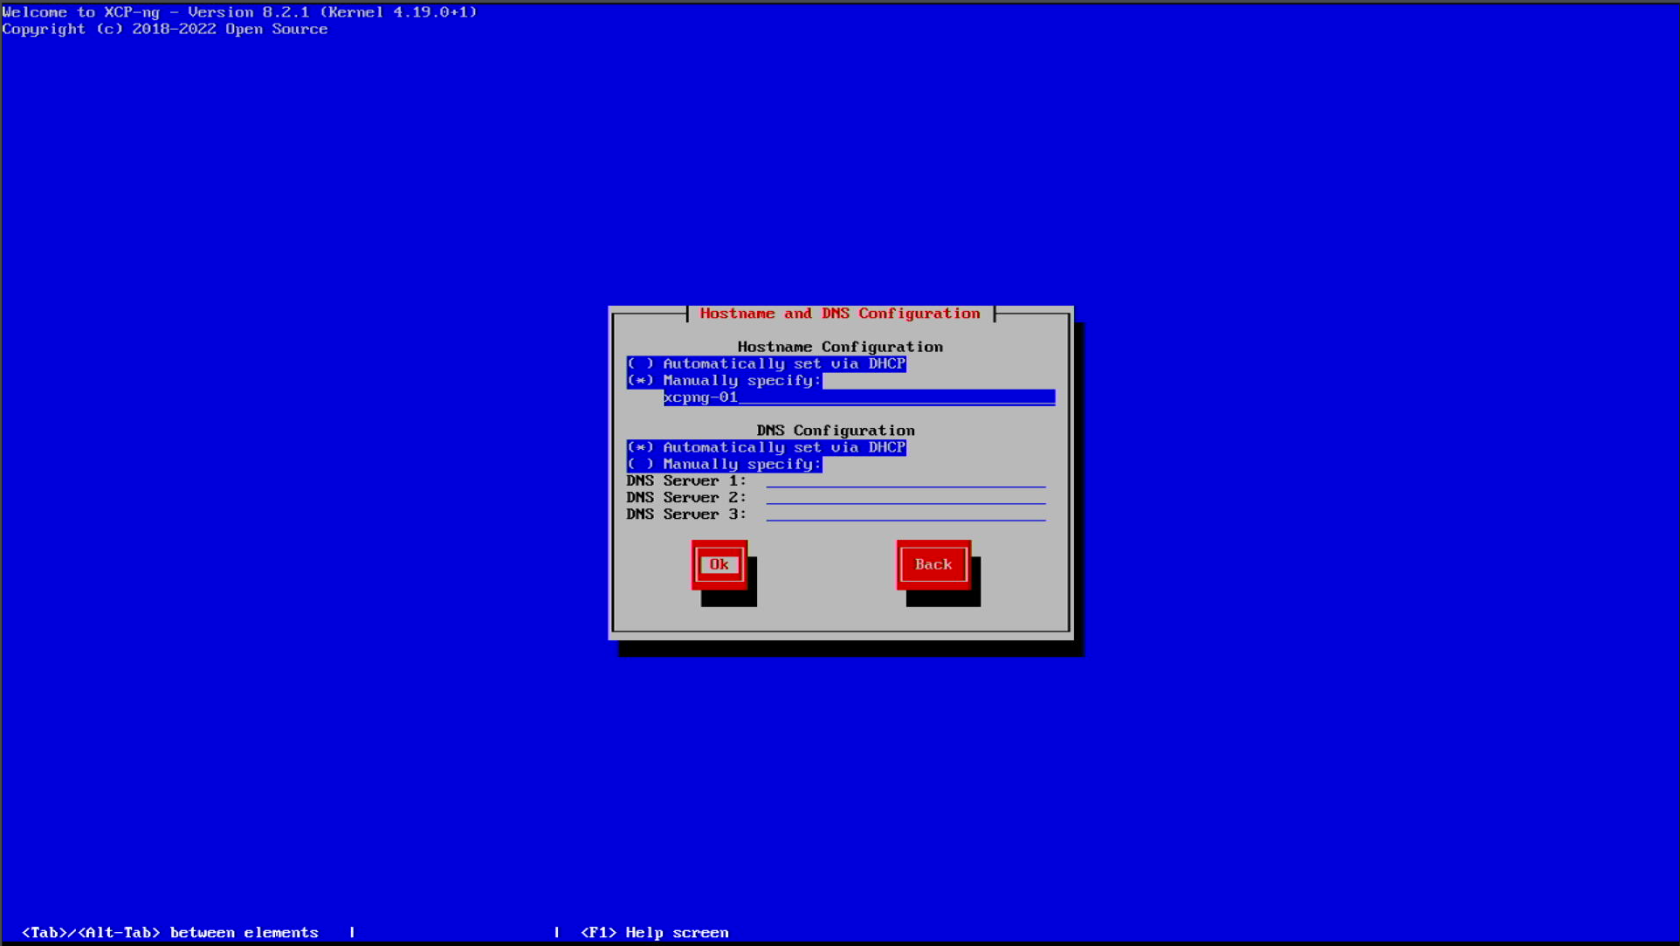
Set a hostname.
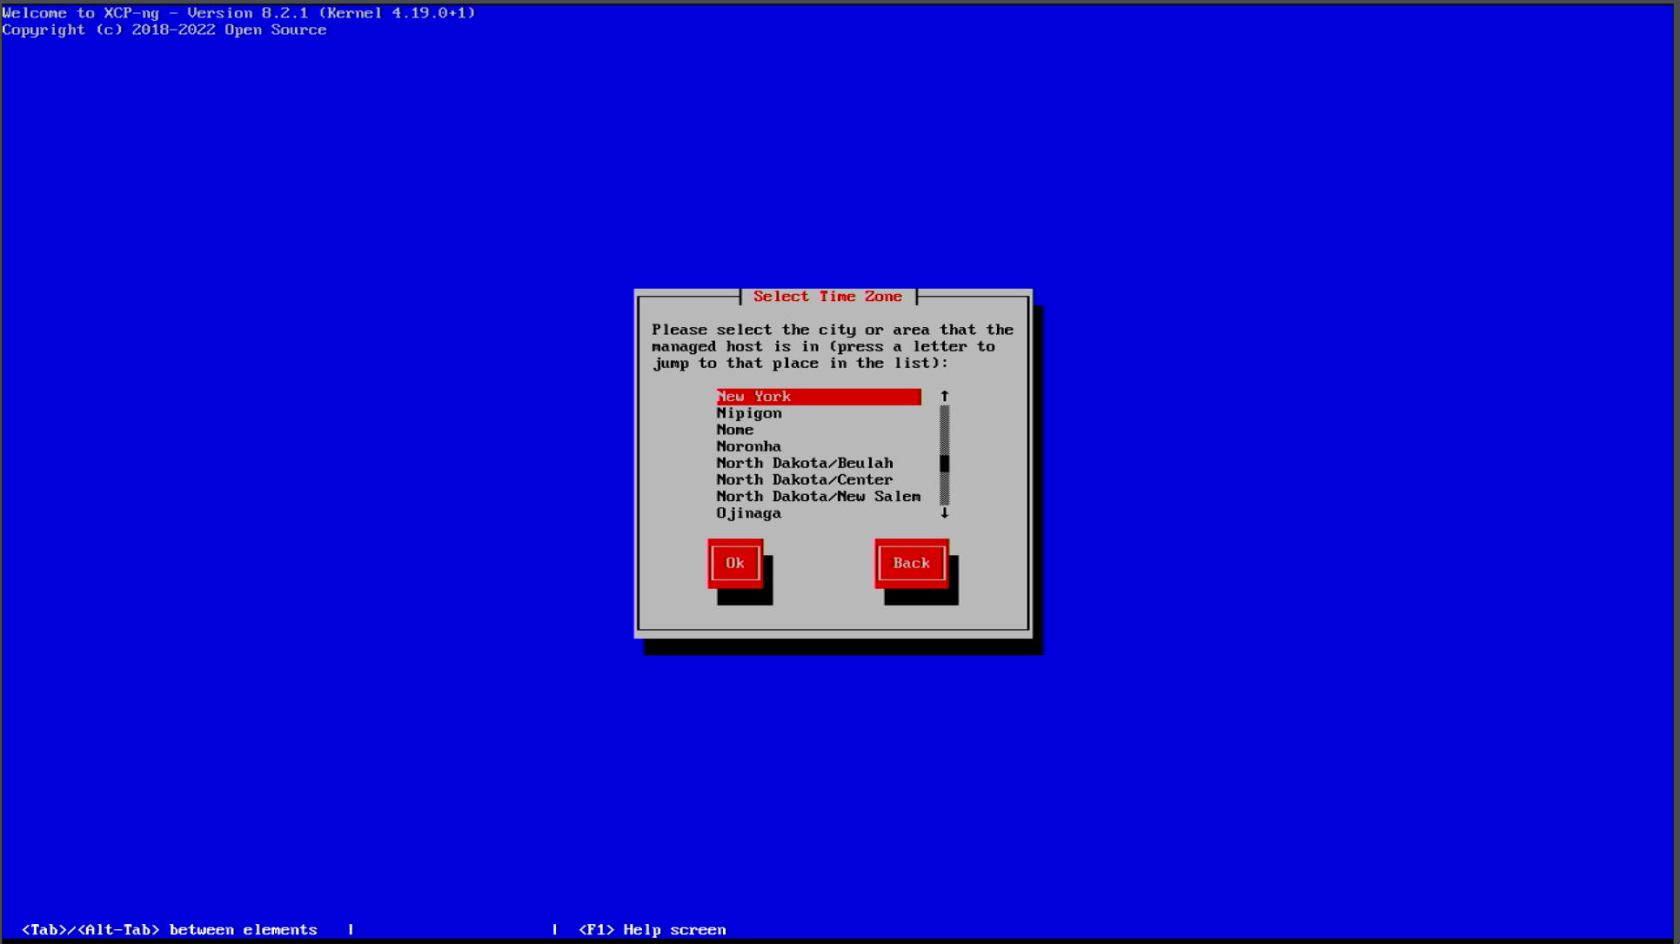
Select the Time Zone.

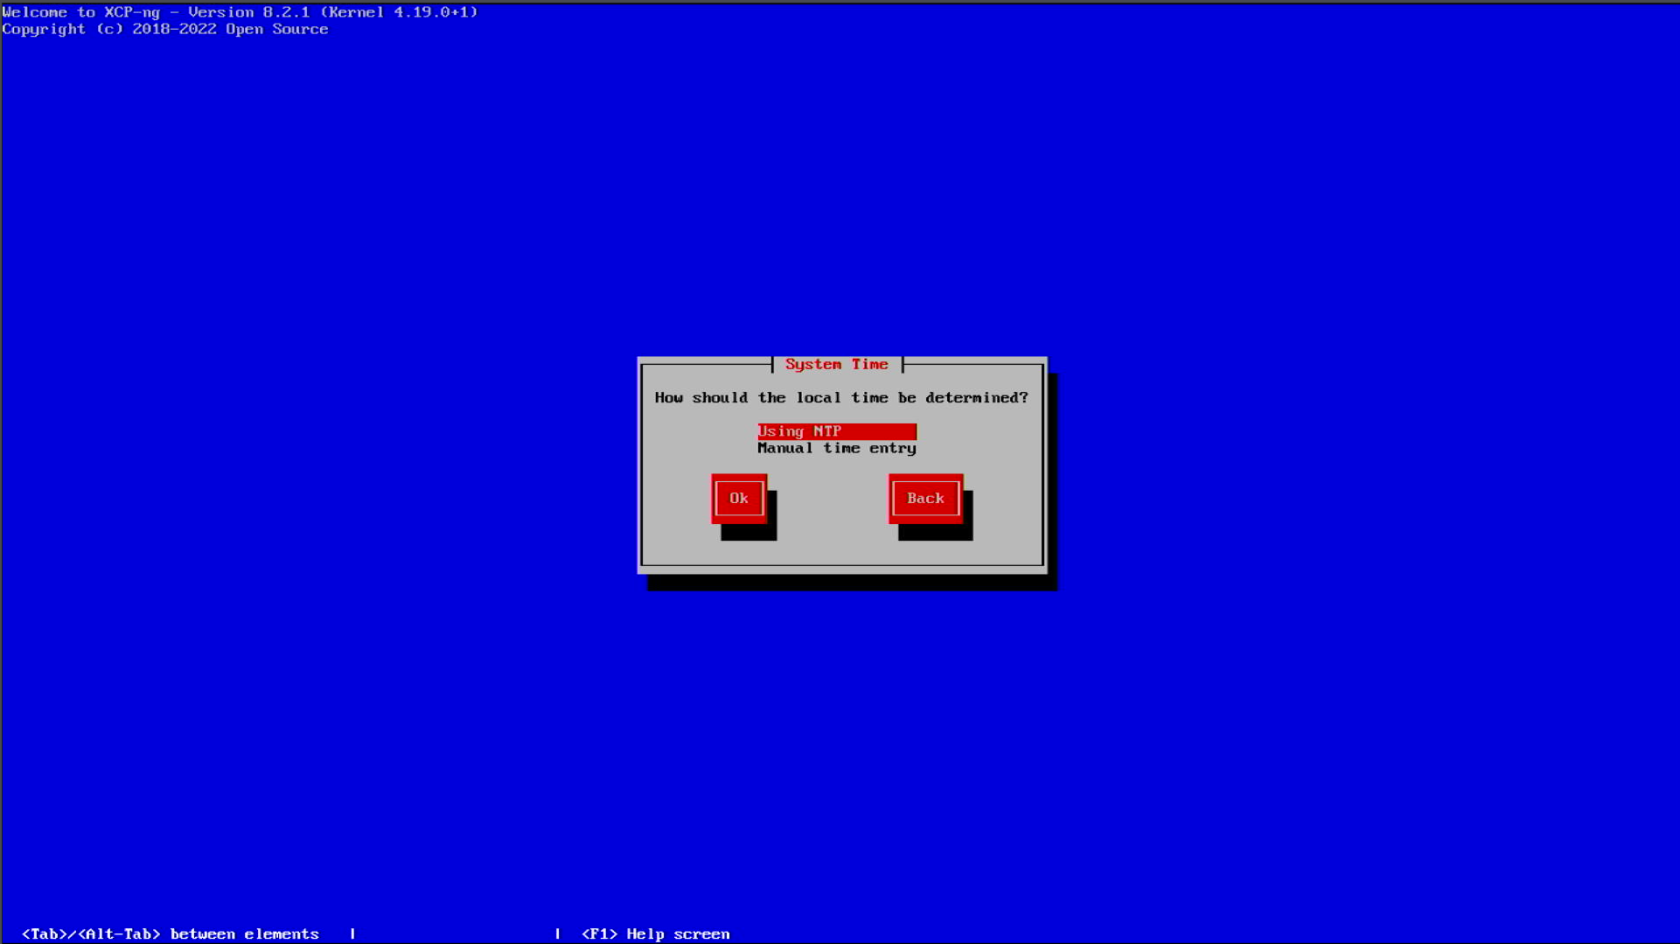
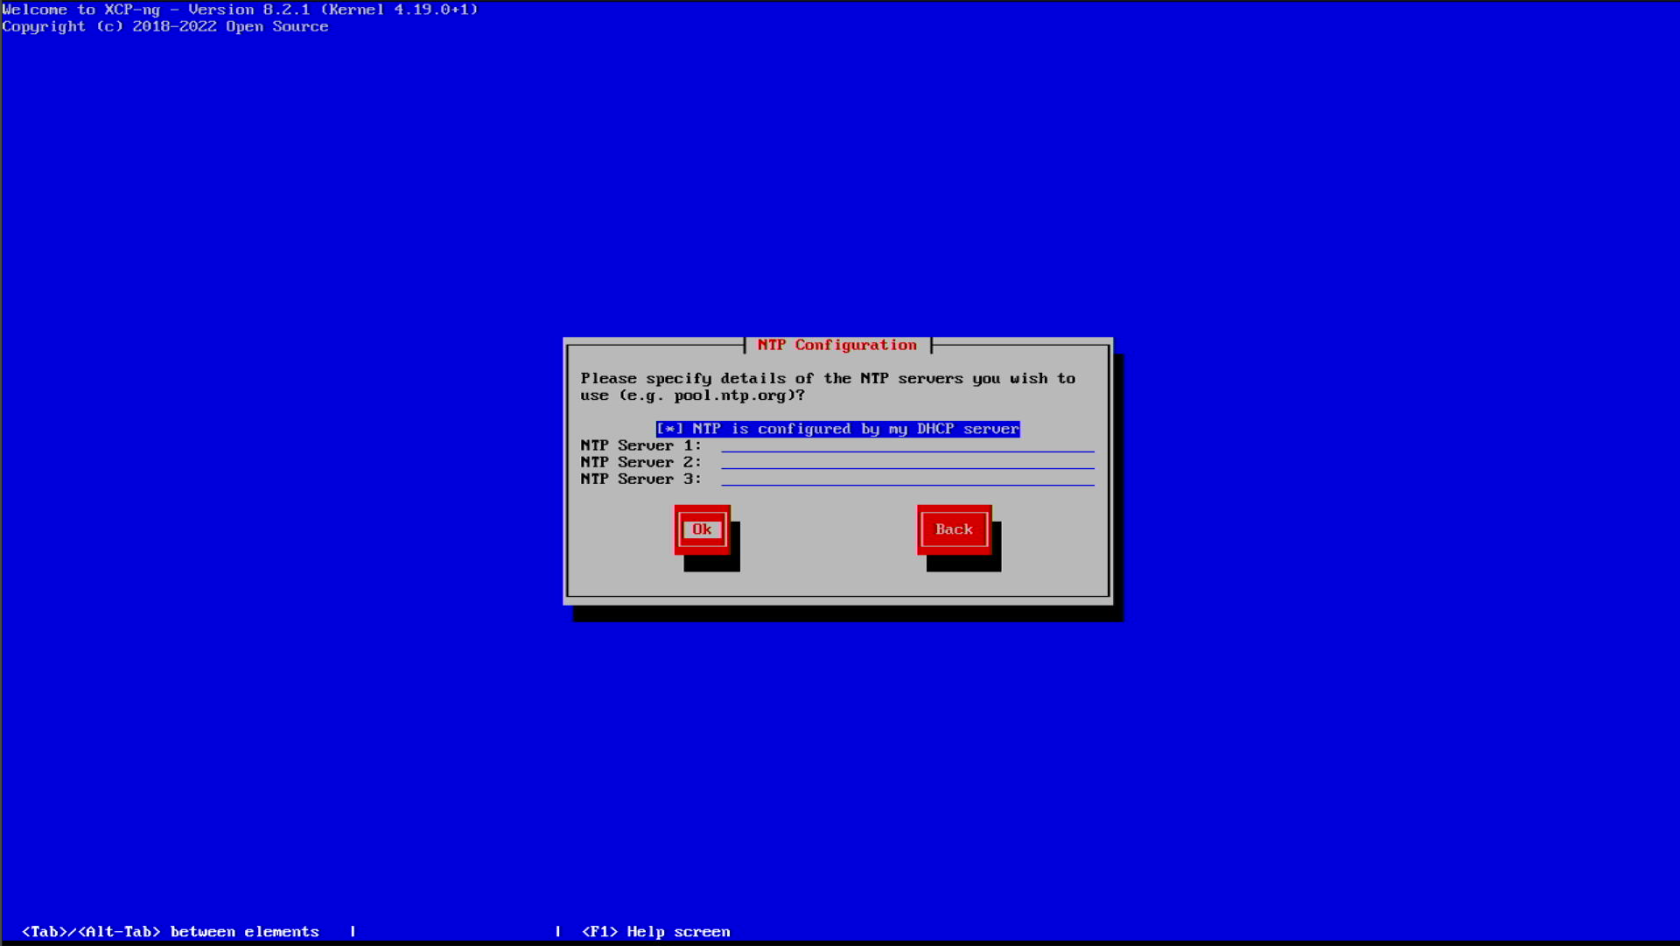
Use NTP servers so that the time can stay in sync.
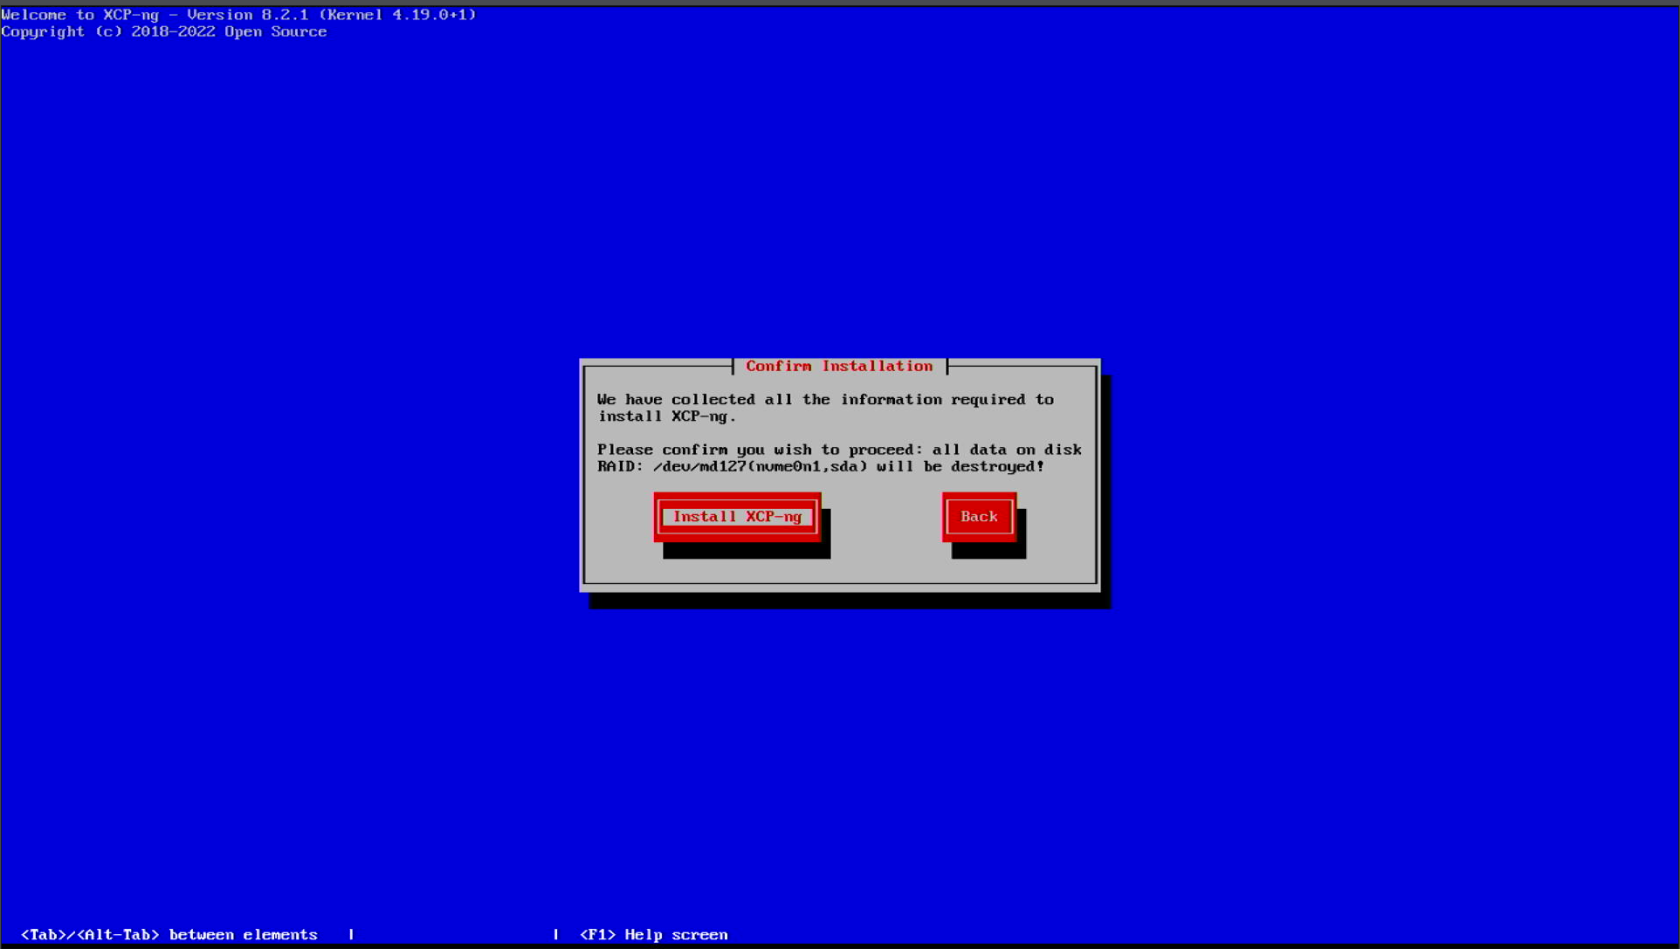
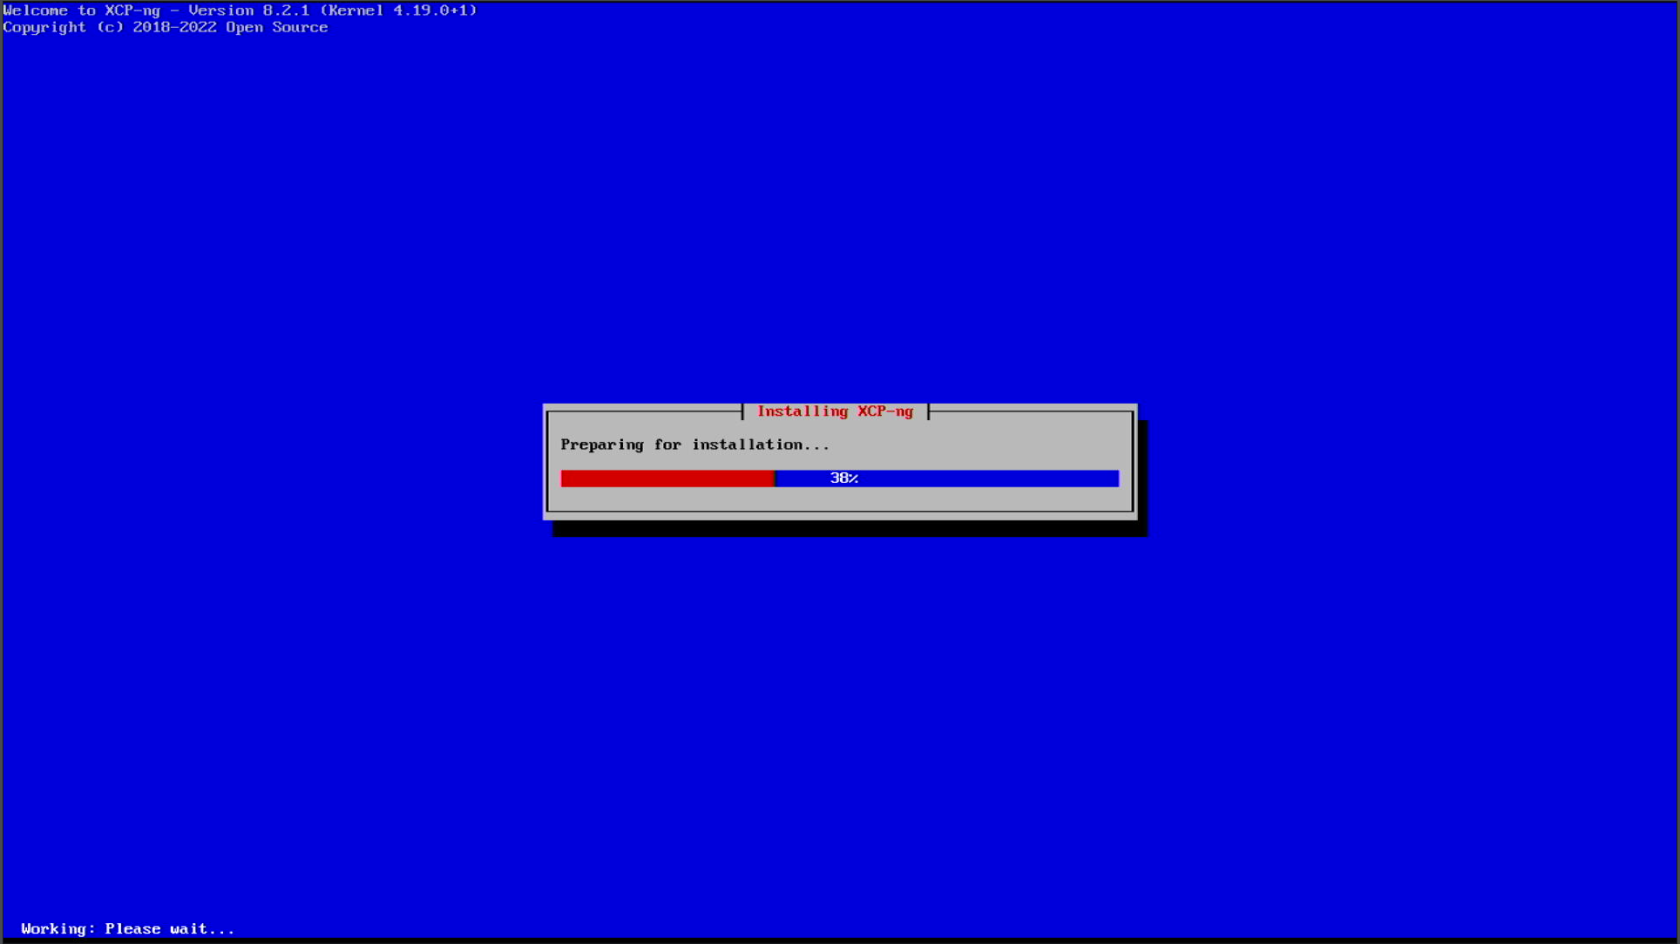
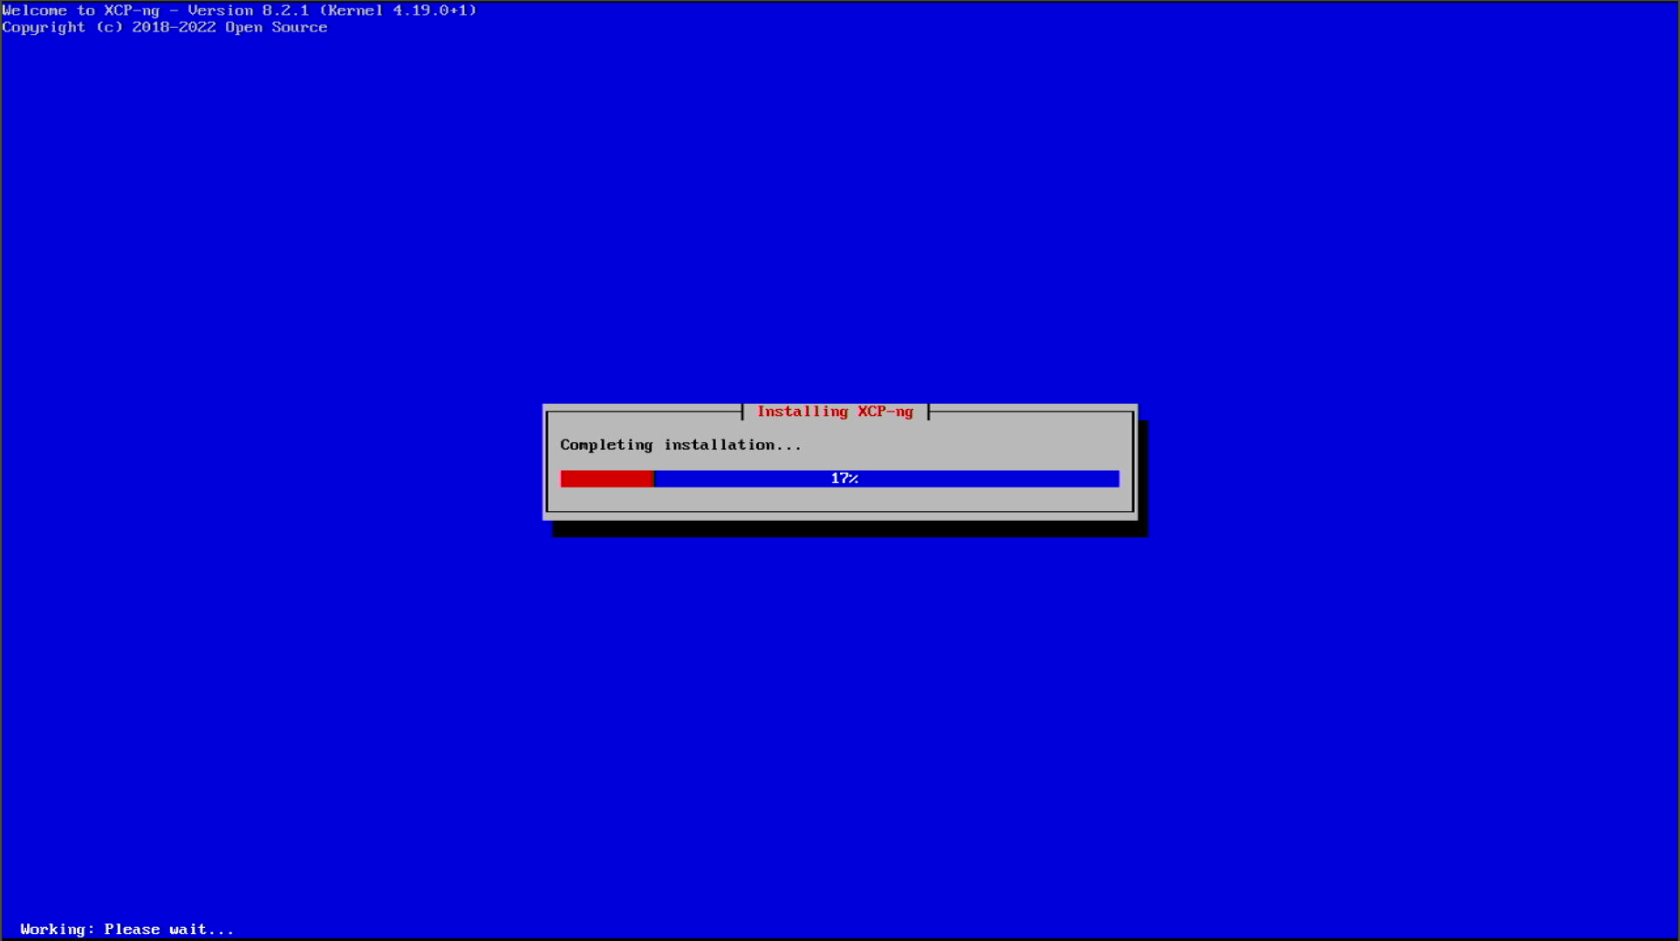
Start the XCP-NG install on the machine.

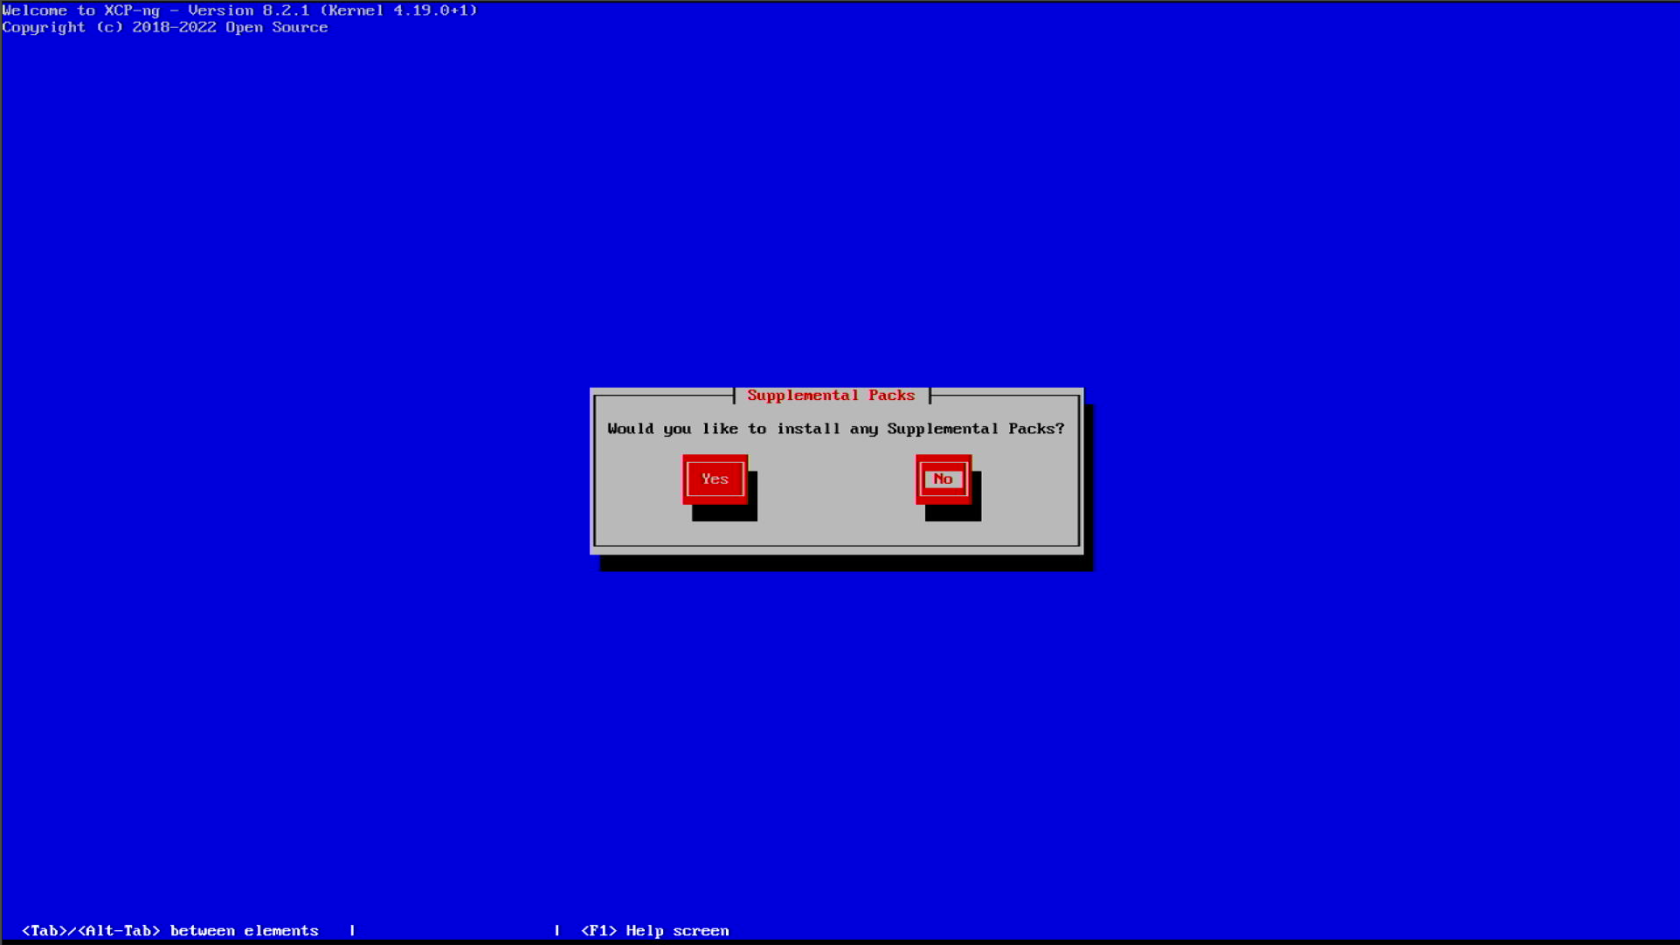
Once the base install is finished, you will be asked if you want to install any additional Supplement Packs. Choose No to continue.
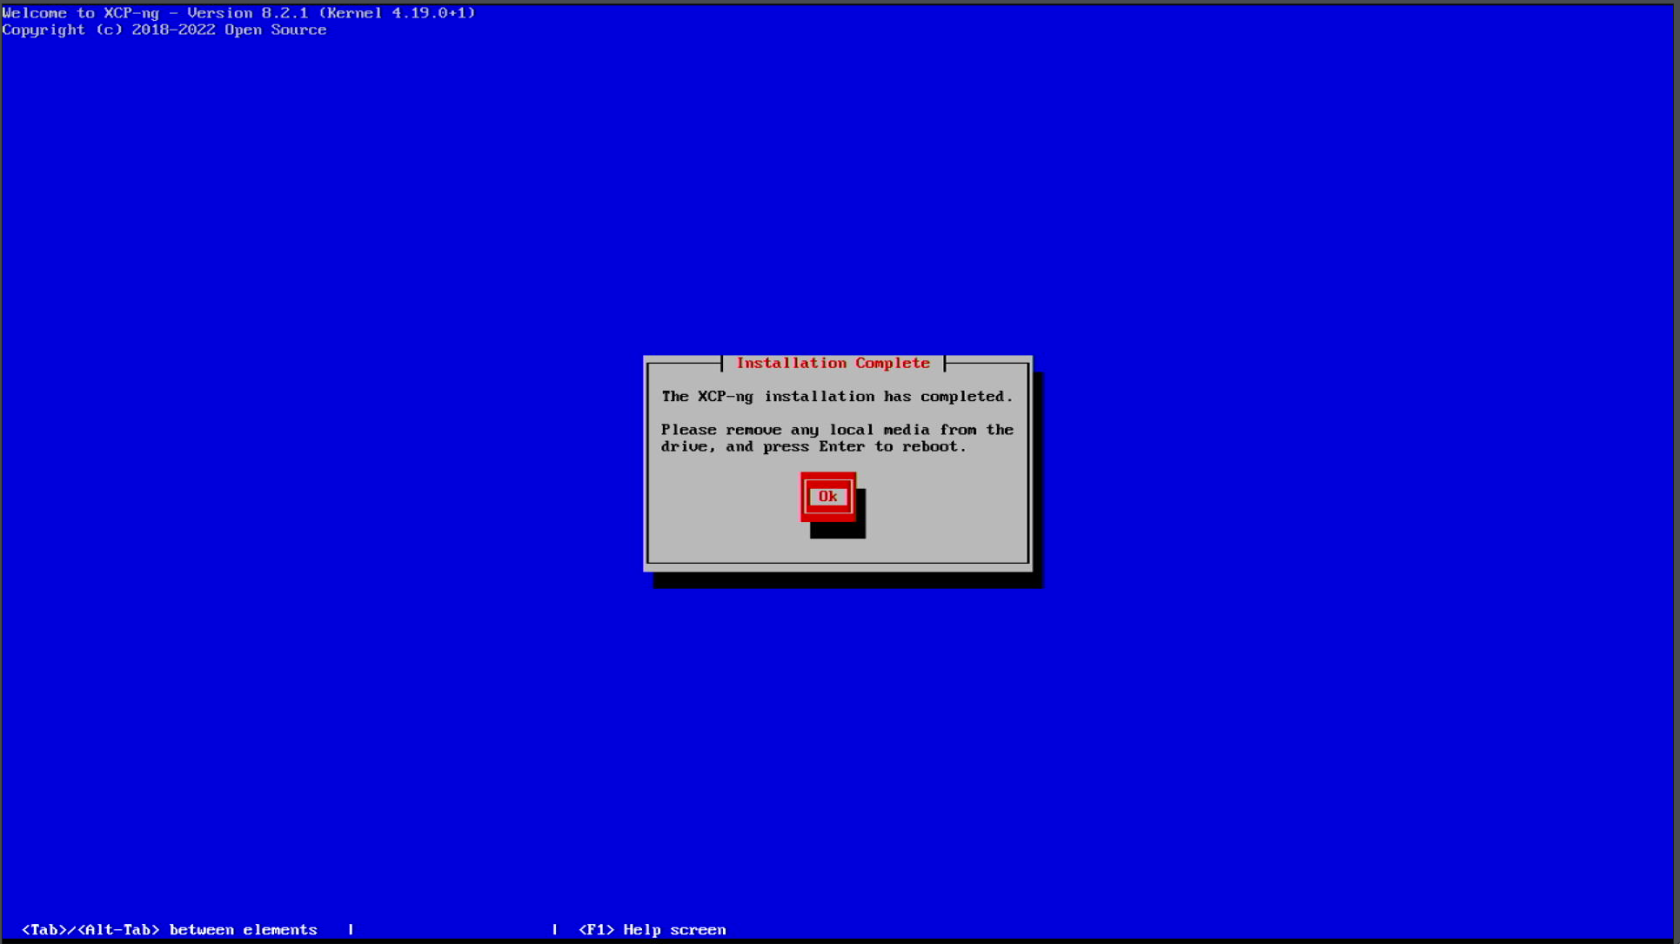
Host will reboot now.
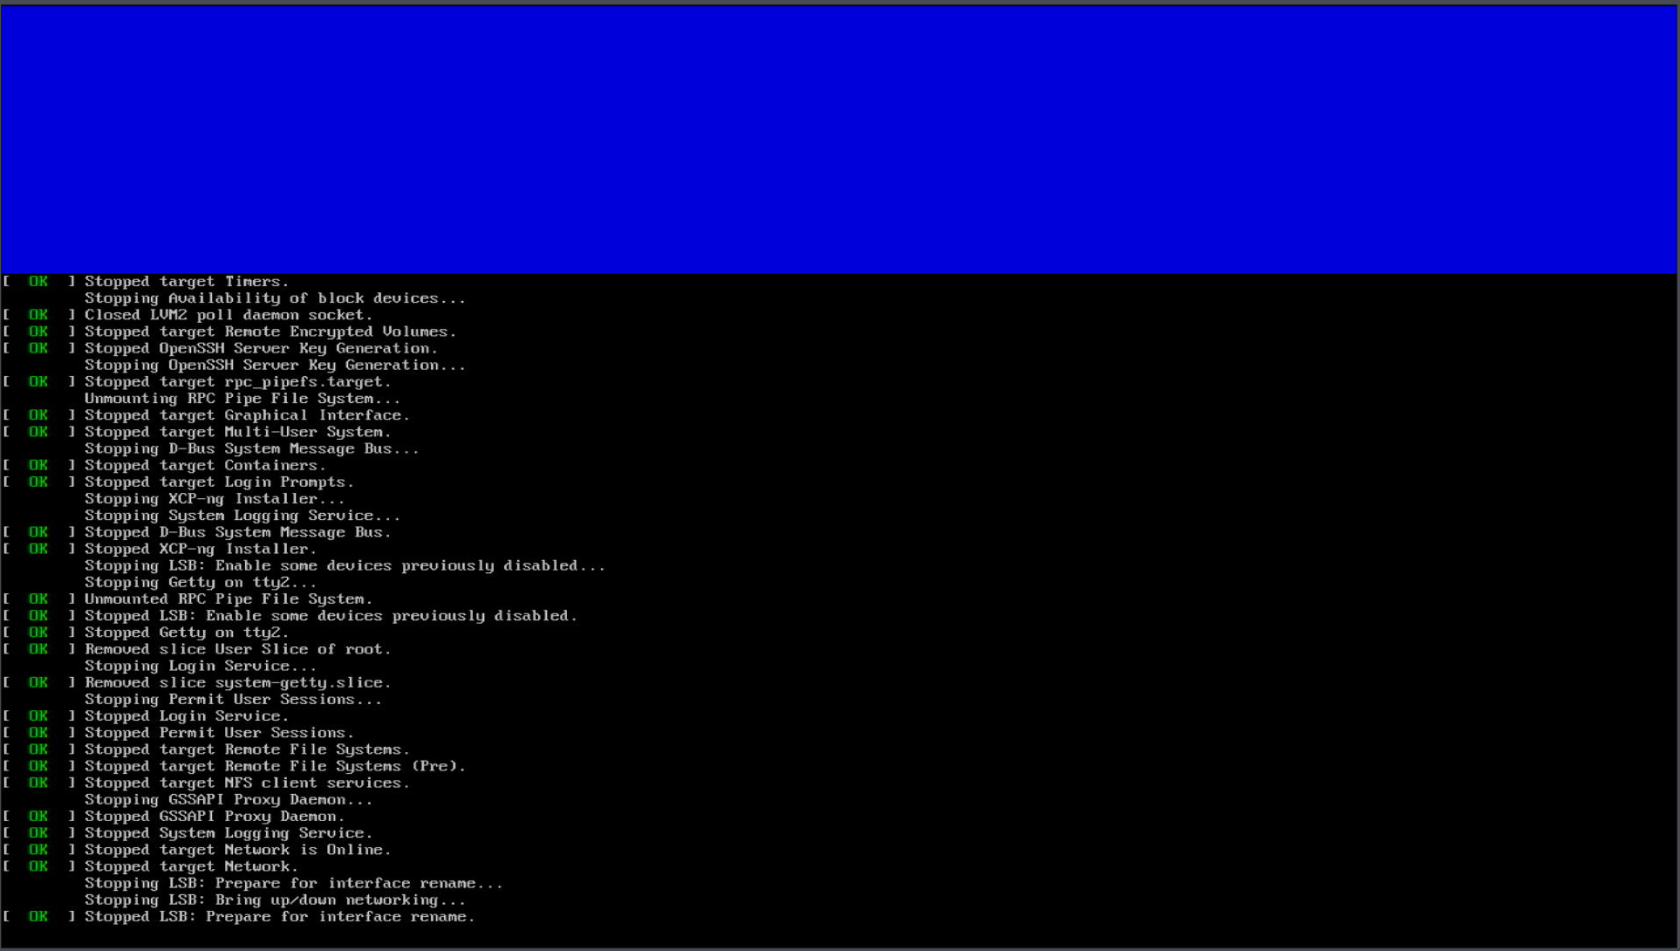
Finished Install
When the host starts back up, you should see the following local console screen.
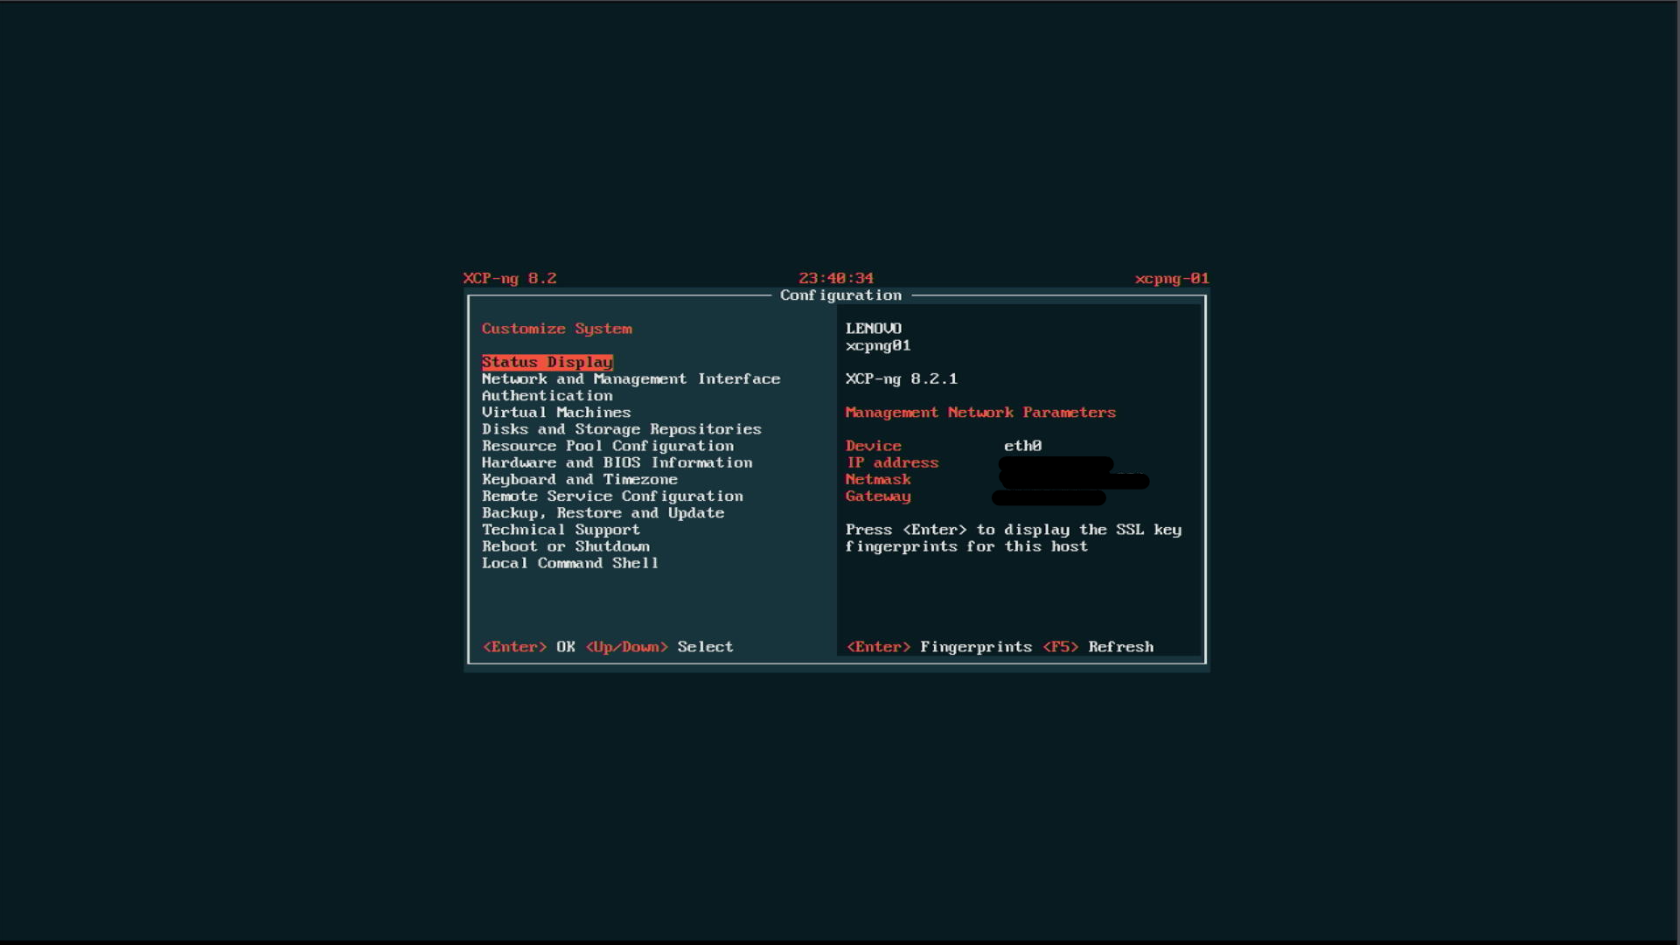
Congrats! You have finished installing XCP-NG.
Initial System Update
Right after the XCP-NG installation, you should always login to it via SSH to do an initial system update.
XCP-NG is based on CentOS, and uses the yum package manager.
Login to the XCP-NG host, and run the following:
yum update -y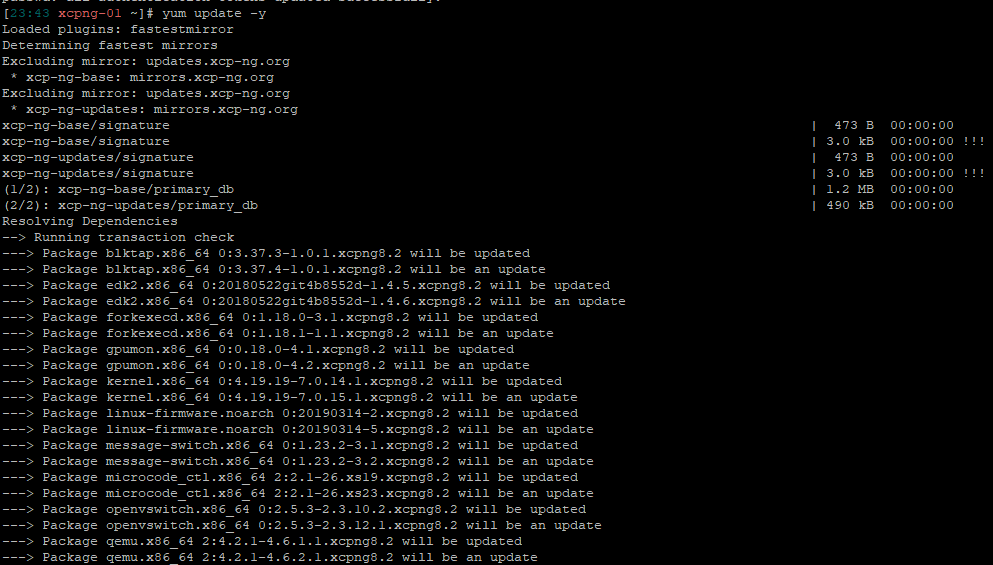
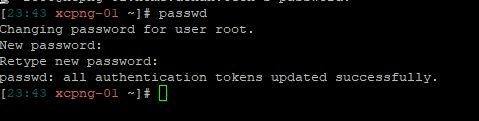
If you set a temporary password before for the root user, you can run passwd now to change it to a permanent one.
passwd