Creating XCP-NG Virtual Machines in Xen Orchestra
Creating a new Virtual Machine in Xen Orchestra is a fairly striaght forward process.
ISO Storage
Before you can deploy a new VM sucessfully, you will need to tell the VM which installation ISO to use.
The best way to present installation ISOs to VMs in XCP-NG is by adding a shared ISO SR, which you can learn about doing at Creating Storage Repository for XCP-NG Pool.
If you don't have a shared stroage repository setup yet, one alternative method is to create a local folder on the XCP-NG host and download/placed the ISO there. This is handy if you have quick deployed XOA, and need to create your first VM in order to install Xen Orchestra from source.
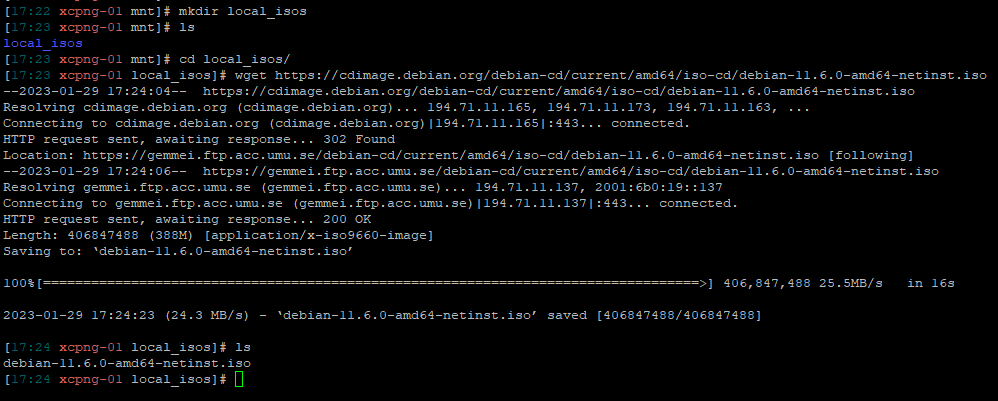
SSH into the physical XCP-NG host, and then create a folder, such as /mnt/local_isos. Then download the ISOs directly to the folder using wget, or upload the ISO to it via SFTP.
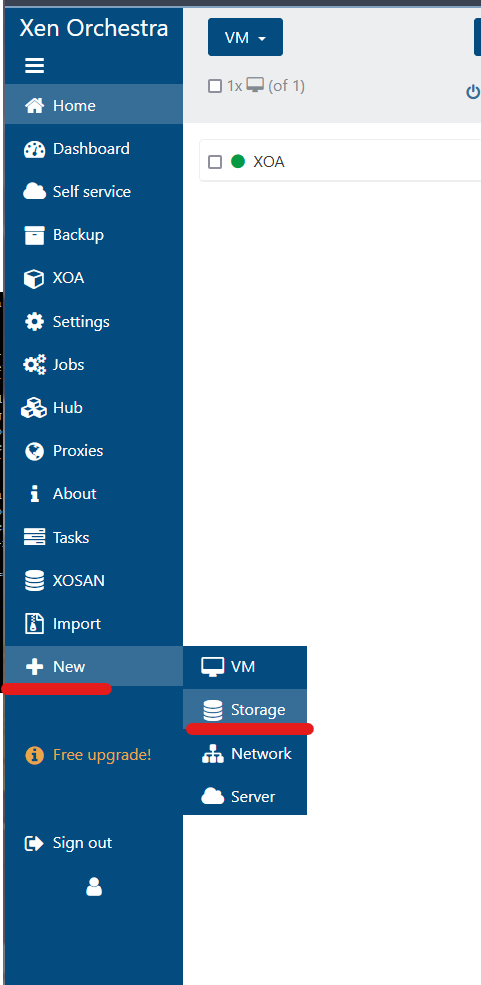
In Xen Orchestra, go to New -> Storage
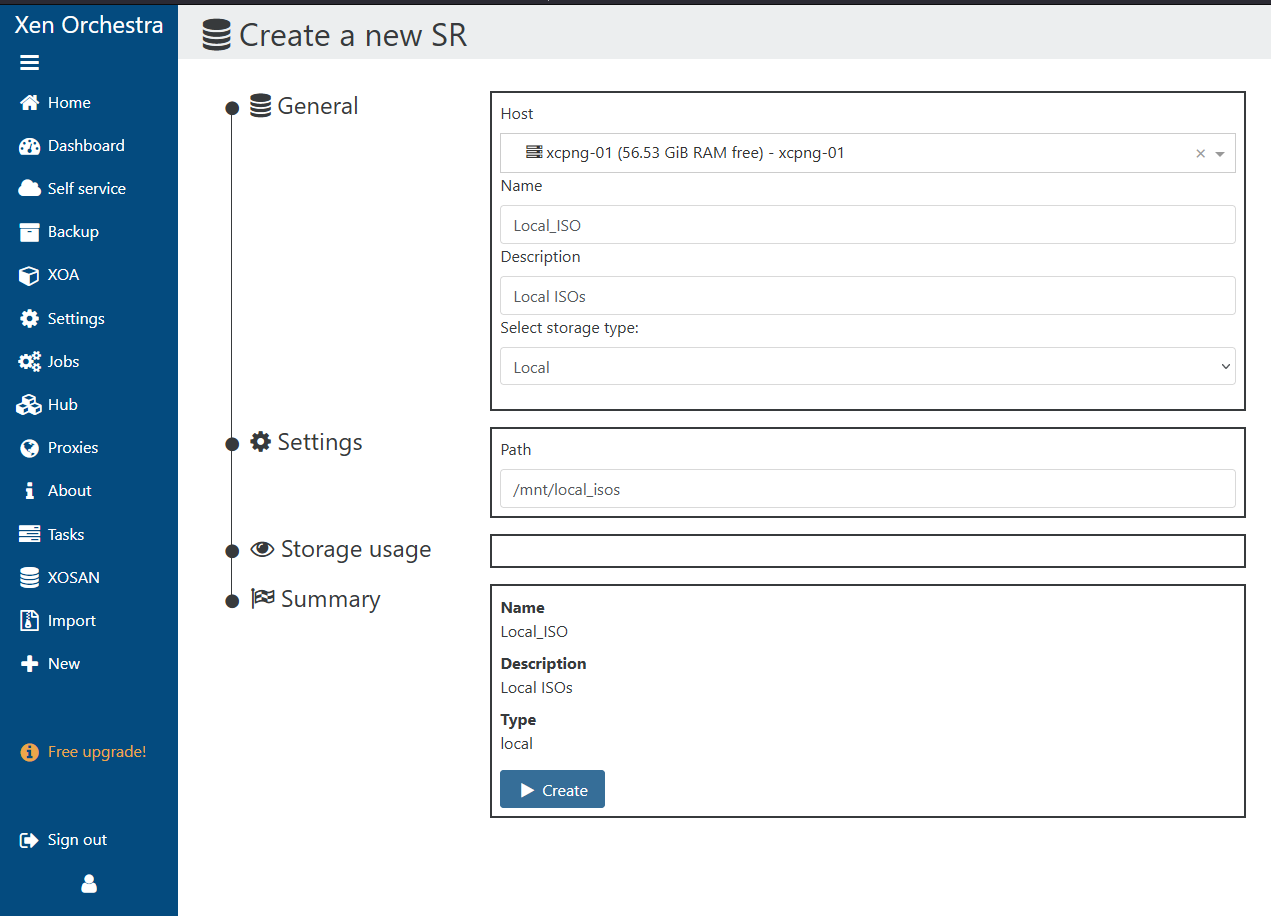
Add the local storage type, and point to the folder path you just created.
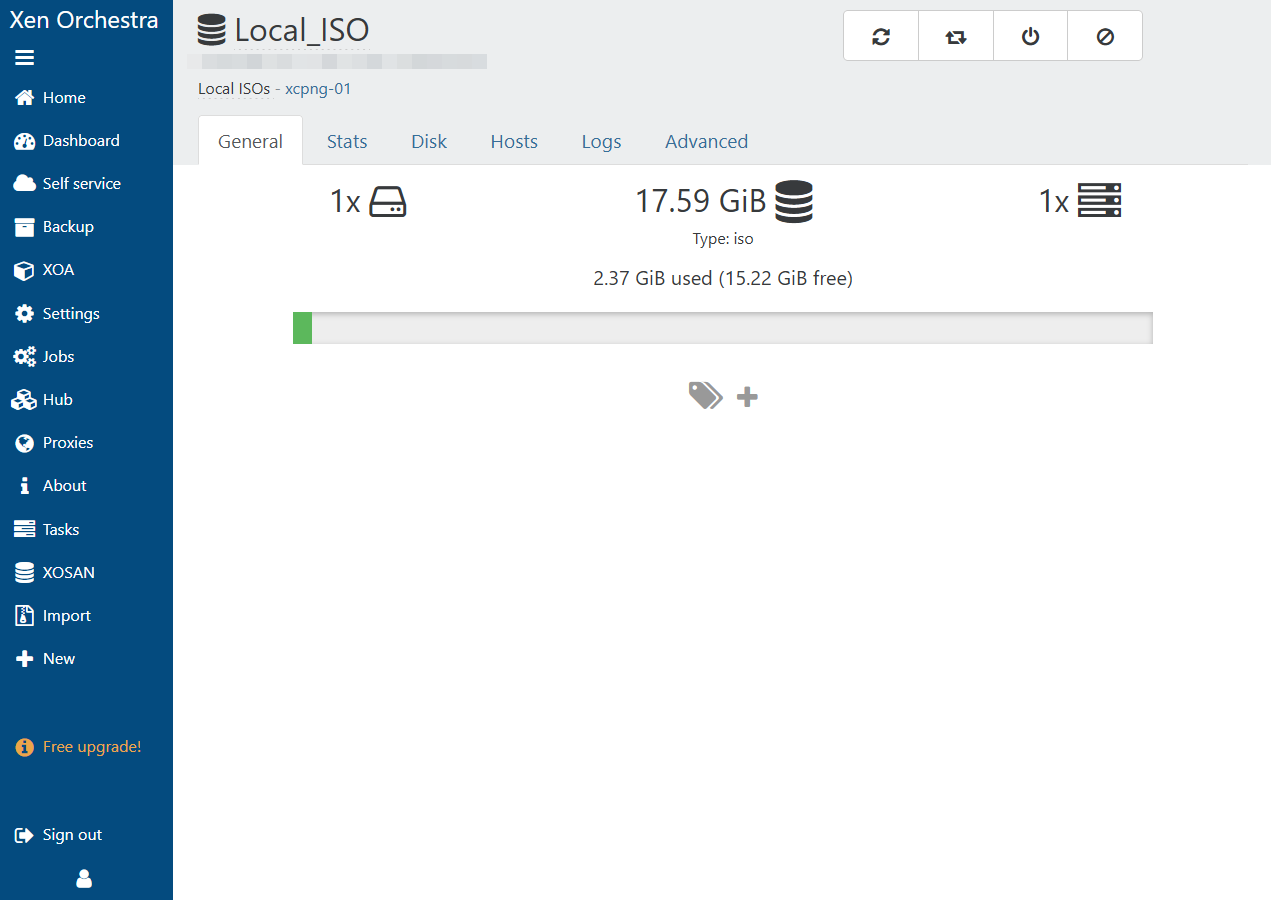
The local ISO folder will now show up and be available to use.
Do keep in mind that the local storage on the physcial XCP-NG host does not have a lot of storage overall. It is around 20GB total in size.
Creating Virtual Machines
Go to New -> VM

Select the host you want the VM to be created on.
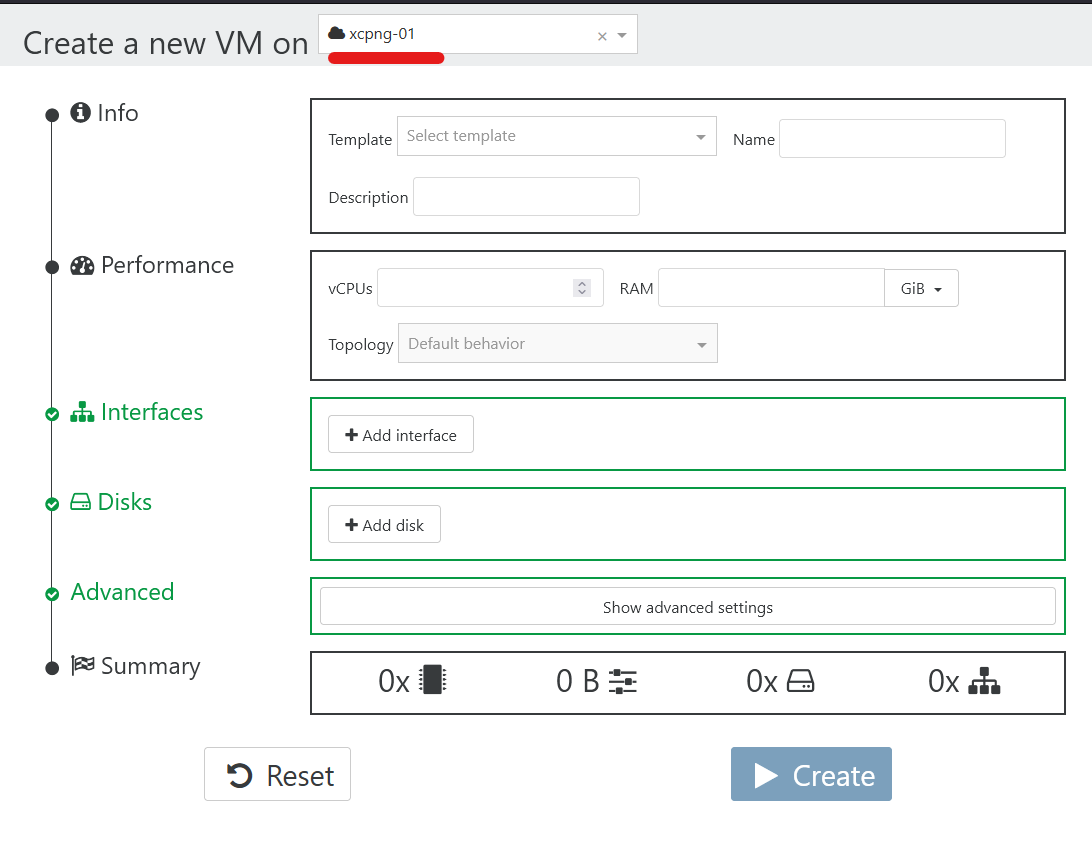
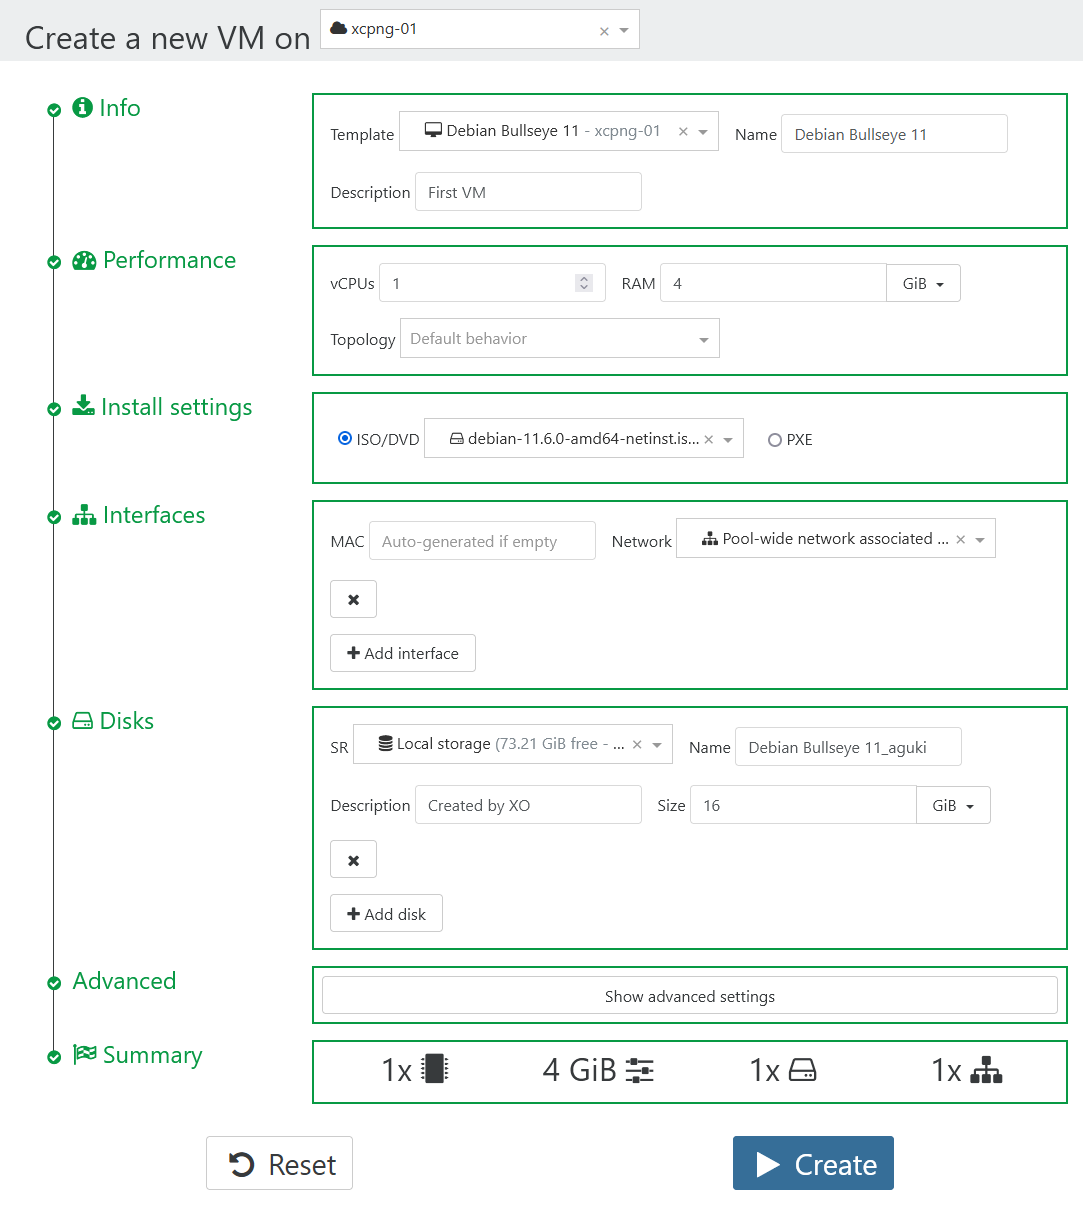
Fill out the VM information and parameters, then click Create.
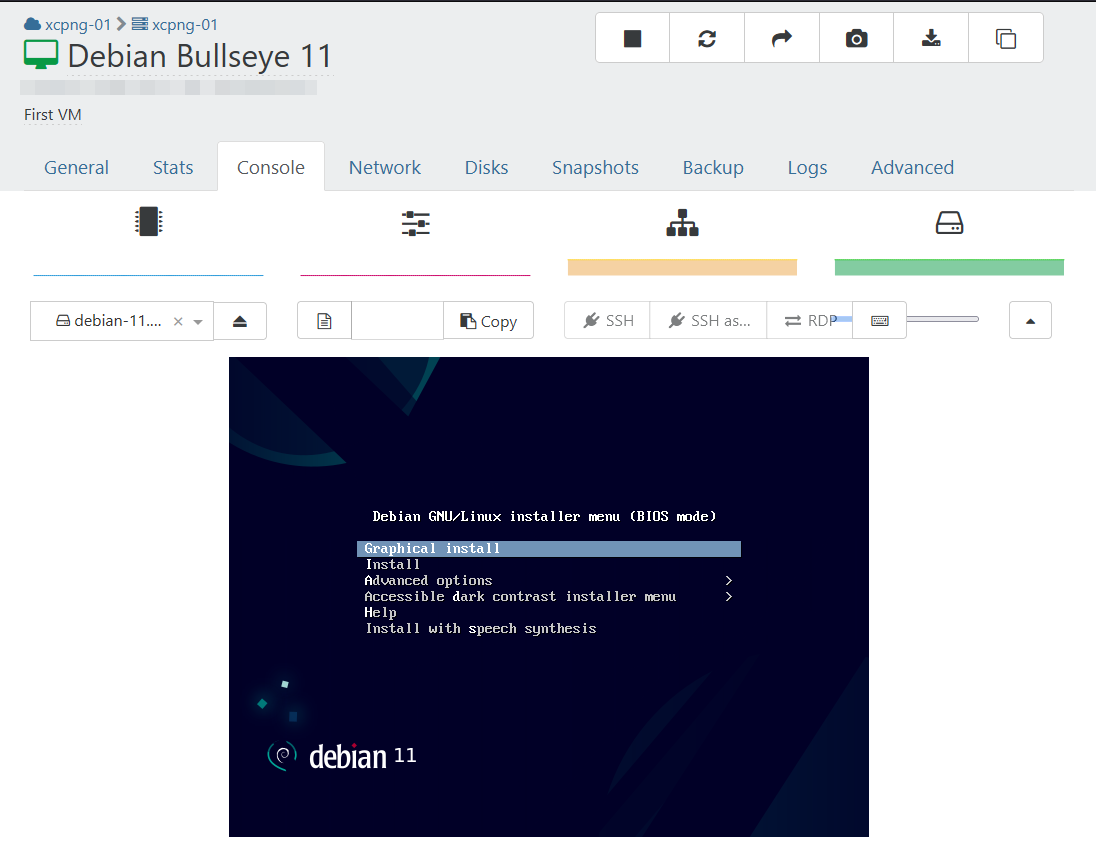
In a few moments, the new VM will be created and powered on.
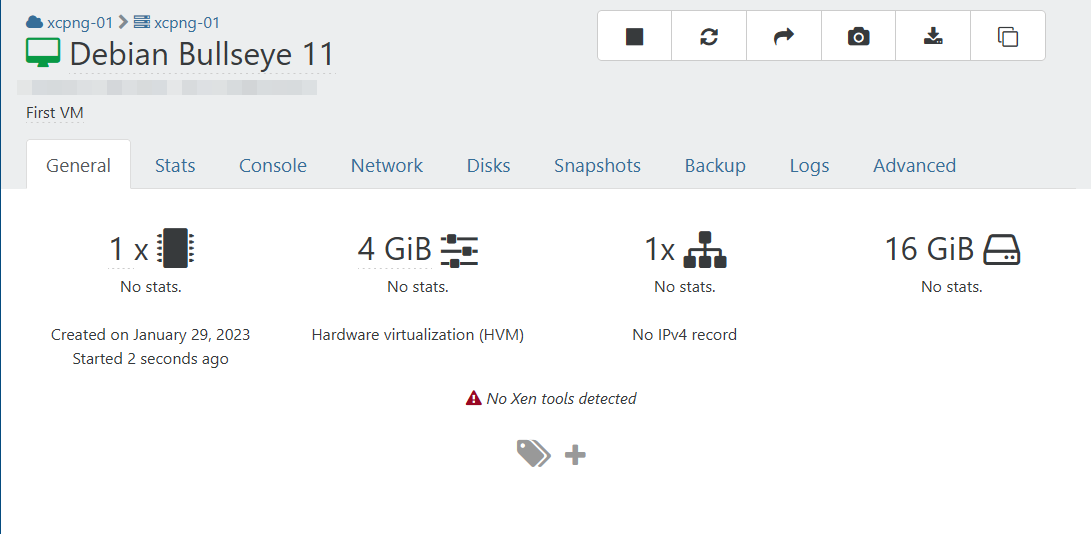
If you click on the Console tab, you will see the VM's screen.