
Adding XCP-NG Hosts to Xen Orchestra
You have to first add the XCP-NG physical hosts details to the Xen Orchestra VM before you can start managing it inside of Xen Orchestra.
Login to your Xen Orchestra WebGUI.
Click on New on the bottom left side, and then chooser Server.
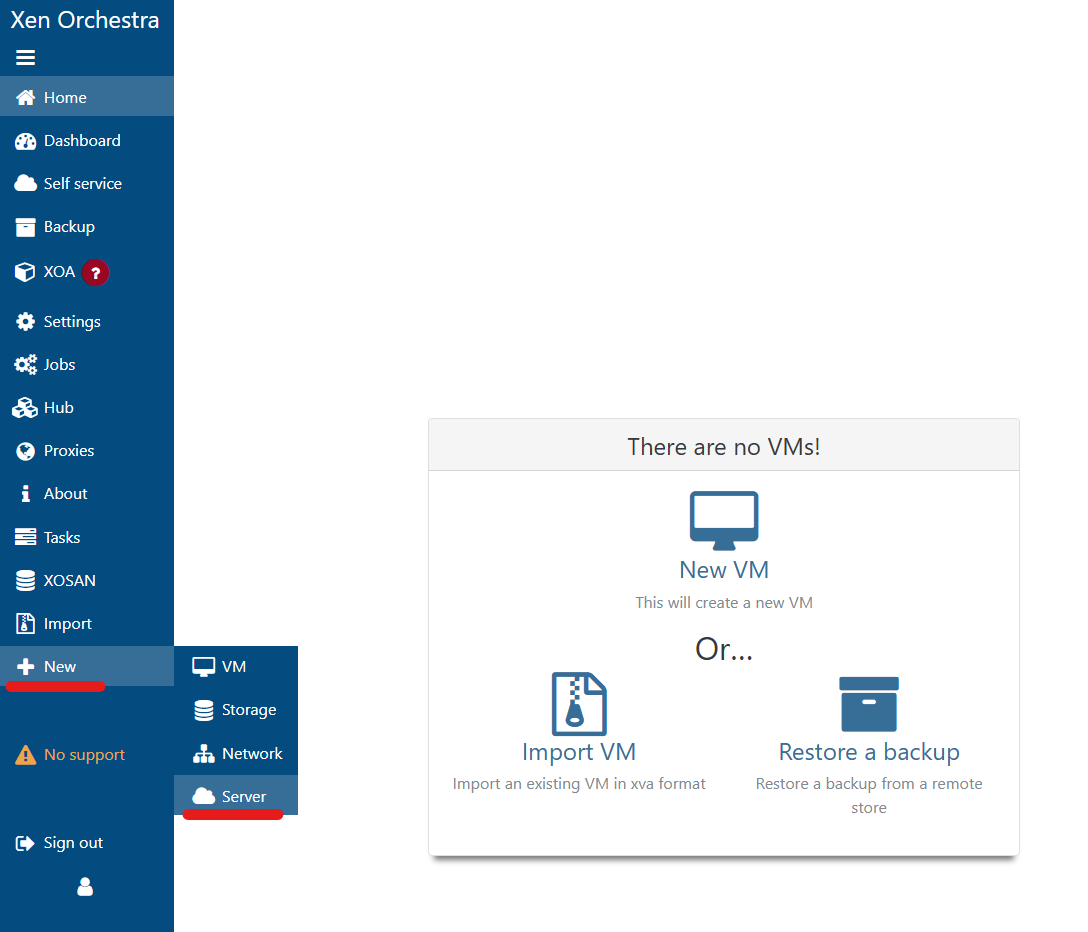
Here, you can see options for entering the detail of your XCP-NG physical hosts.

Enter a name for your physical hosts in the Label field.
Enter the FQDN or IP address of the physical host in the Host field.
Enter the username (generally root) and the password you have set during the XCP-NG install.
Unless you have already added a custom SSL cert on the physical host, make sure you toggle the Unauthorized Certification button. Otherwise, Xen Orchestra will not be able to verify and successfully connect to the XCP-NG physical host.
Once finished, click Connect.

If connection is sucessful, you will see the Status field show up as Enabled.

That's it!