Install Xen Orchestra from Source
In this guide, I will show you how to install Xen Orchestra from source on a Debian 11 system, using a community created install script. The install script can be found here: https://github.com/ronivay/XenOrchestraInstallerUpdater
Install the Prerequisites
If you are starting off with a minimal install of Debian 11, you may need to install the following packages.
Install git
sudo apt install git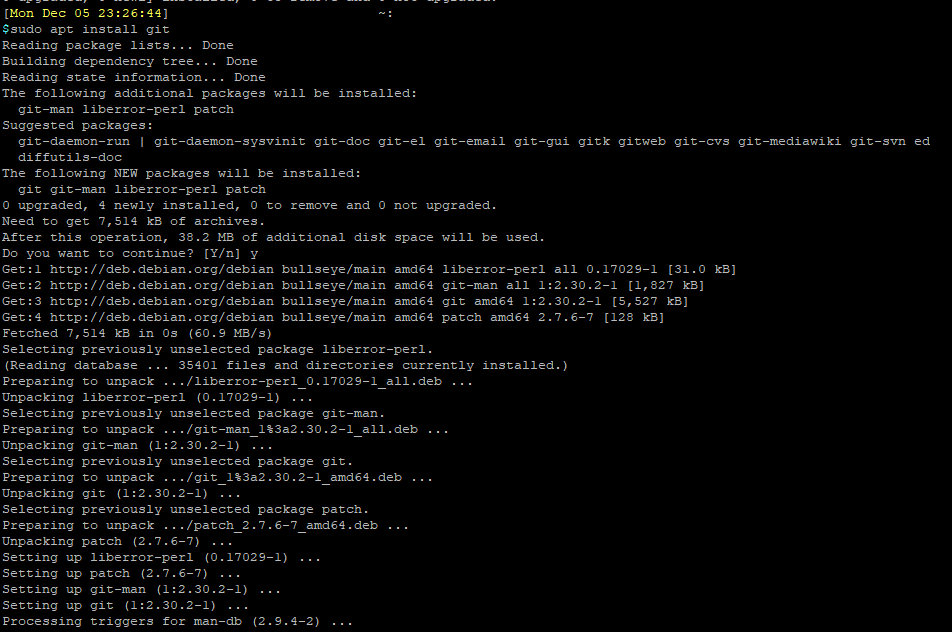
Clone XenOrchestraInstallerUpdater Script and Start Installation
The XenOrchestraInstallerUpdater is a community created script that simplifies the all the dependencies steps from the official documentation (https://xen-orchestra.com/docs/installation.html#xoa).
Clone the GitHub repository from https://github.com/ronivay/XenOrchestraInstallerUpdater
git clone https://github.com/ronivay/XenOrchestraInstallerUpdater.git
Modify the initial xo-install.cfg config file to enable HTTPS for the Xen Orchestra WebGUI, and set the path to the SSL Certs.
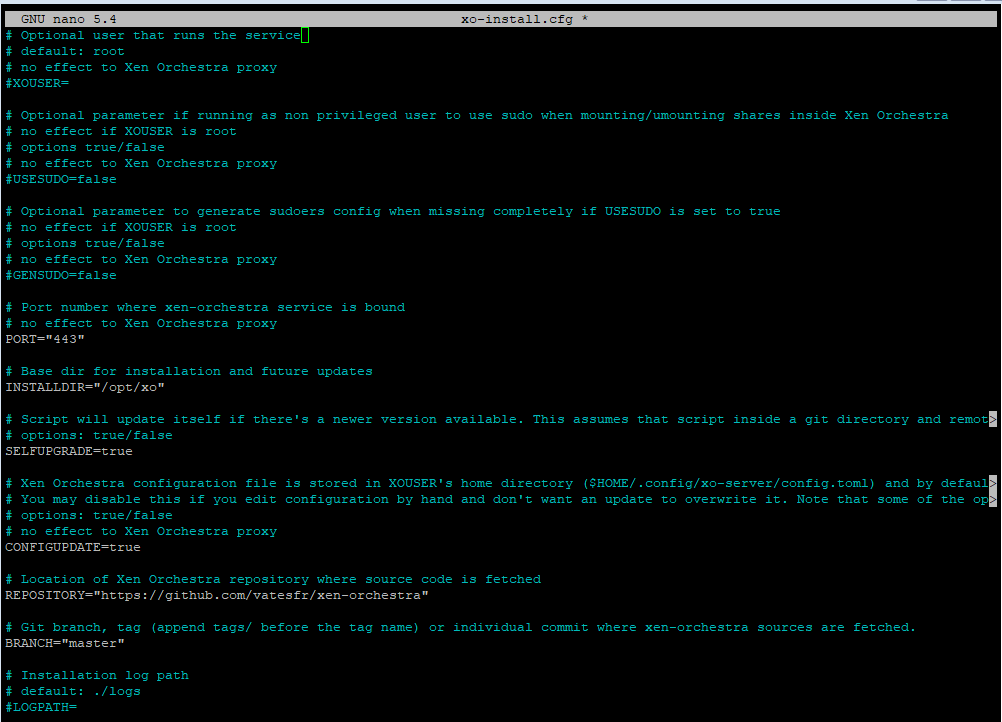
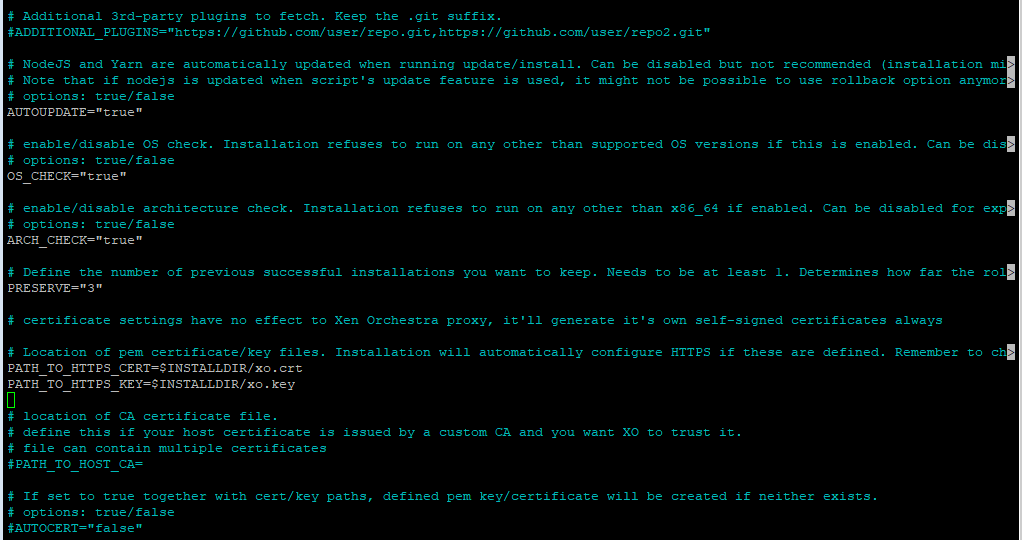
Change directory into the XenOrchestraInstallerUpdater folder, and run the .xo-install.sh
cd XenOrchestraInstallerUpdater
sudo ./xo-install.sh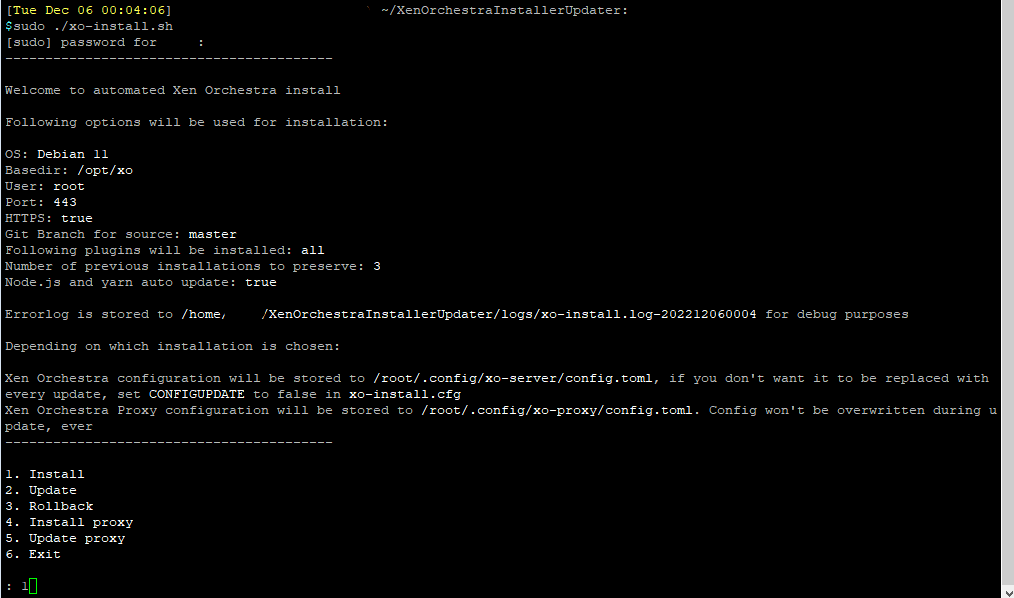
Choose 1 to start the install. This will take a while. Once finished, reboot.
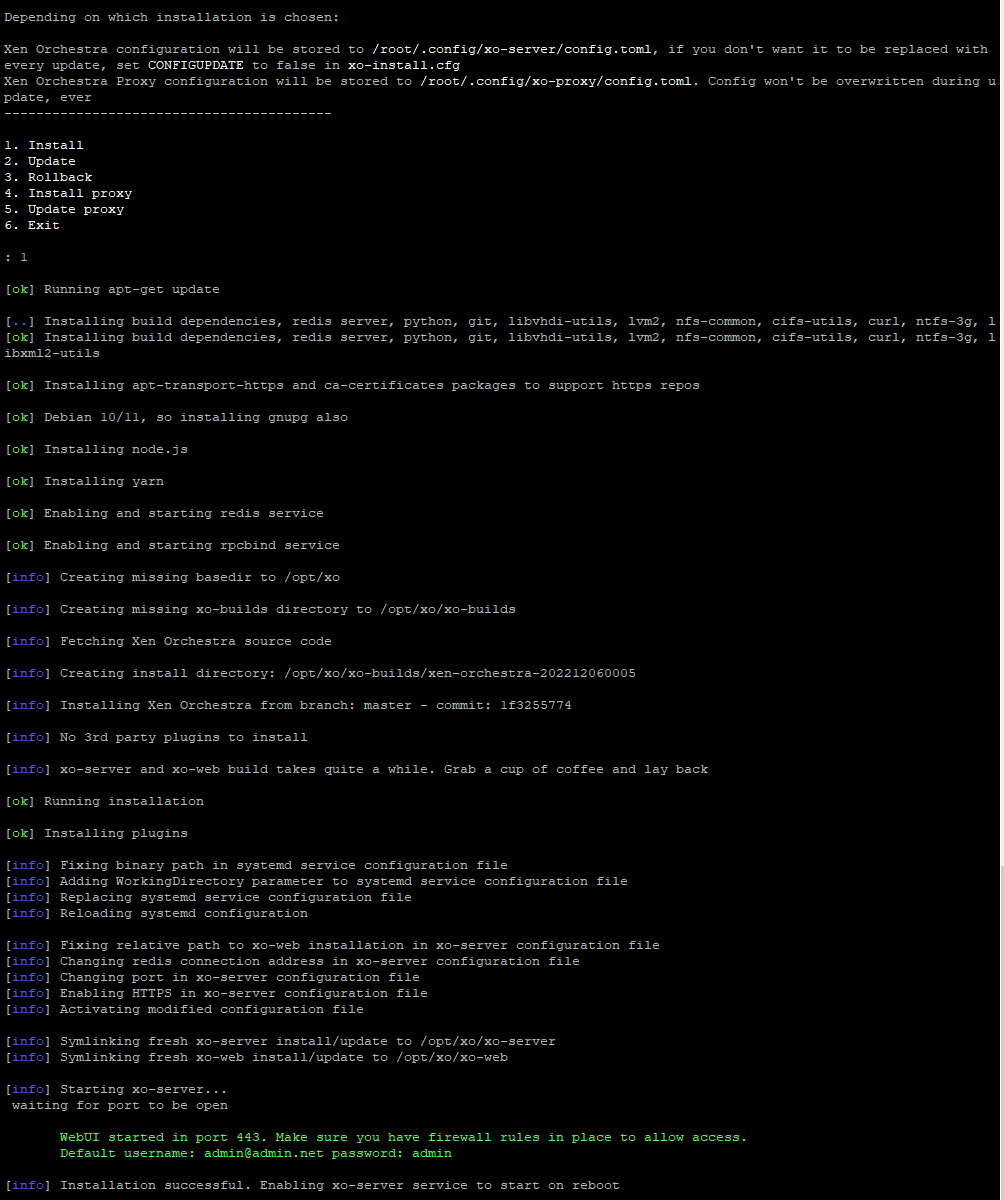
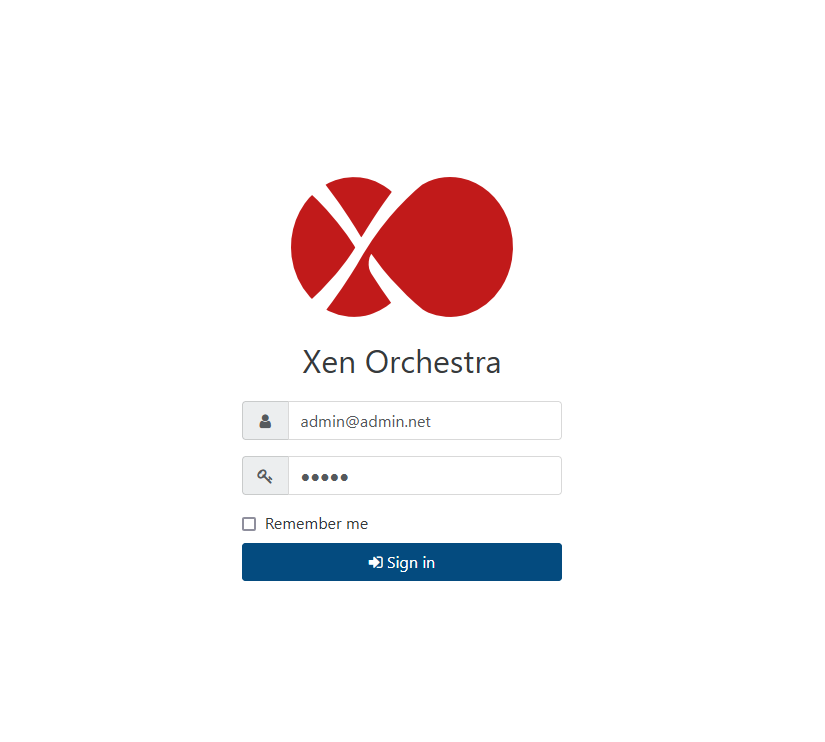
Xen Orchestra Web UI
Once rebooted, you can head over to the webUI in a browser, and start exploring Xen Orchestra.
The default login credentials are [email protected], with the password admin.
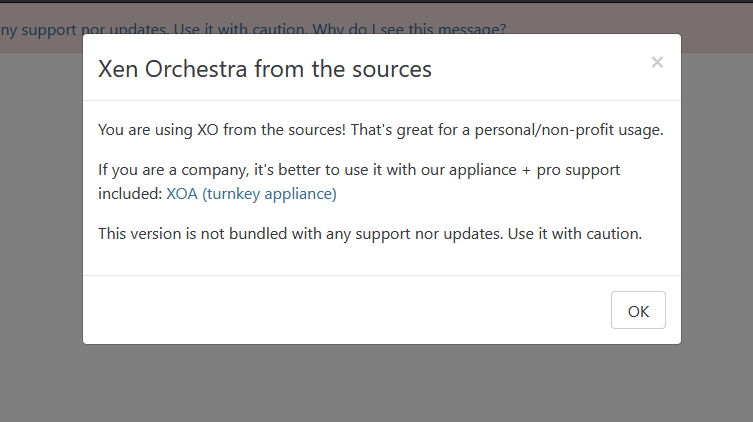
 Upon login, you will see the disclaimer that this Xen Orchestra is from the soruces, and is NOT bundle with any official support. Don't worry, you will still get the full benefit of Xen Orchestra.
There's a lot you can do in Xen Orchestra for managing XCP-NG hosts and VMs. You can take a look at my other guides at Xen Orchestra Administration to learn more about what you can do in Xen Orchestra.
