Start the Installation Process
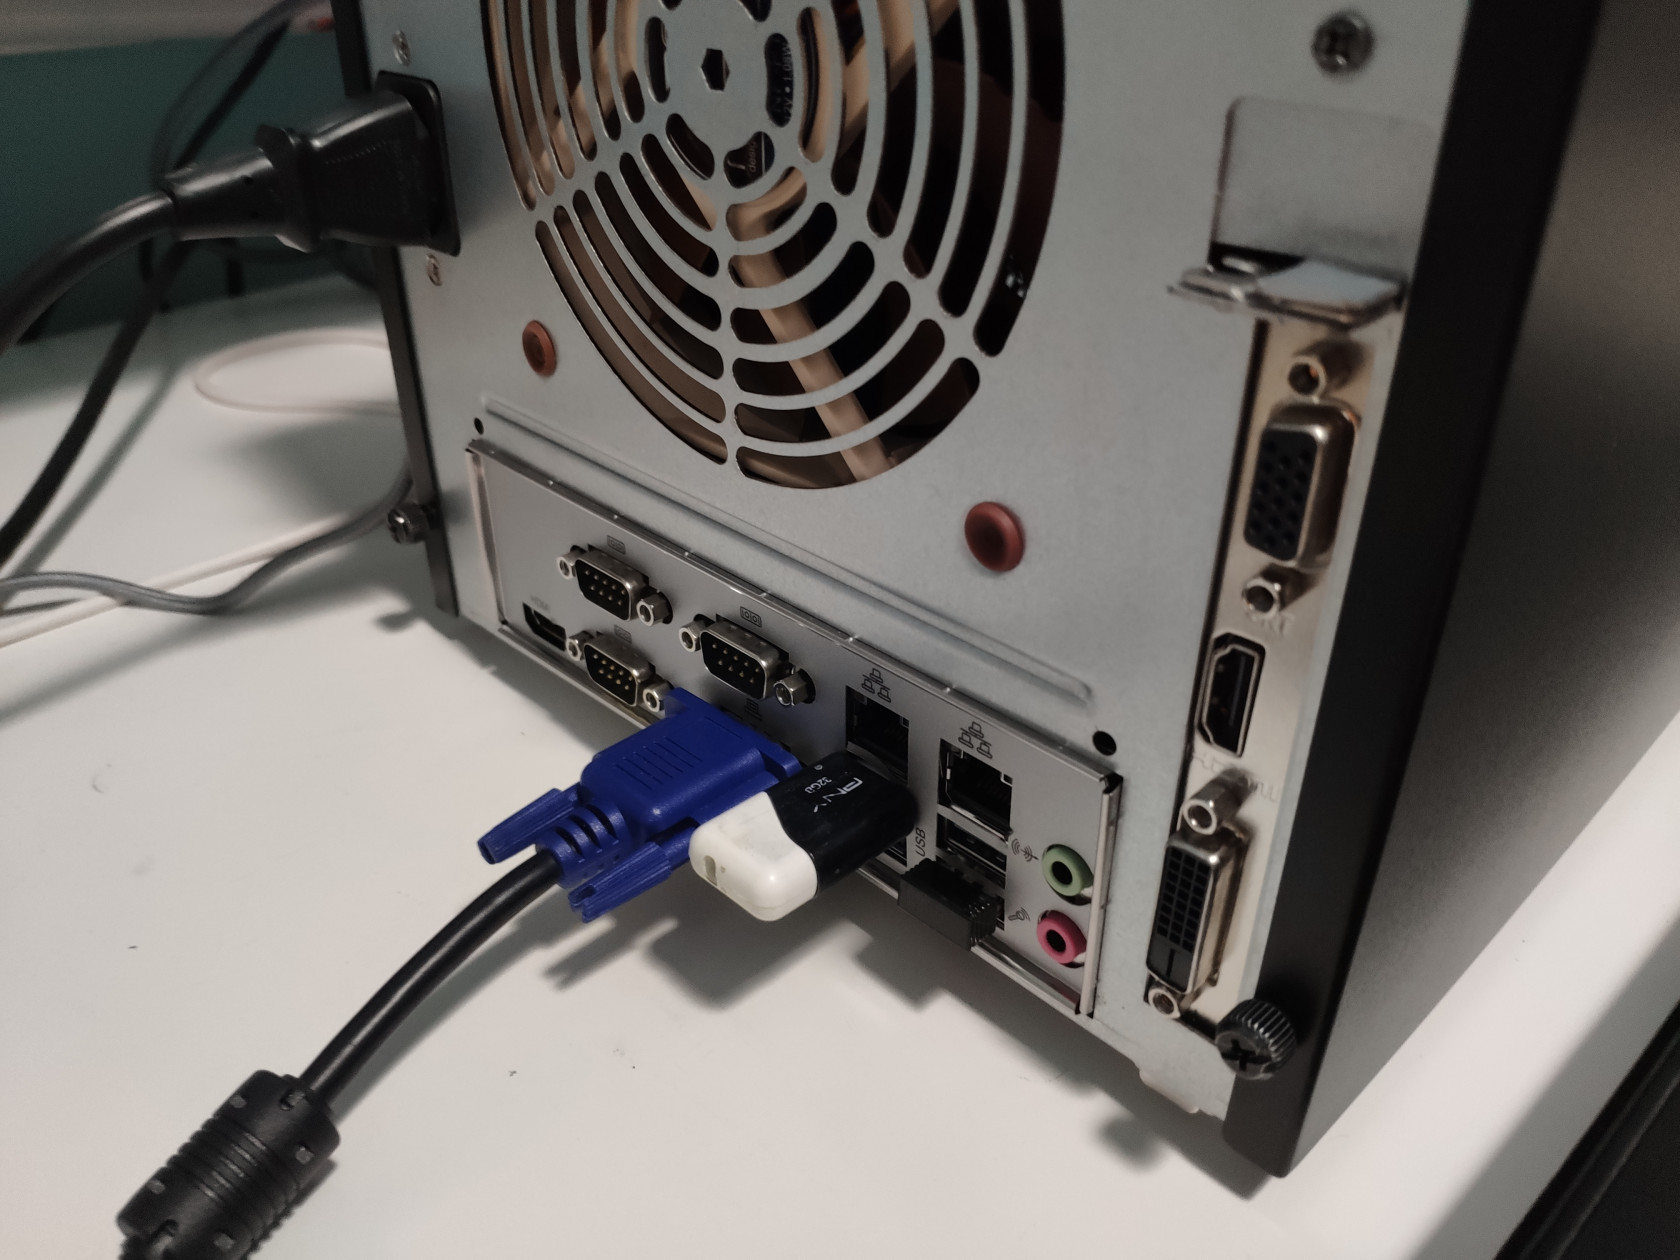
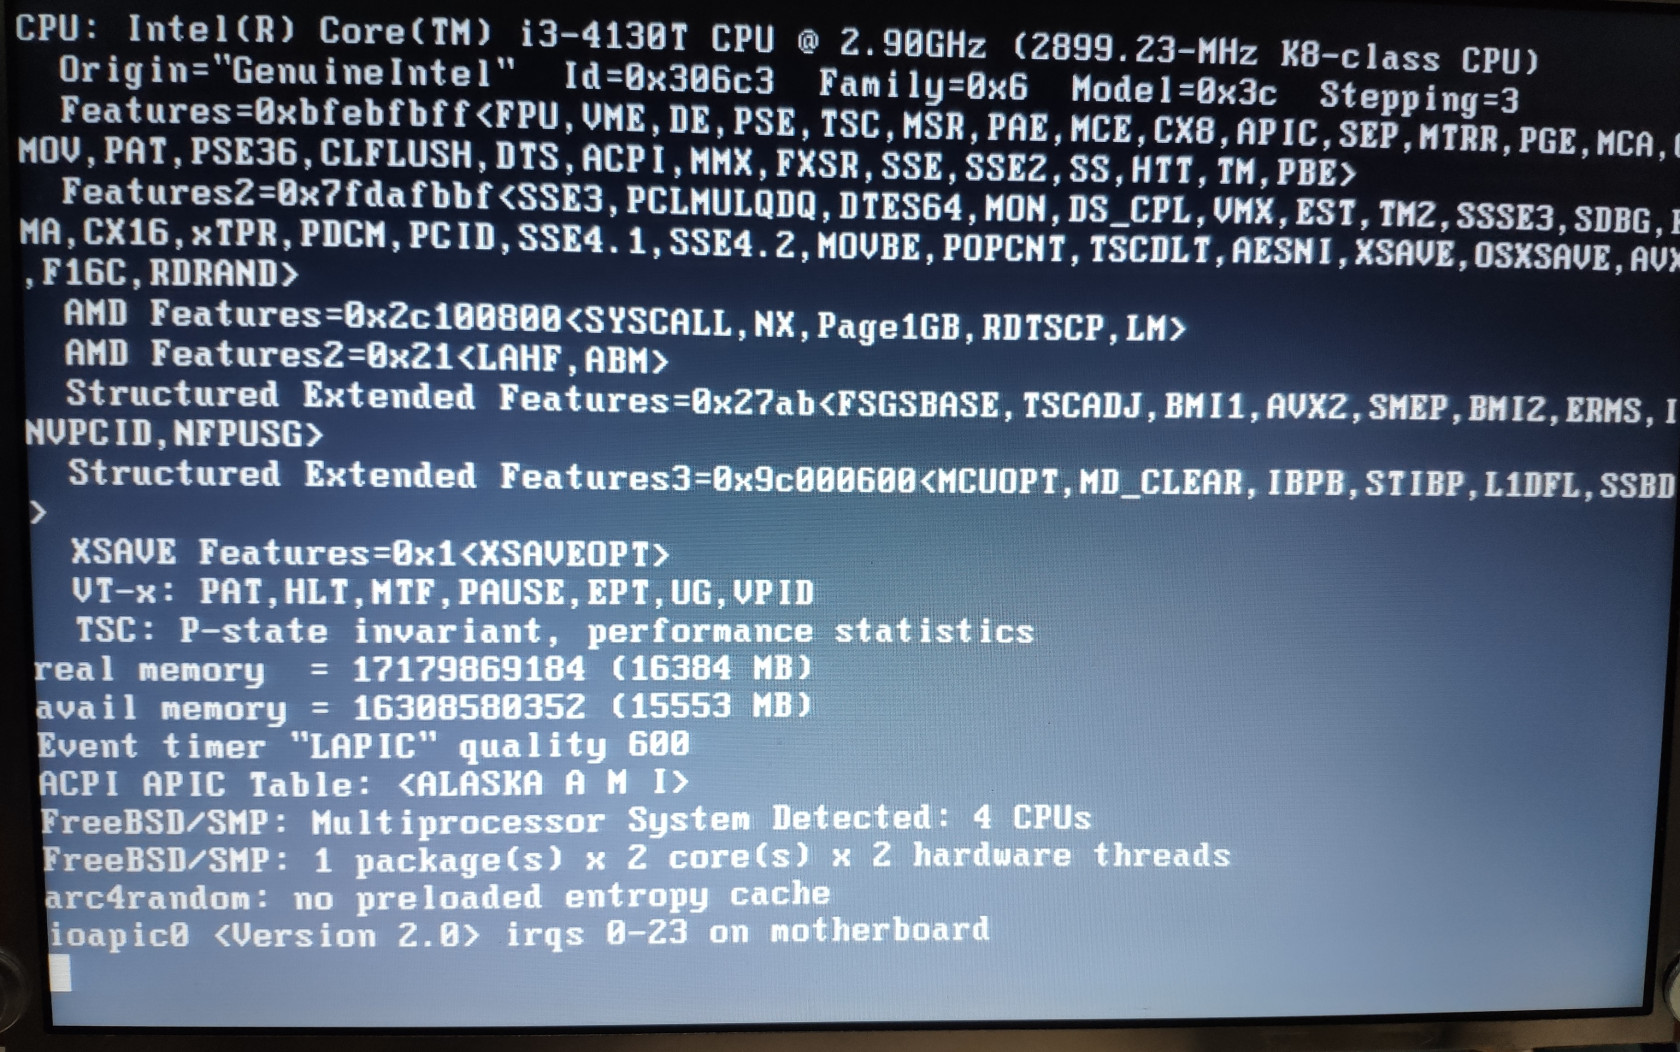
Plug the USB installer into the machine, and boot into TrueNAS.
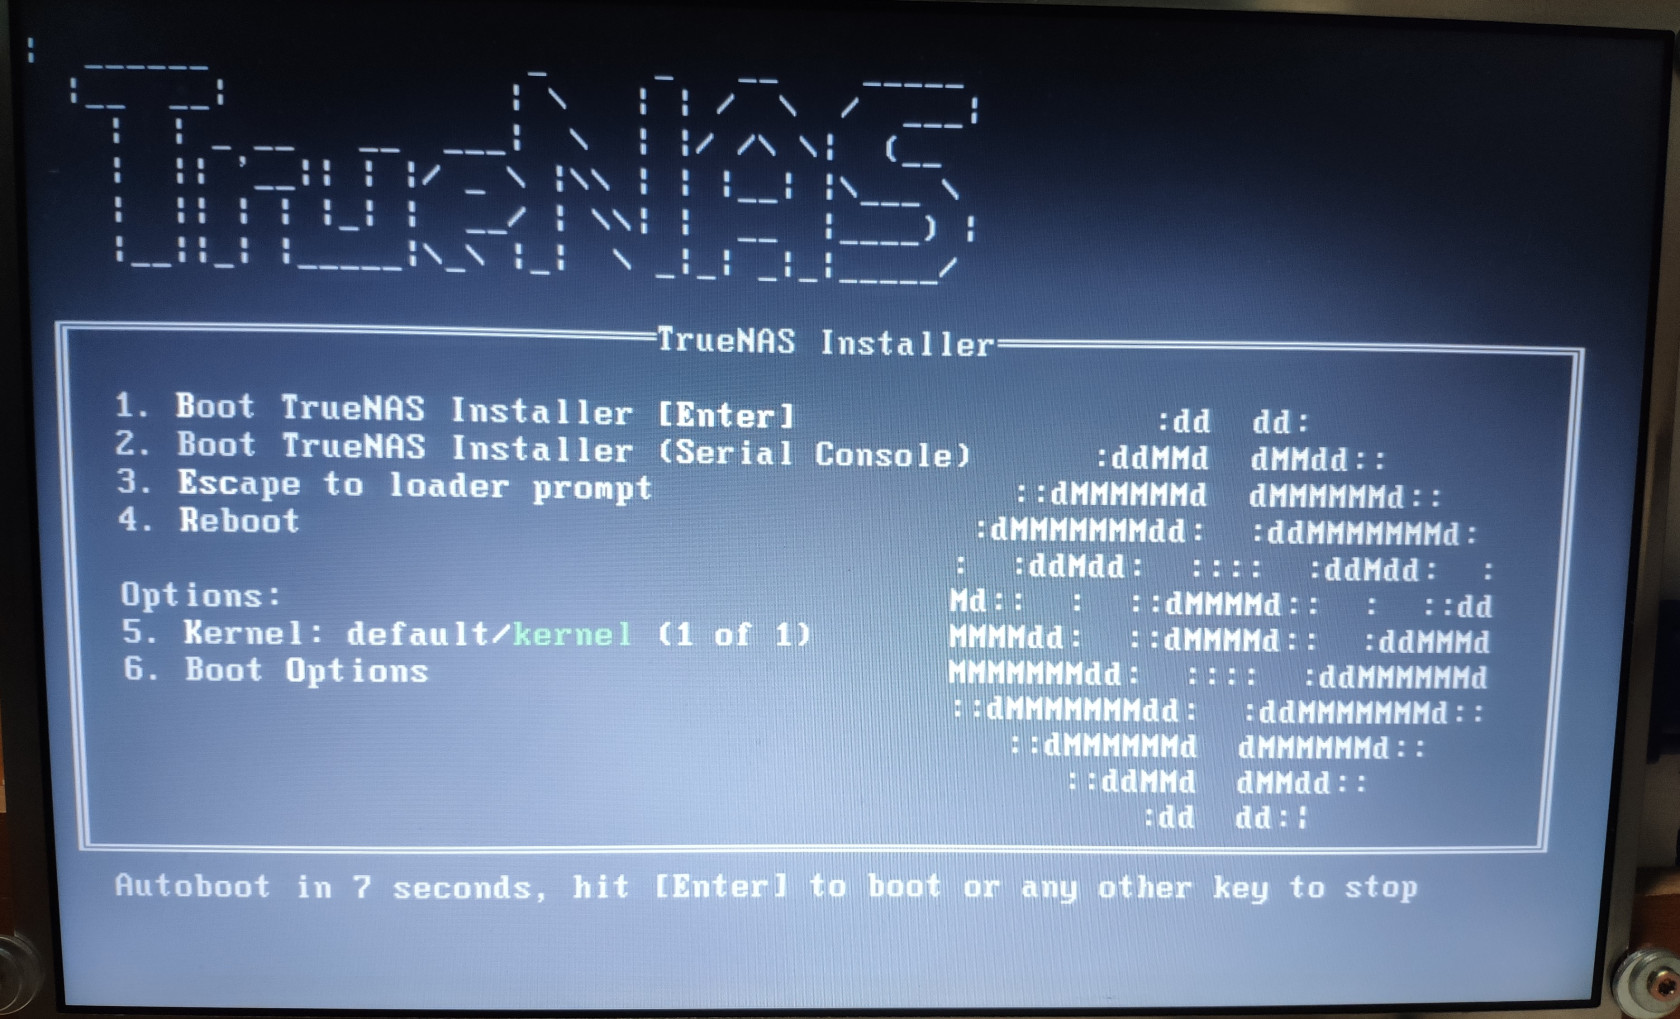
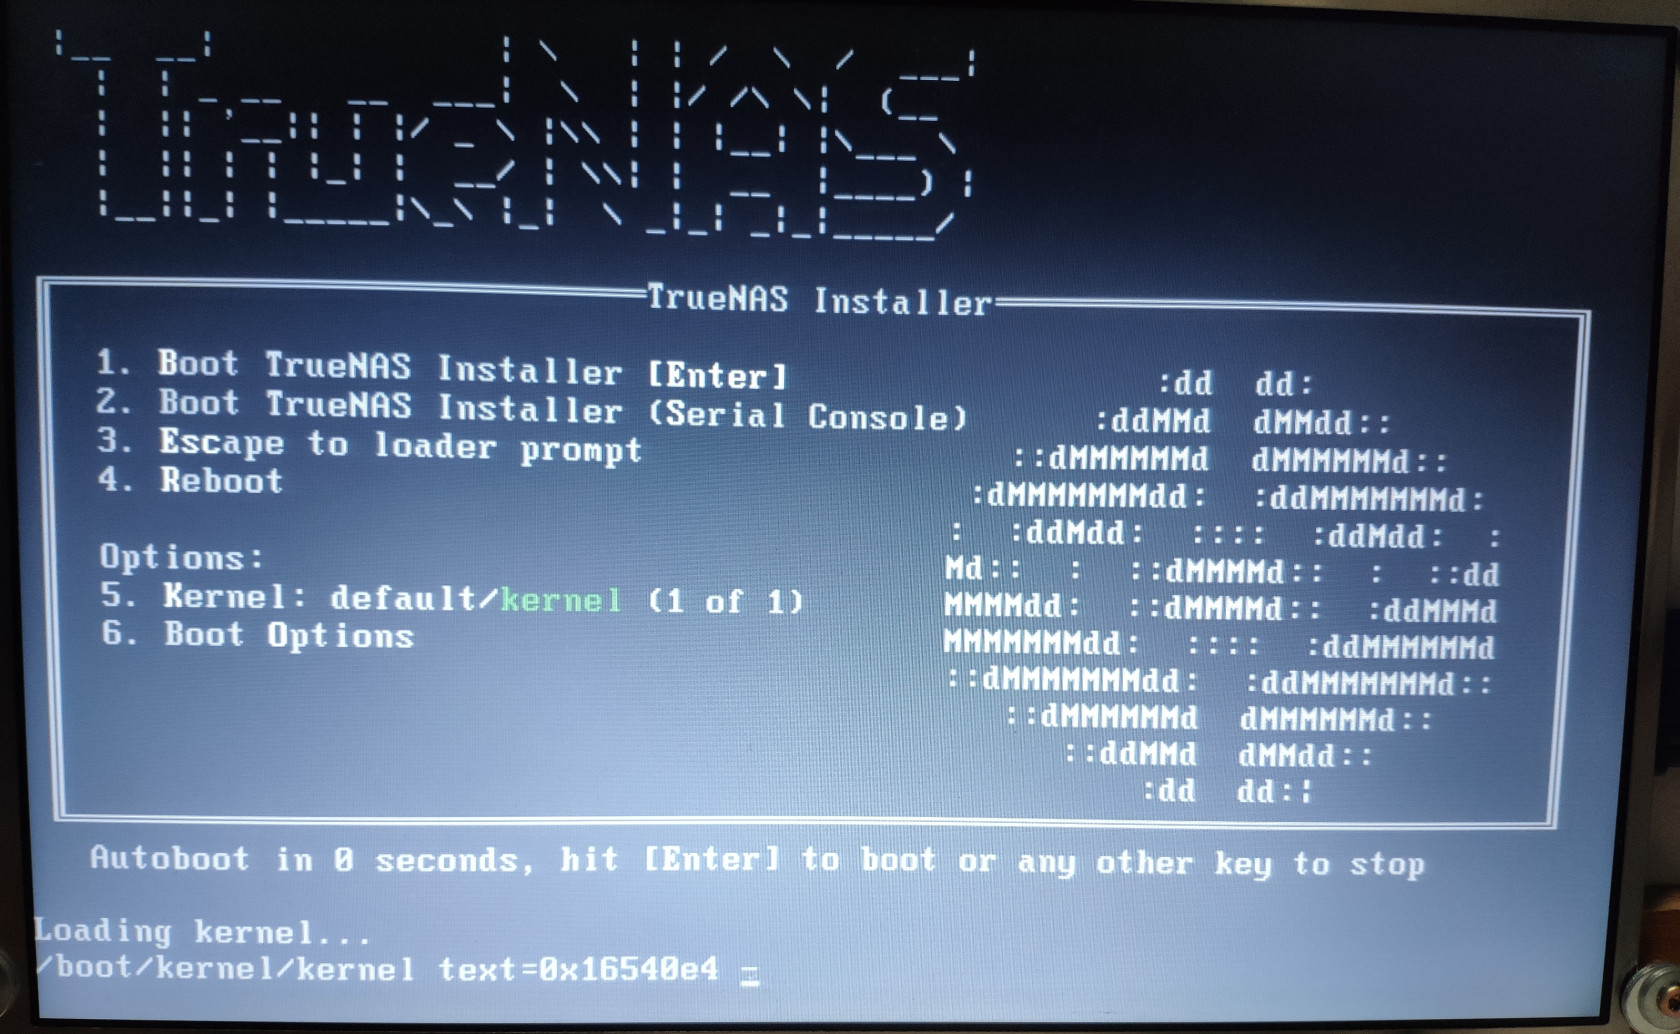
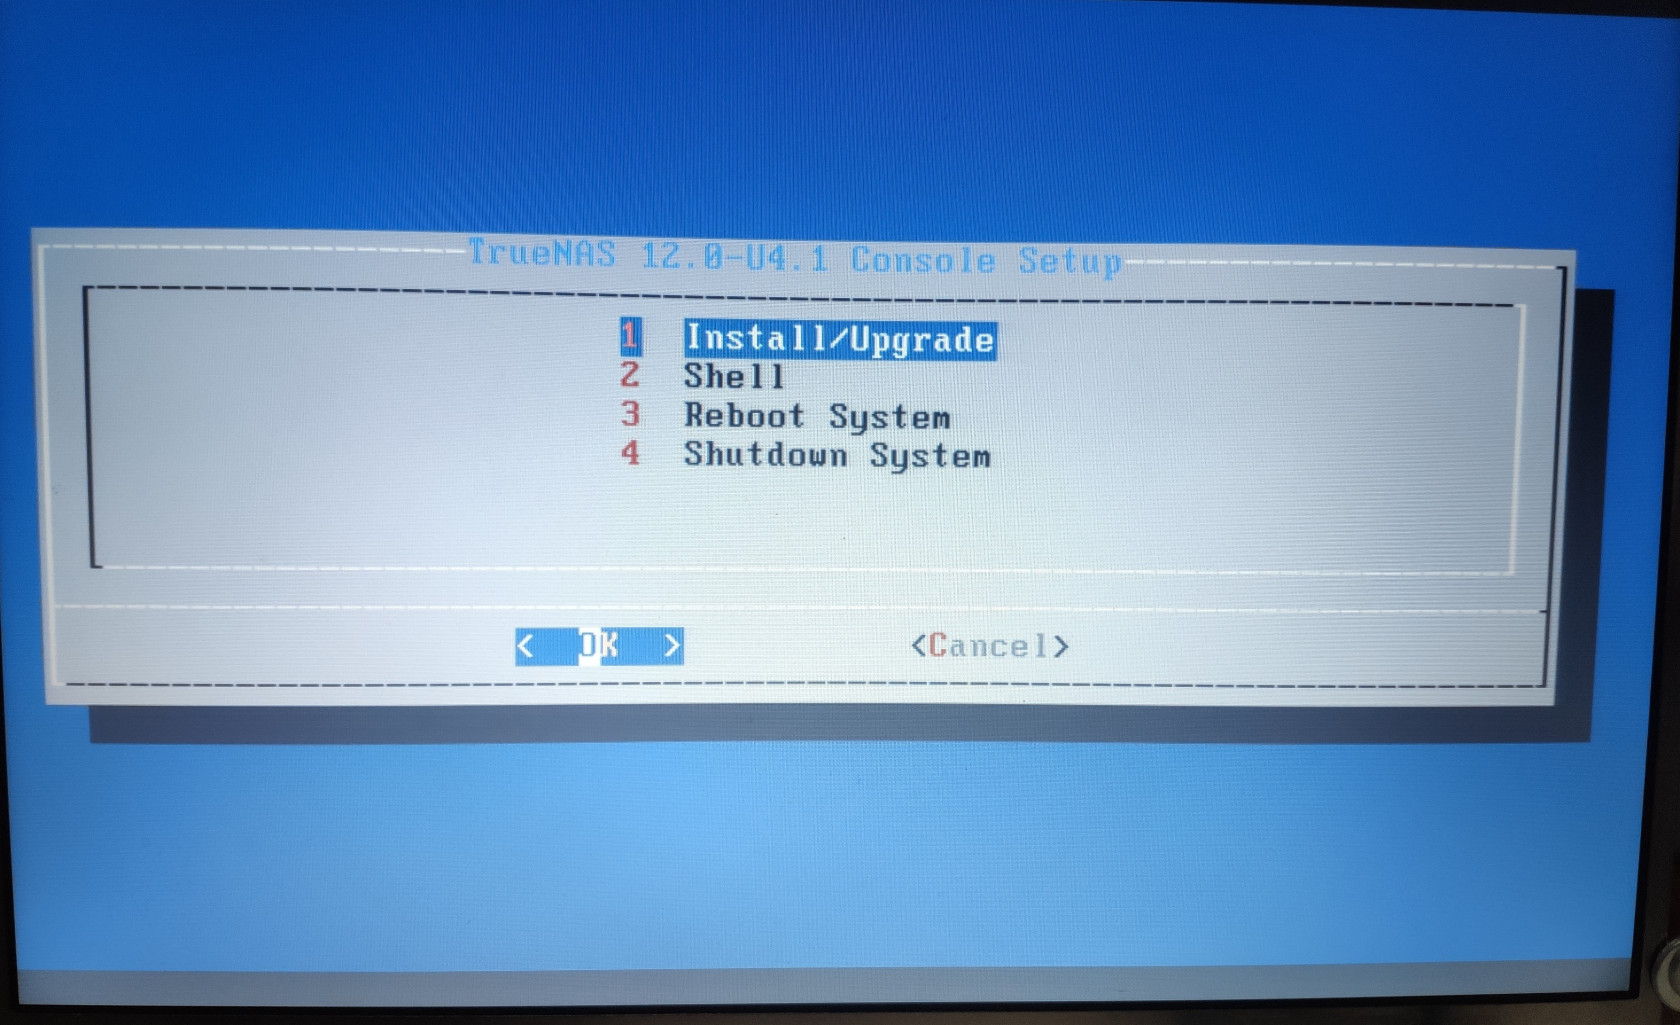
After a while, you will be greeted with the setup screen. Select Install/Upgrade and hit enter to proceed.
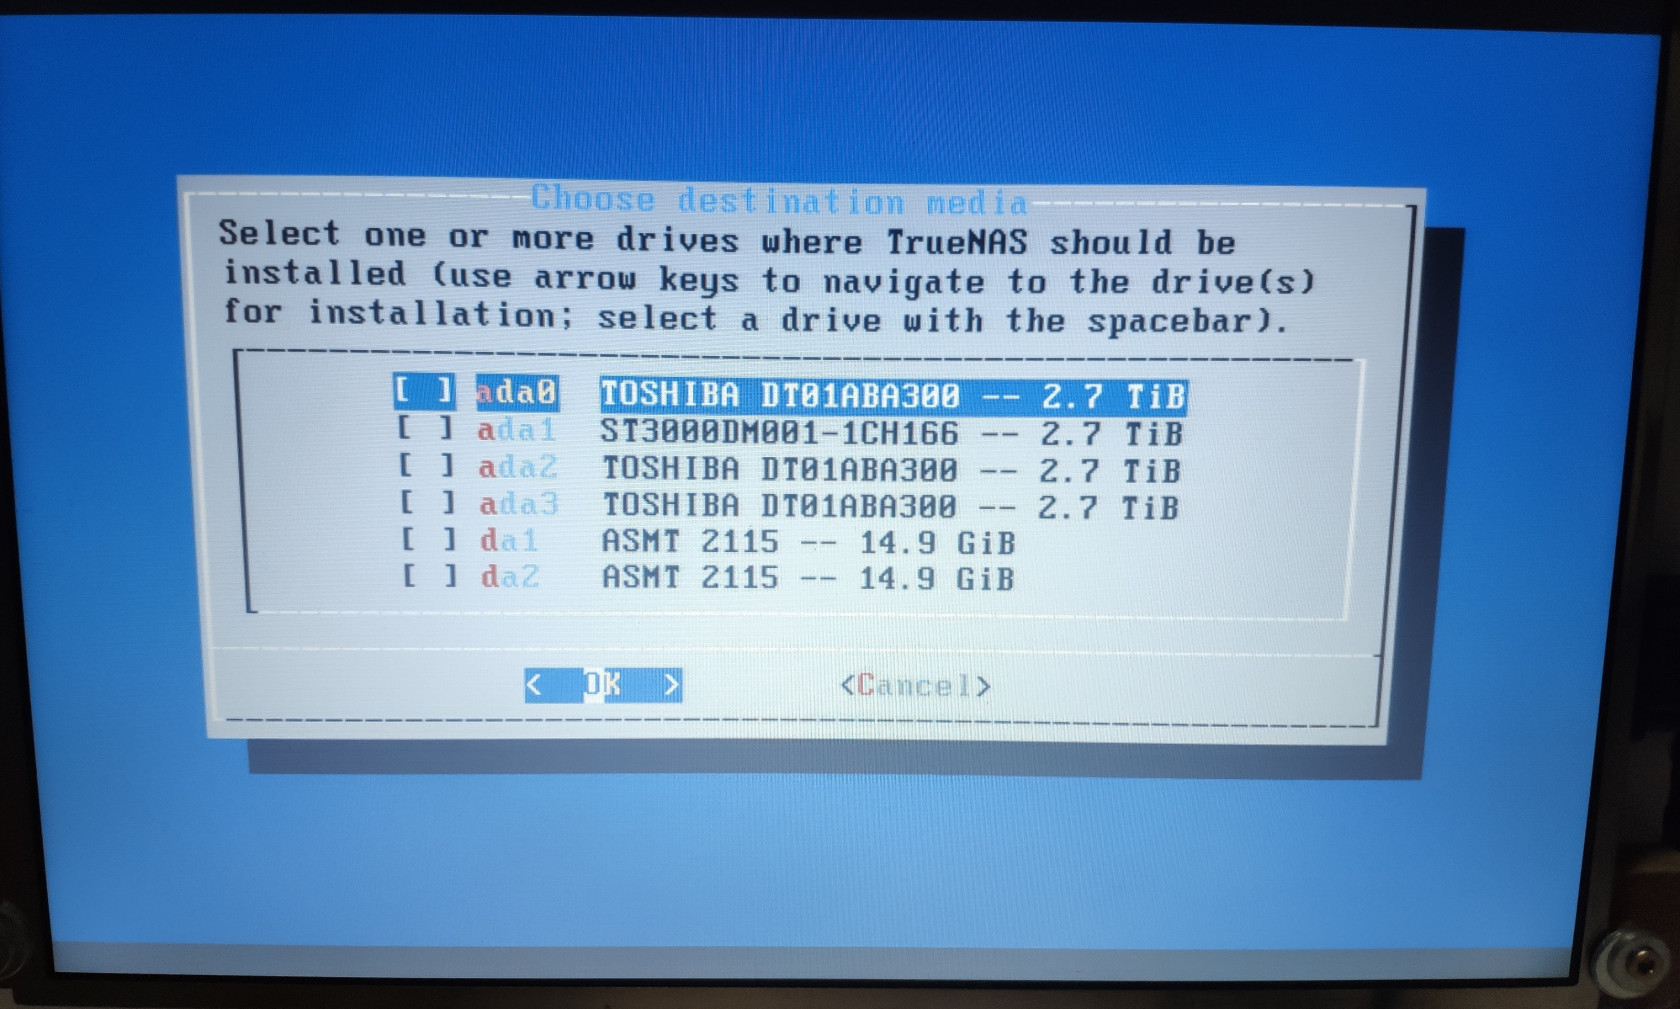
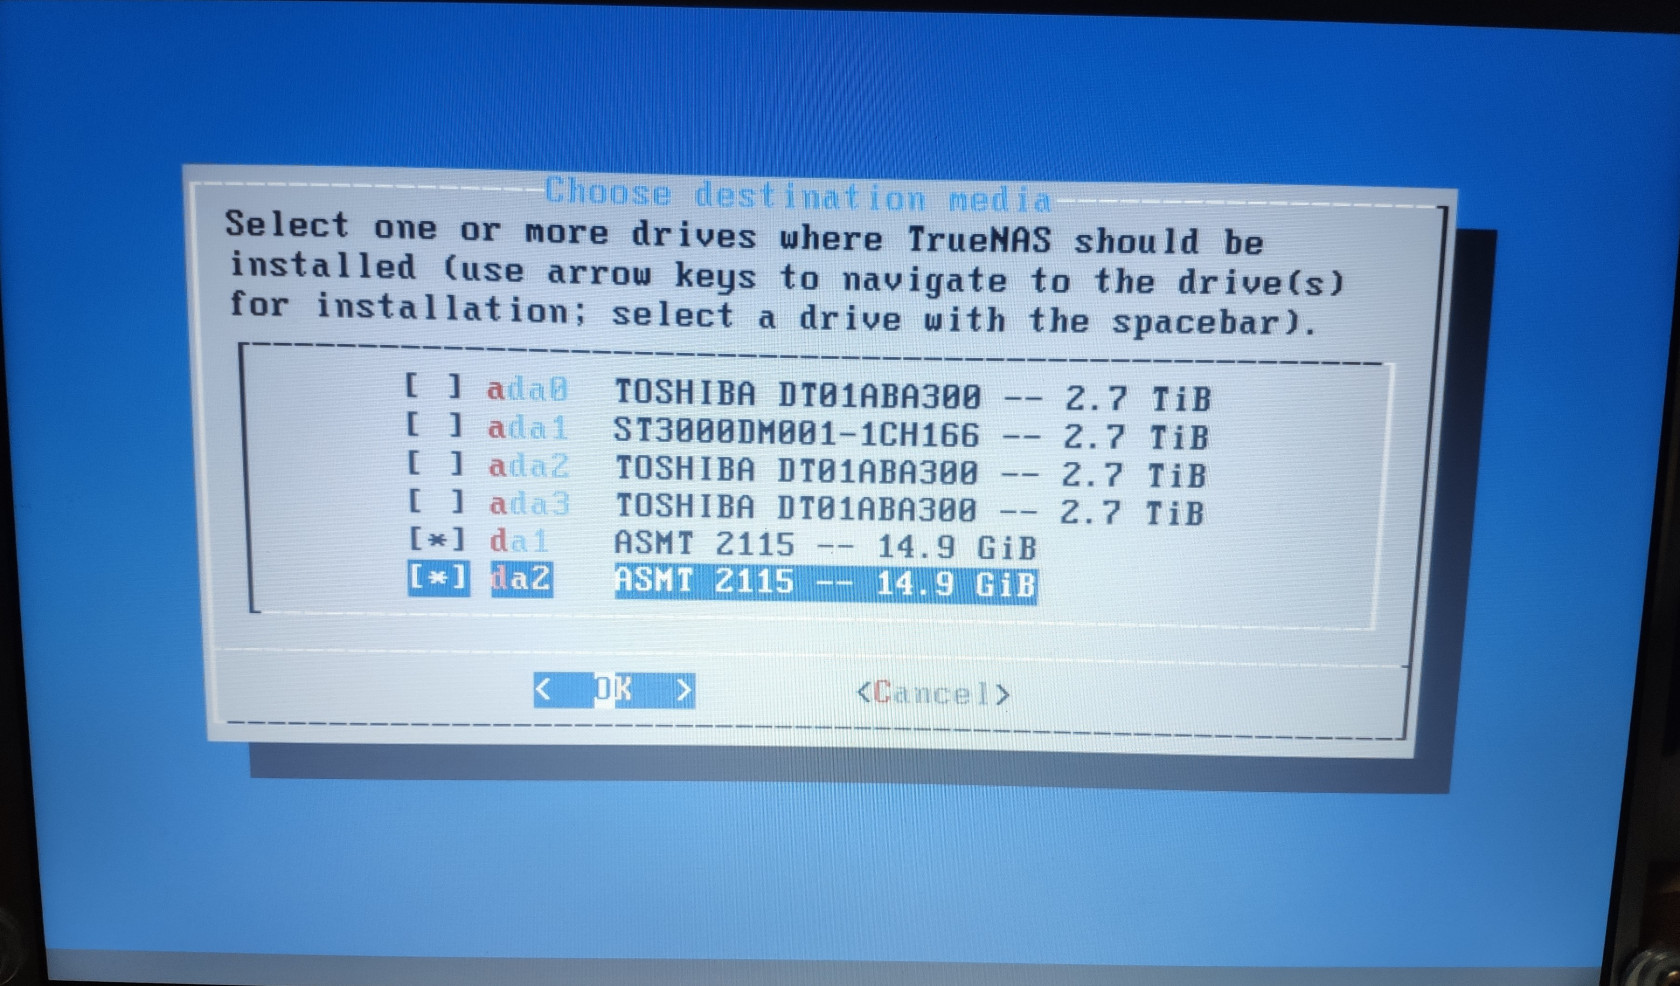
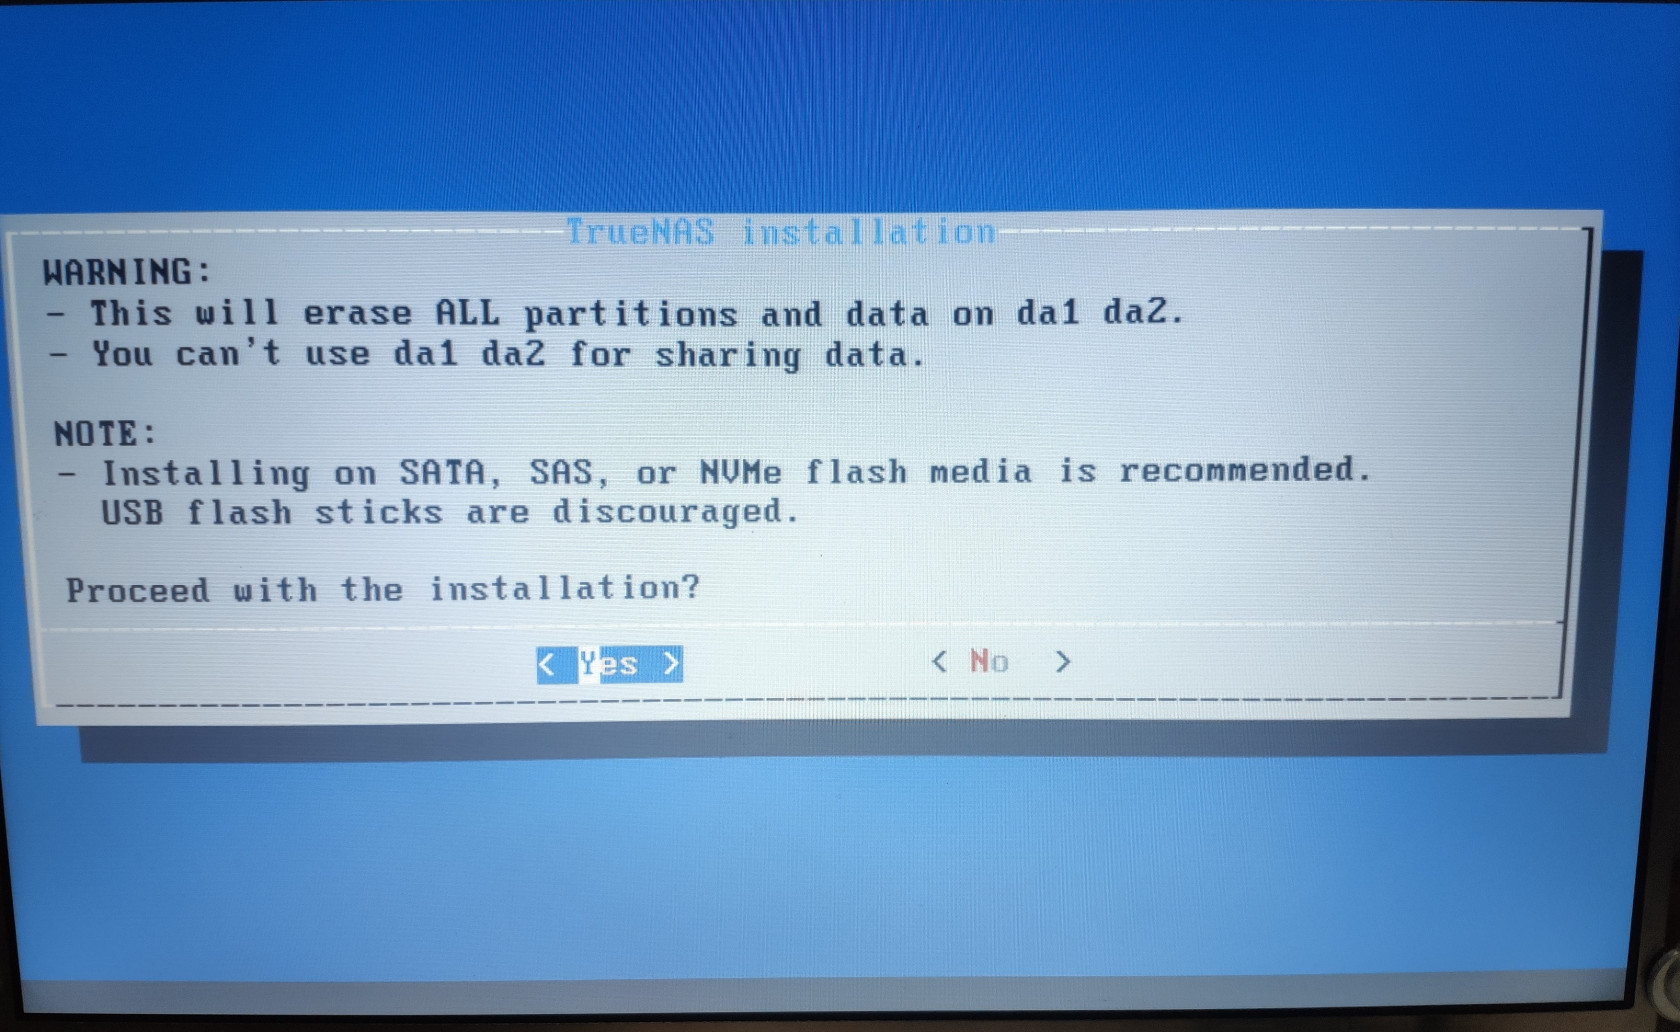
Choose the boot drive from the list of the drive options. Press space to select the drive, then hit OK to continue with the installation.
If you have two or more drives that you want to use as the boot drive, you can select them all by pressing space next to the drive names.
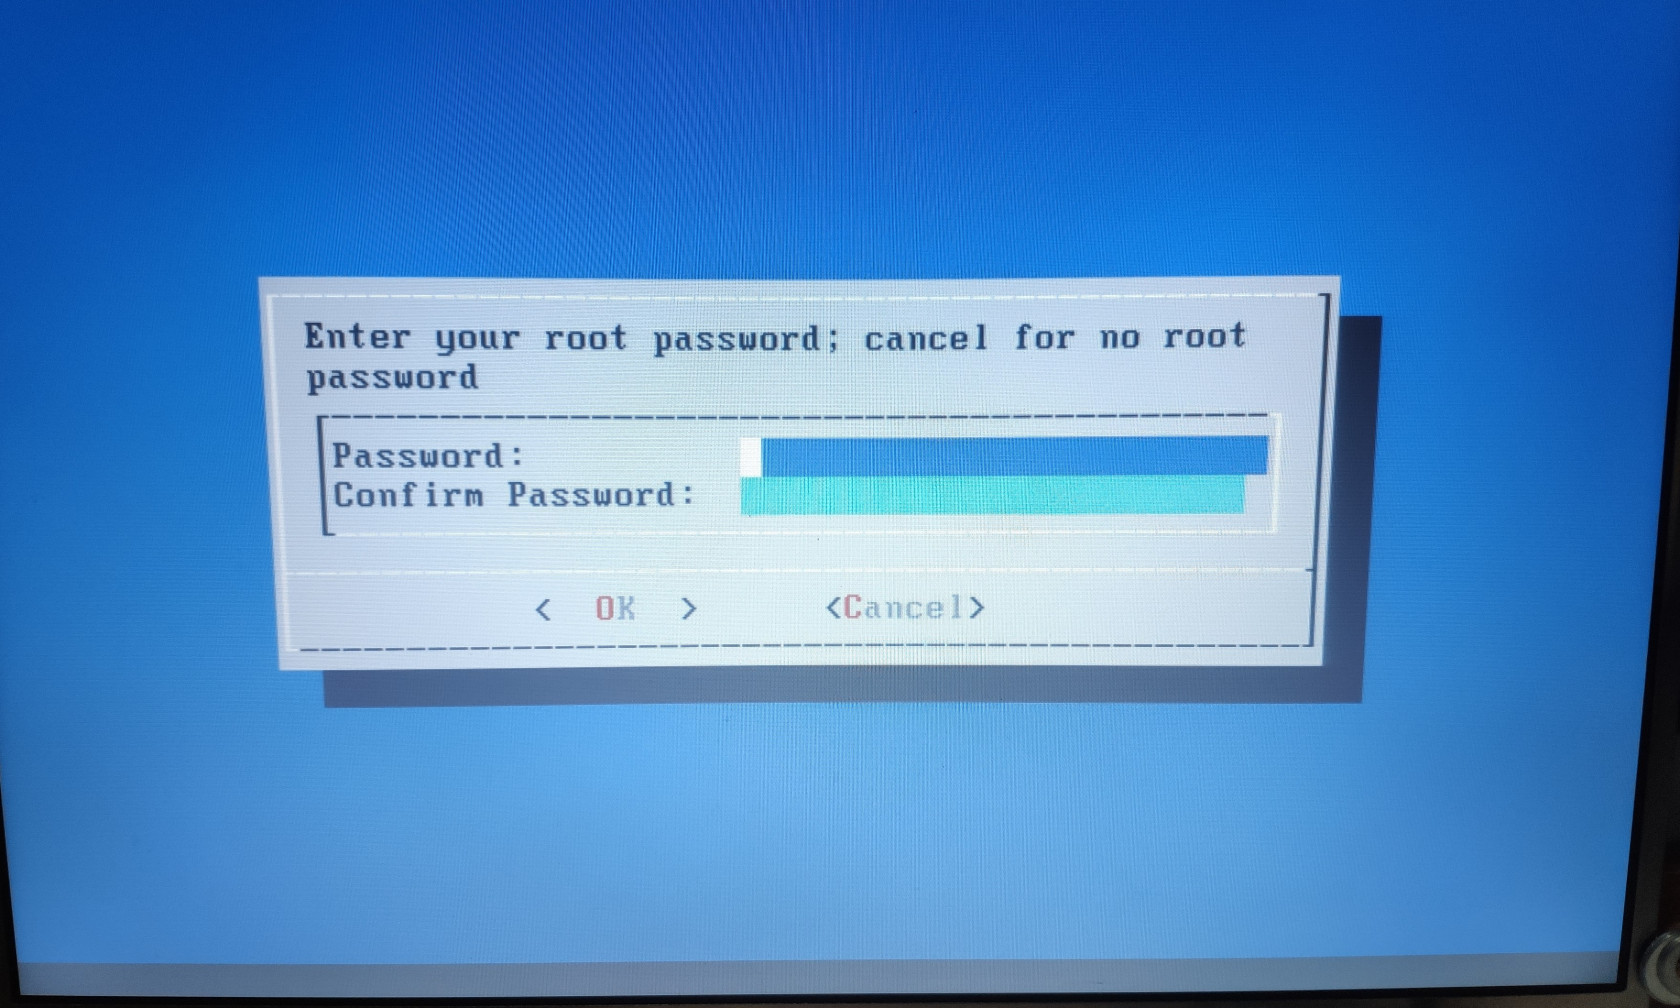
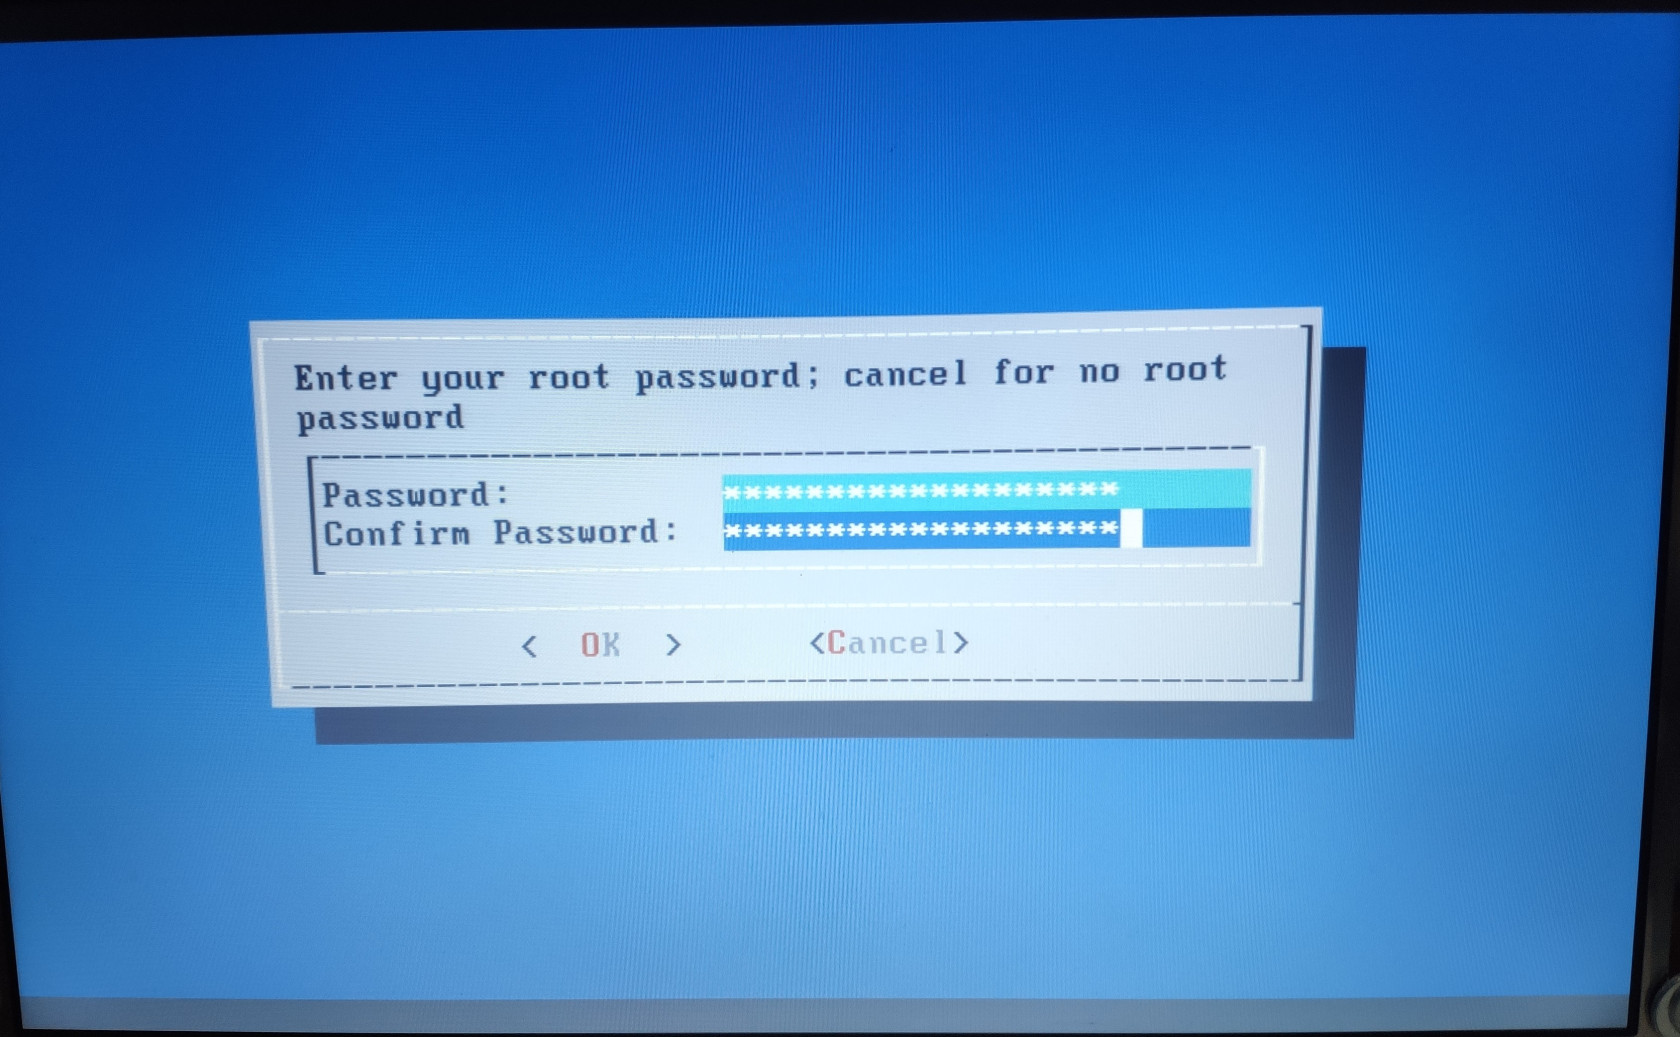
Enter a password for the root account. This password will be the password for logging onto TrueNAS’s WebGUI later on.
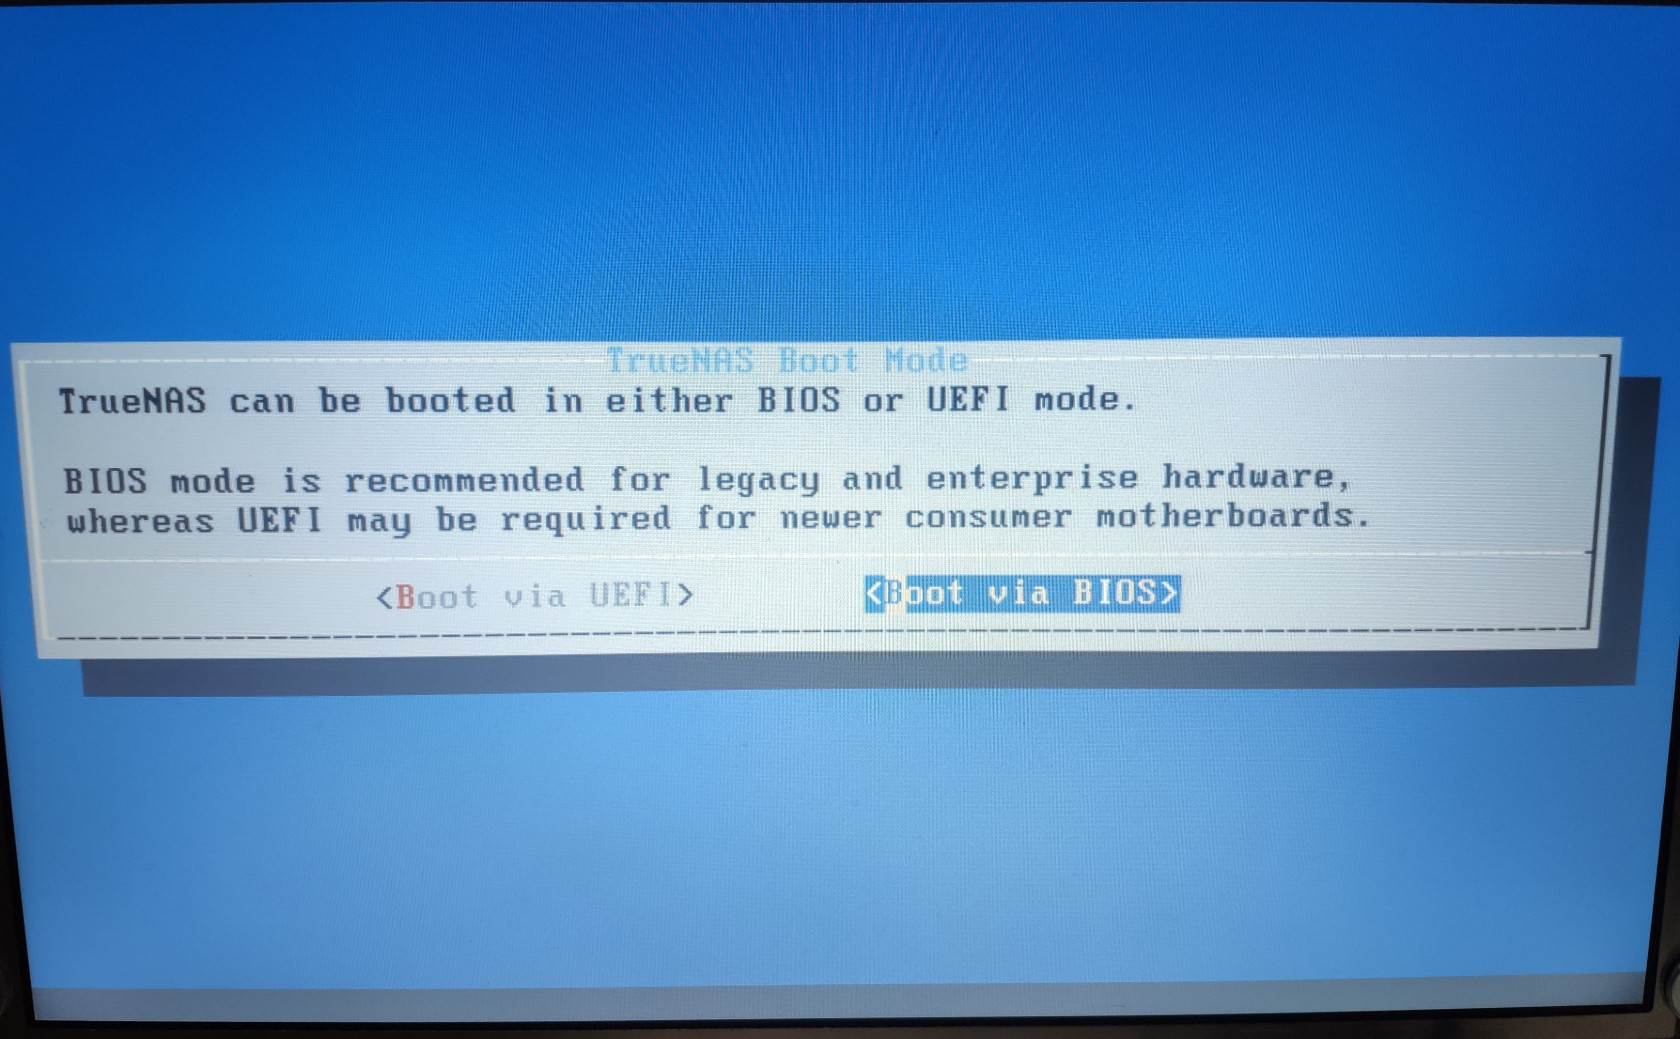
If you have a relatively older system,choose Boot via BIOS. Otherwise, UEFI Boot is preferred. TrueNAS installer will begin to install the OS onto the boot drives now.
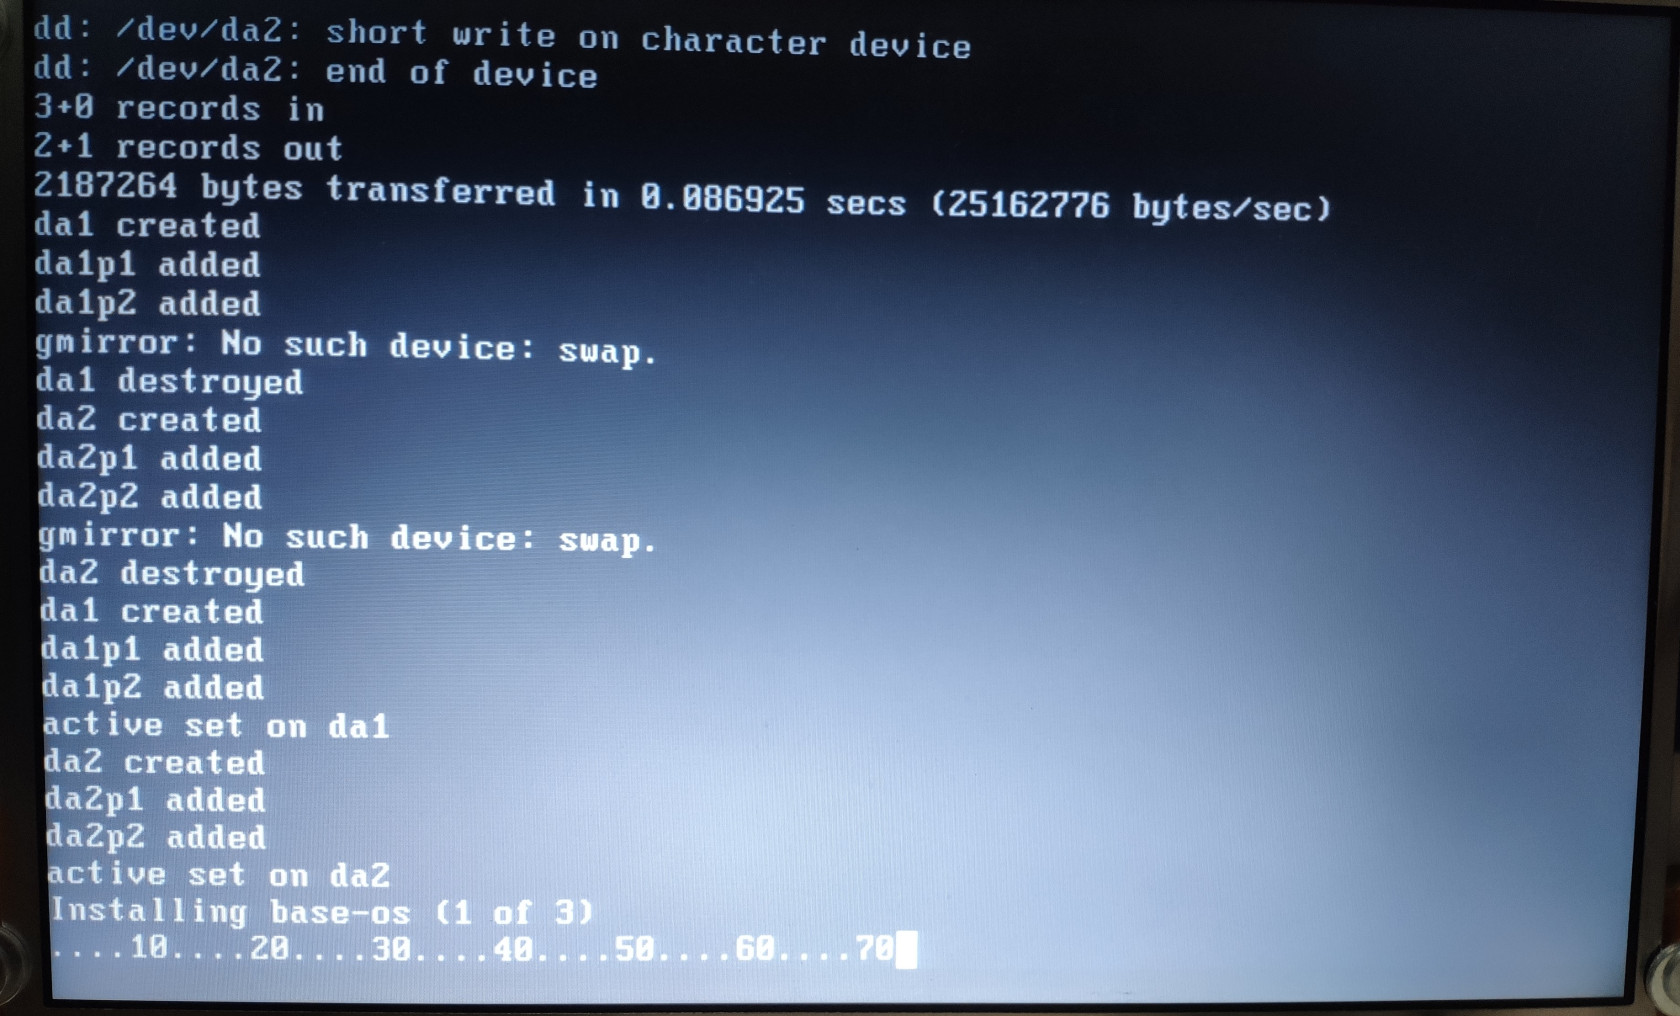
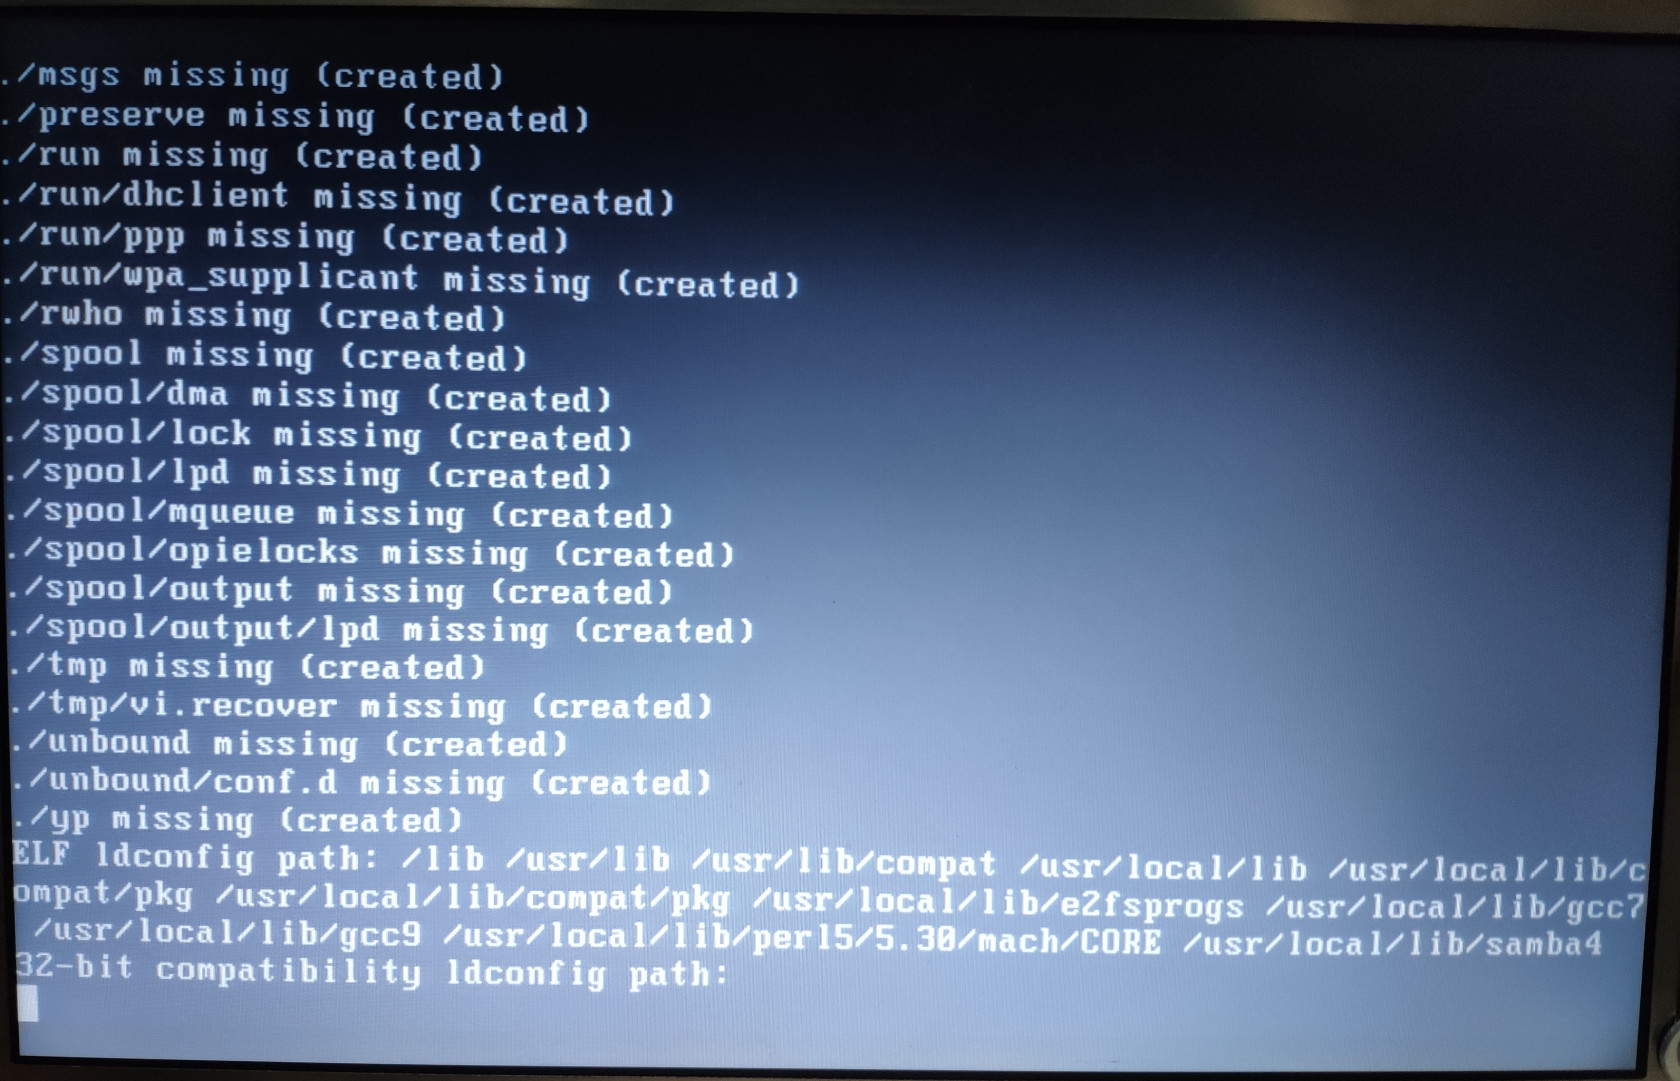
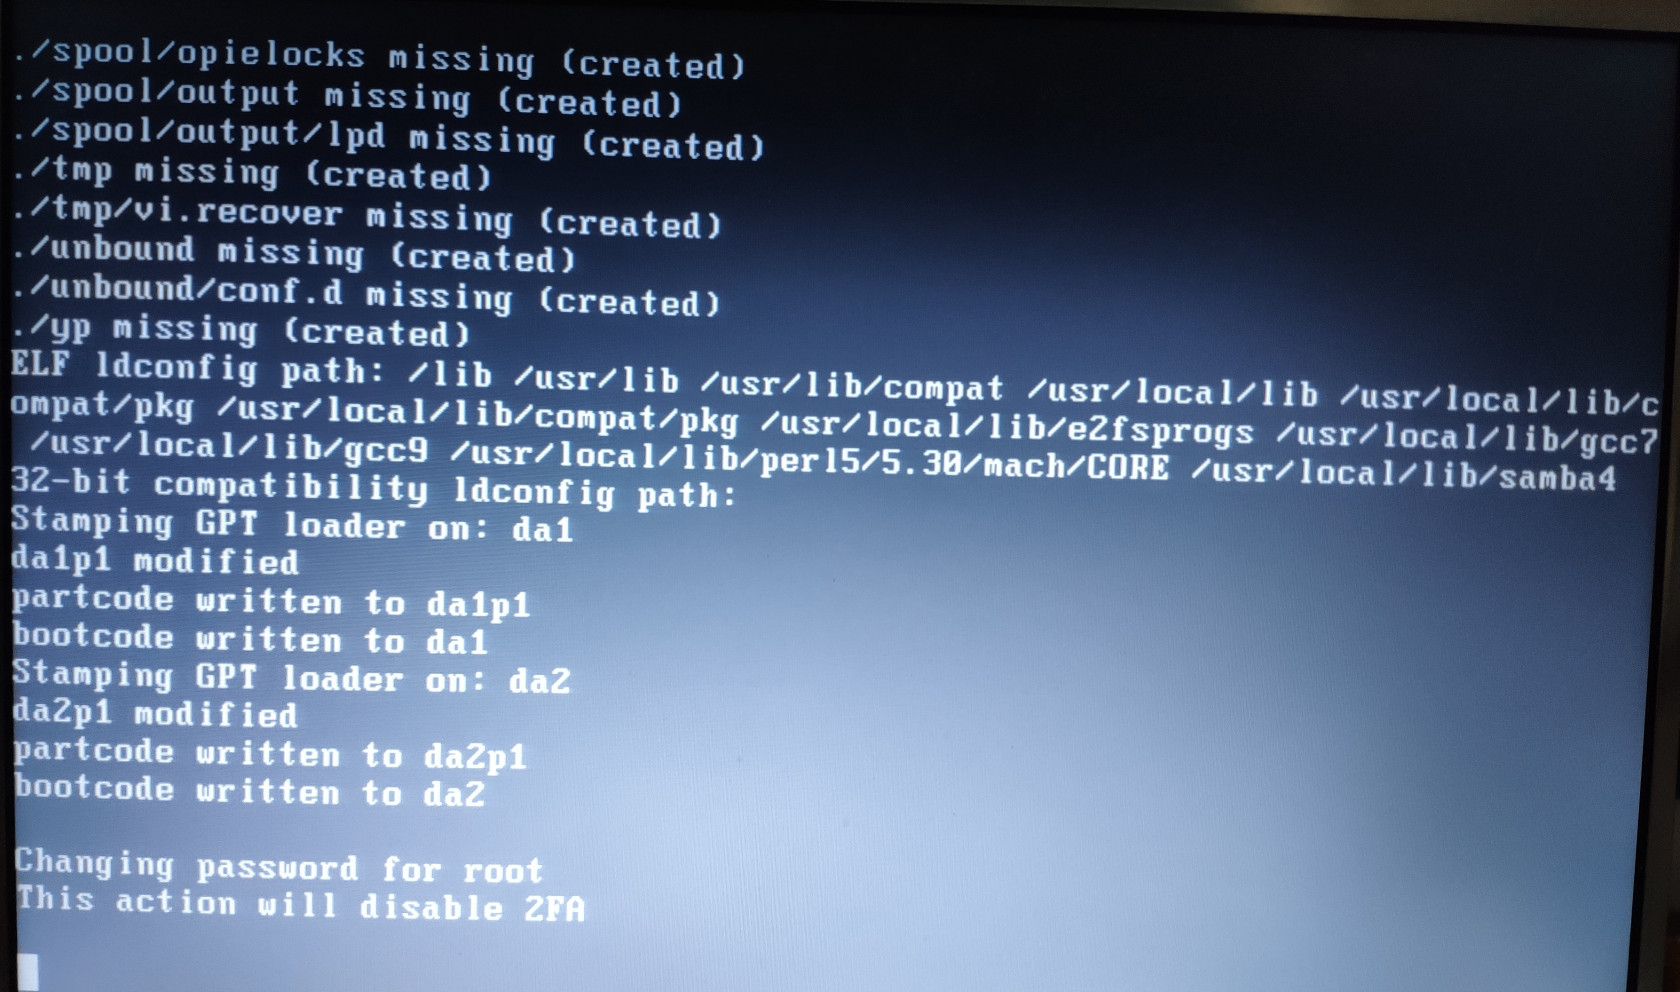
After a while, the installation will finish. You can reboot the system now.
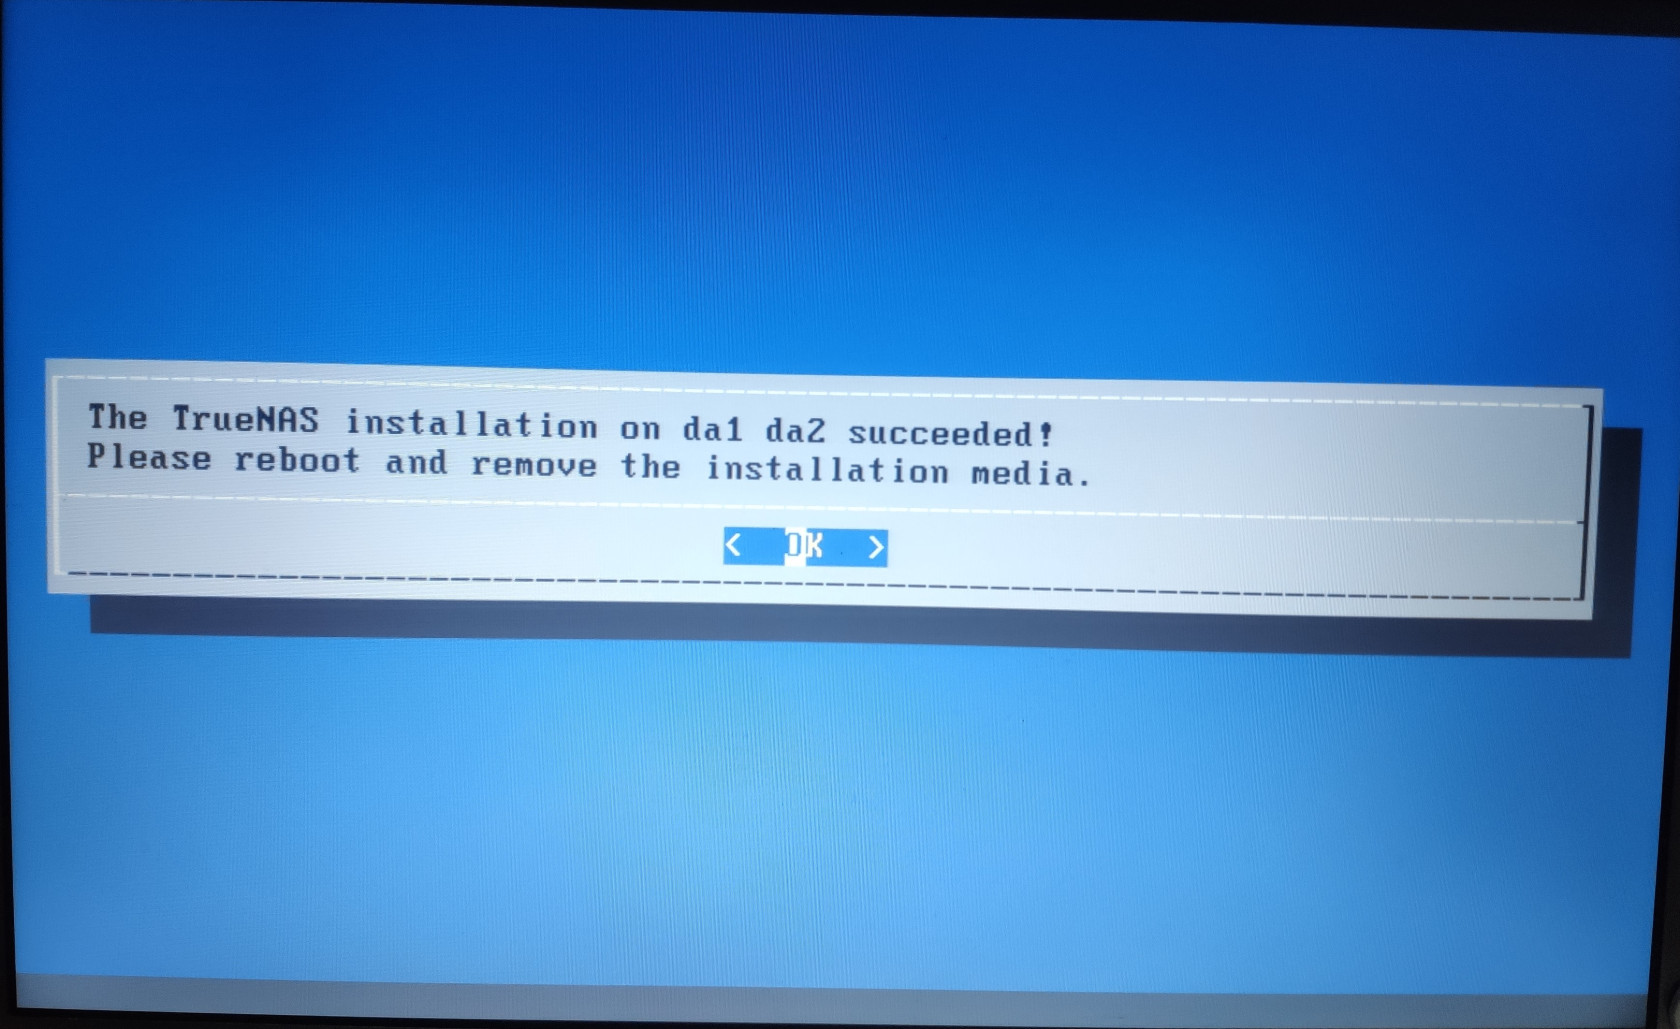
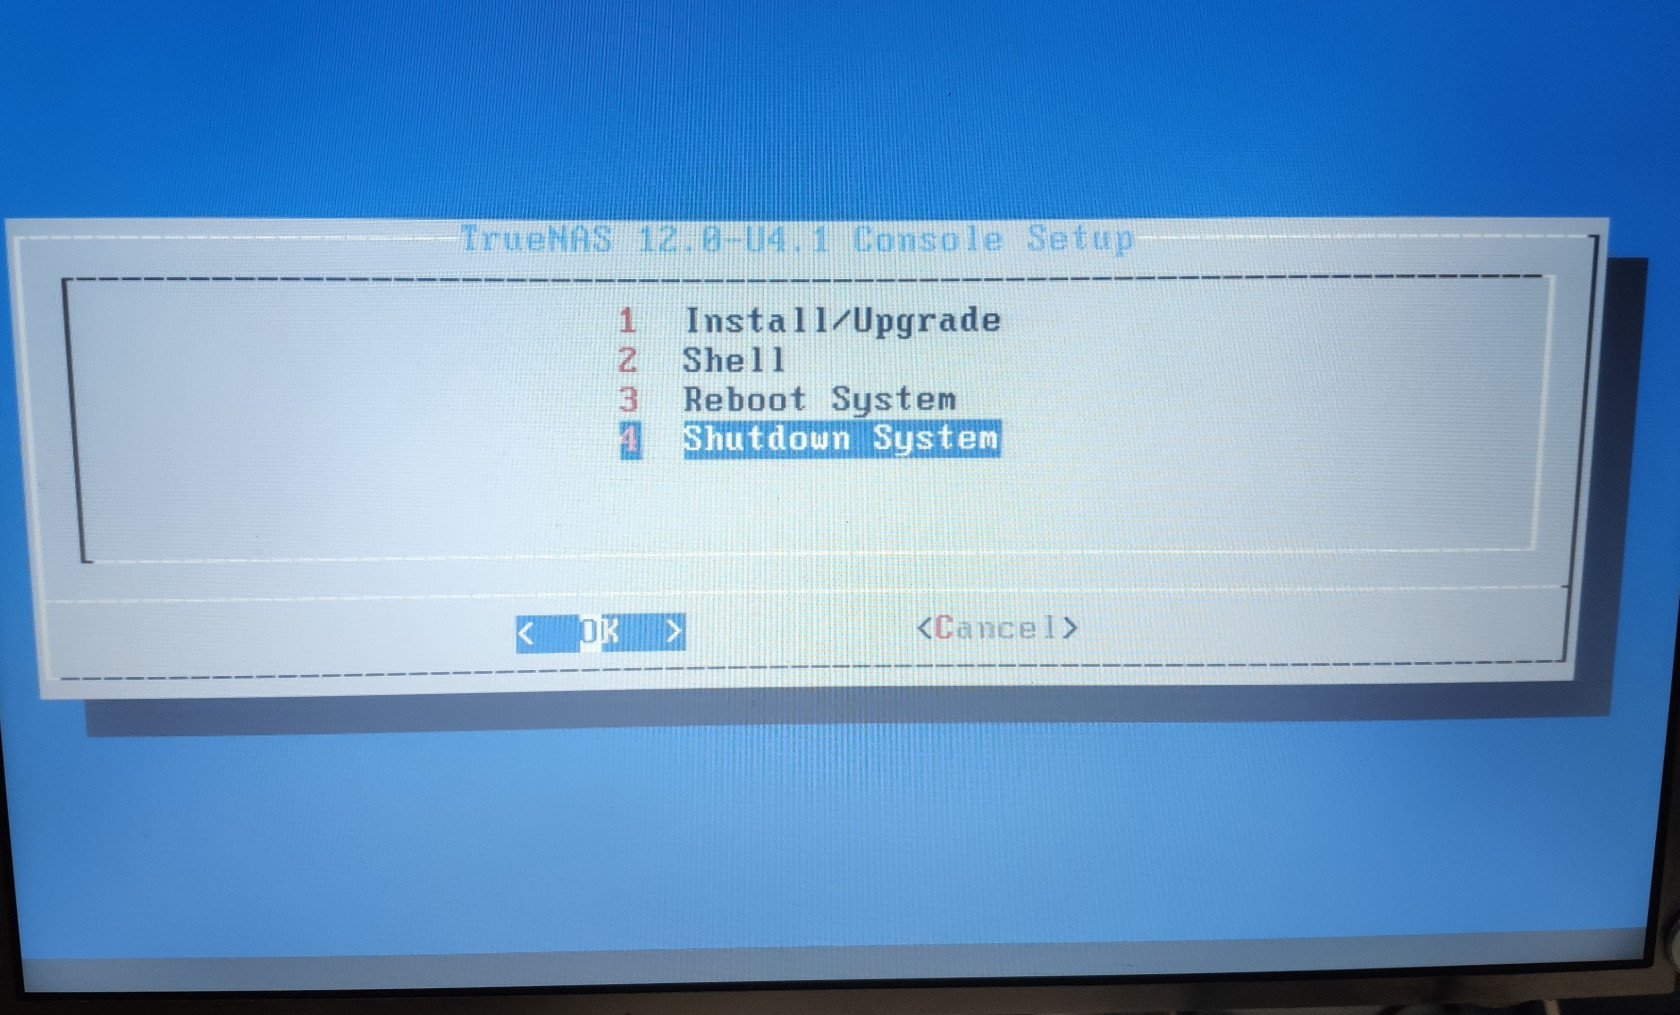
Upon reboot, you should see the TrueNAS console on the screen.
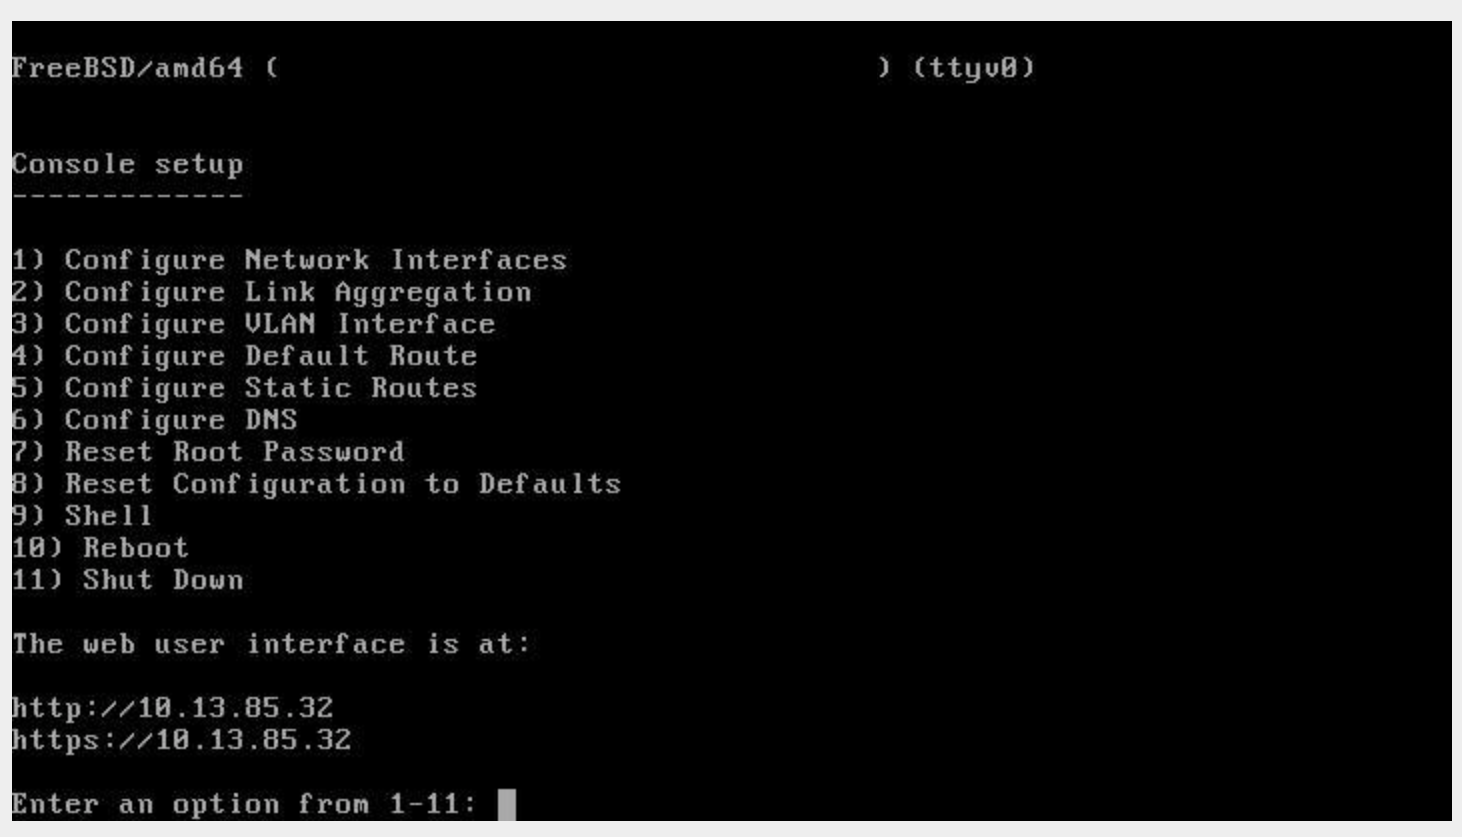
Login to the WebGUI
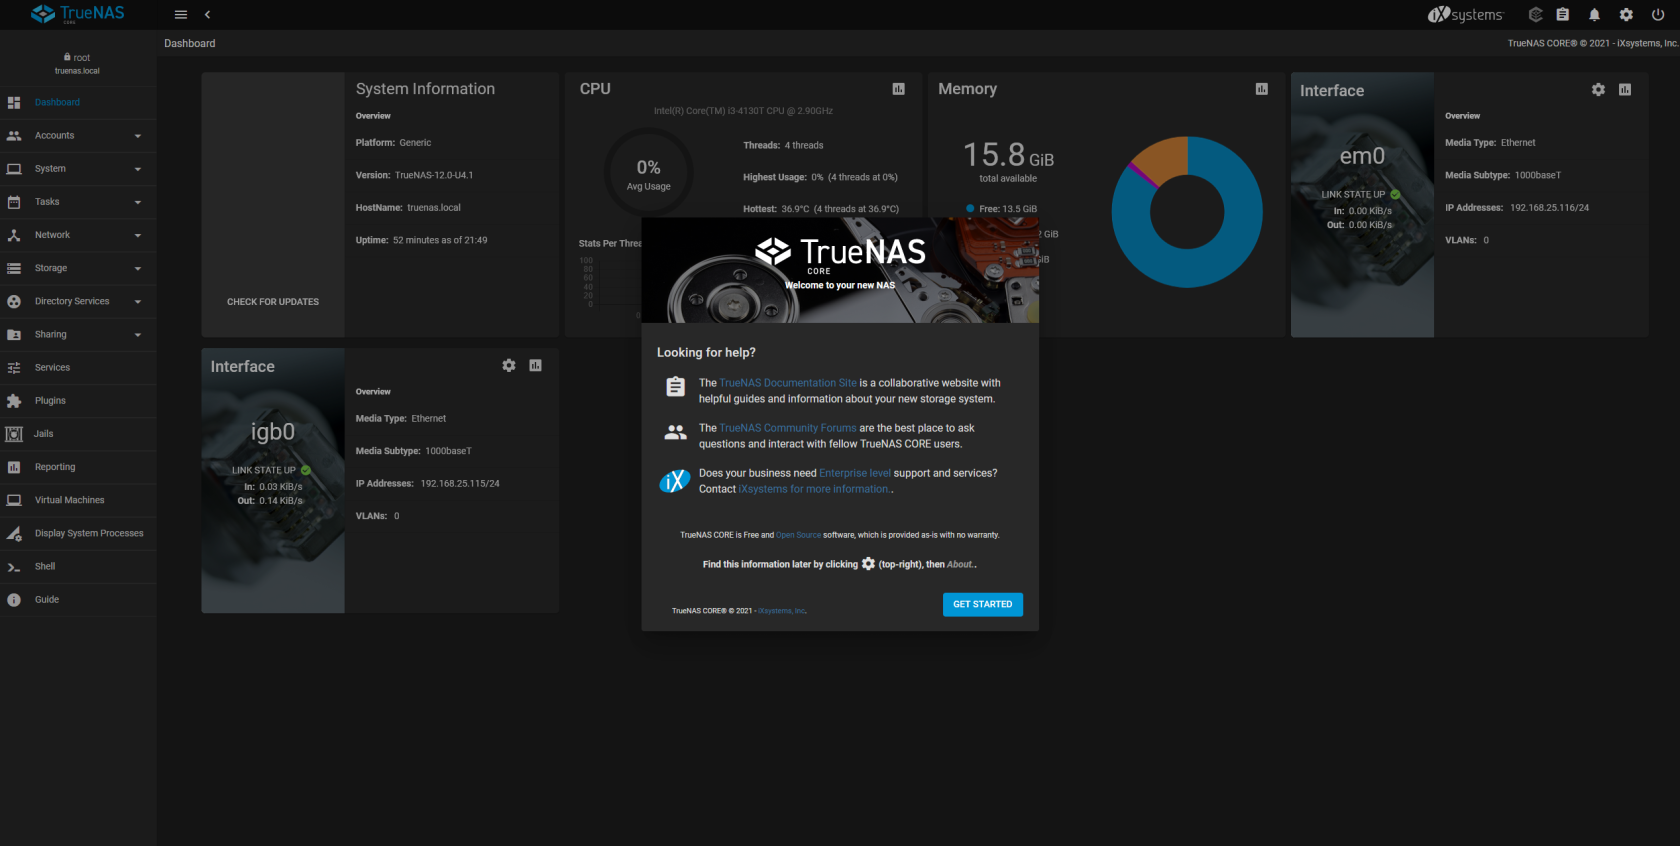
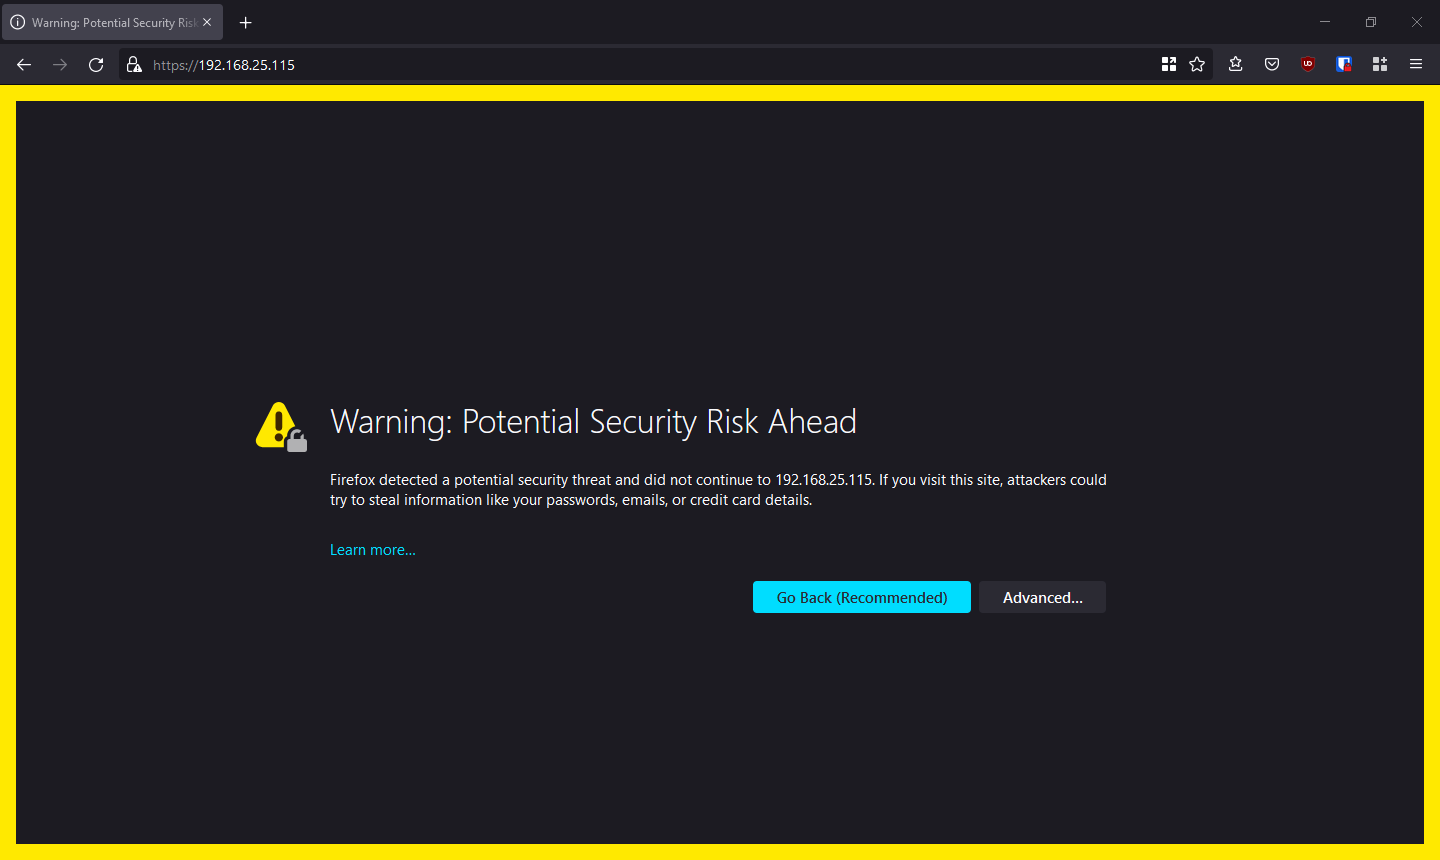
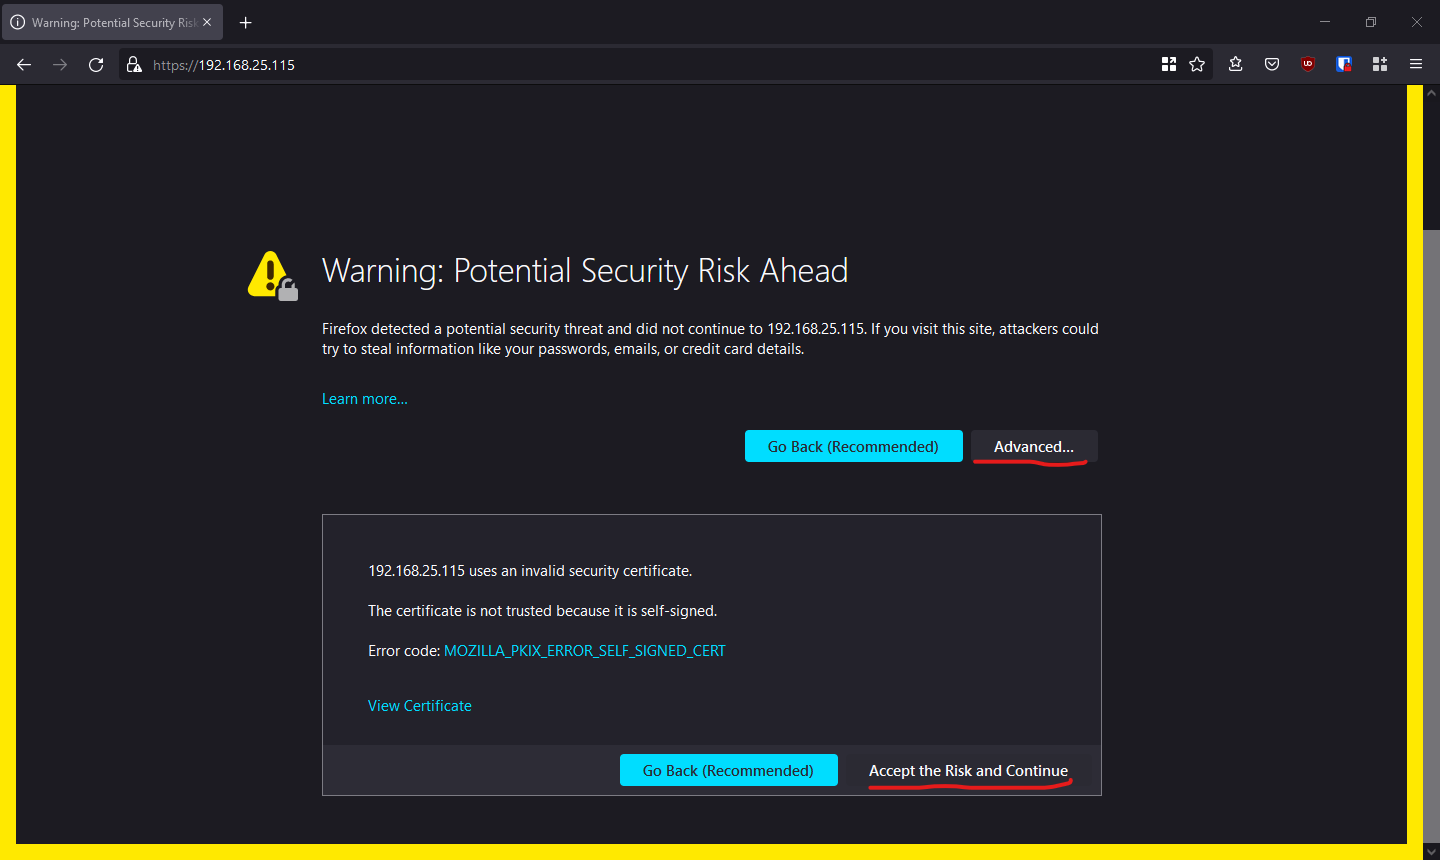
Type in your browser the IP address of the TrueNAS system, and you will see the TrueNAS WebGUI. If you are accessing it via HTTPS, you may get a security warning from your broswer. This is a normal behavior as TrueNAS uses a self-sign certificate for its WebGUI on default installation. Accept the risk and continue to the WebGUI for now.
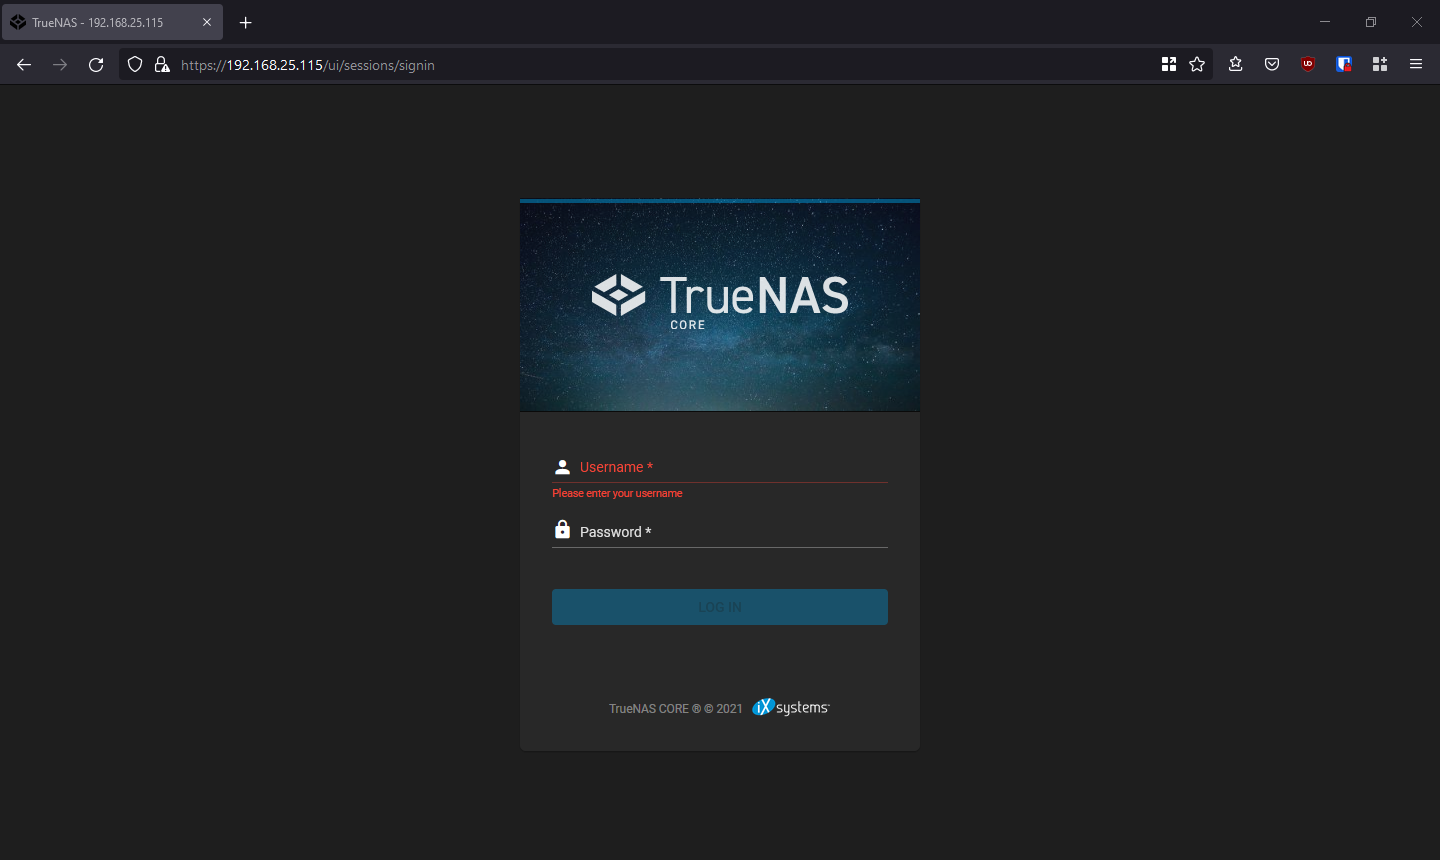
Login with the user account root and the password you created before, and you are in!
