Creating User Groups and Users
Creating Groups
It's a good idea to create different group for users on TrueNAS, and apply ACL permissions to groups. This will make managing ACLs a lot easier later on as you create more and more users.
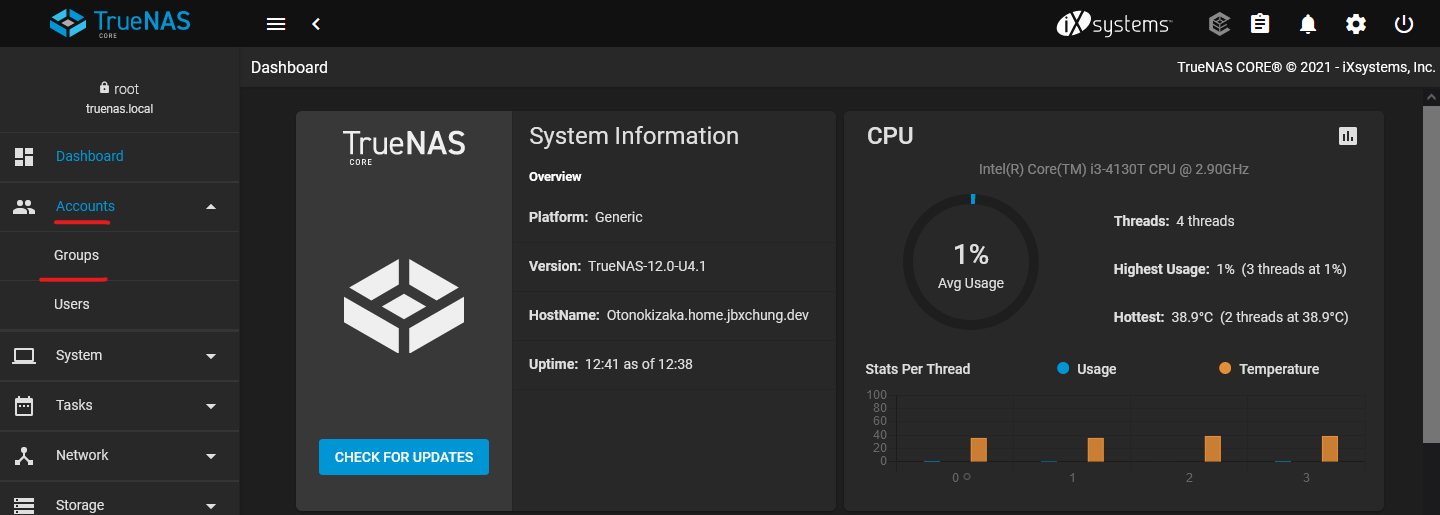
On the left, click on Accounts -> Groups.
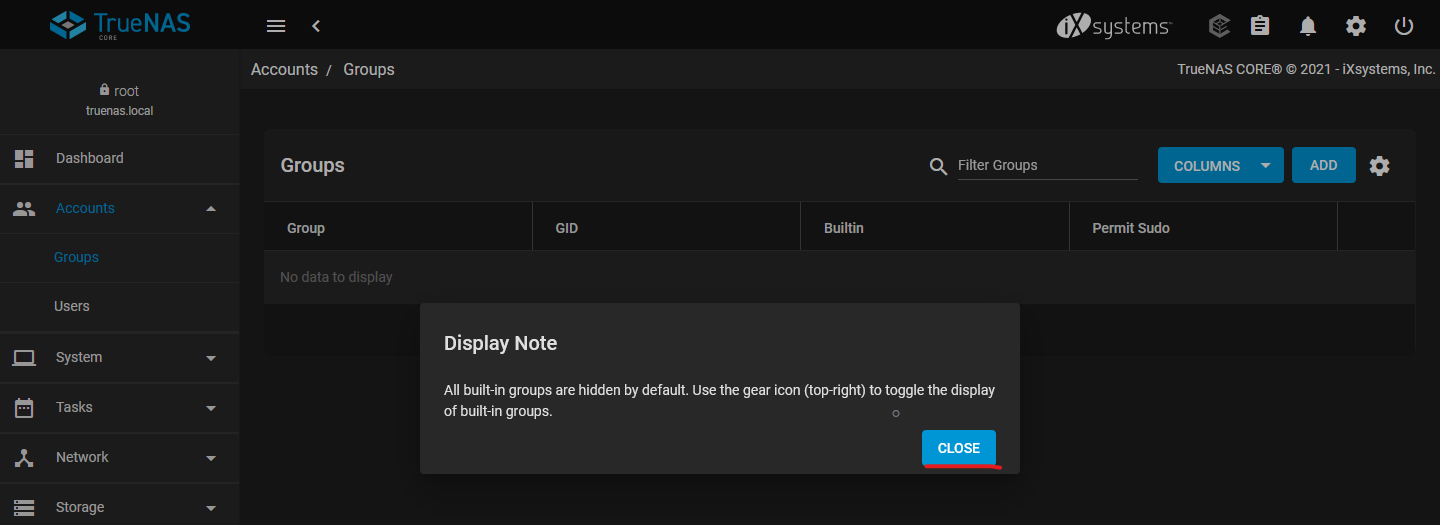
By default, there are no groups listed. Click on Add on the top right side to start adding a new group.
TrueNAS will start the first group with the GID 1000, and sequentially increase it as you add more groups. You can leave the GID creation alone to avoid having duplicated GID in the future.
Enter a name for the new group, then click SUBMIT. If you are planning on using SMB from TrueNAS, check the box for Samba Authentication.
Once added, you will see the new group show up in the list.
Creating Users
I recommend planning out the User Groups and add the groups to TrueNAS first so that you can assign the user to groups during the user creation process instead of changing it afterward.
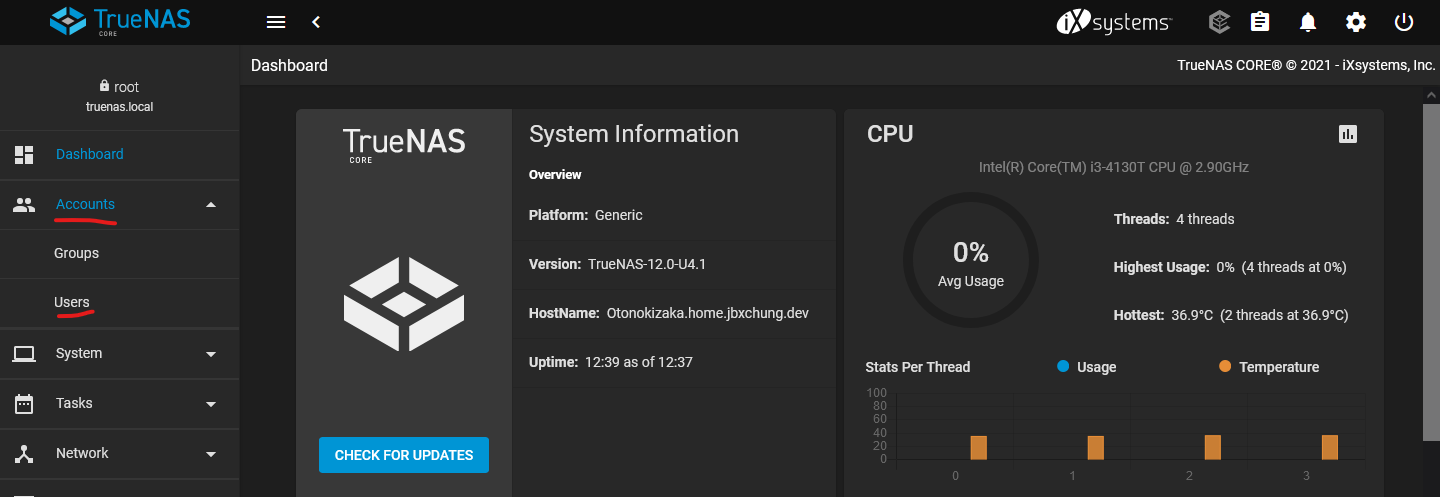
On the left drop down, go to Accounts -> Users.
If this is your first time creating a new user, TrueNAS will display a information popup regarding built-in users. All built-in users besides root, such as www-data and nobody, are hidden.
Click Close to continue.
Click on Add on the top right to start adding a new user.
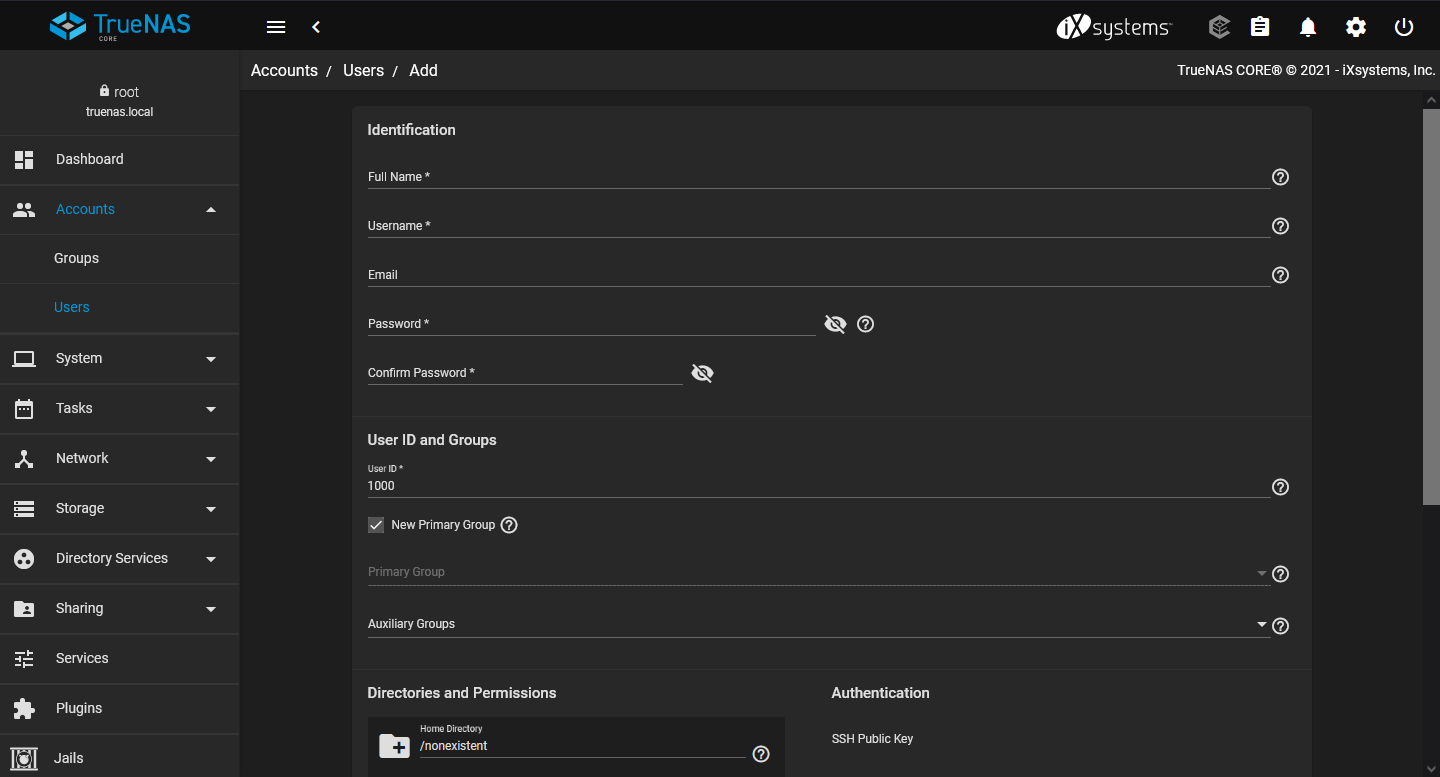
Fill out the information for your new user. Similar to GID, the UID also starts at 1000 by default. You can leave it as default to avoid potential duplicated UID in the future.
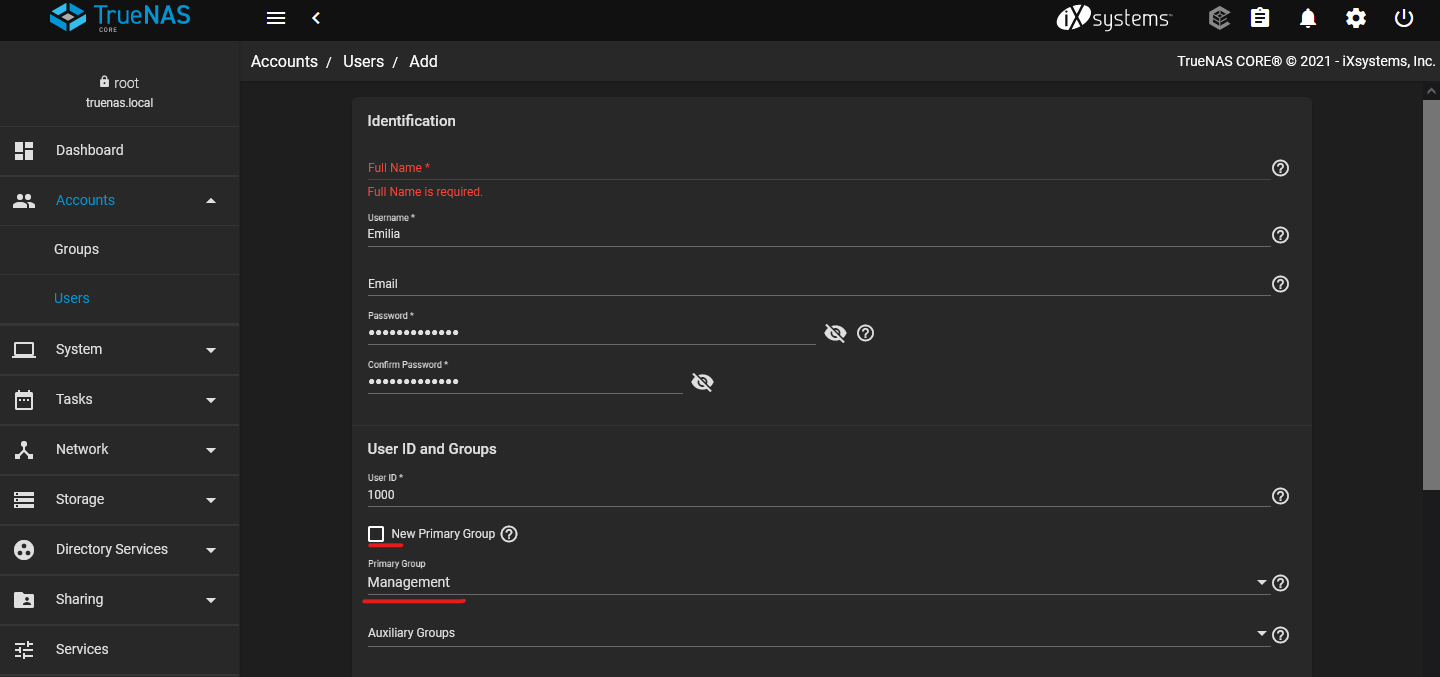
If you have the User Groups setup already, uncheck the option for New Primary Group. Select the group you created for the user.
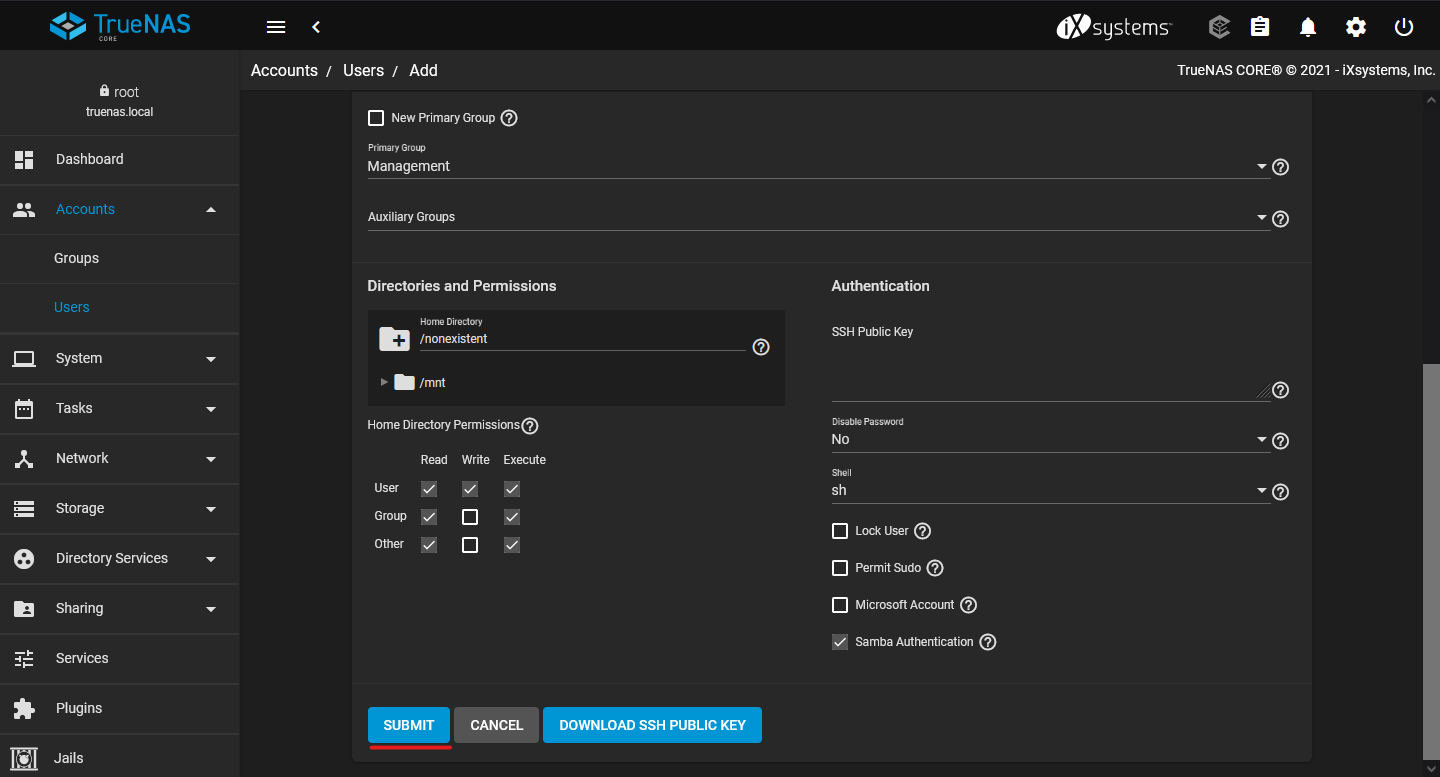
Once you have set the Username, Password, and Primary Group, you can leave all other options on default. When finished, click SUBMIT to create the new user.
You should see the new user in the list now.

