Creating a Storage Pool
Before you can store any data on the drives in TrueNAS, you need to first create a storage pool.
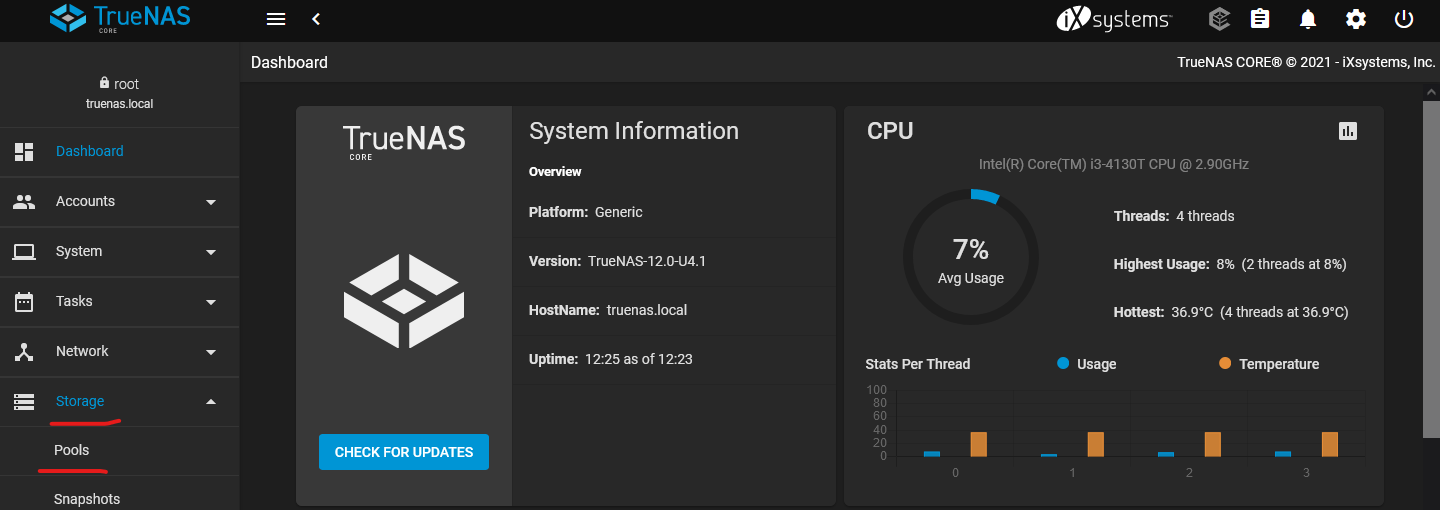
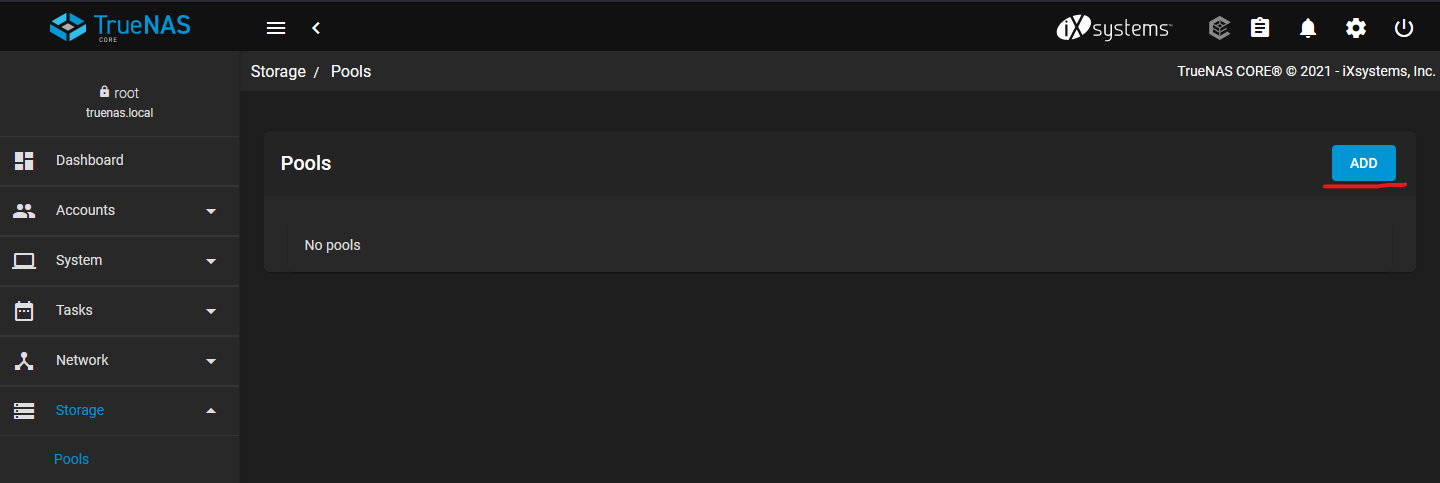
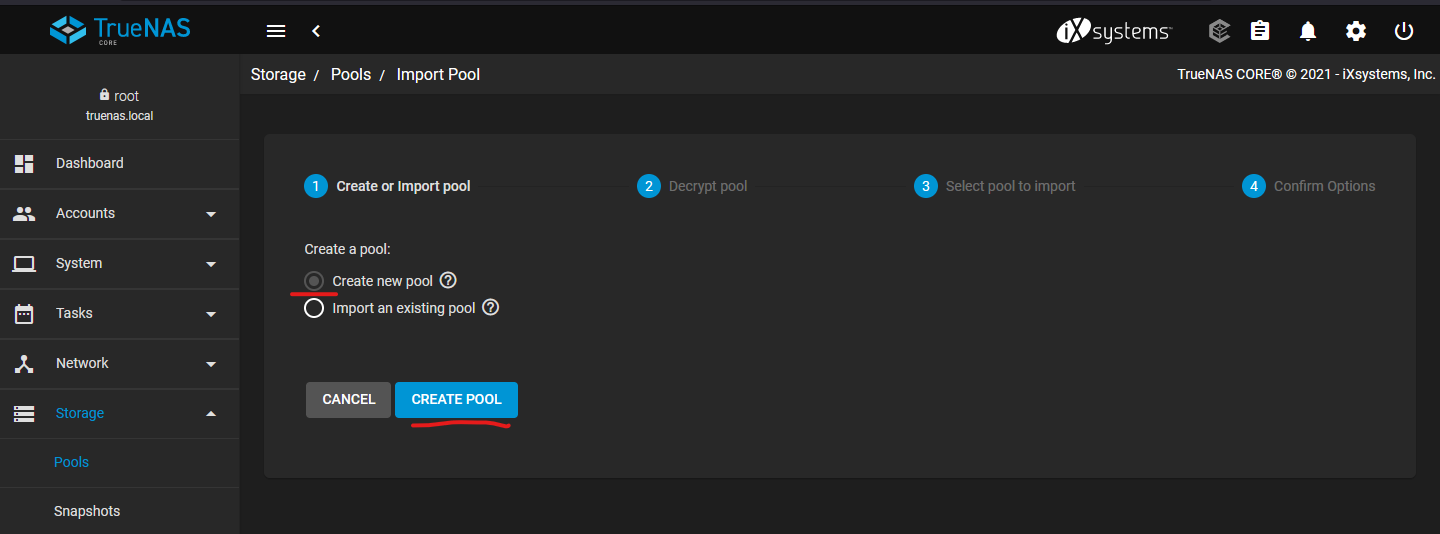
On the left side, select Storage -> Pools.
Click on Add on the top right.
Select Create new pool, and Create Pool.
The Pool creation process is pretty straight forward. On the Available Disks side, you will see all the HDD or SSD that the system have detected.

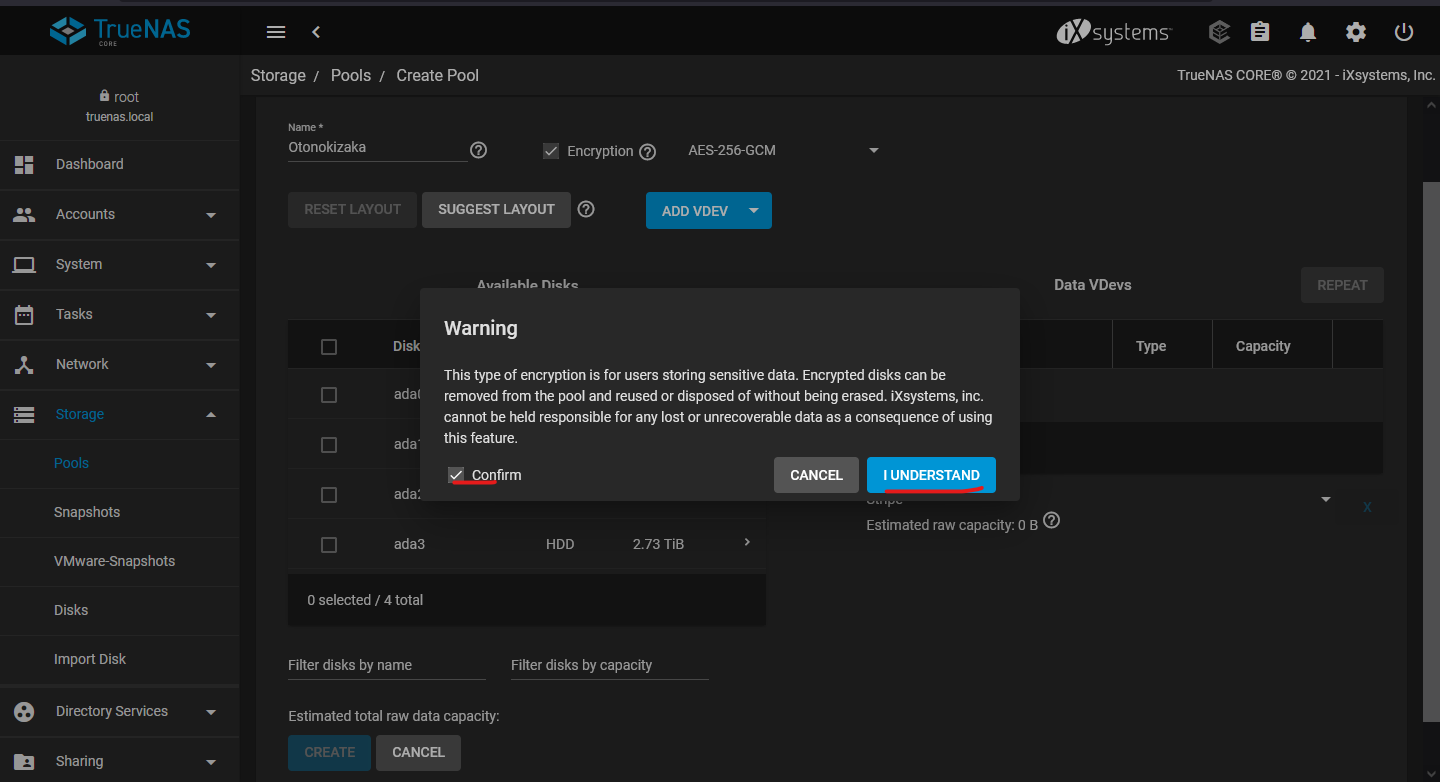
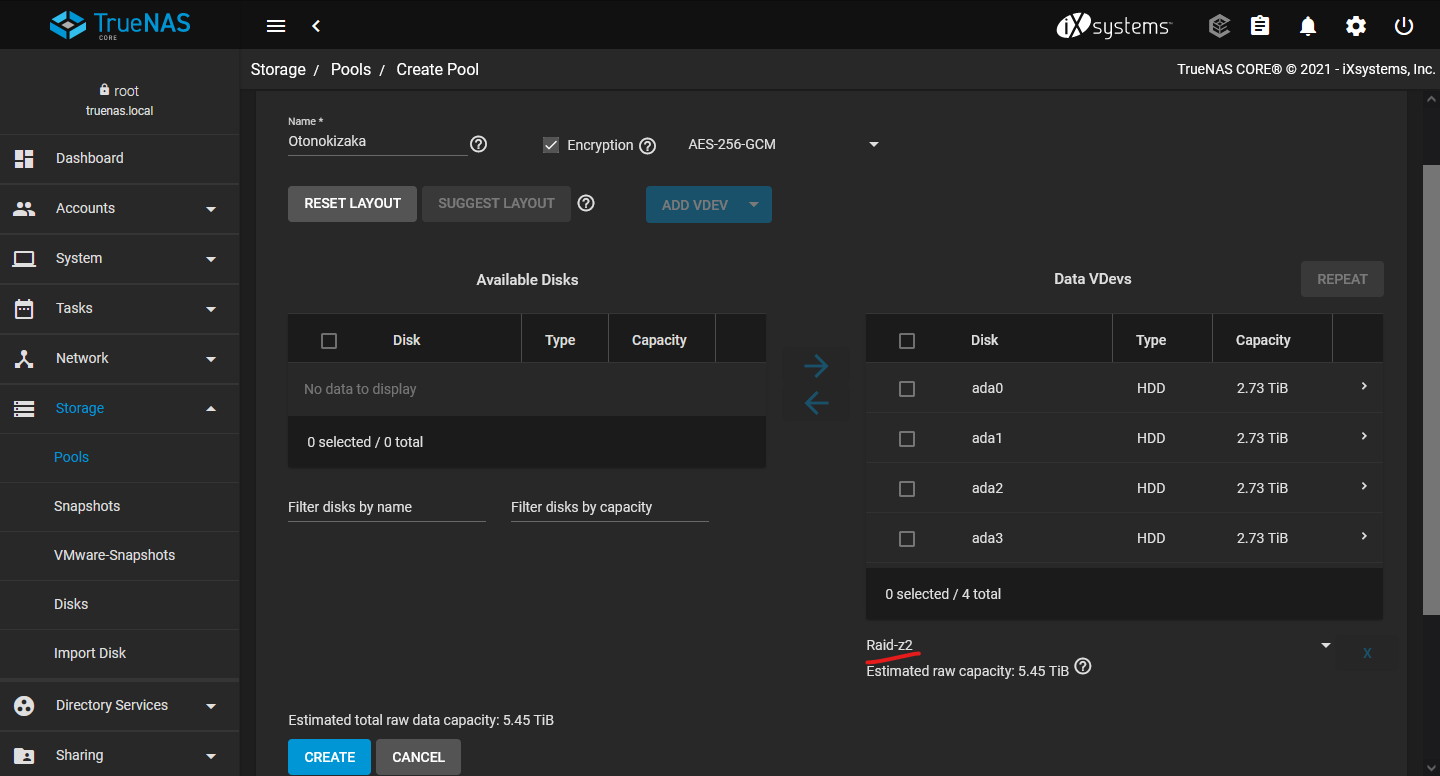
Give your pool a name, and check on the Encryption option to enable encryption at rest.
It's a good idea to enable encryption for your storage pools so that your data are safe from prying eyes if the physical disk is physically pulled from the system, or if you need to RMA a disk.

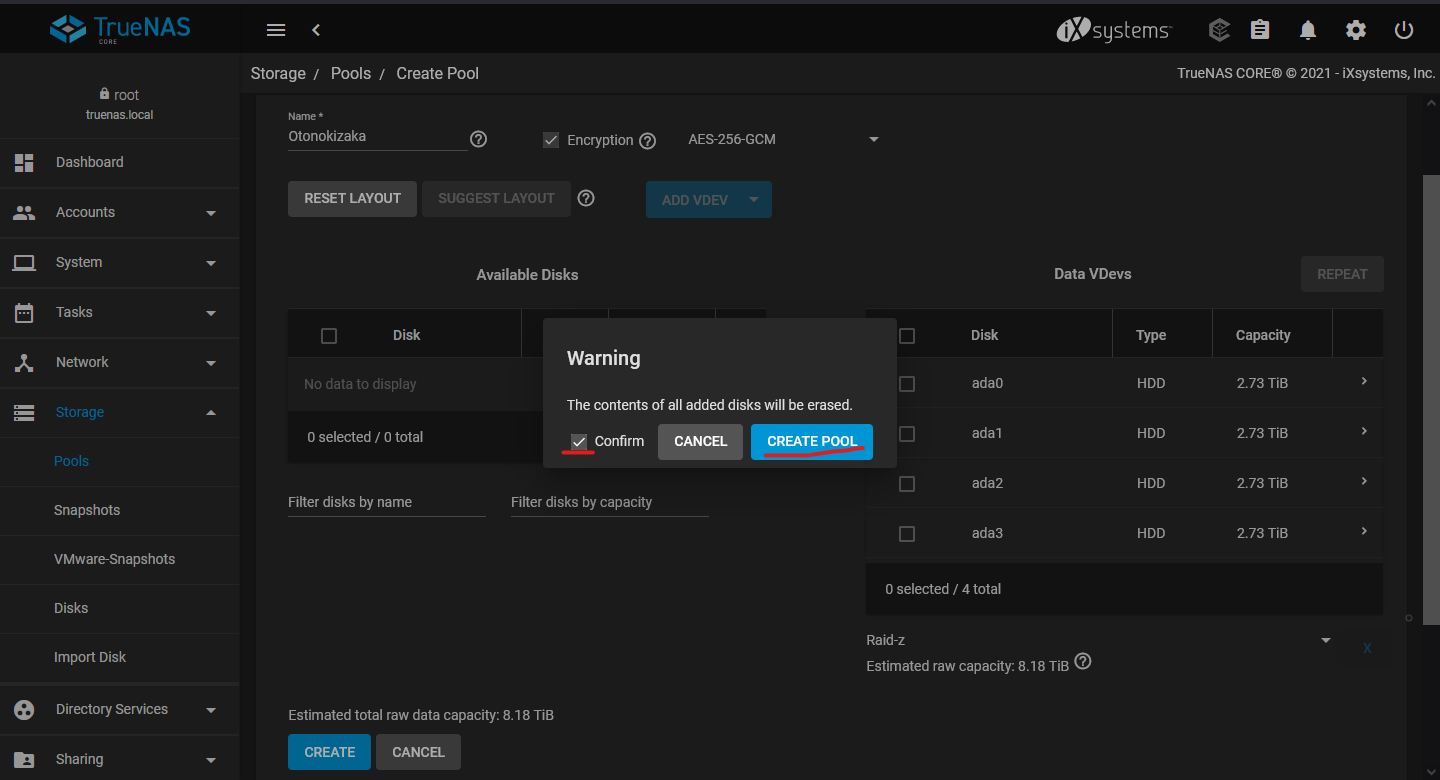
Read the warning, then check Confirm and click I Understand.
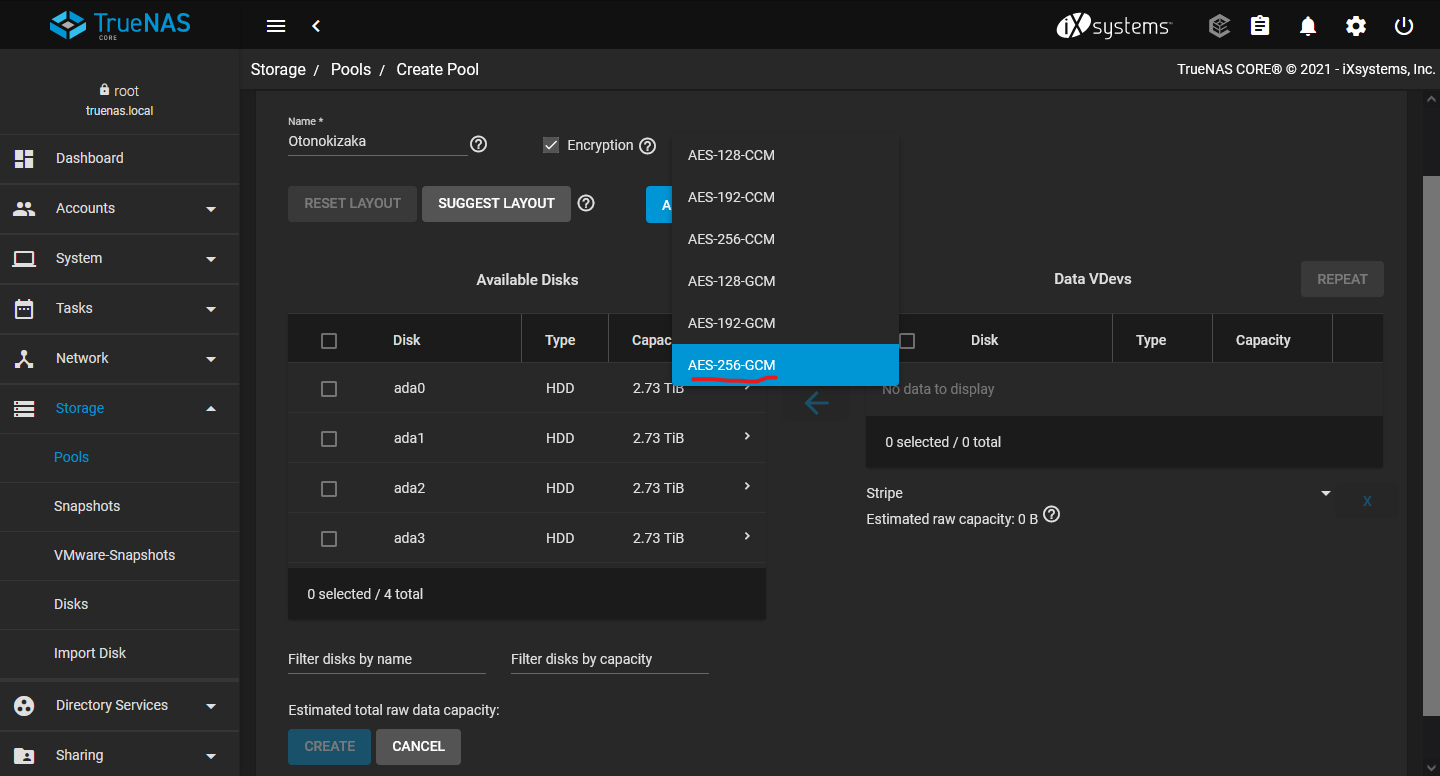
There are a few encryption options in TrueNAS. Choose the one best suited for your hardware.
If you have a more modern or more robust hardware, go with AES-256-GCM encryption. This is one of the highest level of encryption option, but does use quite a bit of CPU power.
Once you have set the encryption, you can now select the disks to add to the pool.
Check the disks you want to add to the pool, then click the right arrow to add it to the Data VDevs side. In the below picture, I have four 3TB HDDs in the TrueNAS system, so I will be adding all four into the pool.
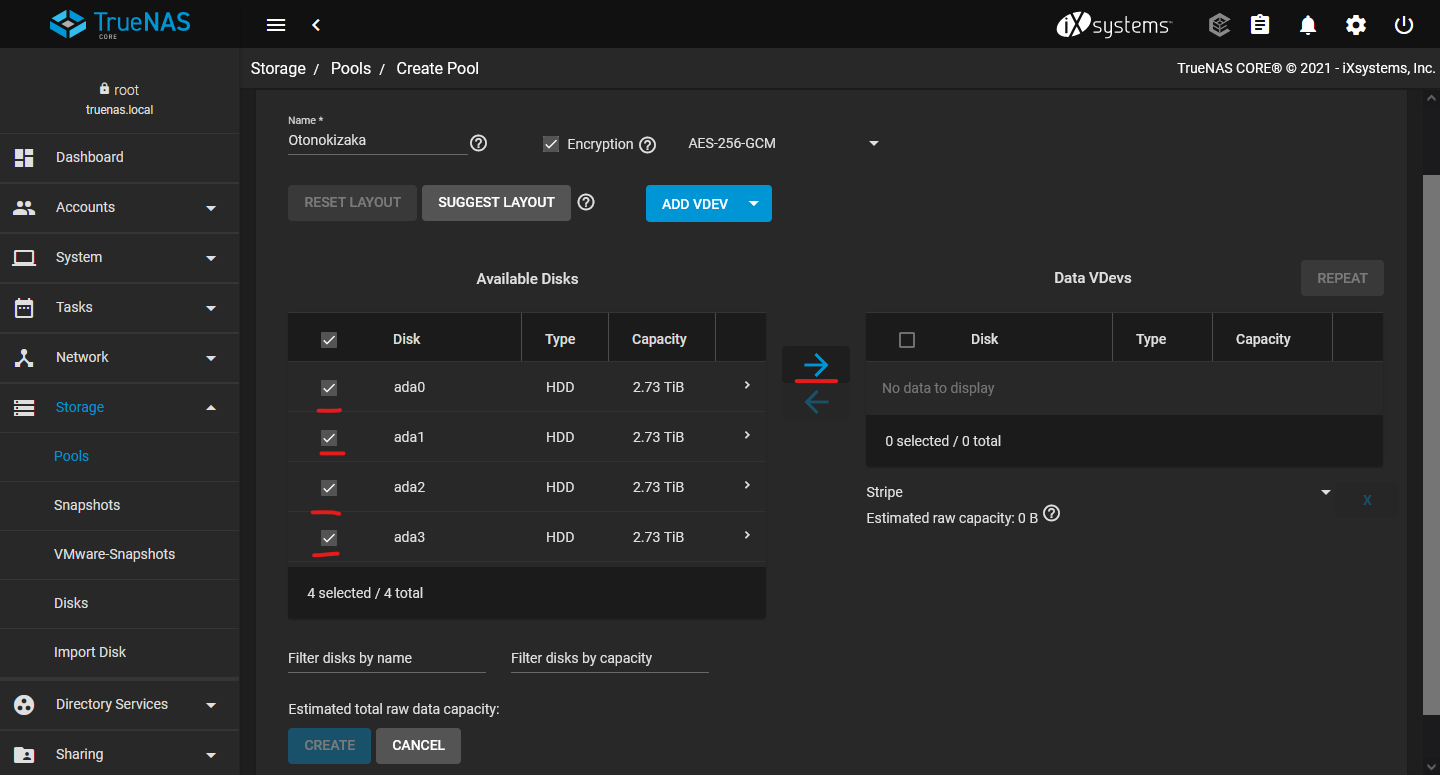
Once added, you can see that a RAID type is automatically selected. TrueNAS often will choose a RAID level depending on the number of disks added to the Data VDevs.
TrueNAS have the following option for RAID:
| RAID |
Minimum Number of Disks |
Redundancy Level |
Description |
|
Stripe |
1 Disk |
None |
Similar to RAID 0, all disks are used. If any disk fails, all data in the pool will be lost. |
| Mirror |
2 Disk |
1 Disk |
Similar to RAID 1, data is mirrored on each disk. No data loss as long as one disk is still functioning. |
| RAID-Z |
3 Disk |
1 Disk |
Similar to RAID 5, uses 1 disk for parity, and can tolerate up to 1 disk failure before suffering data loss. |
| RAID-Z2 |
4 Disk |
2 Disk |
Similar to RAID 6, uses two disks for parity, and can tolerate up to 2 disk failure before suffering data loss. |
| RAID-Z3 |
5 Disk |
3 Disk |
RAID-Z3 uses 3 disks for parity, and can tolerate up to 3 disk failure before suffering data loss. |

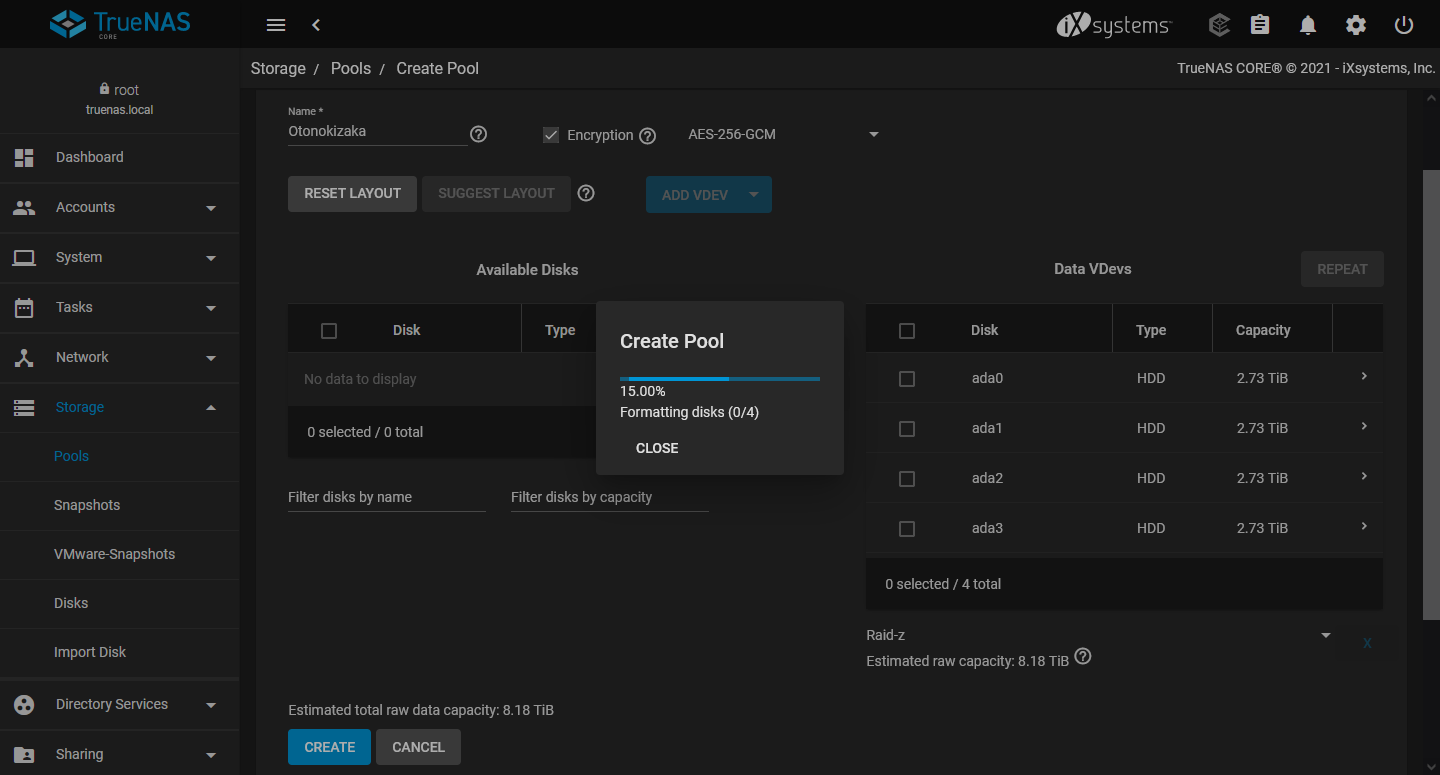
Once you selected your RAID level, select Create to create the new pool.
For this system, since I have four 3TB disks, I went with RAID-Z. This gives me up to 1 disk failure tolerance, with about 9TB of usable storage space.

Data on the existing disks will be erased. Confirm and proceed to create the pool.
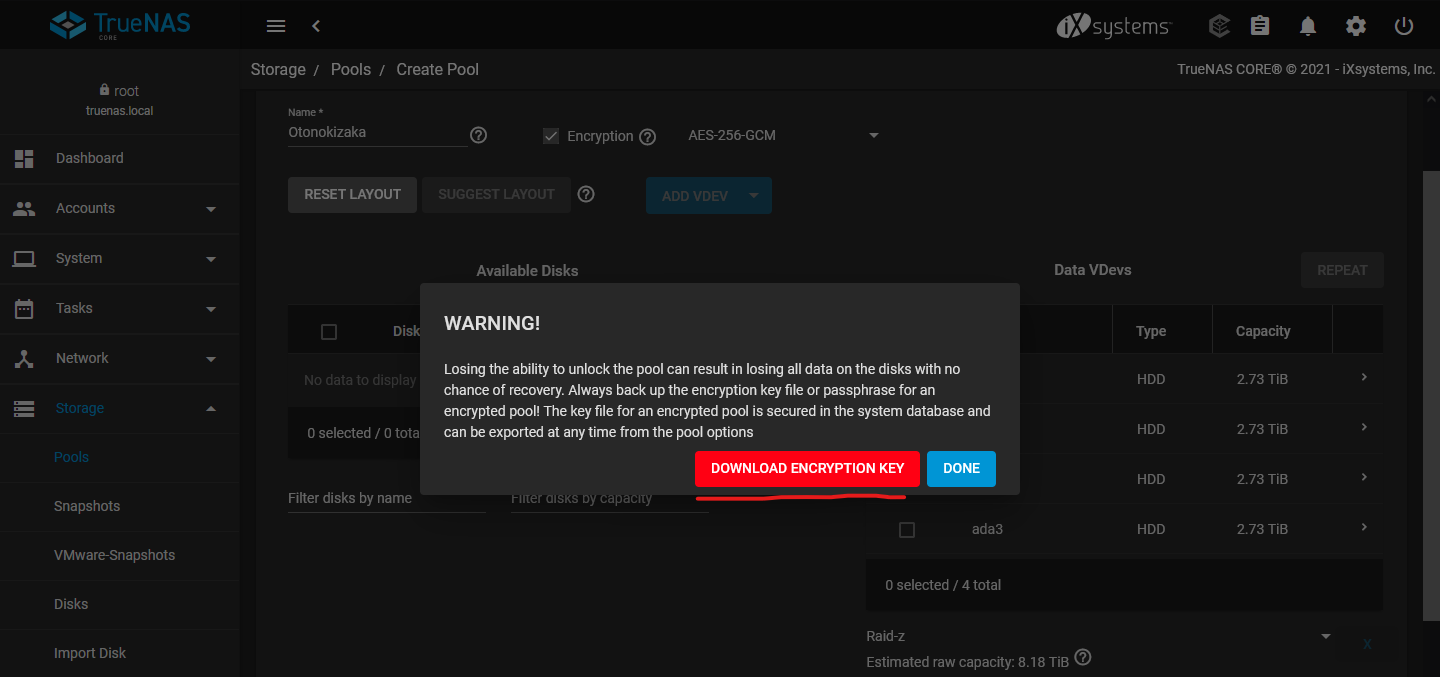
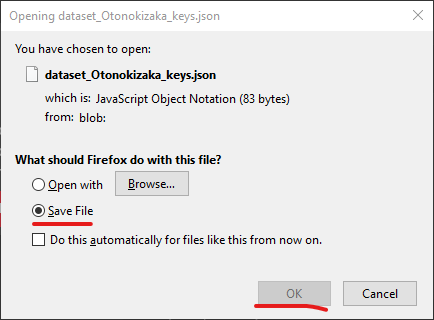
When finished, and if your pool is encrypted, TrueNAS will give you the option to download the Encryption Key. Download and keep this key safe.
Remember, without the Encryption Key, you will not be able to decrypt the data on the pool. Keep the Encryption key safe in order to have access to your data.
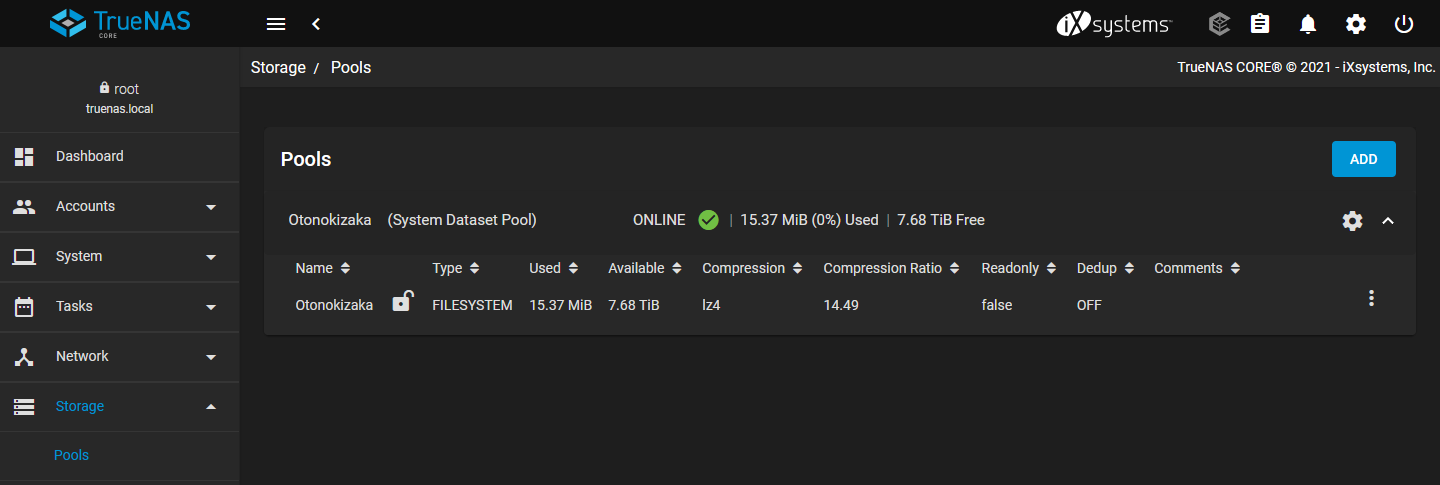
That;s it! You should now see the newly created Storage Pool.