Creating SMB Share and Setting ACL Permissions
If you want to access your TrueNAS dataset on a Windows client machine, chances are, you will want to setup an SMB share. SMB (Server Message Block) is a network protocol for Windows to access files on the network. SMB is also commonly known as Samba.
Creating SMB Share
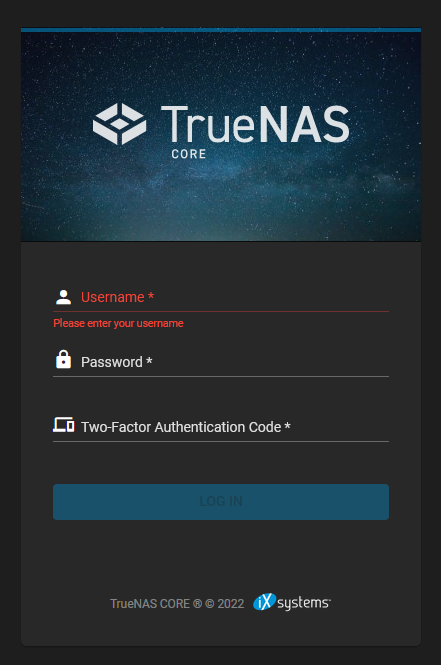
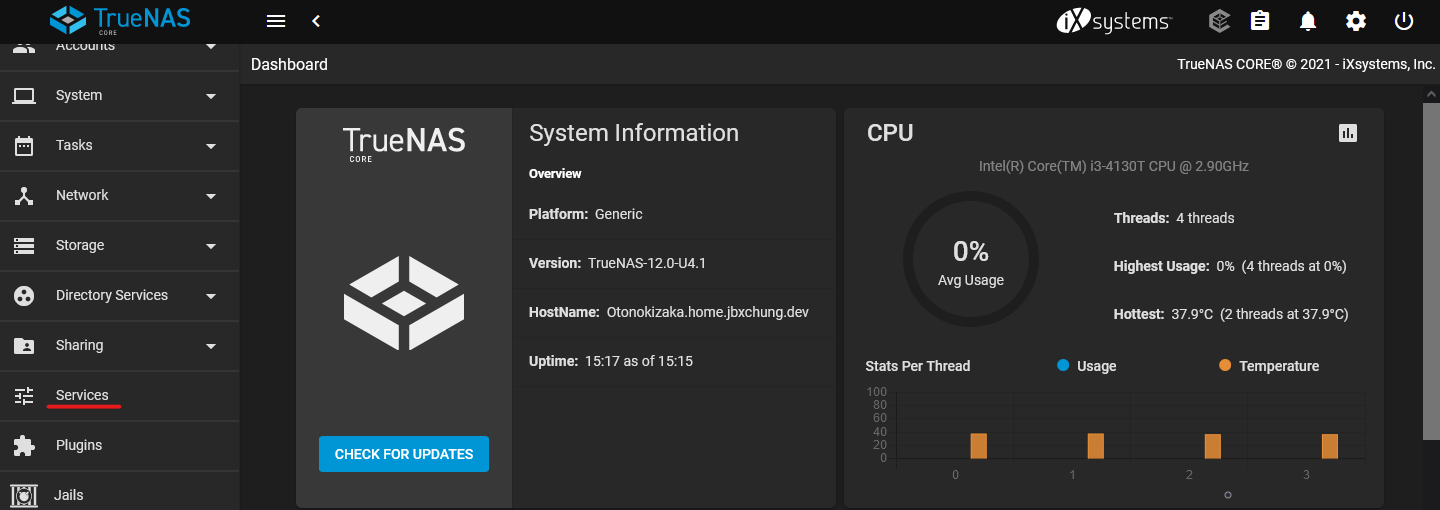
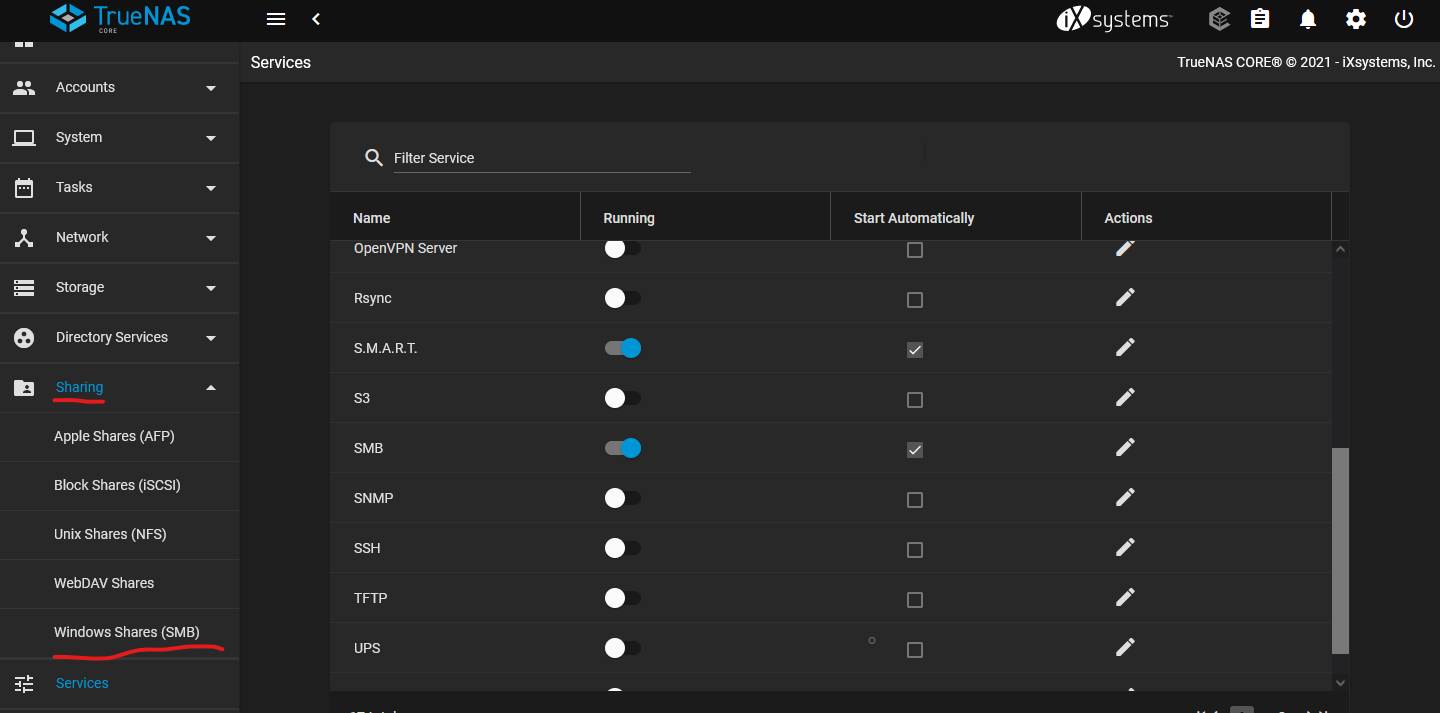
Login to TrueNAS WebGUI.
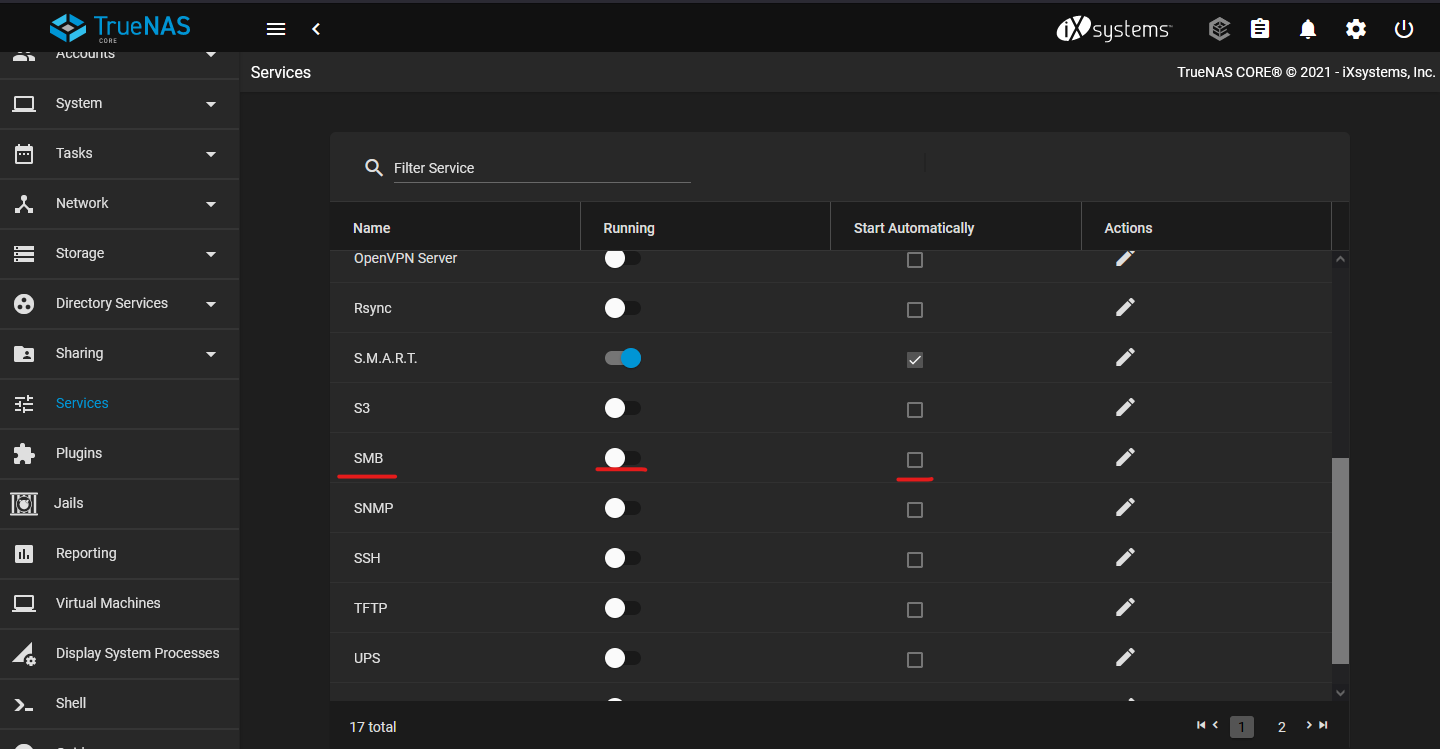
Slide the slider for SMB to enable the SMB Service on TrueNAS, and check the box for it to start automatically.
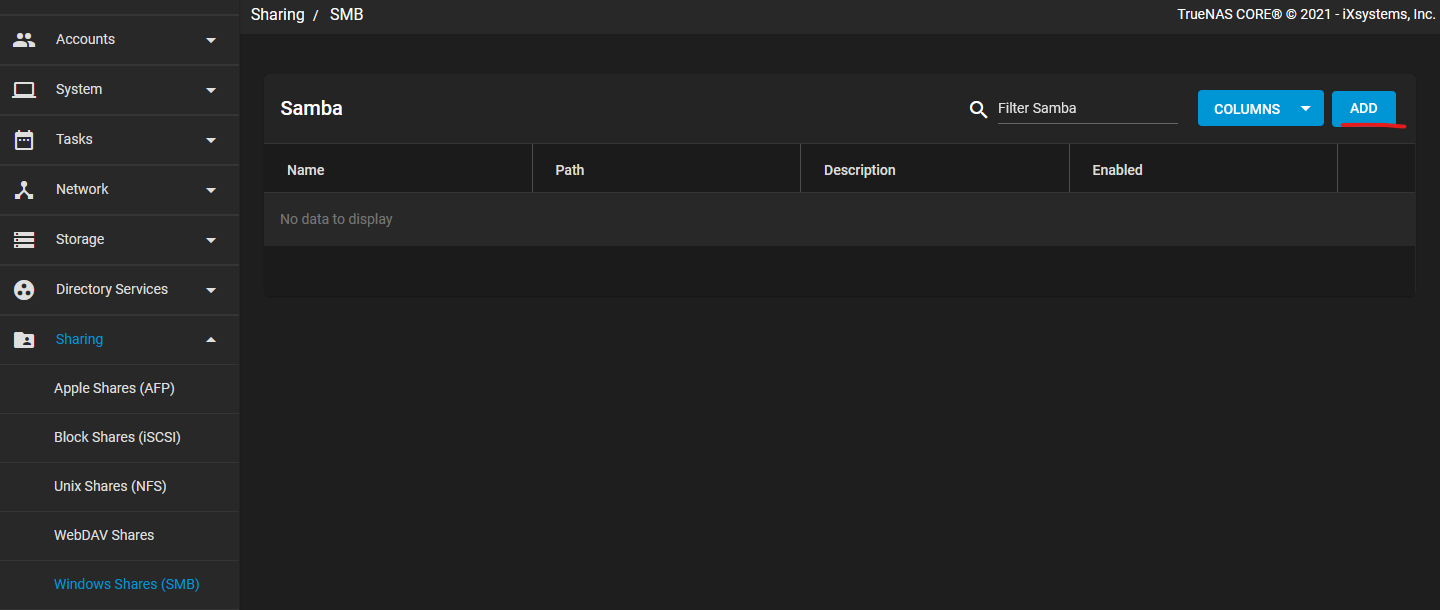
Click on Add on the top right to add a new Samba Share.
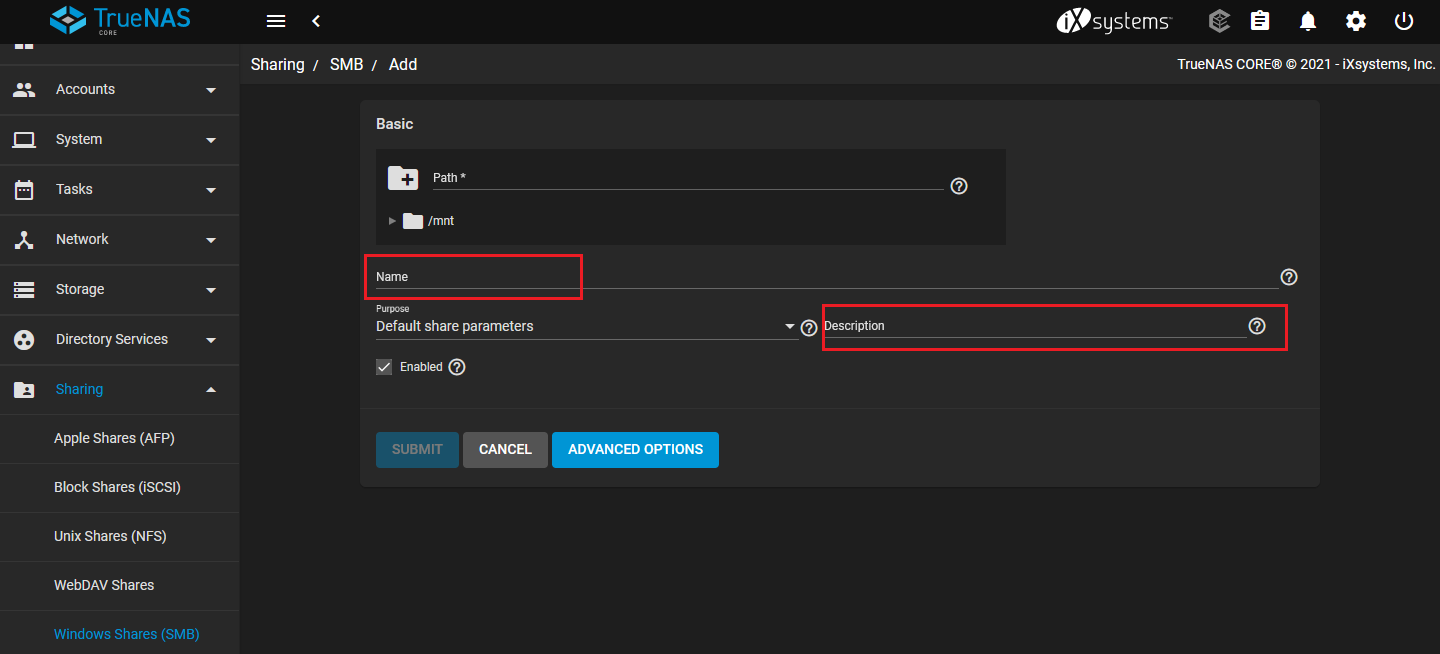
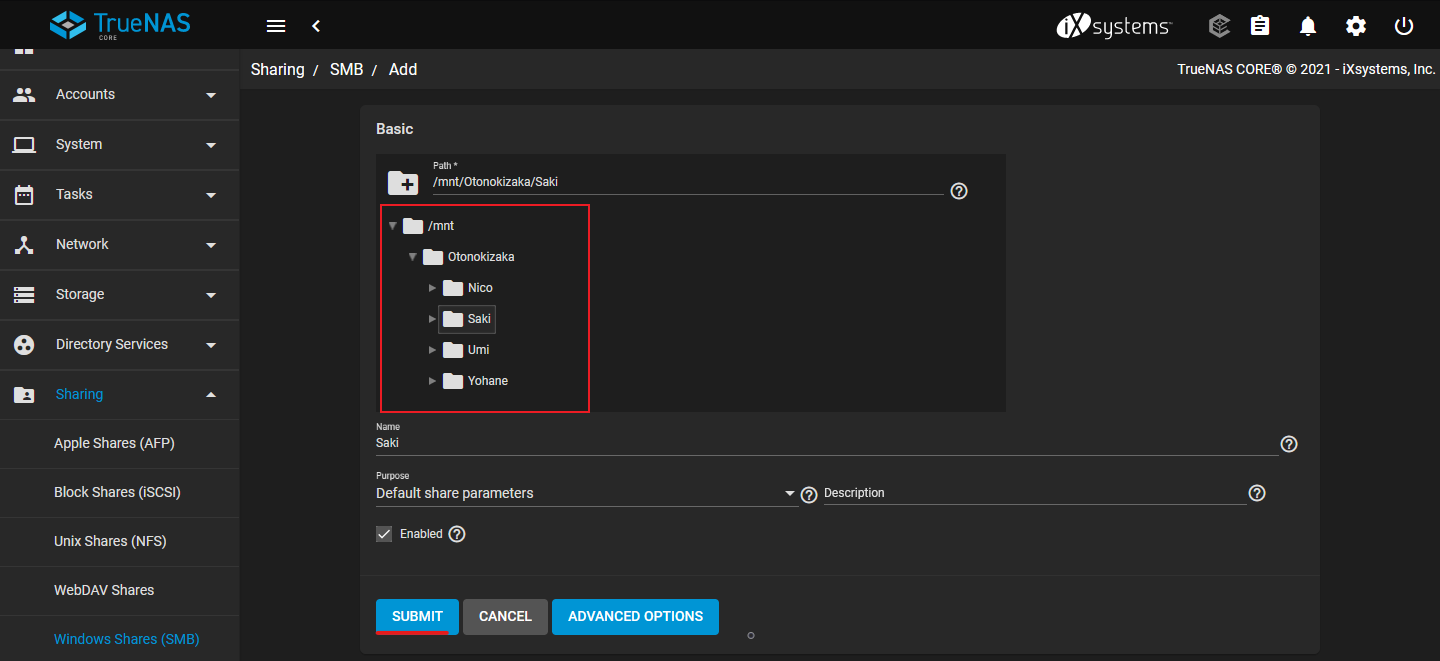
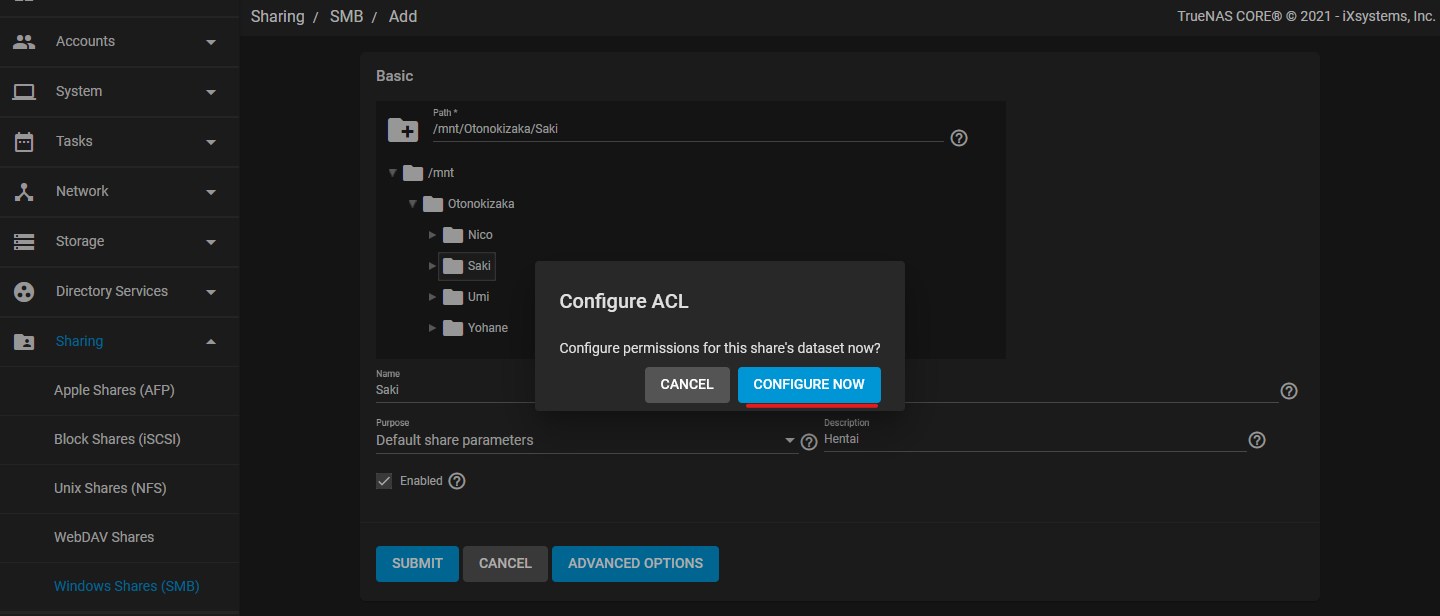
Expand the /mnt folder, and select the dataset that you want to share on the network. Click Submit to finish creating the SMB Share.
A newly created SMB Share will have the default ACL (Access Control List) Permission set for it. TrueNAS will ask you if you would like to configure the ACL list at this point. Select Configure Now to start setting the ACL.
You can always revisit the ACL and configure it later.
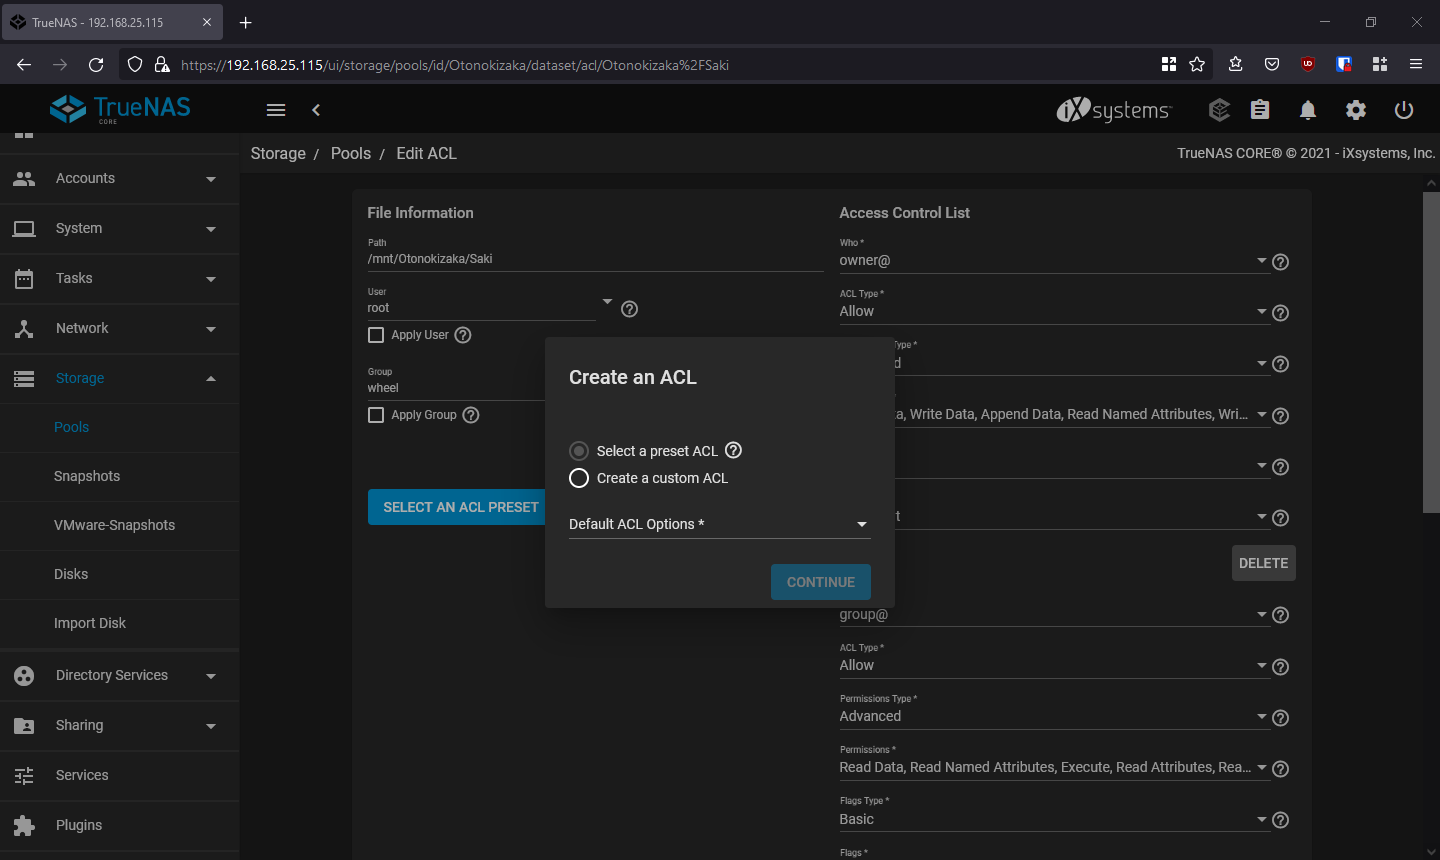
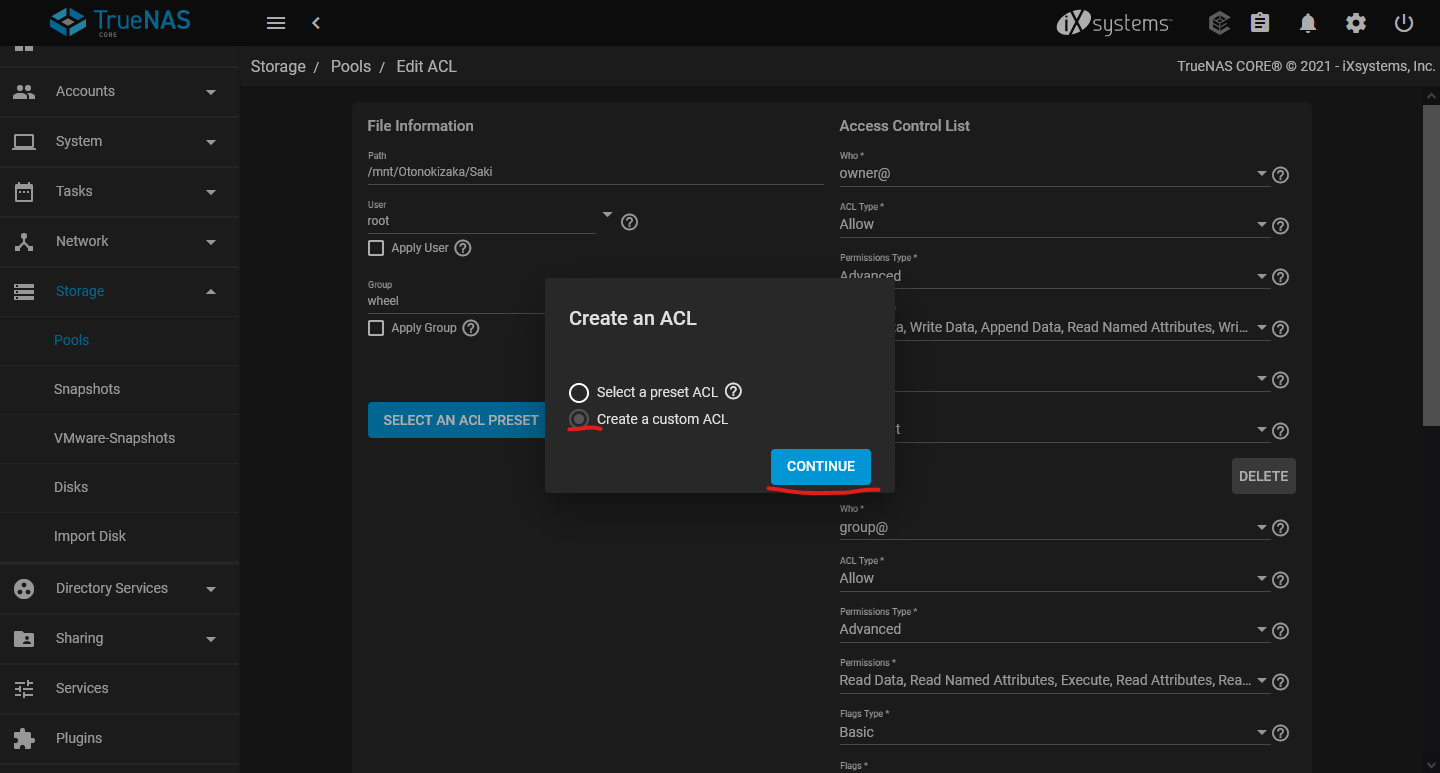
You will be asked to select a preset ACL or create a custom ACL. We will go over creating a custom ACL.
You can learn more about the ACL settings from TrueNAS's official documentation: https://www.truenas.com/docs/core/coretutorials/storage/pools/permissions/
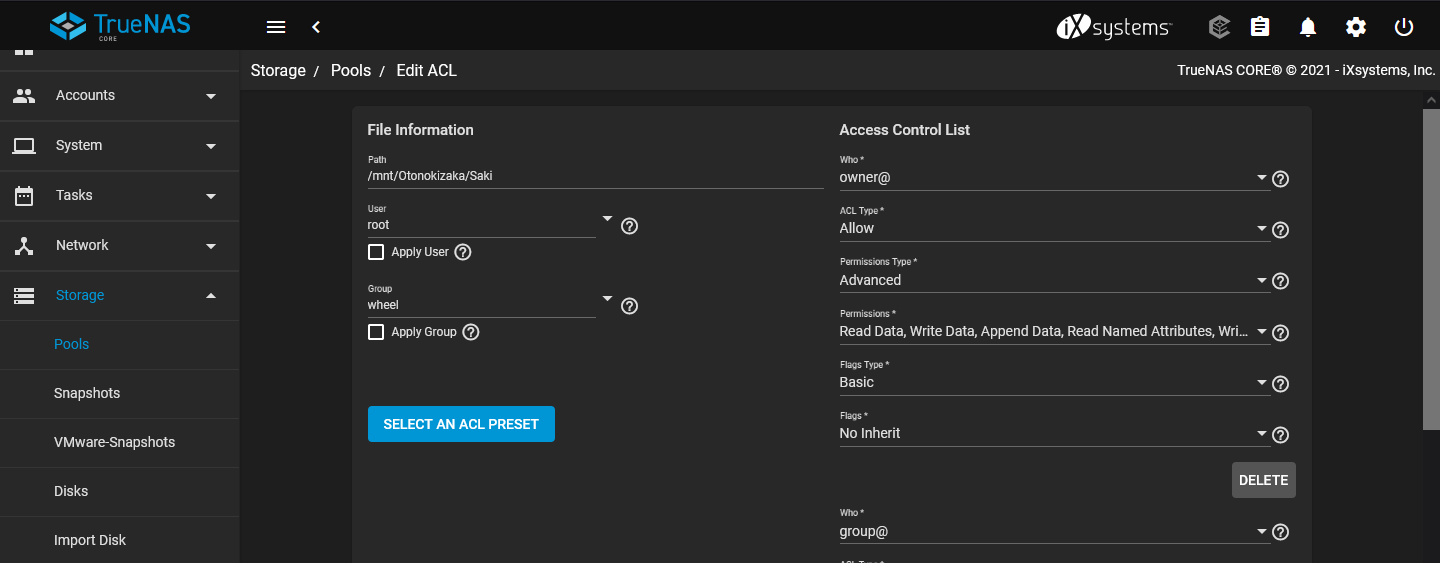
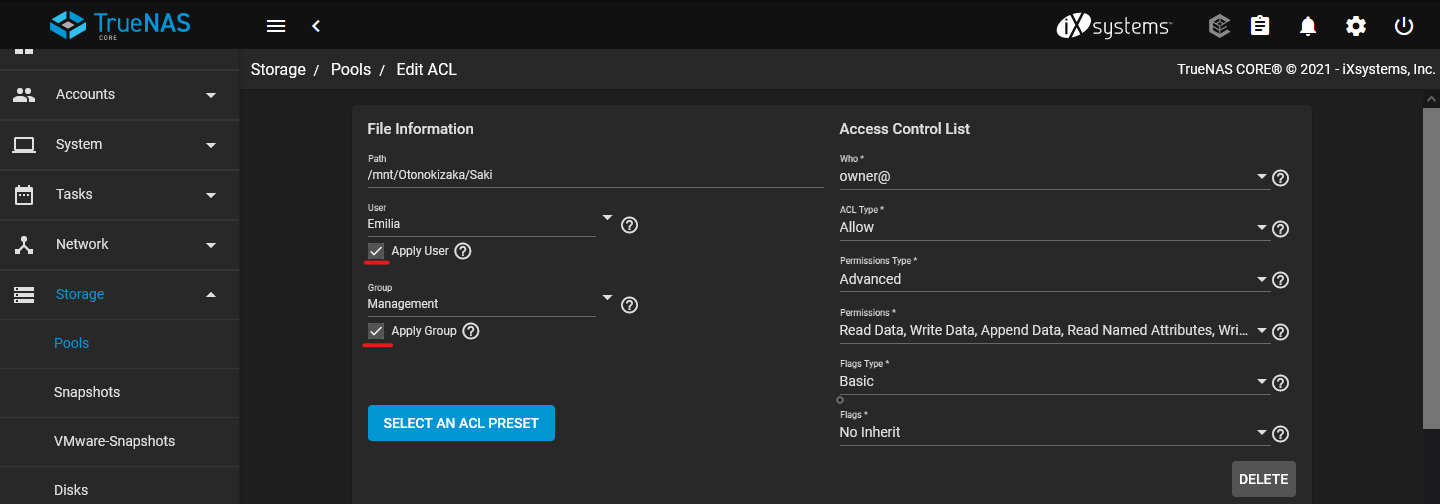
We will start off by setting the owner user and owner group for the share. Choose the User and Group that you want to own the share and have full permission to, and check Apply User and Apply Group in order to save and apply the changes.
Without checking Apply User and Apply Group, the changes will not take effect for the share.
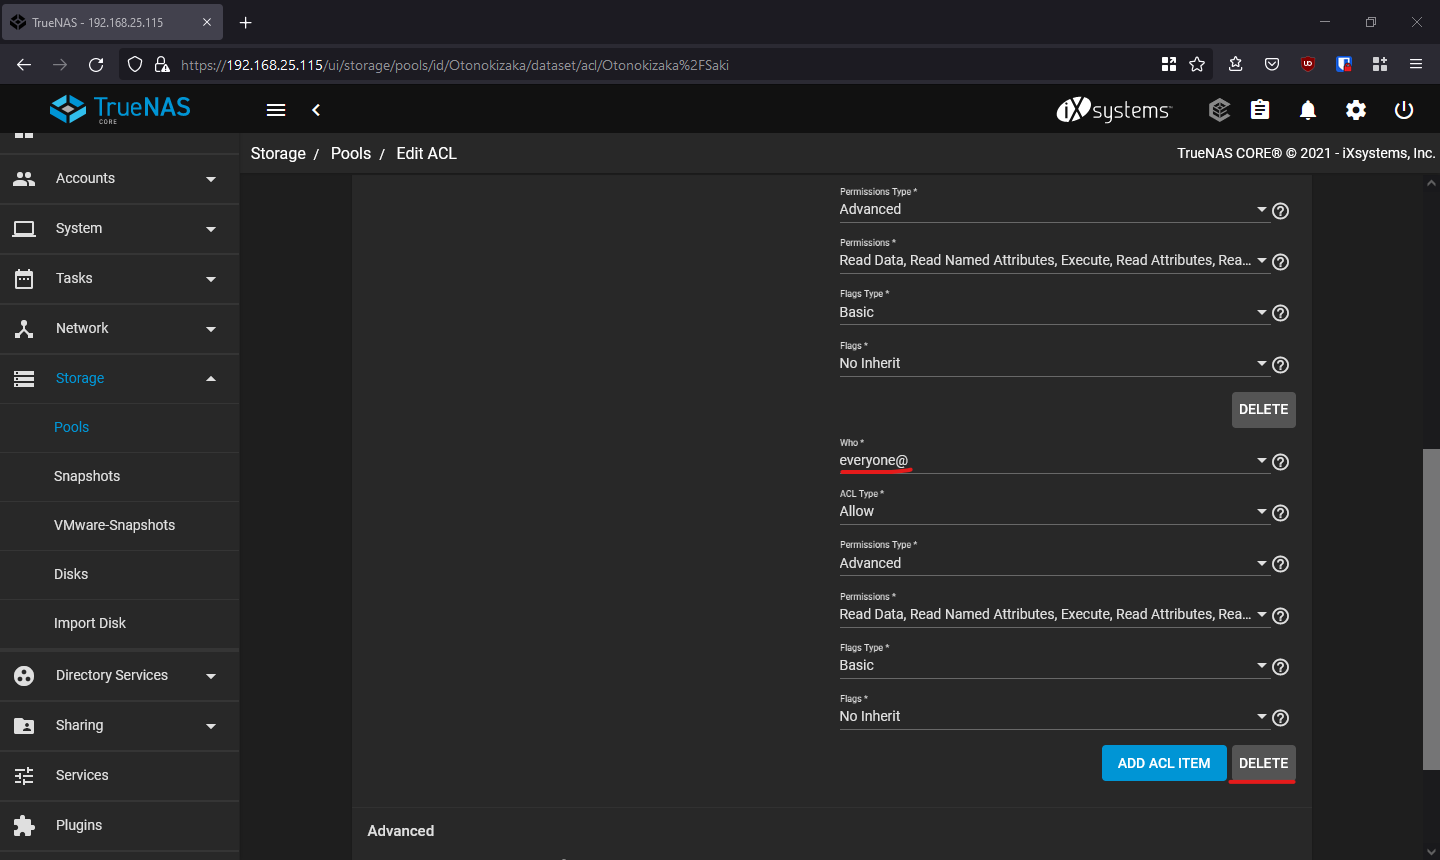
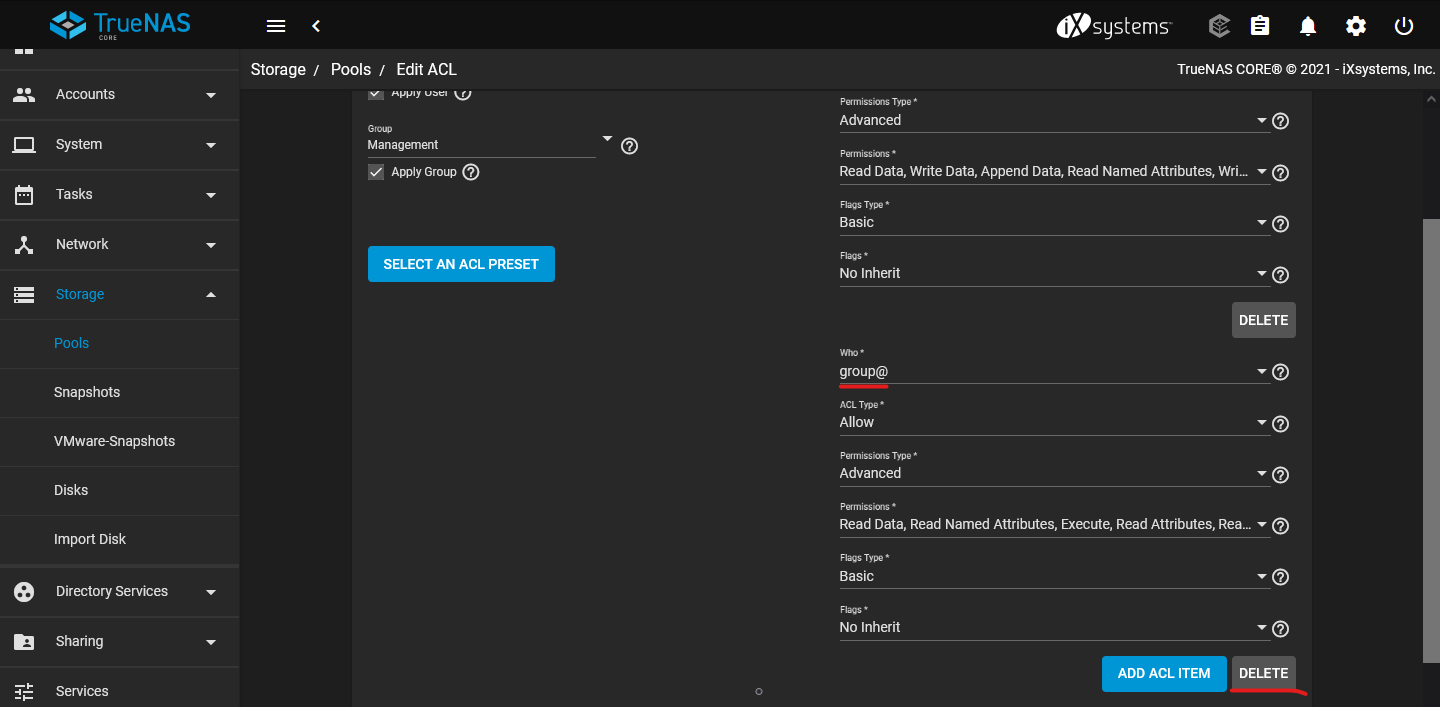
Next, we will remove the default presets that's on the ACL list. Starting from the bottom, with the everyone@ item, click Delete to remove it. Then remove the group@ item. When you reach the owner@ item, the Delete option should be greyed out as you must have a minimum of one ACL item on the list.
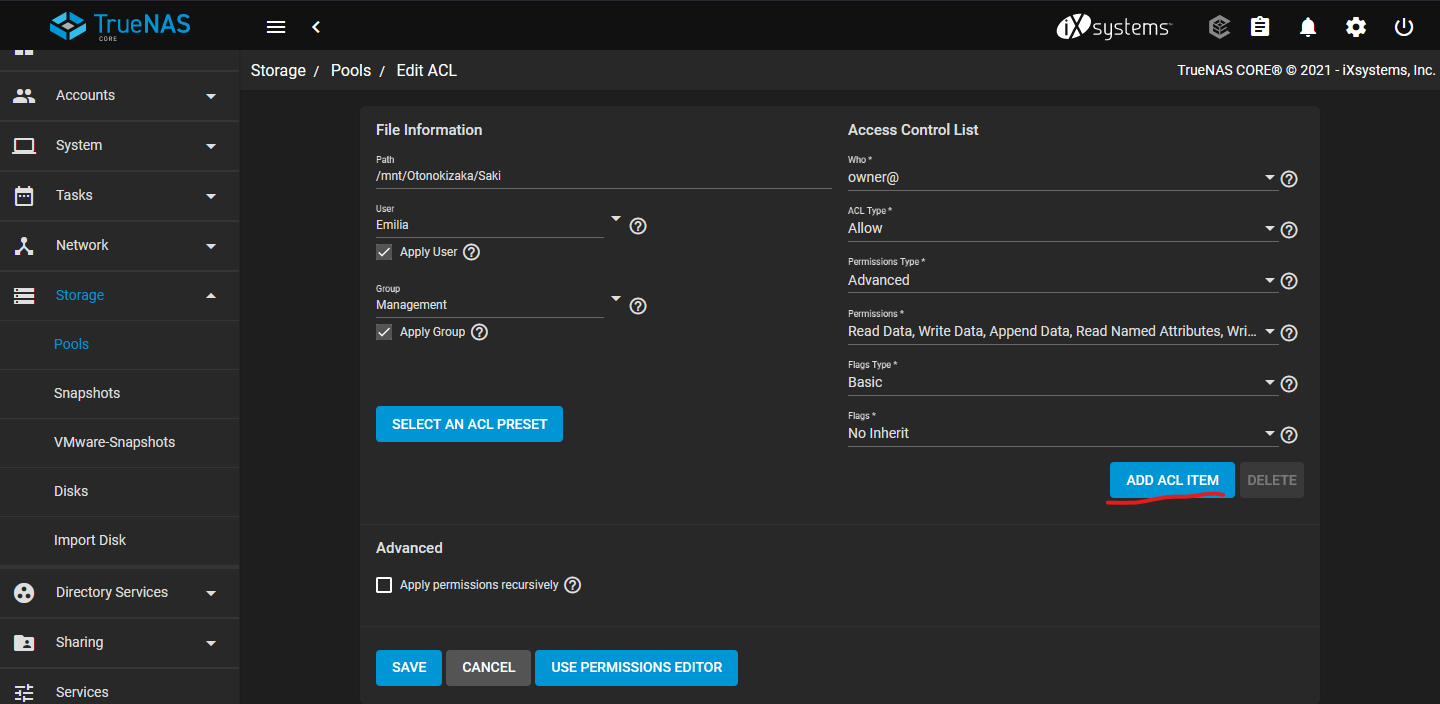
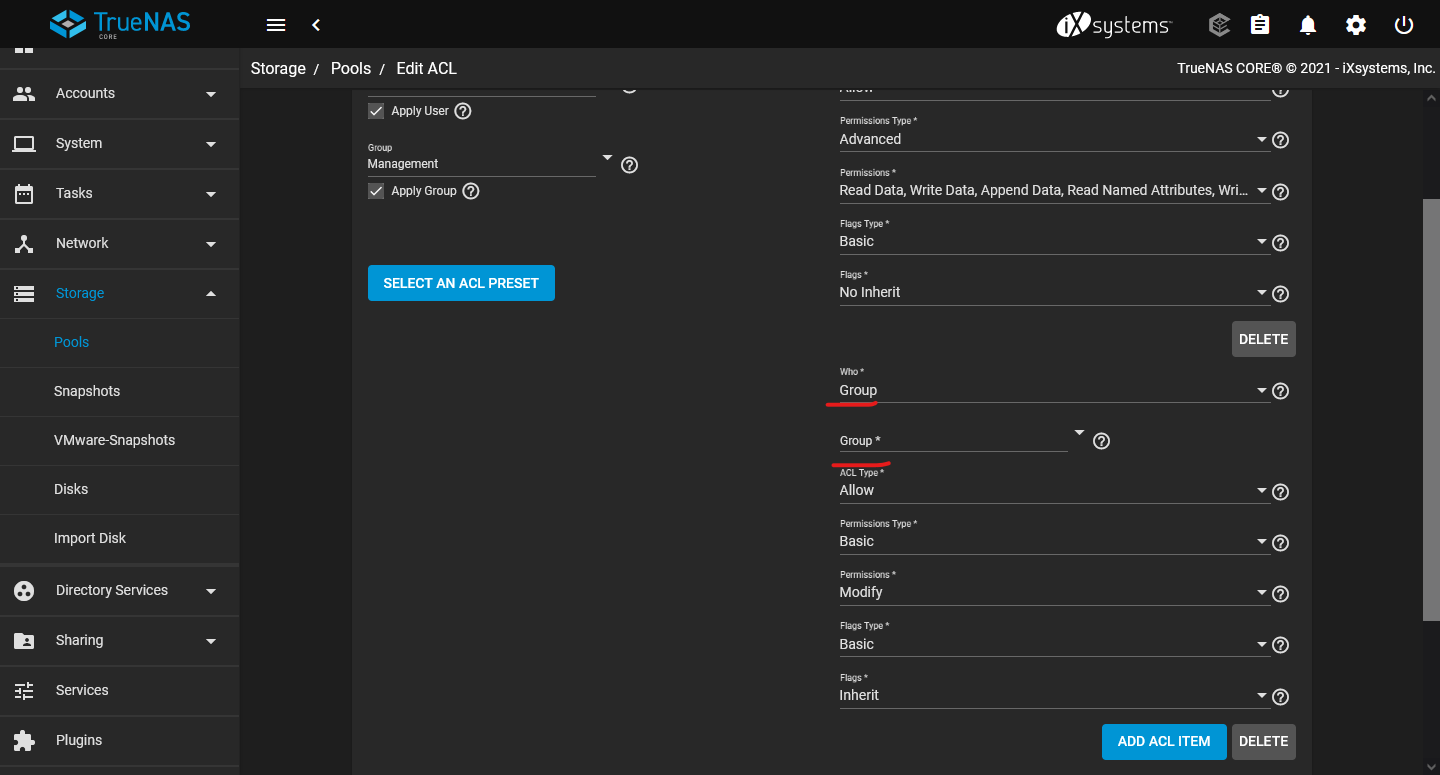
Click on ADD ACL ITEM to start a new ACL entry. You can remove the owner@ item after the new ACL entry is created.
Choose the Group option under the Who* dropdown. This will allow us to set the permission for the share base on group.
By utilizing groups for the permissions, you can have users automatically inherit the permission for the group if they are member of the group, without needing to individual set the permission in the ACL editor for the users. This is handy if you have a lot of users, or if you are frequently adding or removing users in TrueNAS.
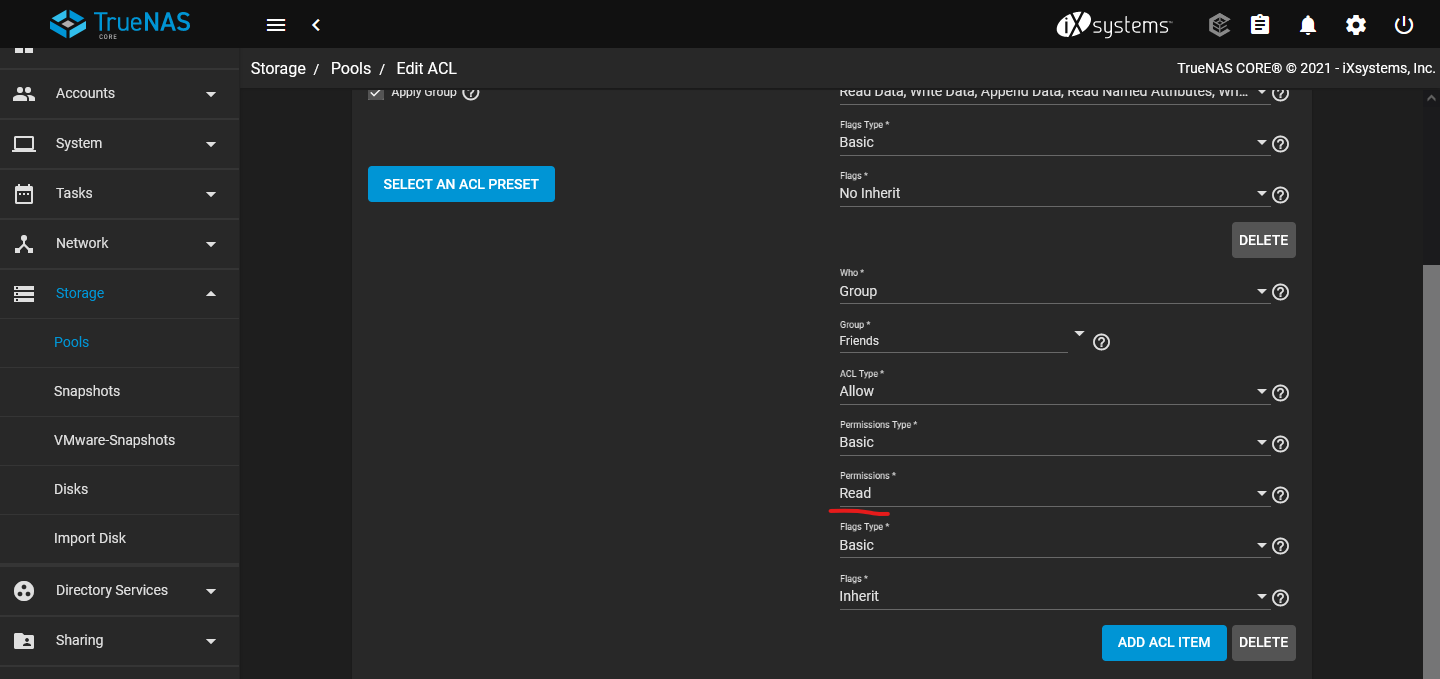
For the Permission Type, you can choose Advanced or Basic.
Basic, as its name implies, will give you simple options of Read, Modify, Traverse, or Full Control.
Basic Permission Options Descriptions
| Read |
Can view file or directory contents, attributes, named attributes, and ACL. Includes the Traverse permission. |
| Modify |
Can adjust file or directory contents, attributes, and named attributes. Create new files or sub-directories. Includes the Traverse permission. Changing the ACL contents or owner is not allowed. |
| Traverse |
Execute a file or move through a directory. Directory contents are restricted from view unless the Read permission is also applied. To traverse and view files in a directory, but not be able to open individual files, set the Traverse and Read permissions, then add the advanced Directory Inherit flag. |
| Full Control |
All and every permission possible to the share, as if the user/group is the owner of the share. |
For most use cases, the Basic permission type is sufficient.
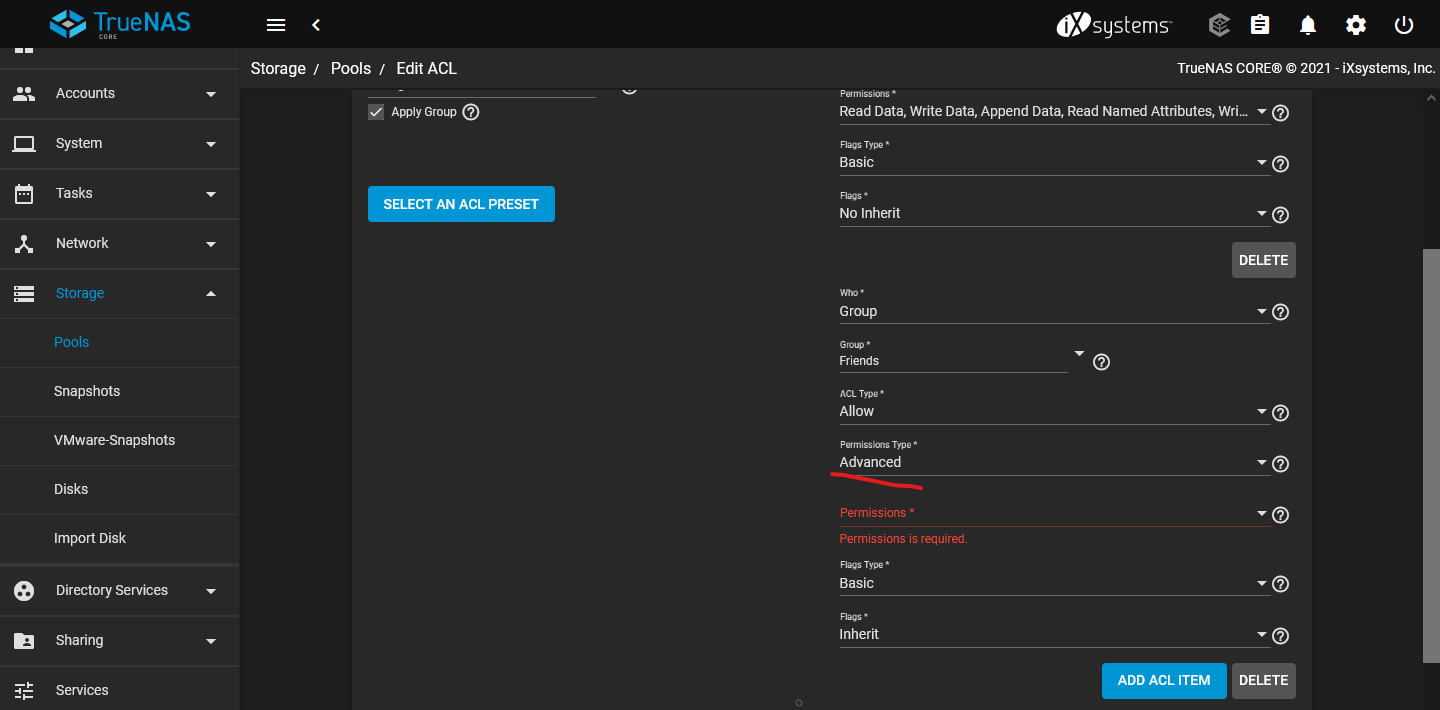
Advanced Permission type is for when you have special uses cases for the dataset, such as giving a group read and write permission, but not delete permissions.
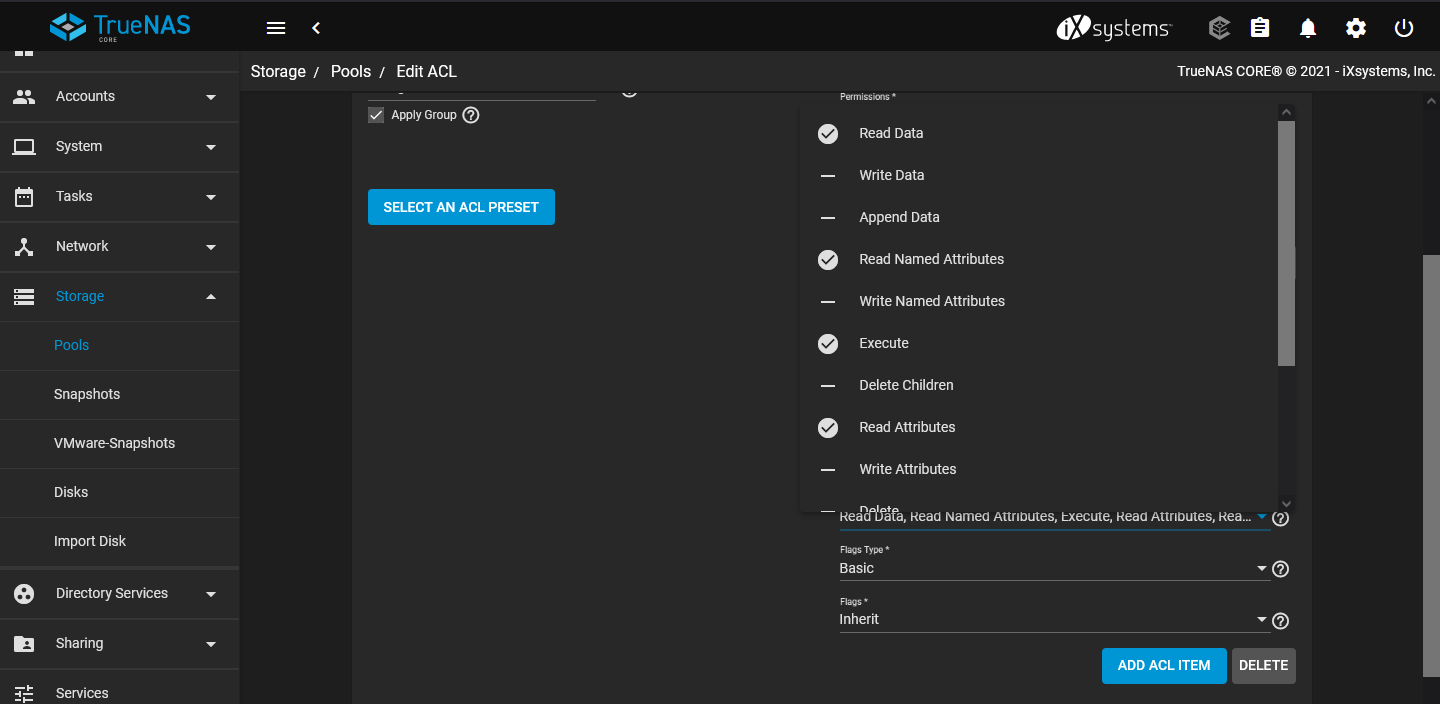
Advanced Permission Options Description
| Read Data | View file contents or list directory contents. |
| Write Data | Create new files or modify any part of a file. |
| Append Data | Add new data to the end of a file. |
| Read Named Attributes | view the named attributes directory. |
| Write Named Attributes | create a named attribute directory. Must be paired with the Read Named Attributes permission. |
| Execute | Execute a file, move through, or search a directory. |
| Delete Children | delete files or sub-directories from inside a directory. |
| Read Attributes | view file or directory non-ACL attributes. |
| Write Attributes | change file or directory non-ACL attributes. |
| Delete | remove the file or directory. |
| Read ACL | view the ACL. |
| Write ACL | change the ACL and the ACL mode. |
| Write Owner | change the user and group owners of the file or directory. |
| Synchronize | synchronous file read/write with the server. This permission does not apply to FreeBSD clients. |
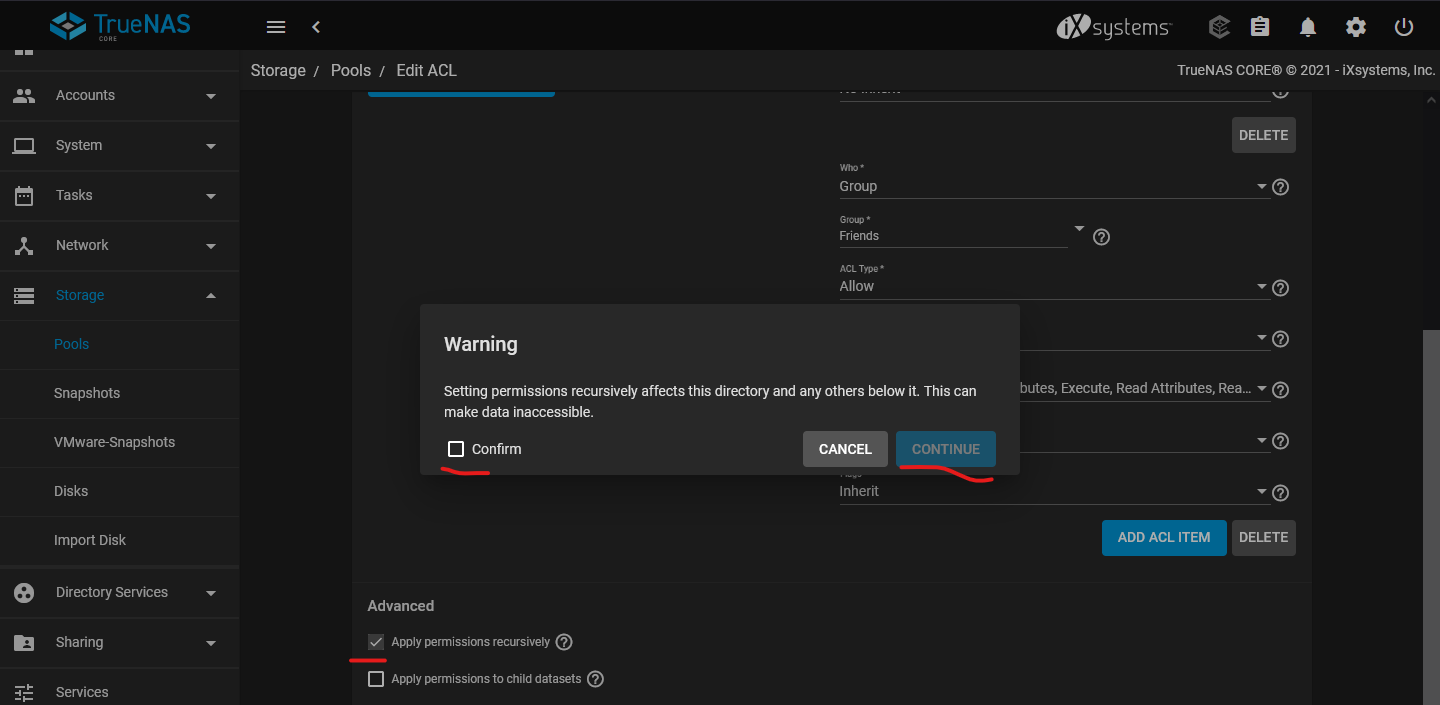
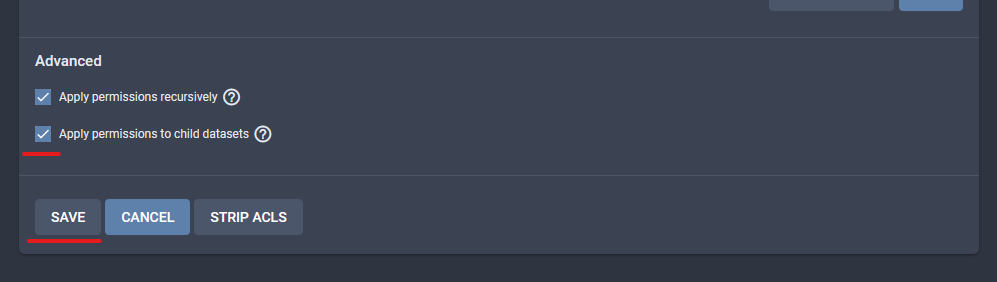
When you are done setting the permissions, check the option Apply permissions recursively so that all data in the dataset will inherit the new permissions.
Also check the option Apply permissions to child datasets so that any dataset under the current one will also get the new permission setup. Save when finished.
Congrats! You have successfully setup an SMB Share.
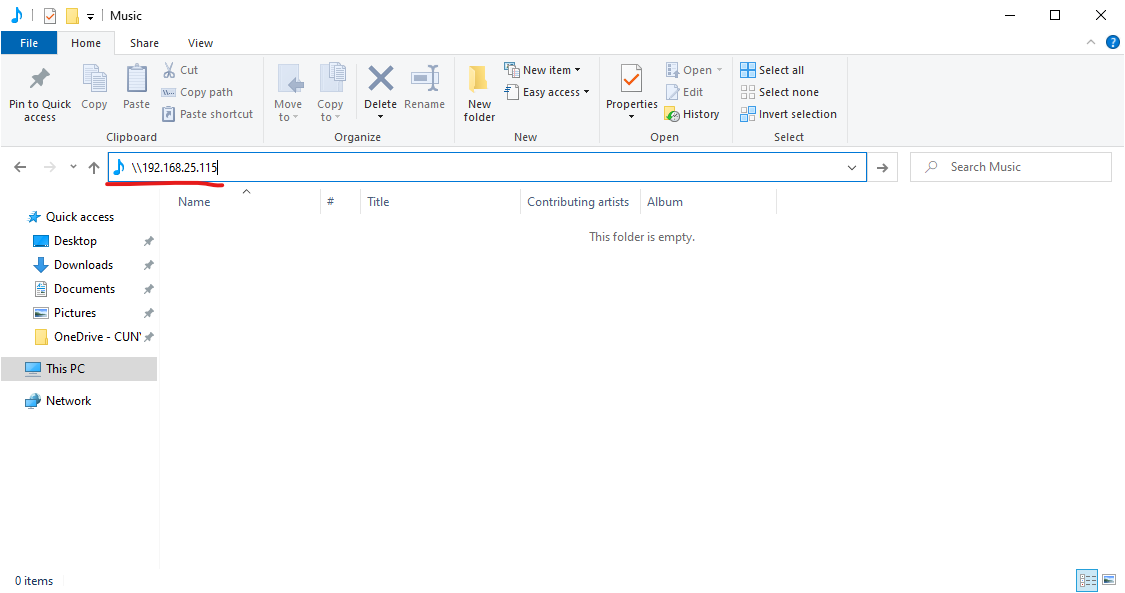
On a Windows client machine, you can connect to a network SMB Share by typing in the \\IP Address of the TrueNAS server in File Explorer.
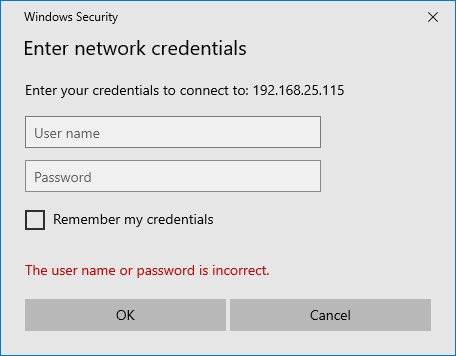
Enter the user credentials when prompted.
When successfully authenticated, you will see the network share.
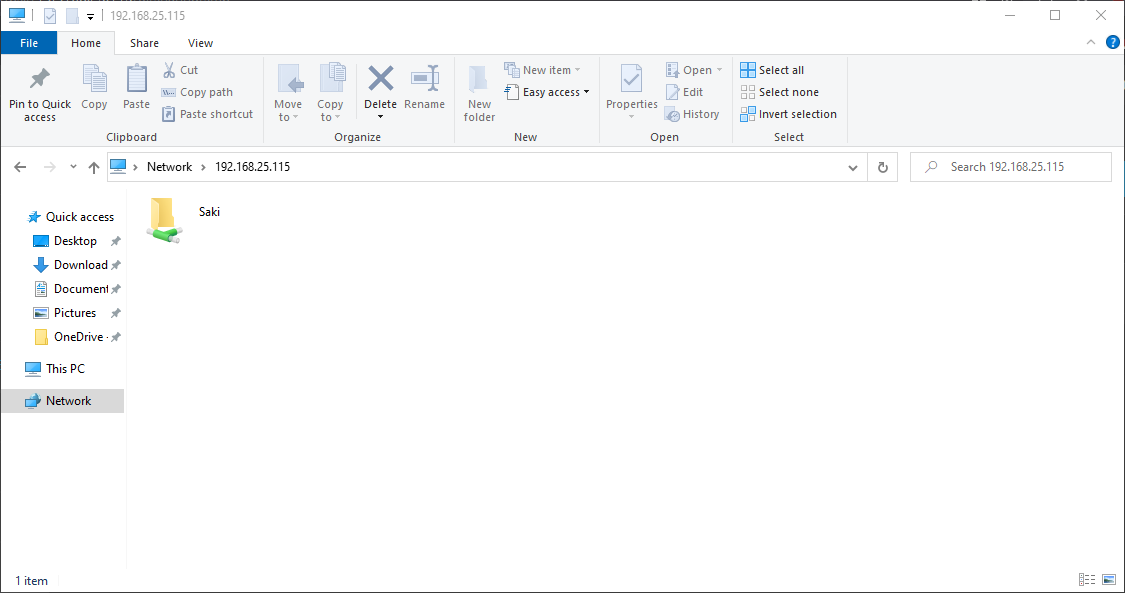
You can right-click on the share to start mapping the network share permanently to File Explorer.

Give it a Drive letter, and check Reconnect at sign-in so you don't have to manually reconnect every time you need to access the network share.
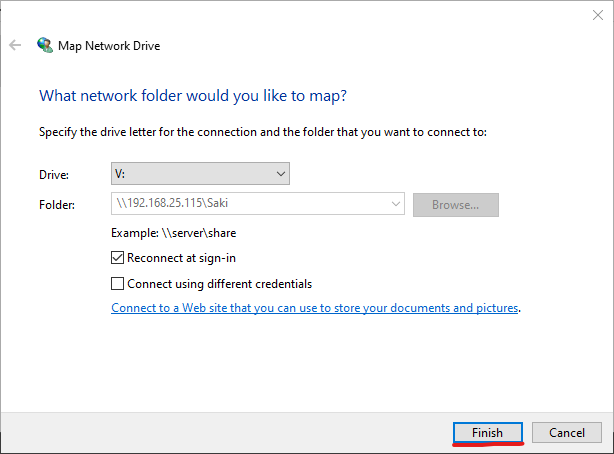
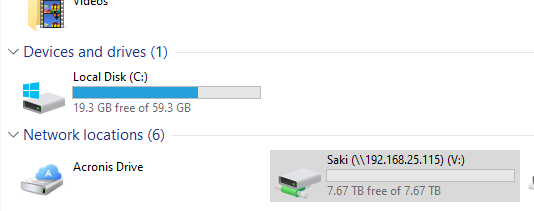
Once finished, you will see the network share show up as a drive when you open up File Explorer.