
VLAN Setup on RouterOS
VLANs are configured in the Bridge section in RouterOS.
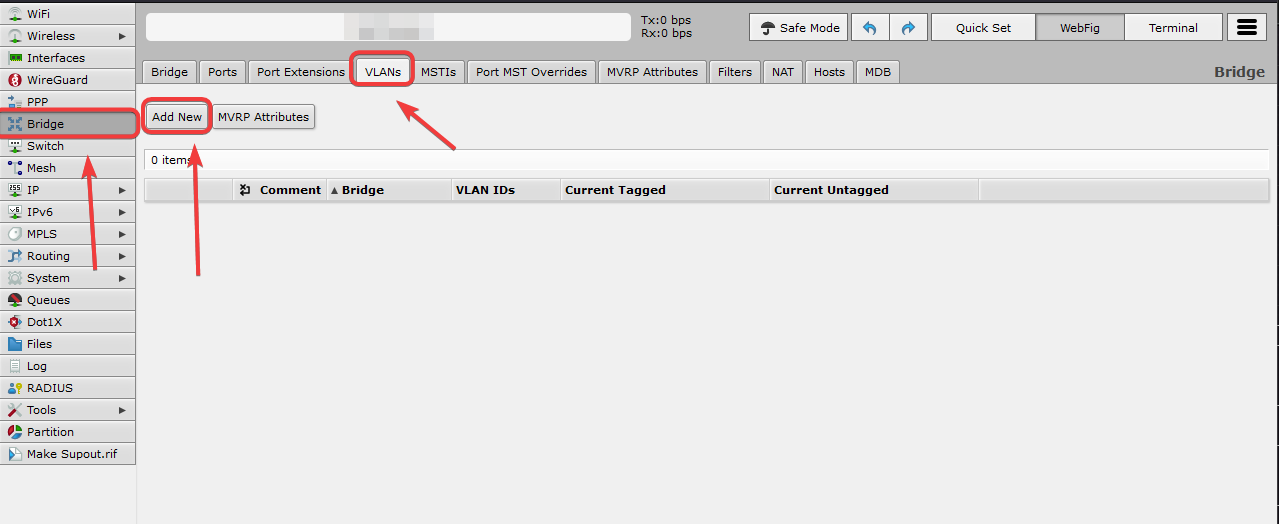
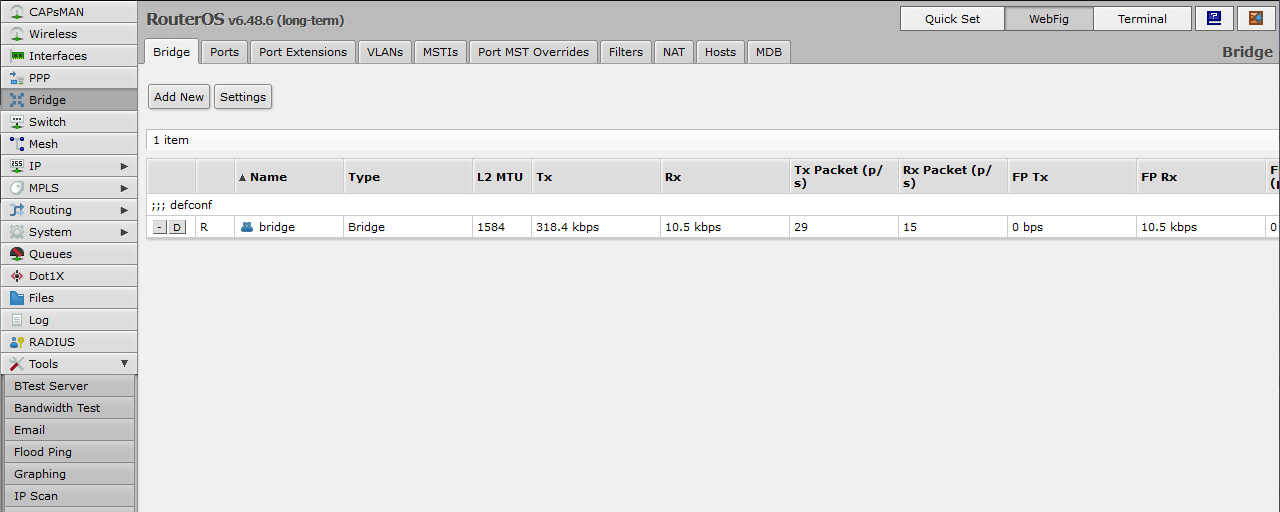
Login to the WebGUI, and go to the Bridge tab.

Go to the VLAN tab, and click Add New to add a new VLAN.
Give your VLAN a name in the Comment section, and set the VLAN ID.
Leave the Bridge option as default.
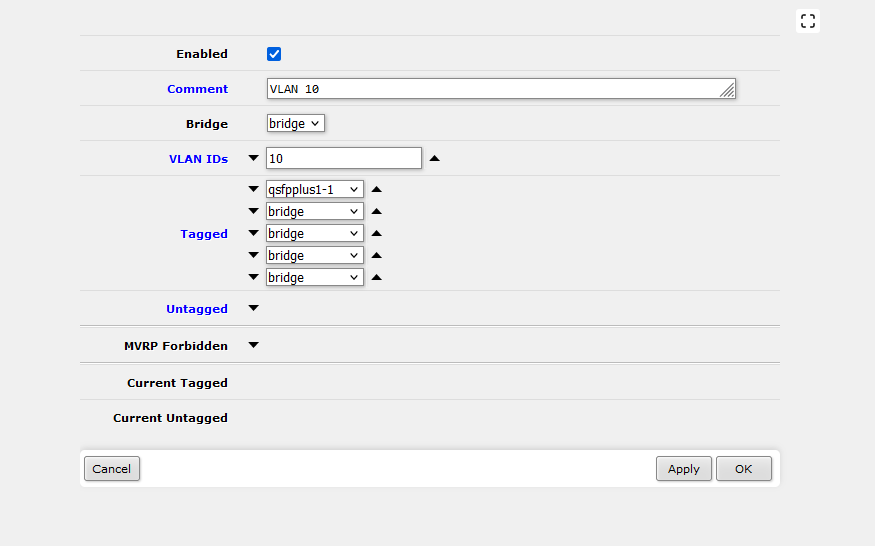
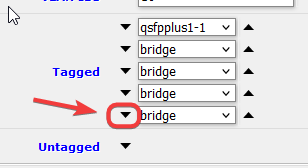
To add a port to the VLAN, click on the downward pointing triangle next to Tagged or Untagged in order to add new drop-down fields. Within the drop-down, select the interfaces that you want to assign to the VLAN.
To remove a drop-down, simply click on the upward pointing triangle instead.
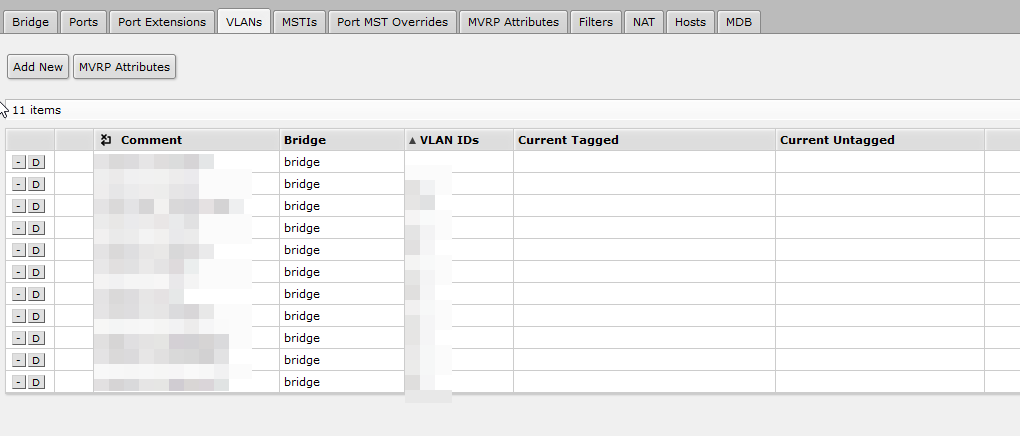
Repeat until you have added all the VLANs you needed.
For Untagged VLAN Ports that are going to in a Port VLAN setup, you would also need to set the PVID for the interface.
Go to the Ports section, and click on the interface.
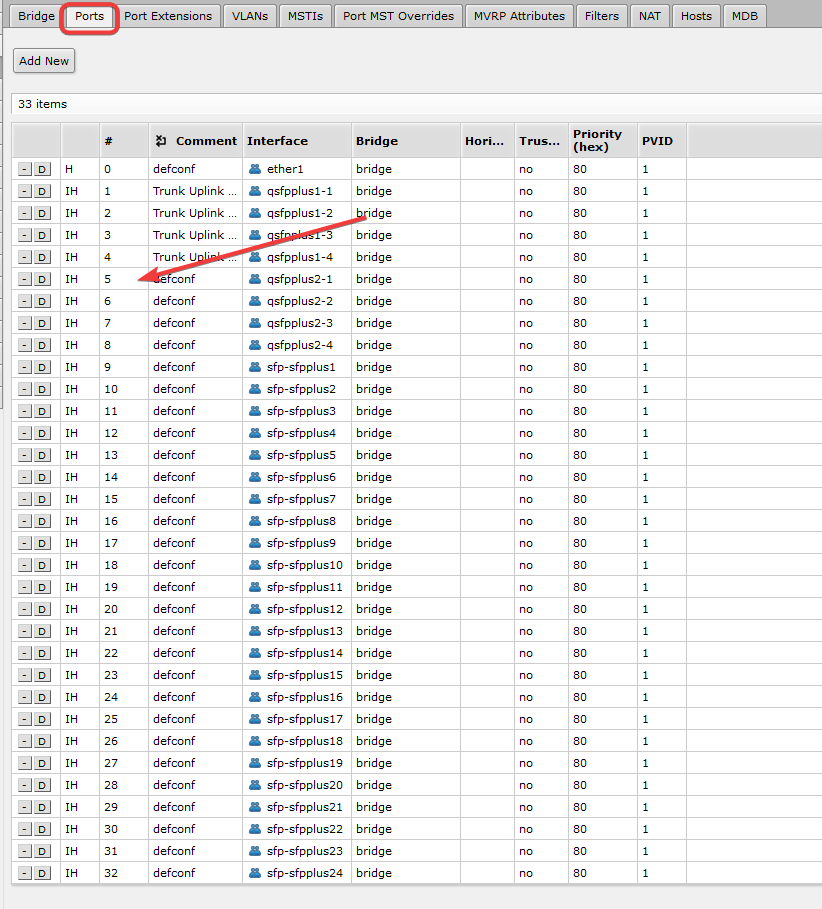
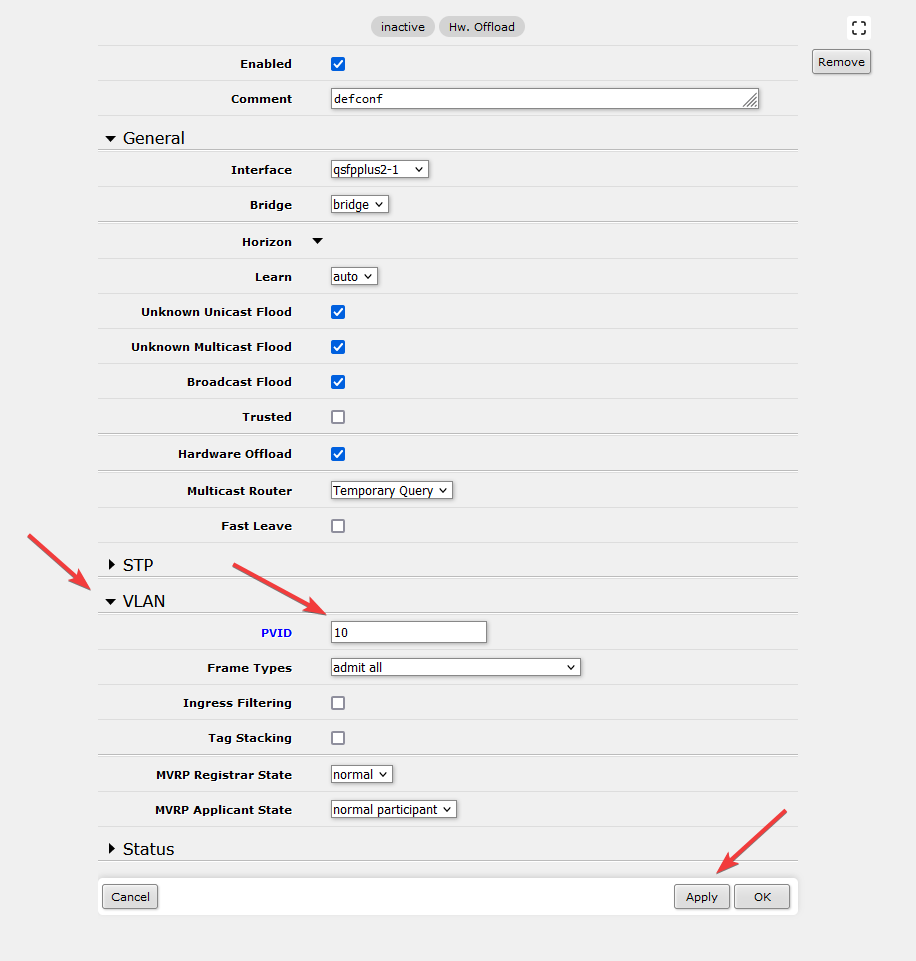
Expand the VLAN dropdown, and enter the VLAN ID in the PVID field.
Click Apply/Ok when finish.
One thing to note that at this point, the VLANs are NOT yet in effect and enforce. You will need to enable VLAN filtering on the Bridge in order for the device to start fitering the VLAN traffic and passing traffic through.
Go to Bridge, and click on the bridge.
Under VLAN section, check VLAN Filtering.
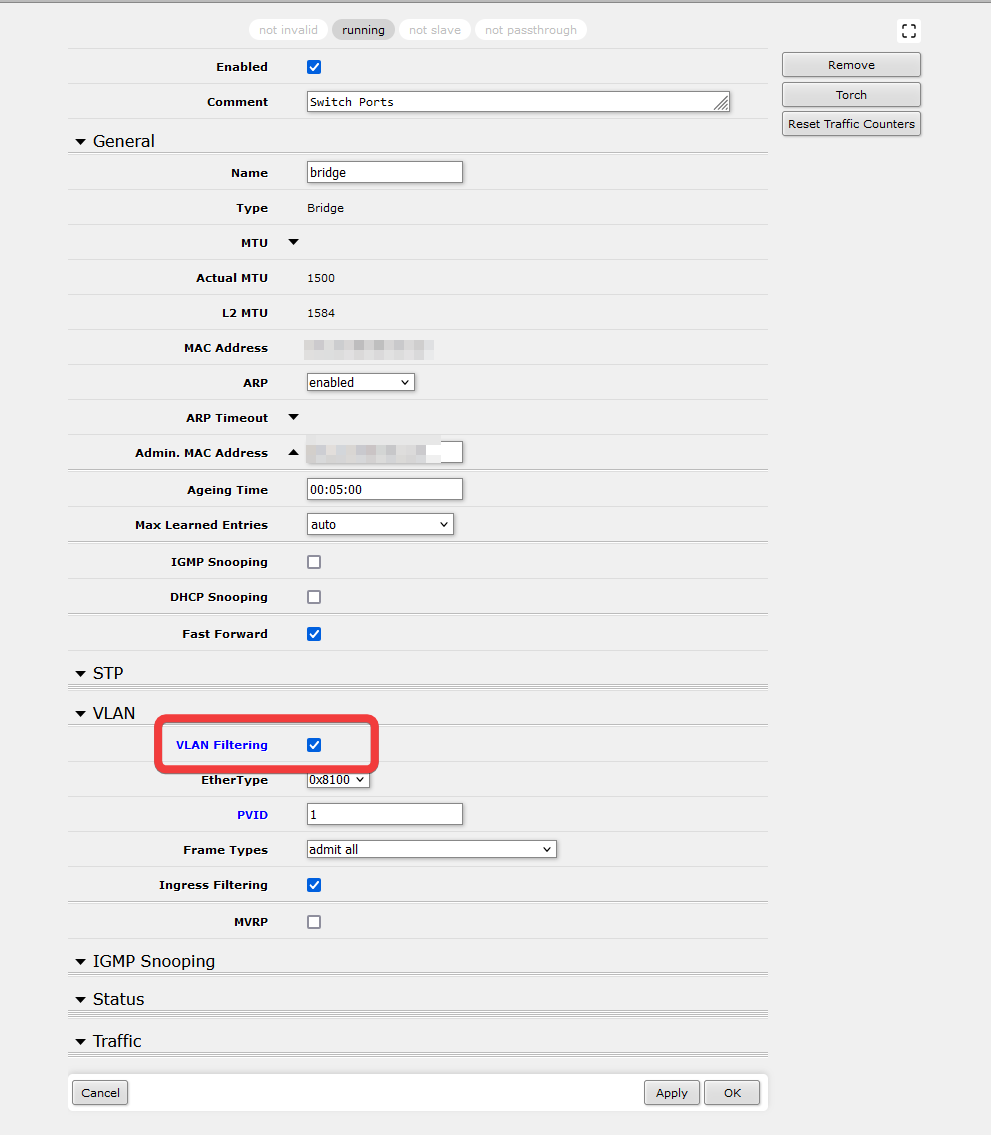
The VLANs for the ports will now be enforced.