How to install Debian 13 Trixie
Debian is a foundational Linux distribution known for its stability, reliability, and robust package management system. Each new releases brings forth a whole new array of features, bug fixes, and updated packages.
In this guide, I will walk you through how to install Debian 13 Trixie, the latest Debian release as of 2025-08-26.
Step 1: Download and Prepare Installation Media
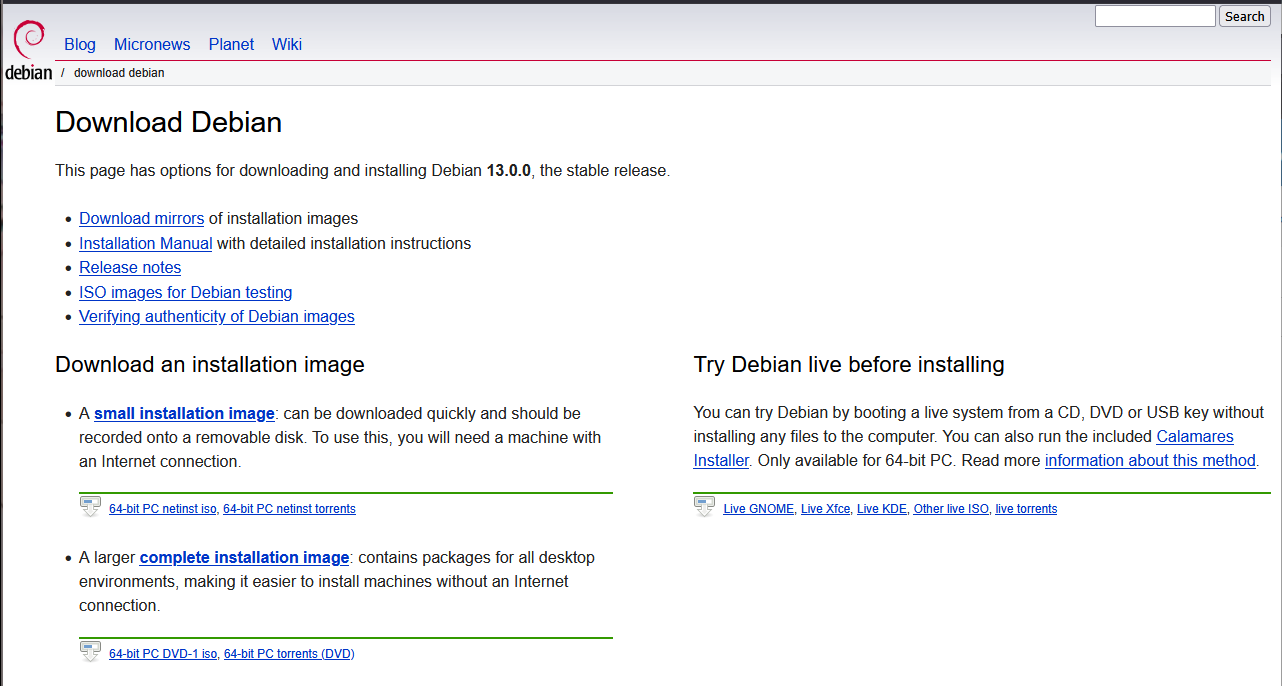
You can download the installation ISO from the official website at https://www.debian.org/distrib/.
Choose the appropriate image according to your CPU’s architecture. This installation image will require an internet connection in order to work as it is a net-install image.
One of the biggest changes in Debian 13 is that it dropped all support for 32-bit systems. Going forward, Debian will only support 64-bit system. This is generally not a problem for most users as all CPU released within the last decade are all 64-bit capable CPUs.
Once the file is downloaded, you can burn it to a USB Flash drive using Rufus (https://rufus.ie/en_US/) or Etcher (https://www.balena.io/etcher/).
Step 2: Start Installing
Plug the USB Installer into the computer, and boot into the ISO.
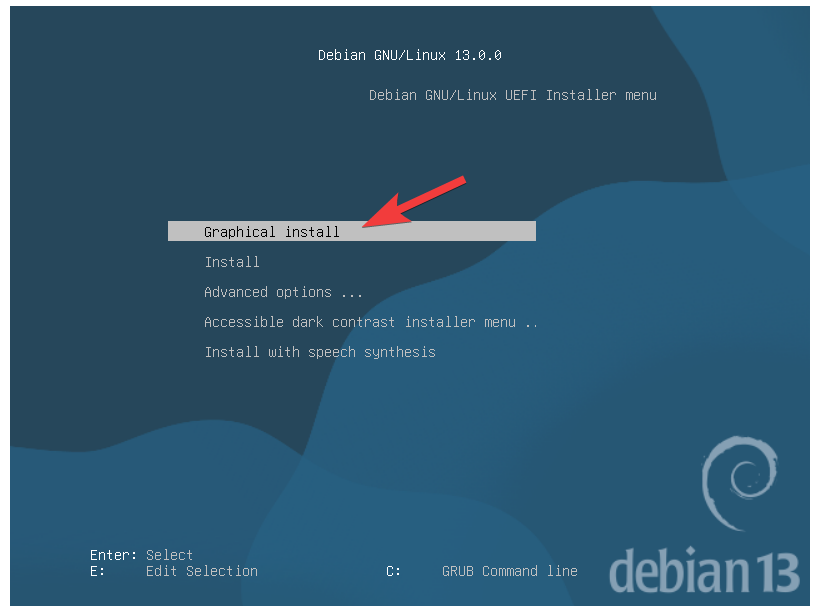
We will go through the Graphical Install options.
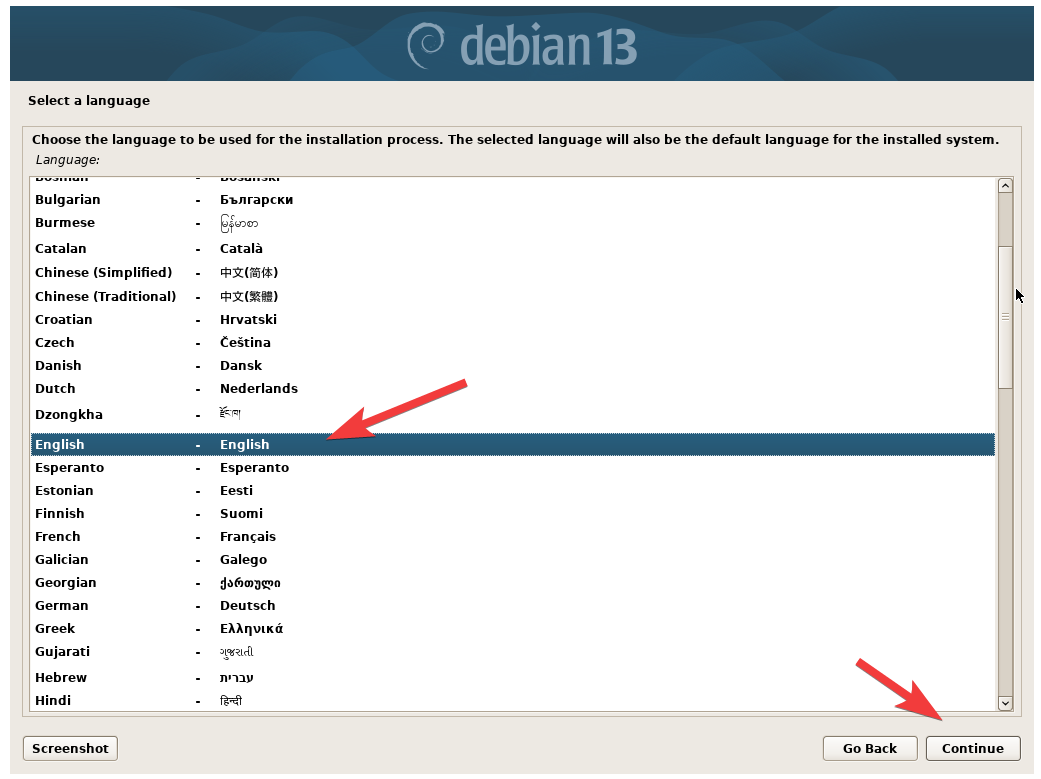
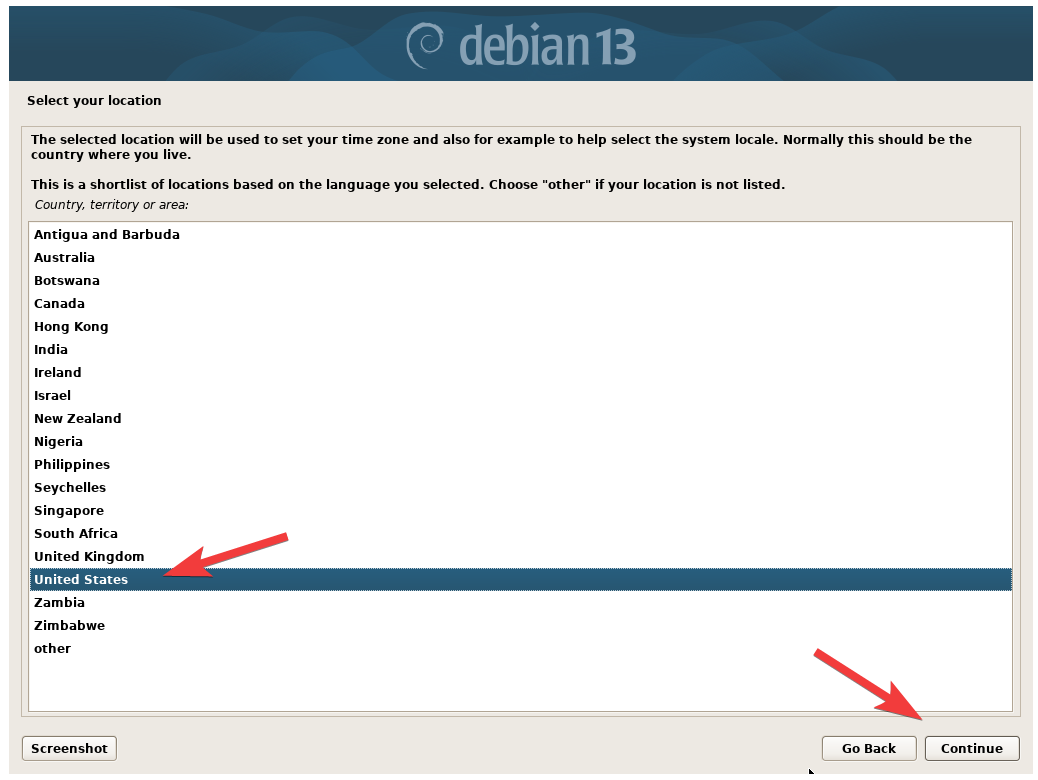
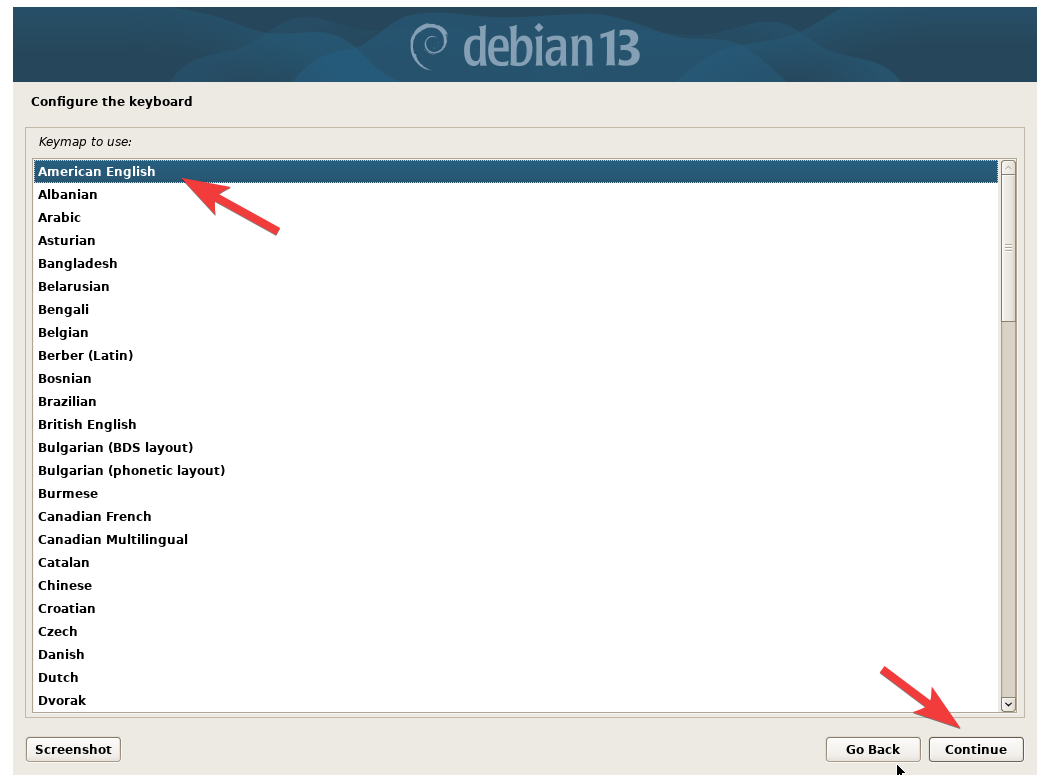
Choose your preferred Language, Location, and Keyboard layout, and click Continue.
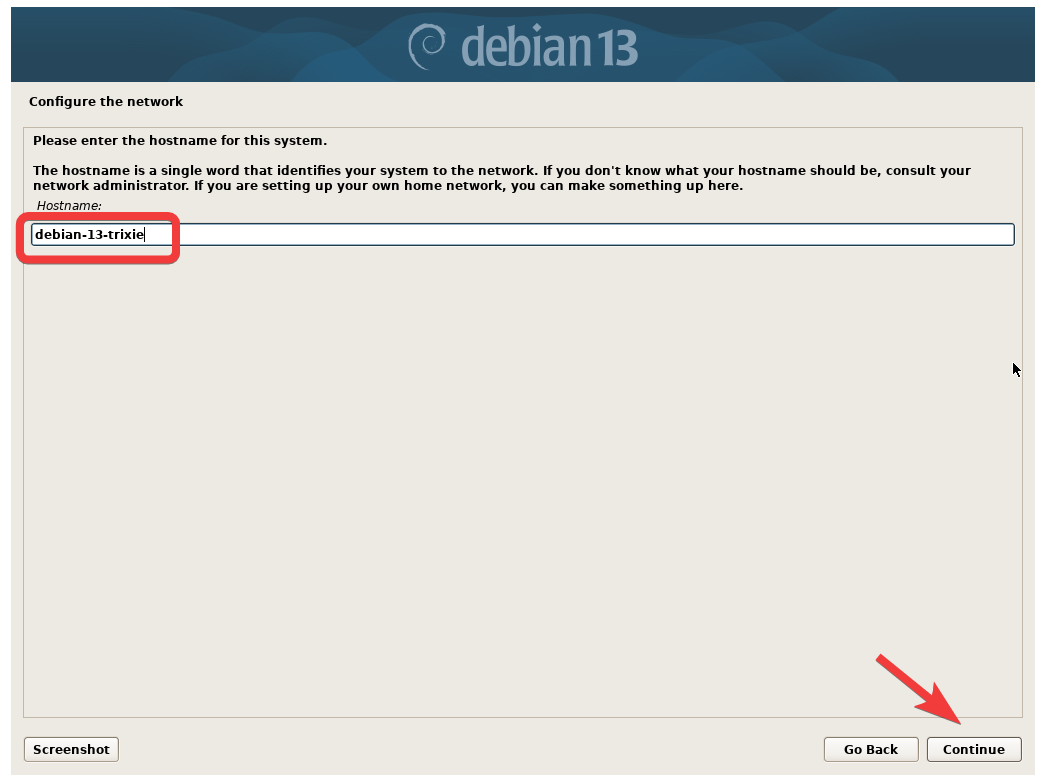
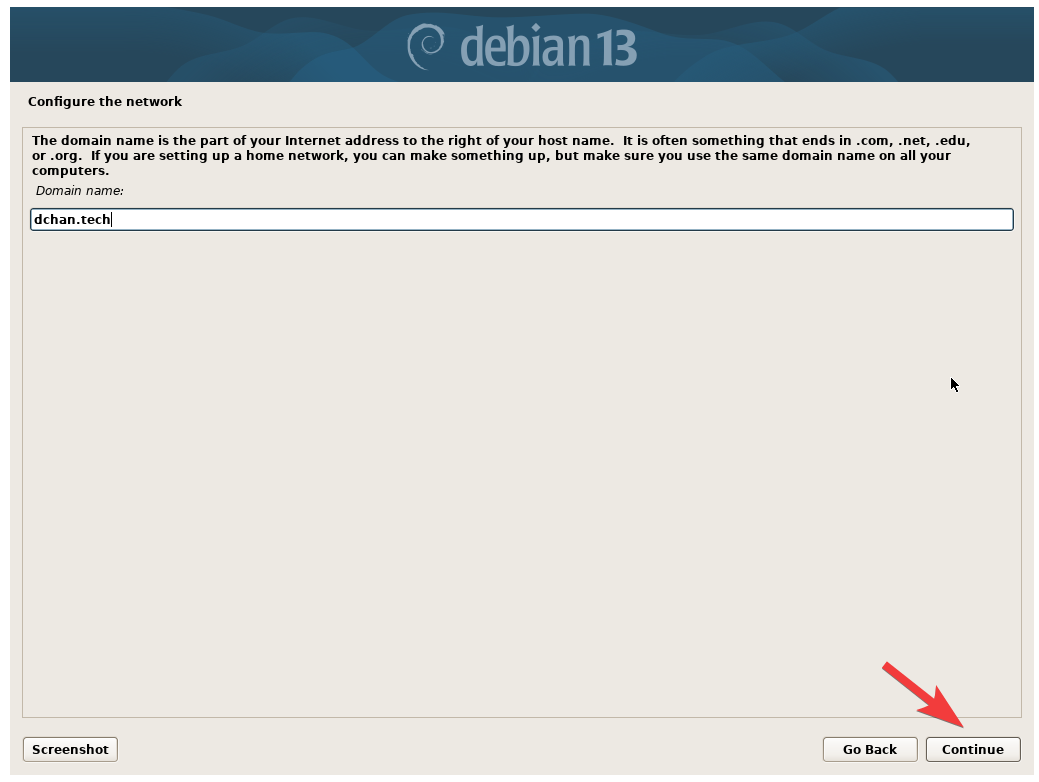
Give your machine a Hostname, and the network Domain name if you have a domain setup.
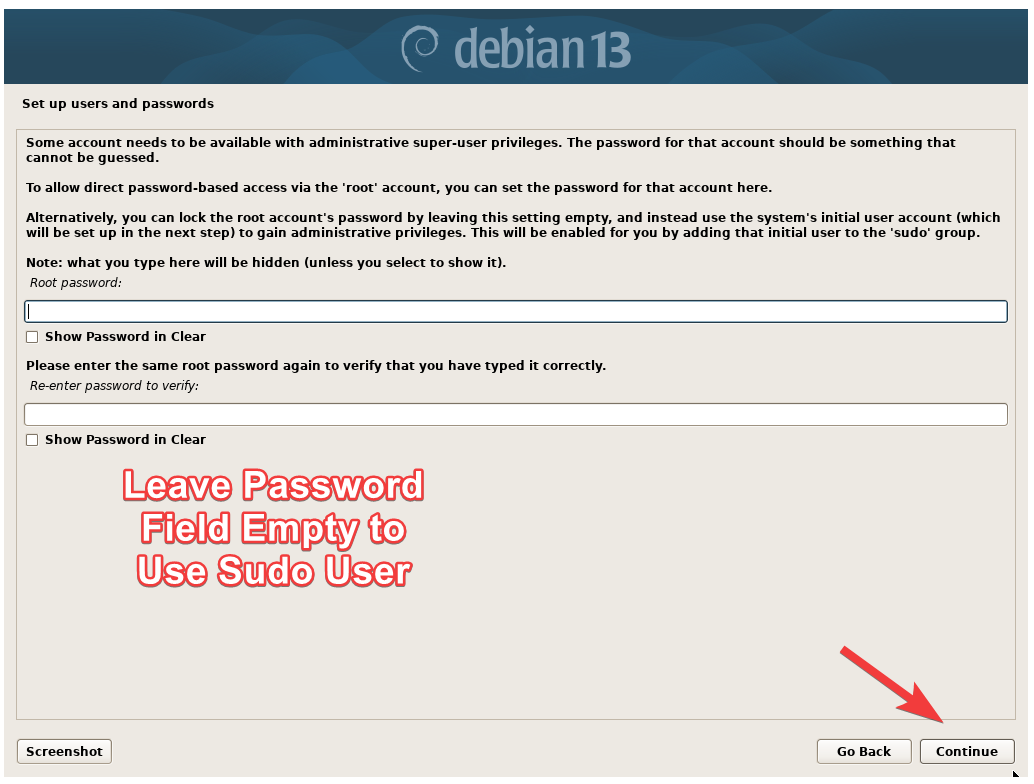
When you get to the configure root user screen, you can leave the passowrd field empty. By leaving the password field empty, the installer will skip setting a root user password for the system, and proceed with creating a new local user with sudo privilages.
If you do still want the root user to be enabled with a password, you can go ahead and set the root user password and continue.
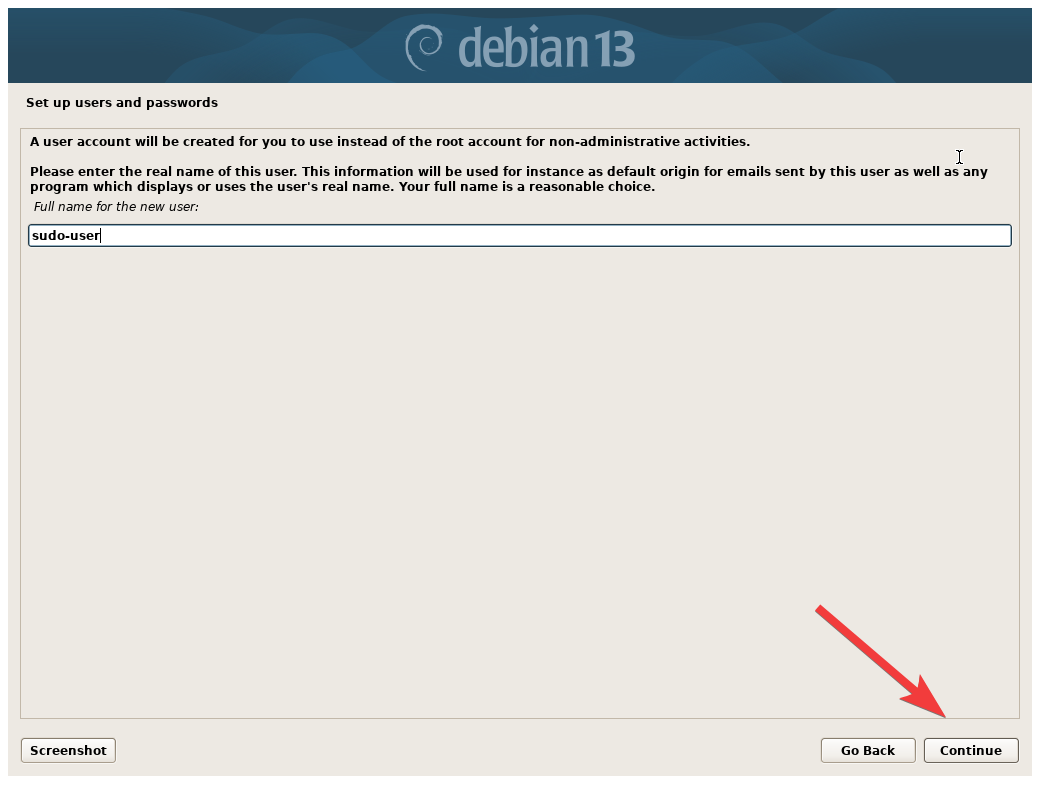
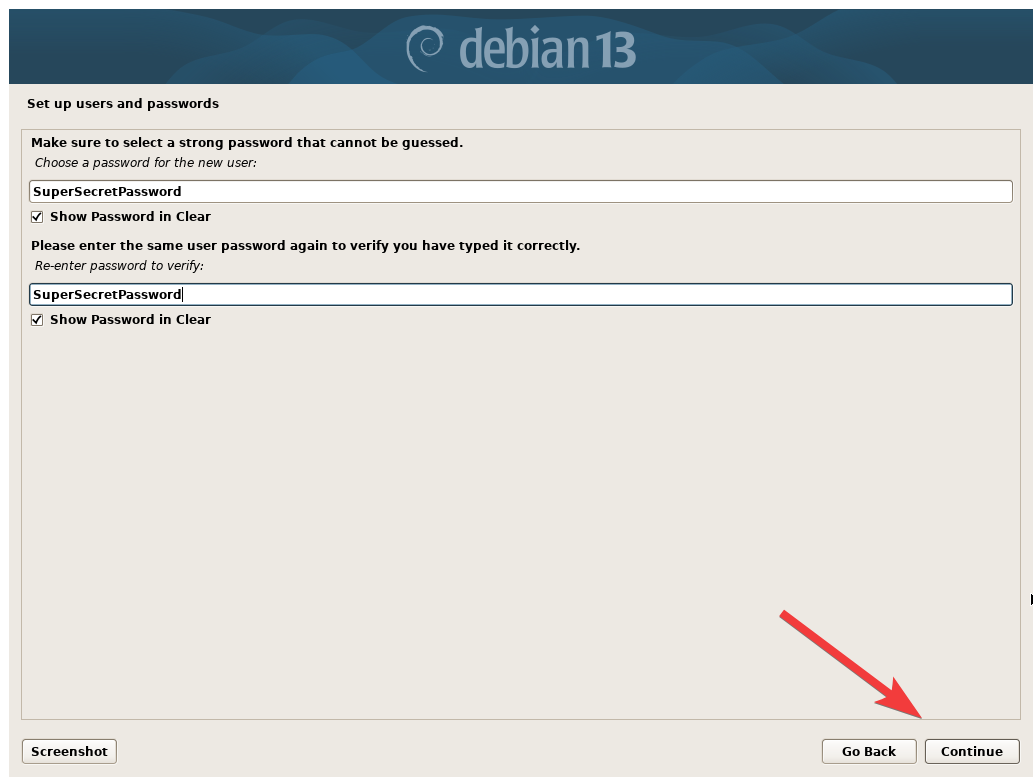
Set a name for the sudo user account. This user will be use for regular day to day activities, and can run commands as root via sudo. Set the password for the sudo user and continue.
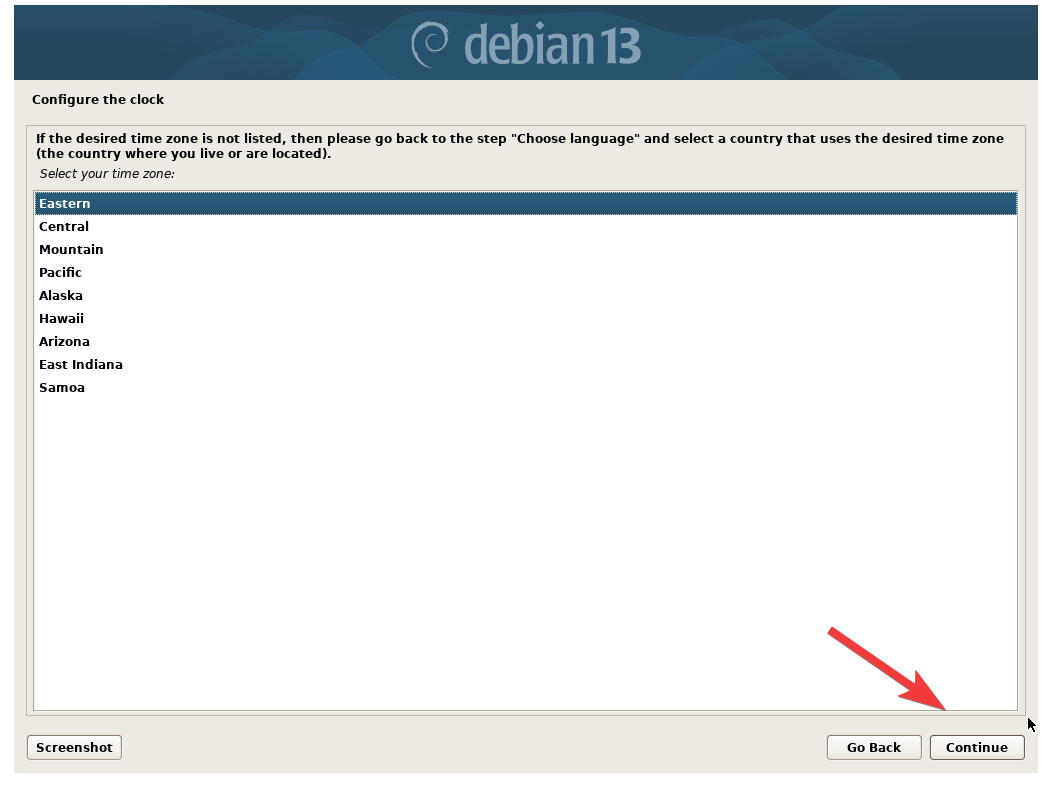
Set the Time Zone.
There are a couple of options here for configuring the disk paritions. The easiest and most stright forward option is the Guided - Use Entire Disk option.
Guided – use entire disk and set up LVM can be use to install Debian on a LVM volume. LVM is a logical volume manager, that allows for easily growing partition later on. Even if you do not think you will use LVM in the future, it does not hurt to have LVM selected from the beginning, in case you do end up using it.
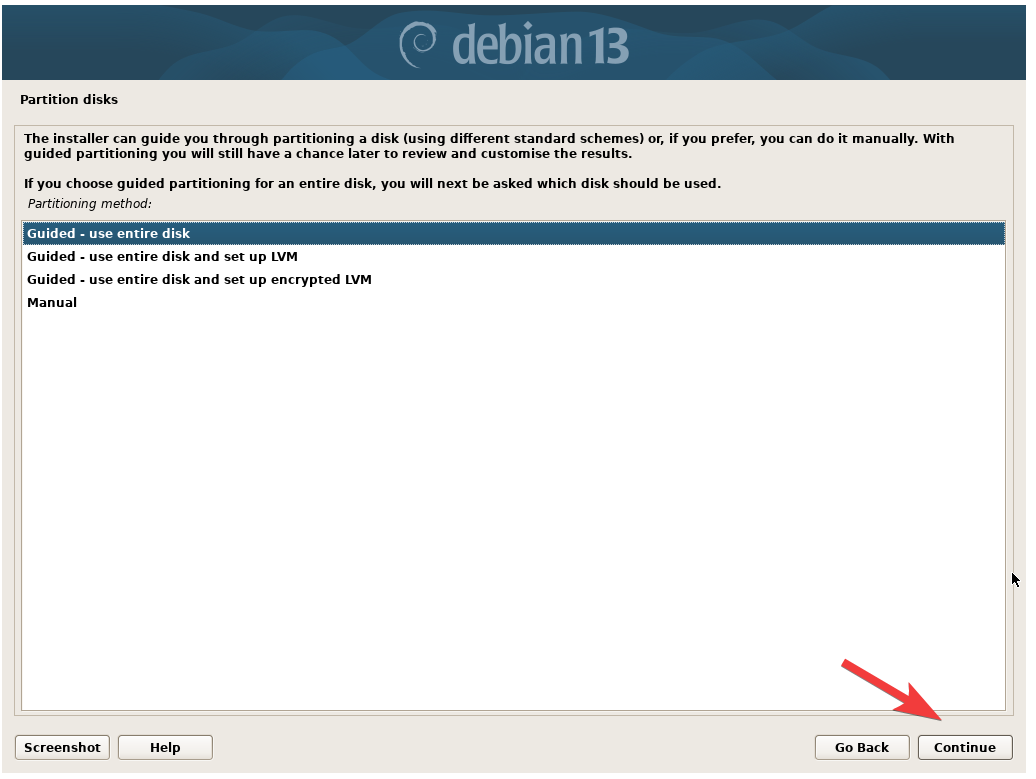
Manually Setup Disk Partitions
You can use the Manual option to setup the partitions. This is helpful for having the swap paritiion set at the begining of the drive instead of at the end.
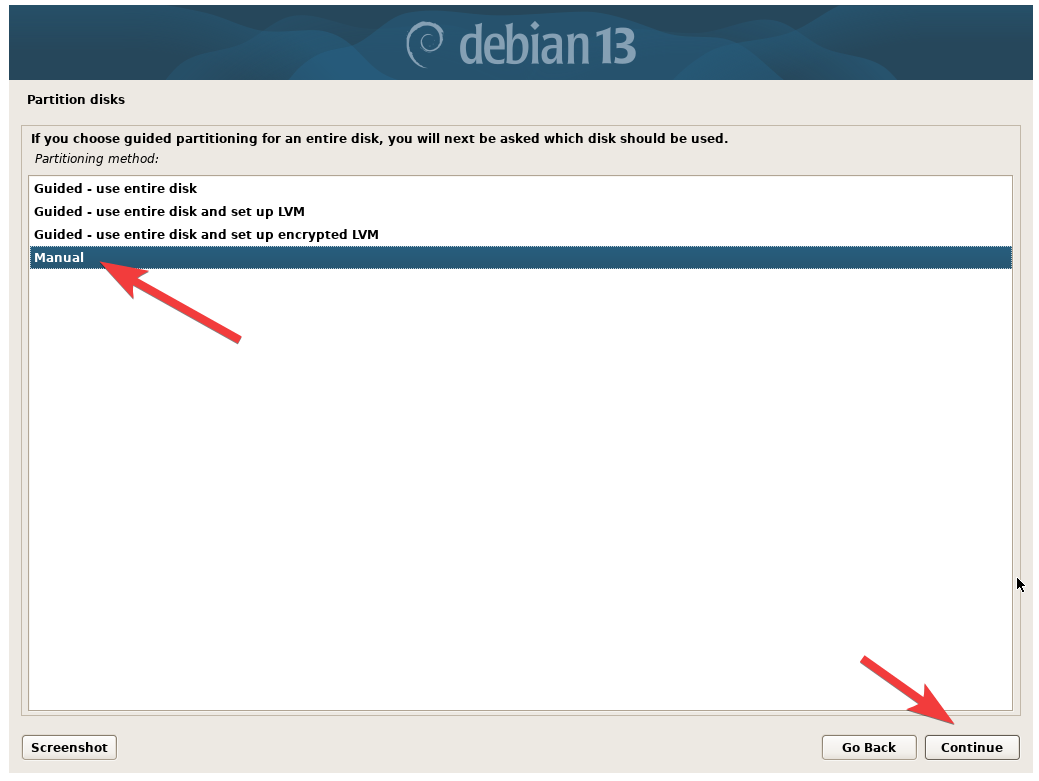
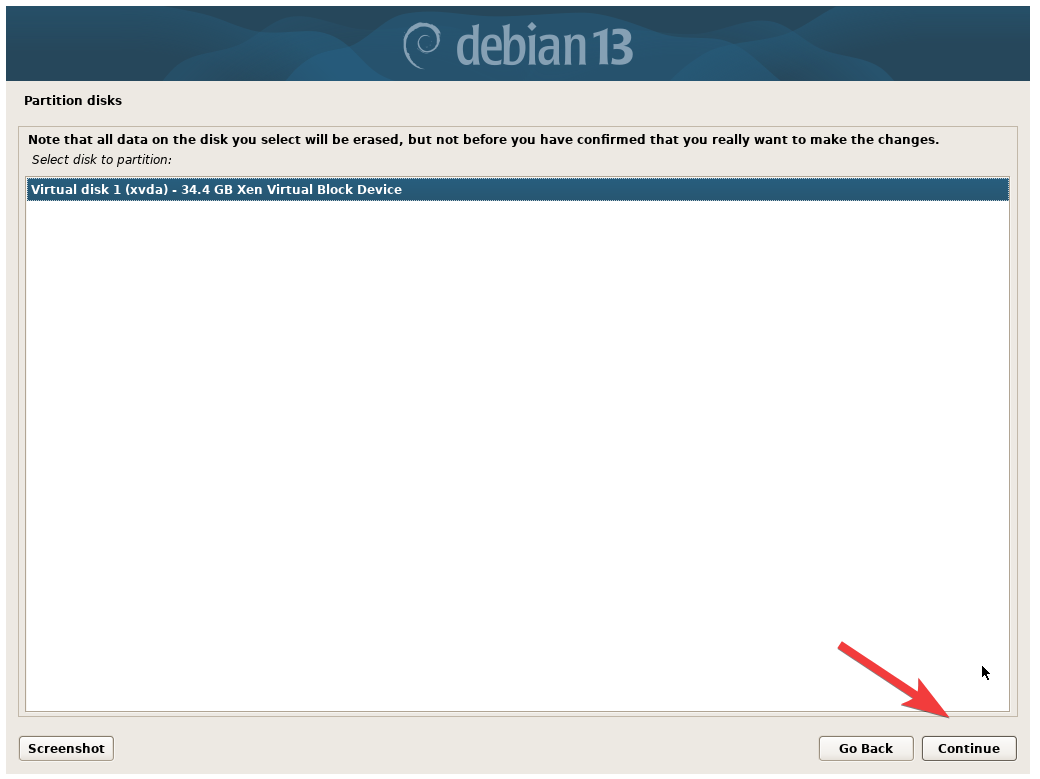
Select the disk and continue.
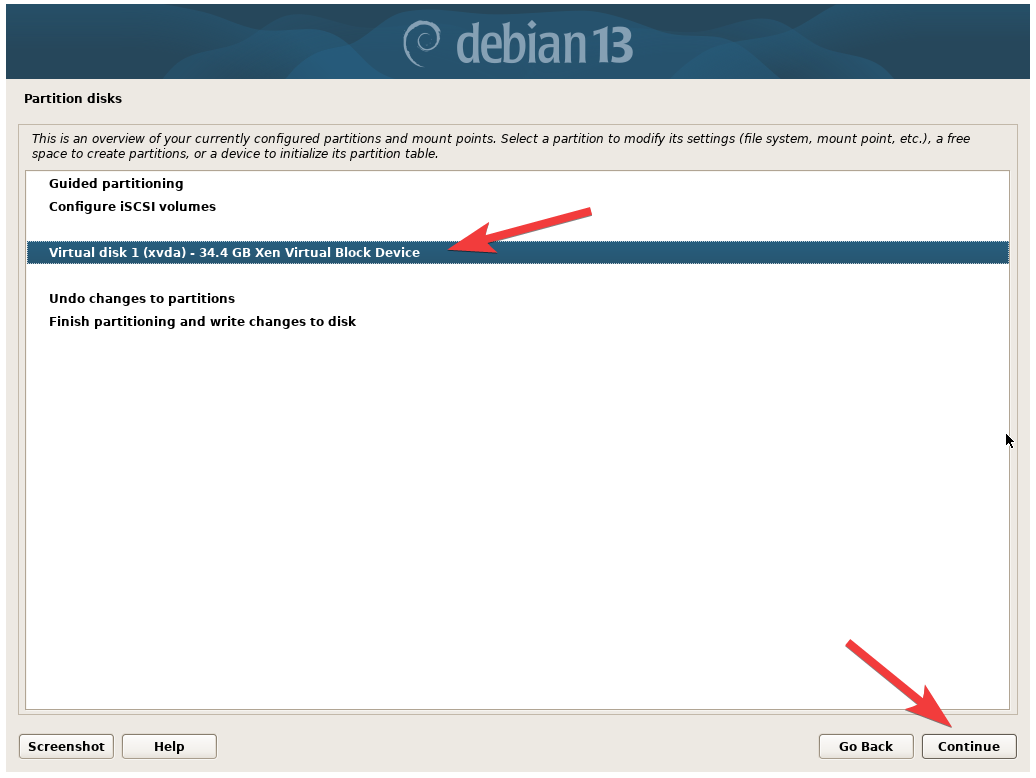
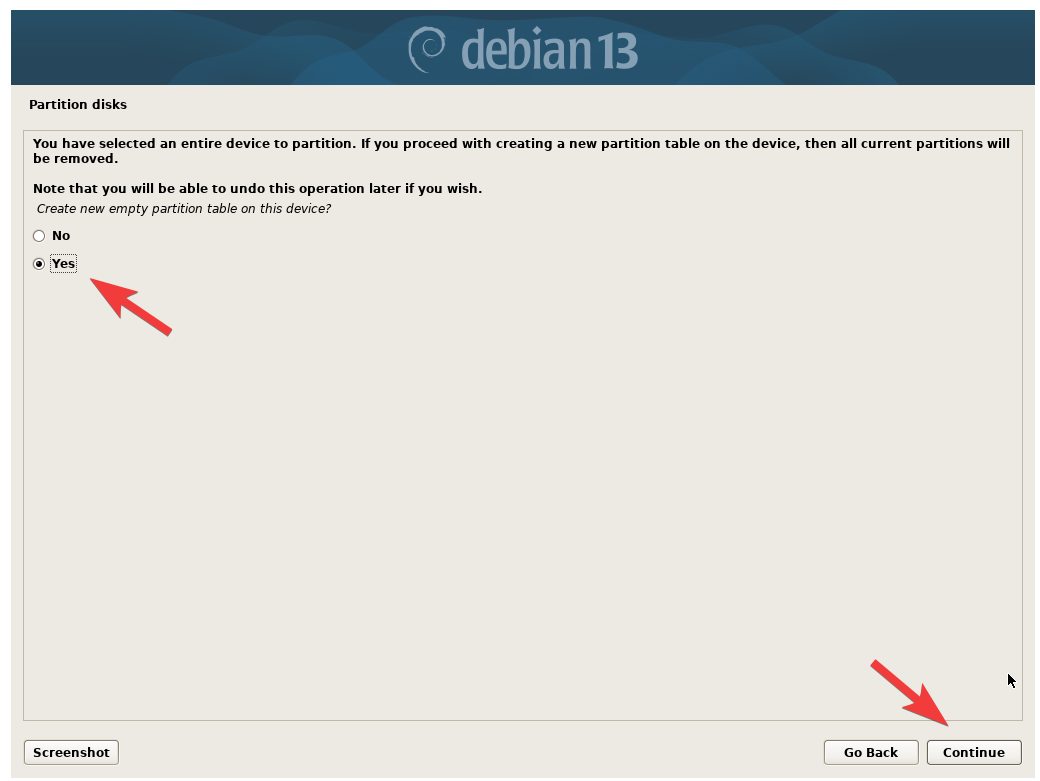
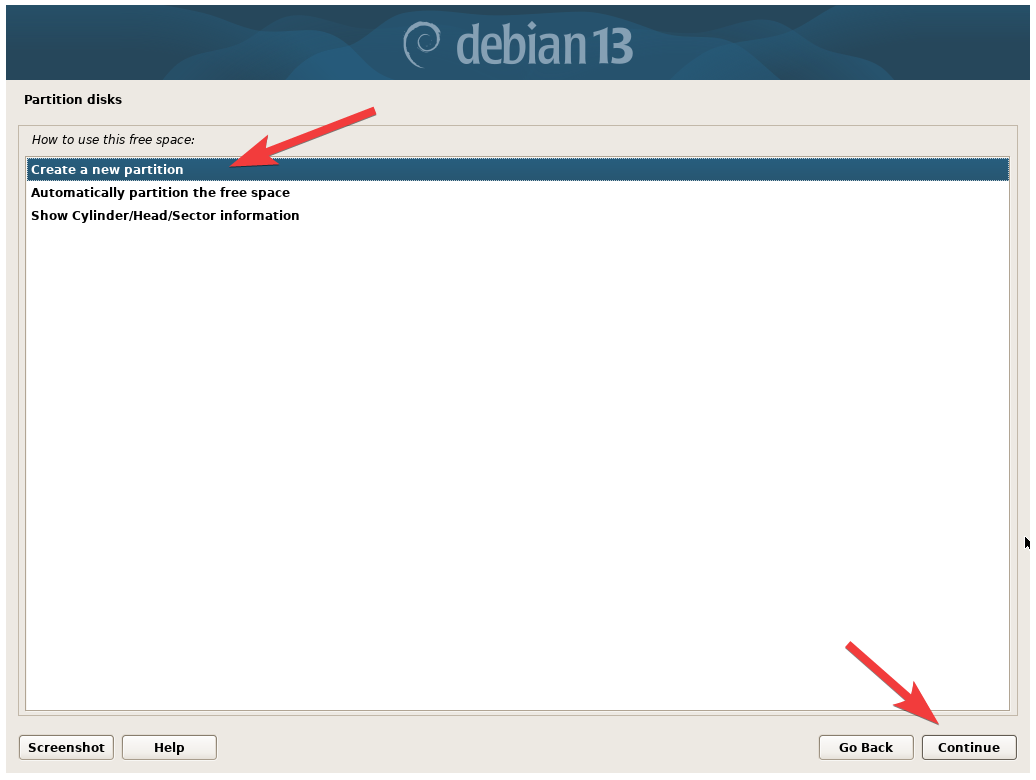
Select the Free Space, and continue.
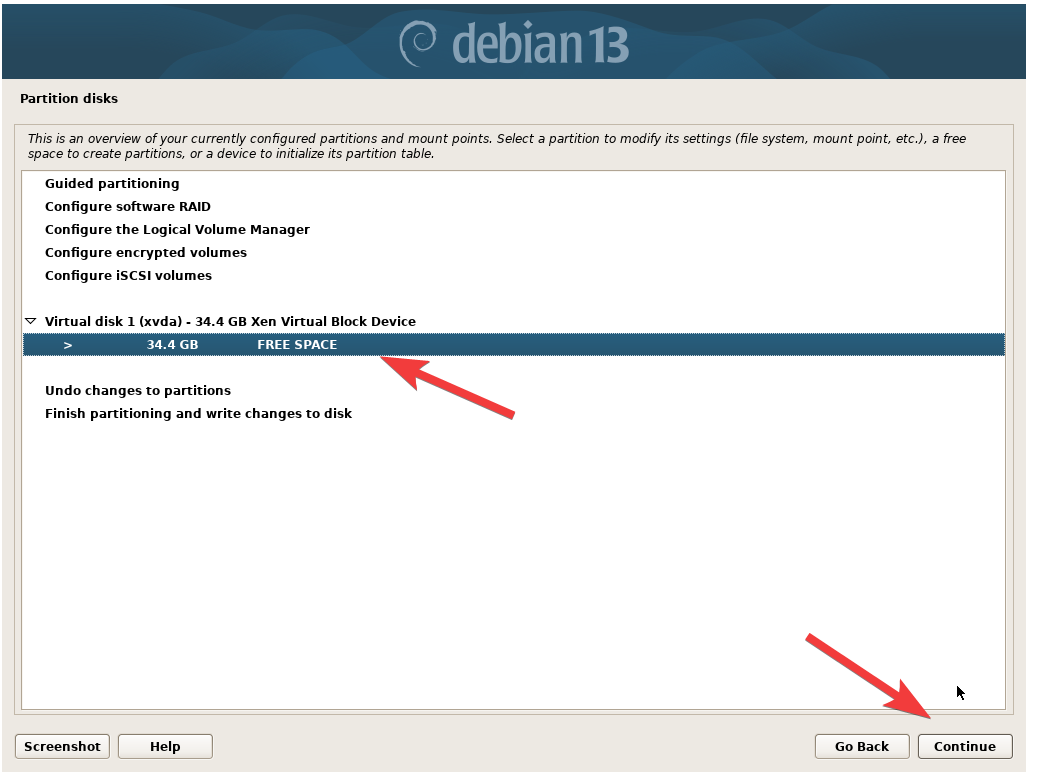
We will now create the first parition.
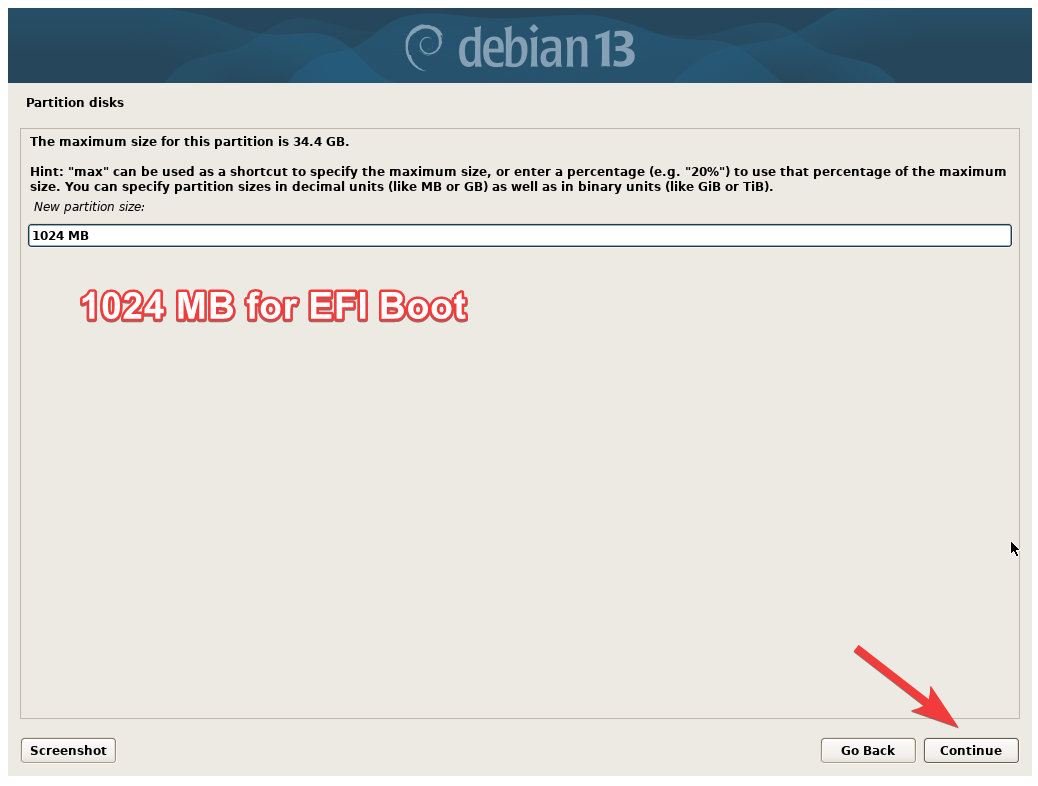
The first parition will be the EFI parition, to allow the system to boot. Give it 1024 MB of space.
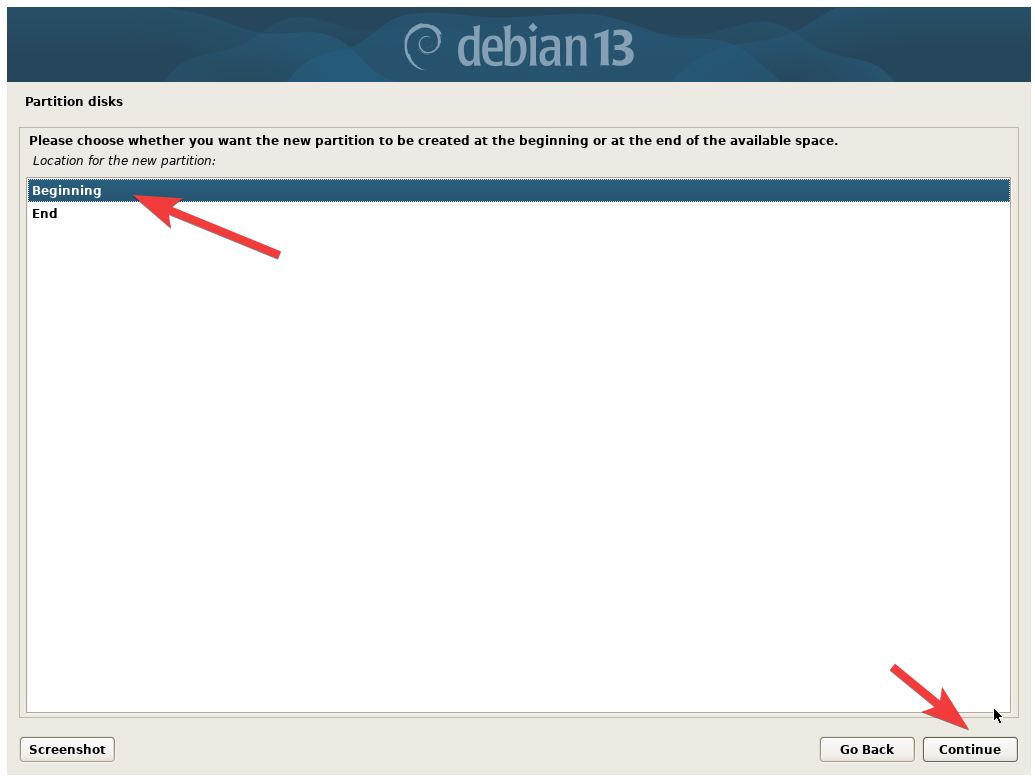
Set the partition to the beginning.
Select the Use as: option, and click continue.
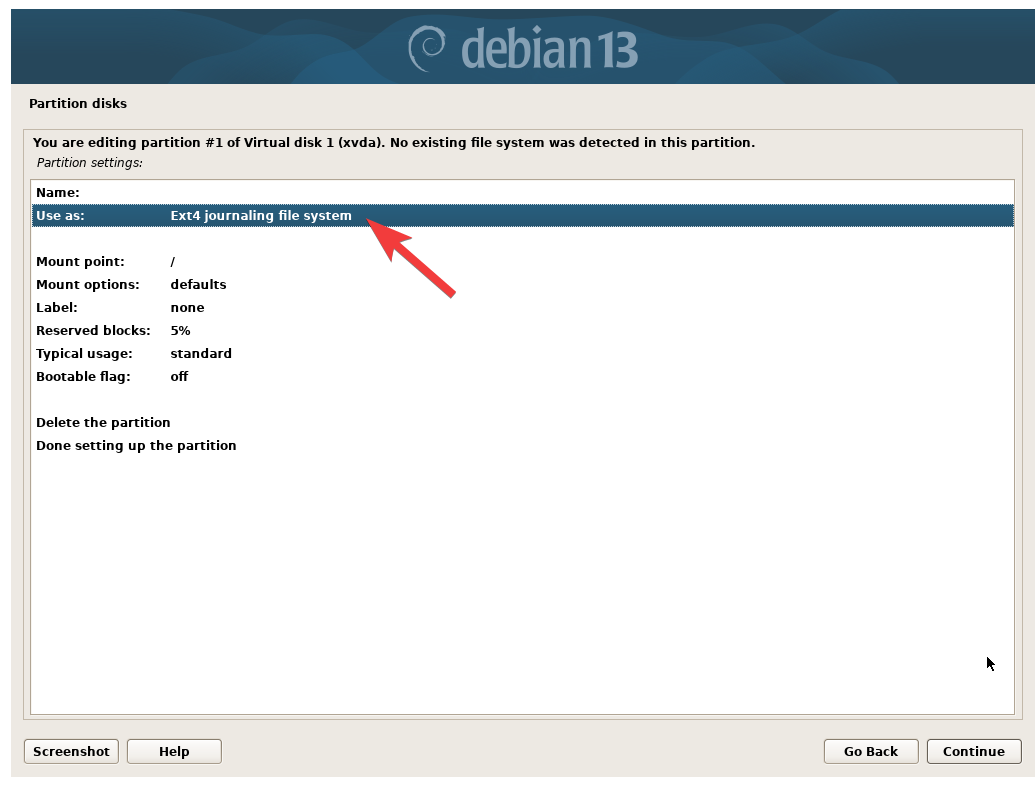
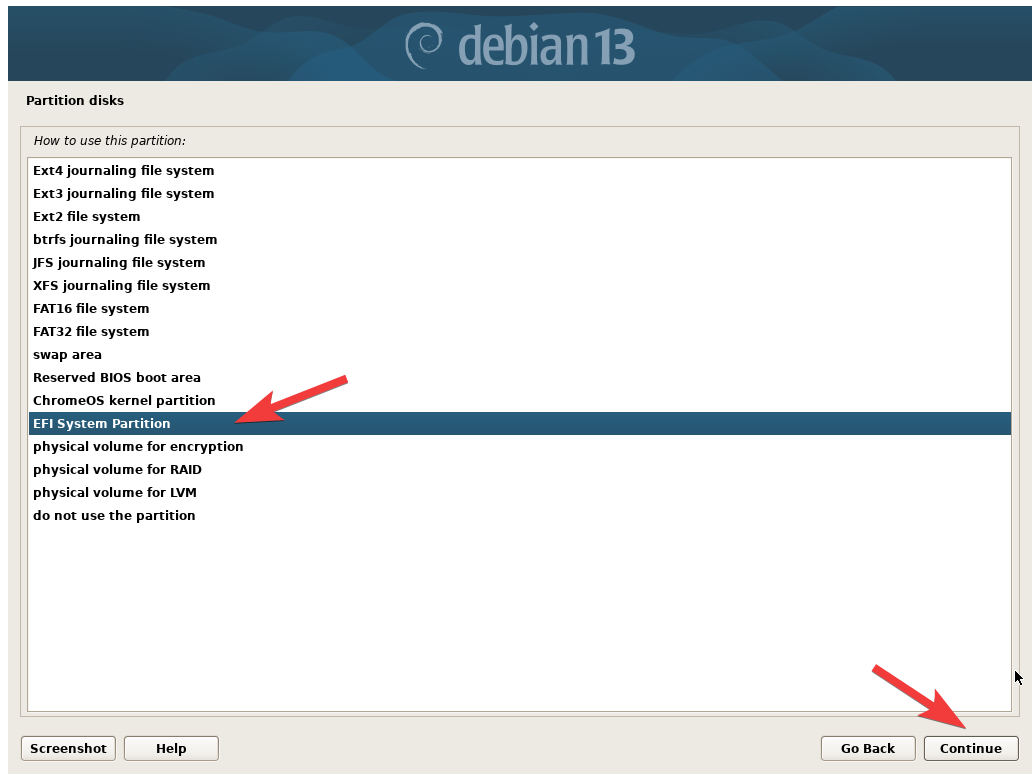
Change it to the EFI System Partition.
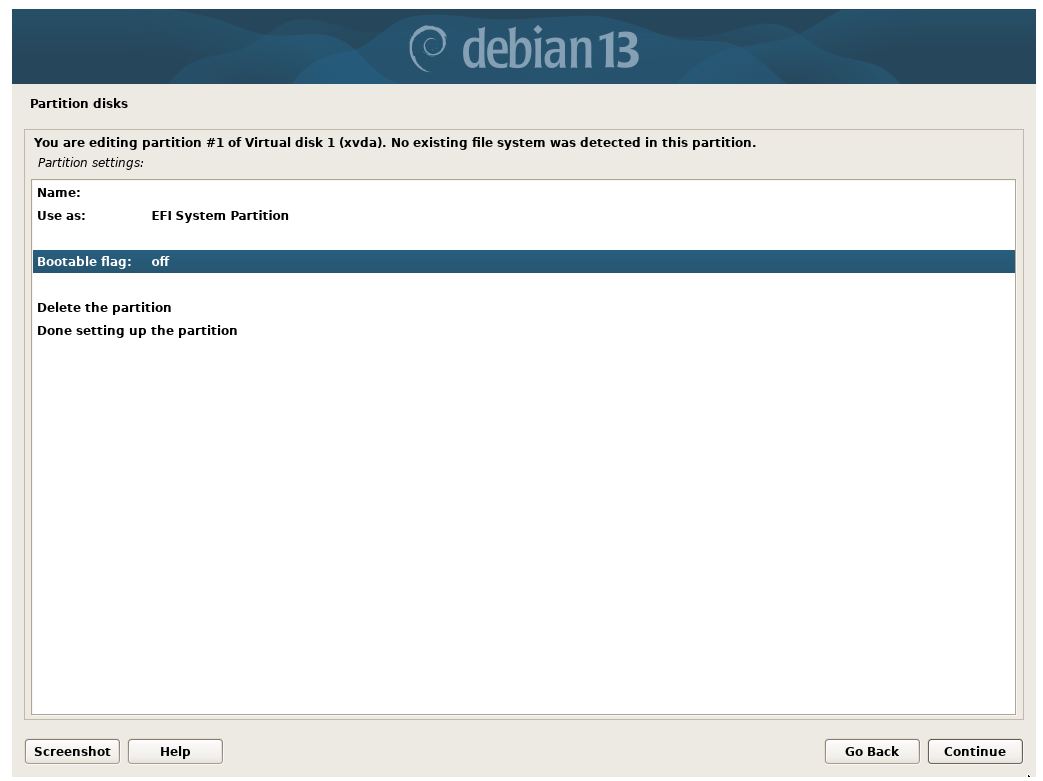
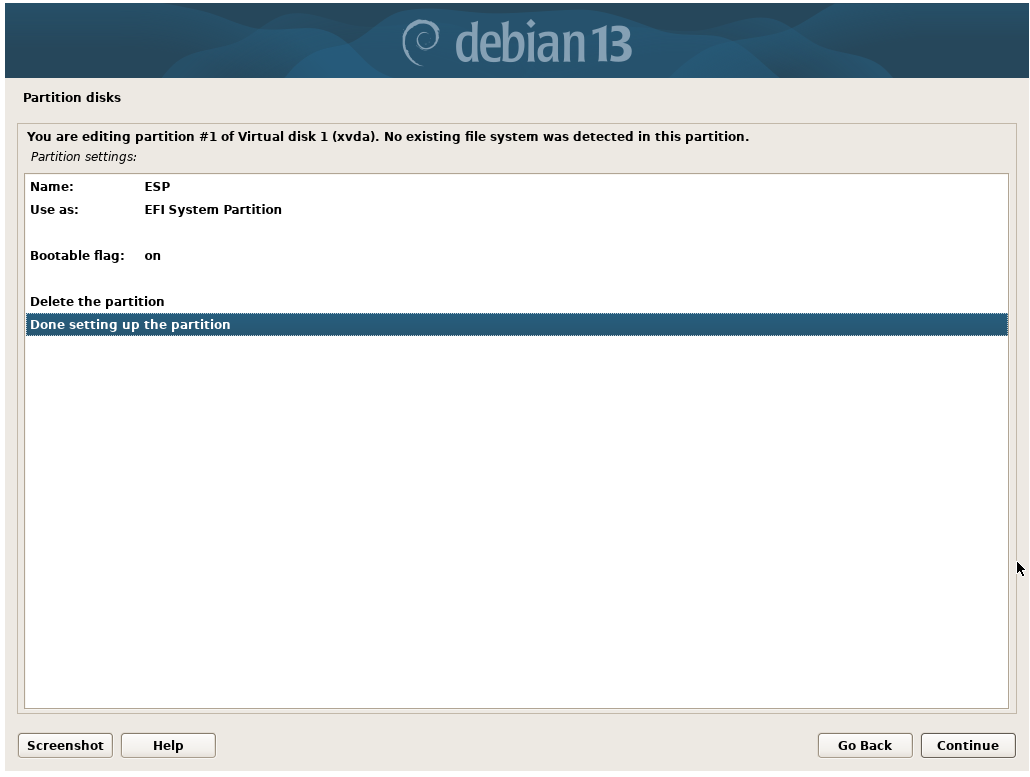
Set the Bootable flag to On, and name the parition ESP (for EFI System Patrition).
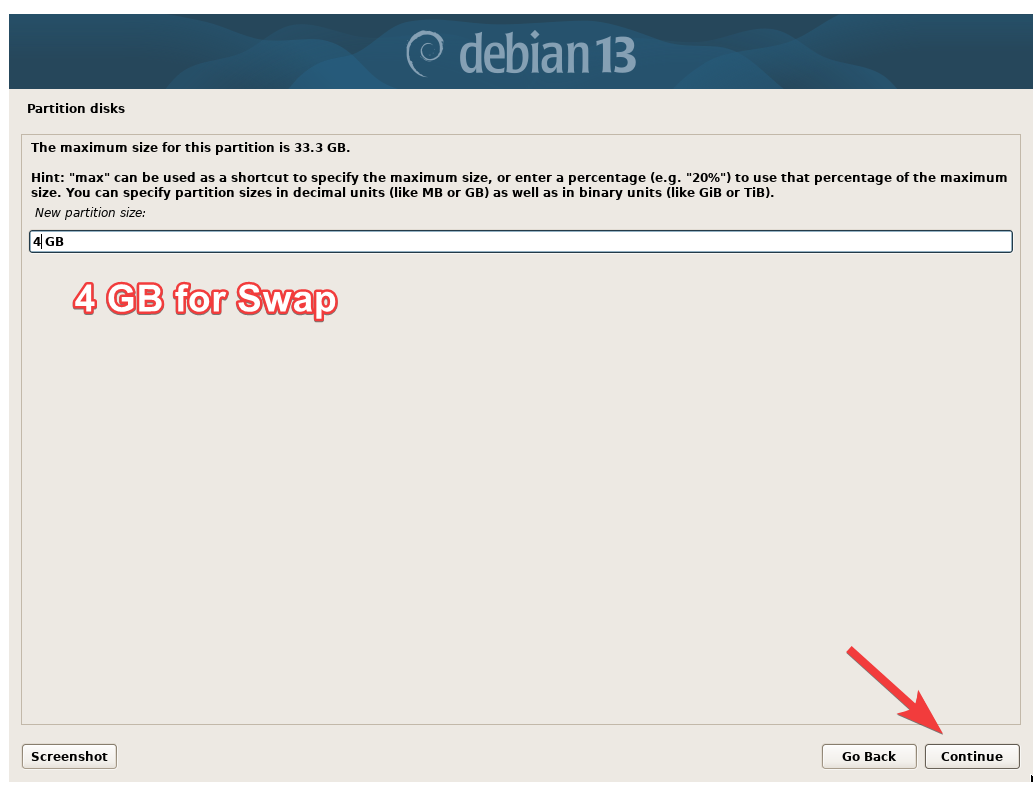
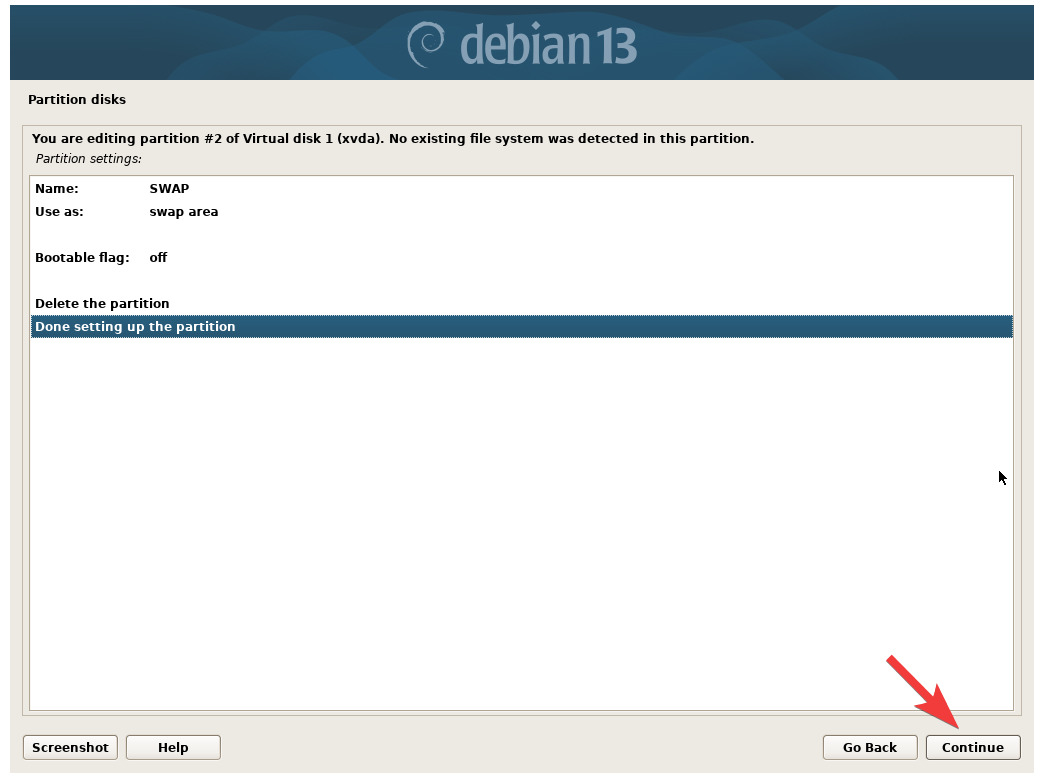
Repeat the above steps. This time, we will add the SWAP partition. 4 GB for SWAP is plentiful for most system.
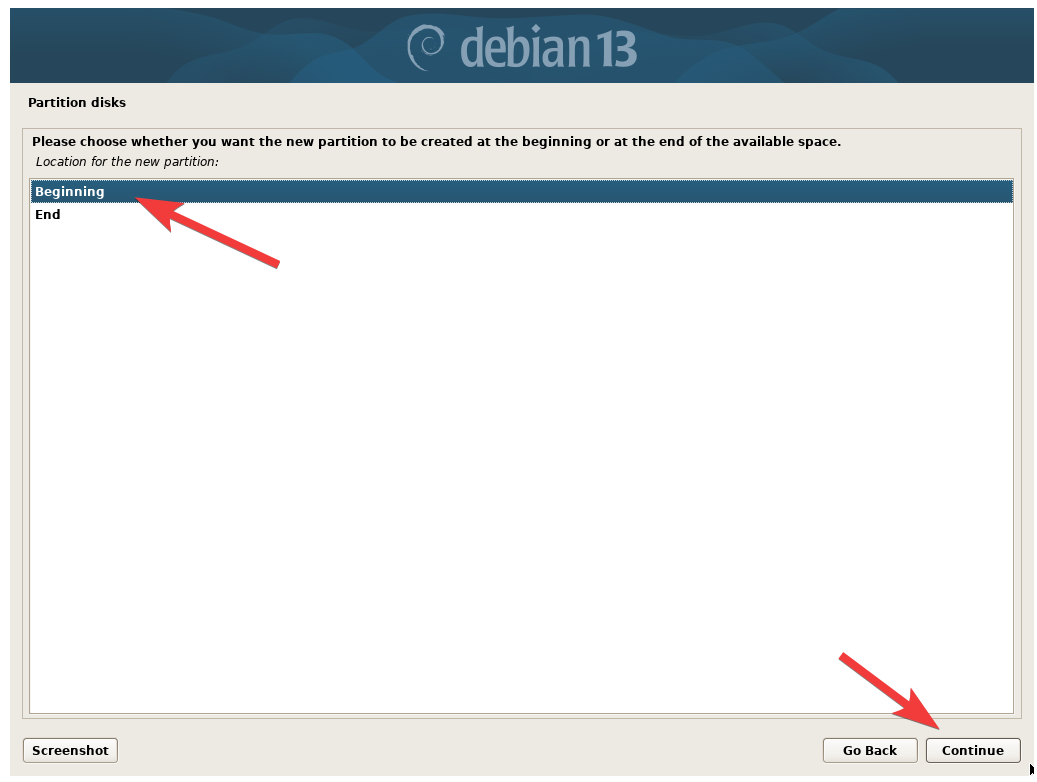
Set it to the Begining.
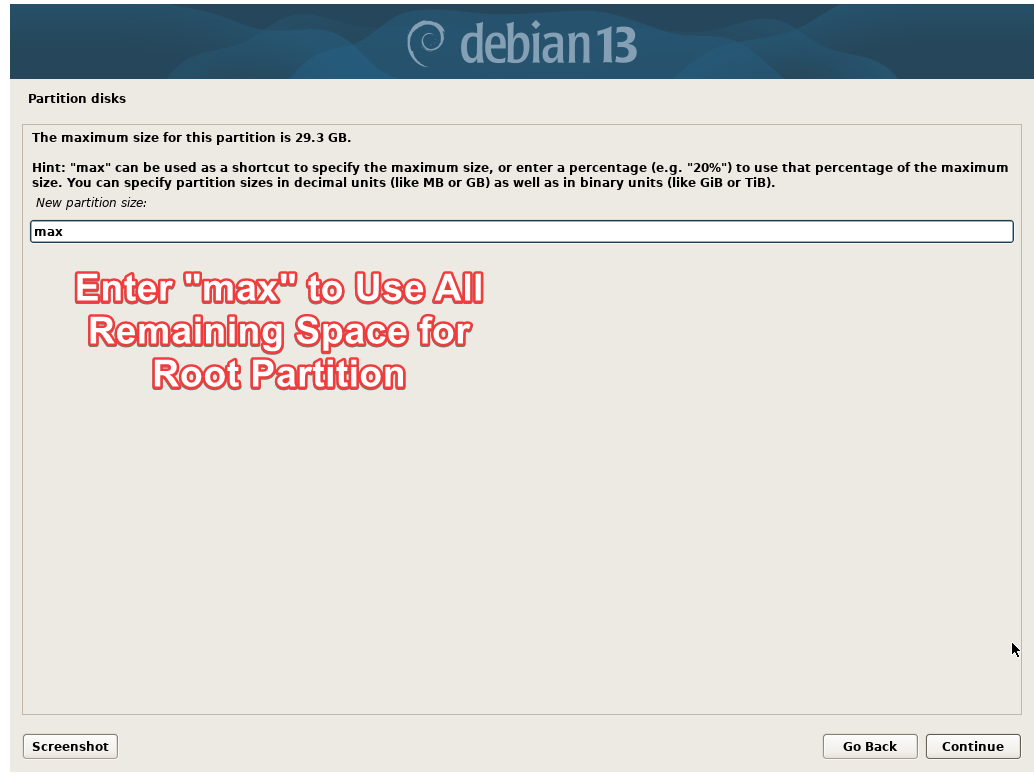
Lastly, we will create the root partition. Use "max" to allocate all the remaining free space to the root partition.
EXT4 Journaling file system is the most widely use.
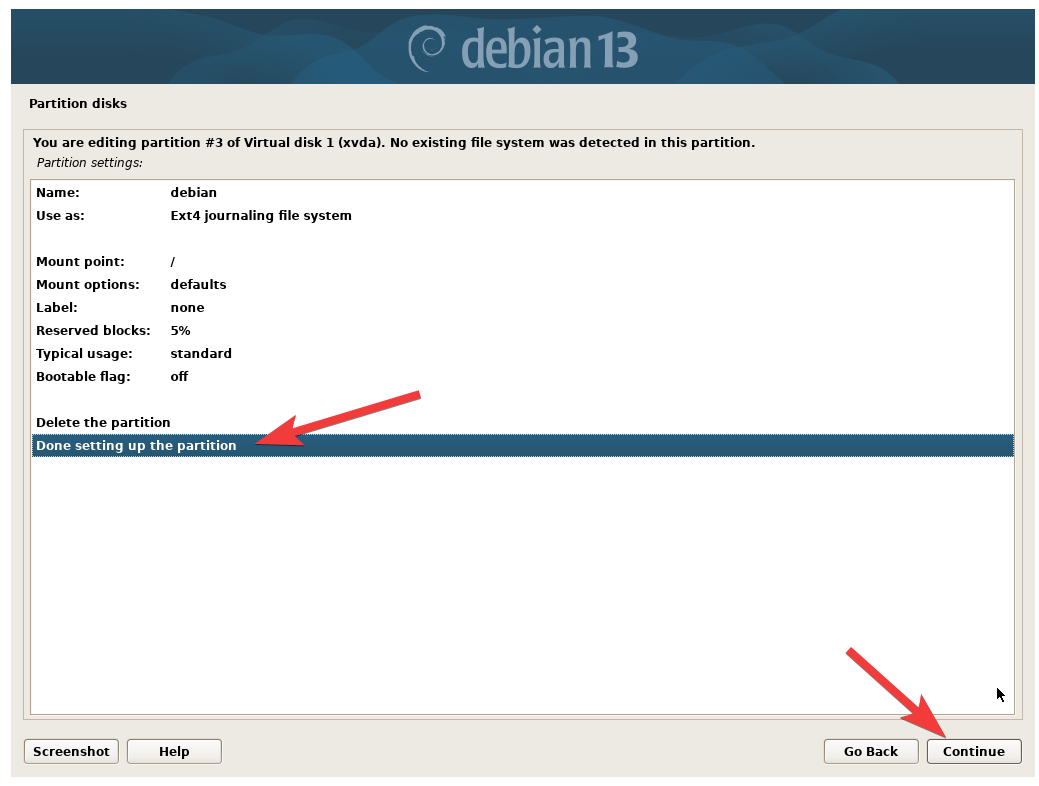
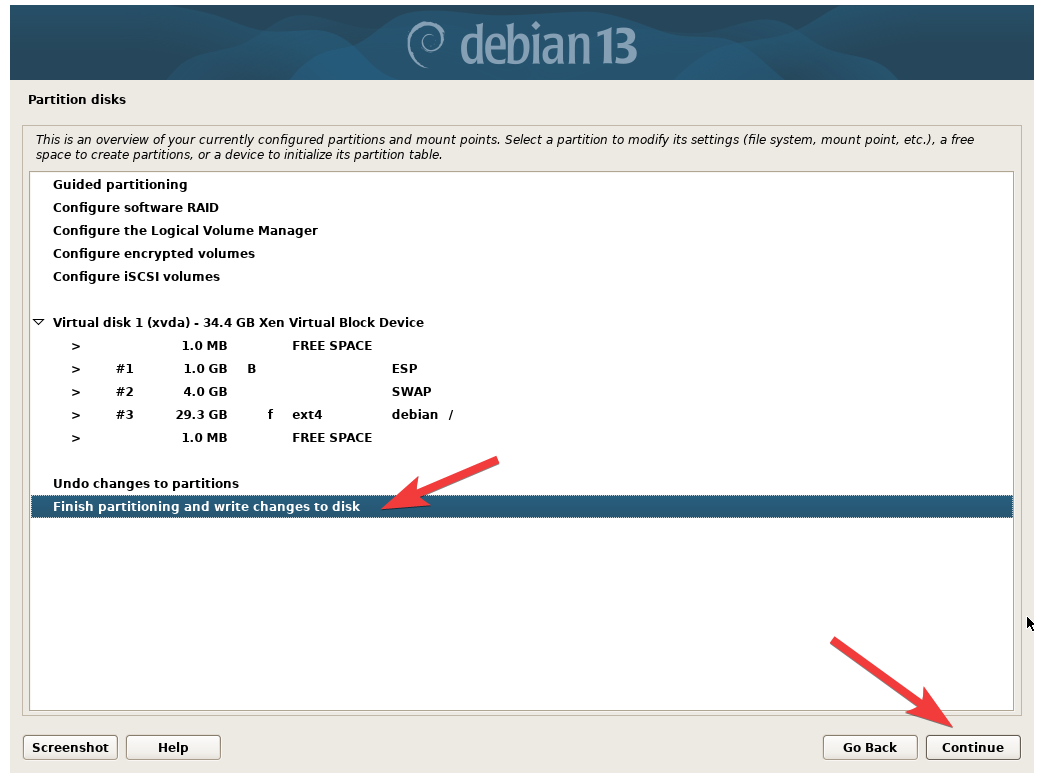
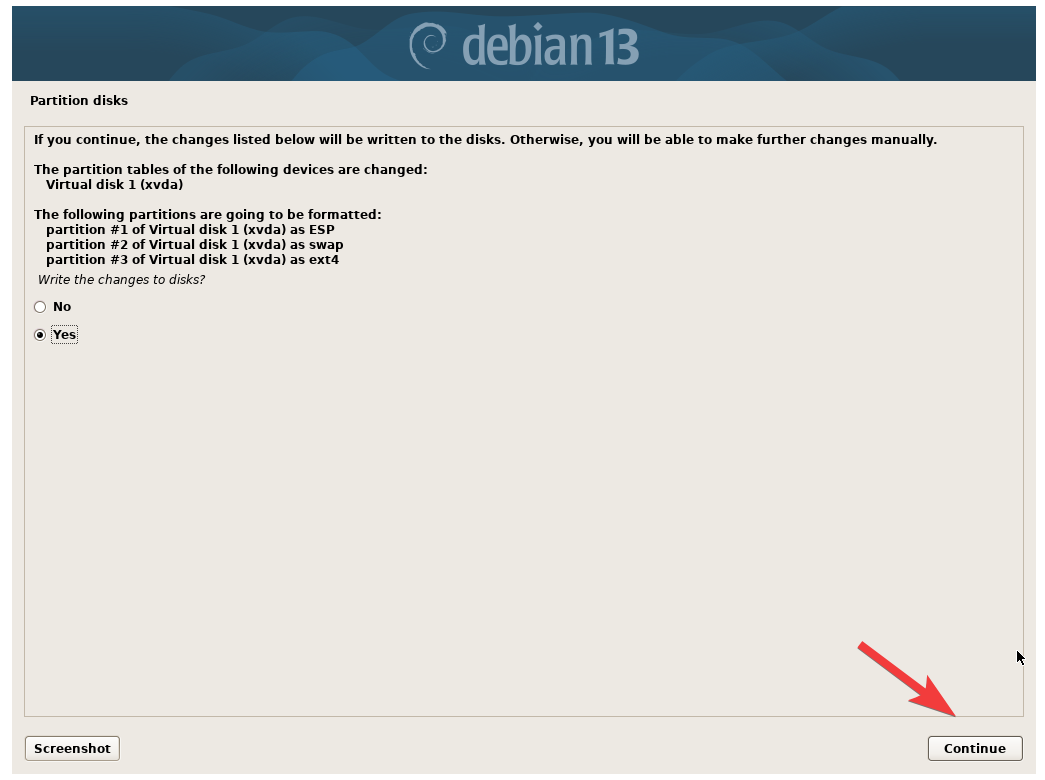
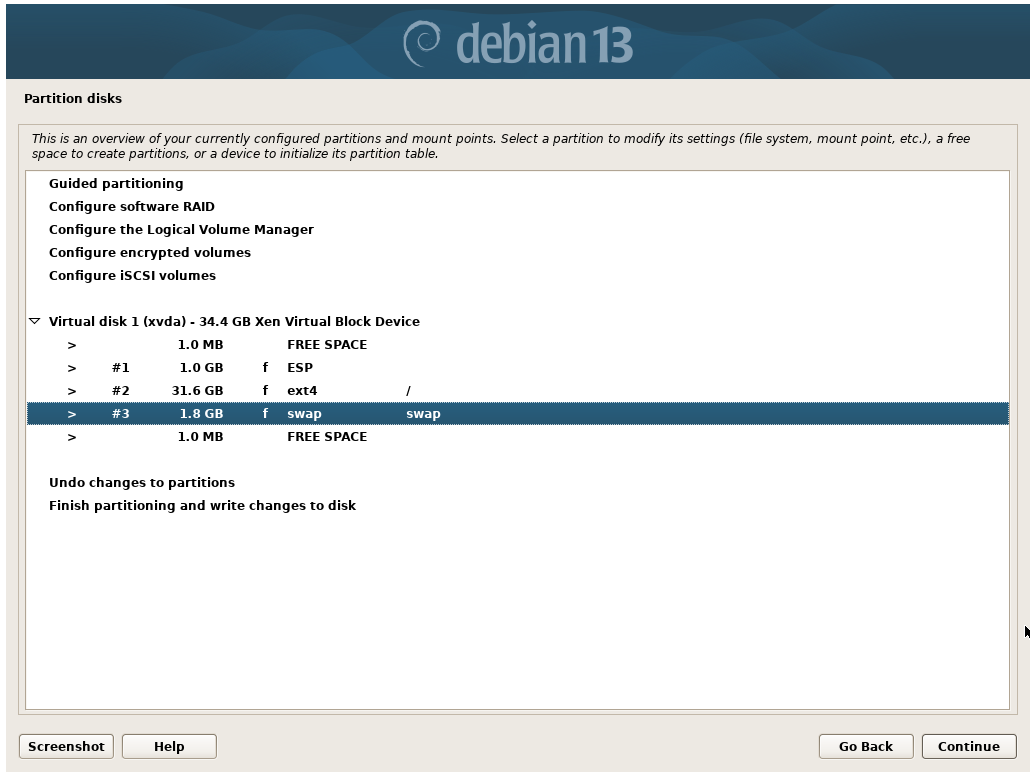
Once all parition are created, you can write the changes to the disk.
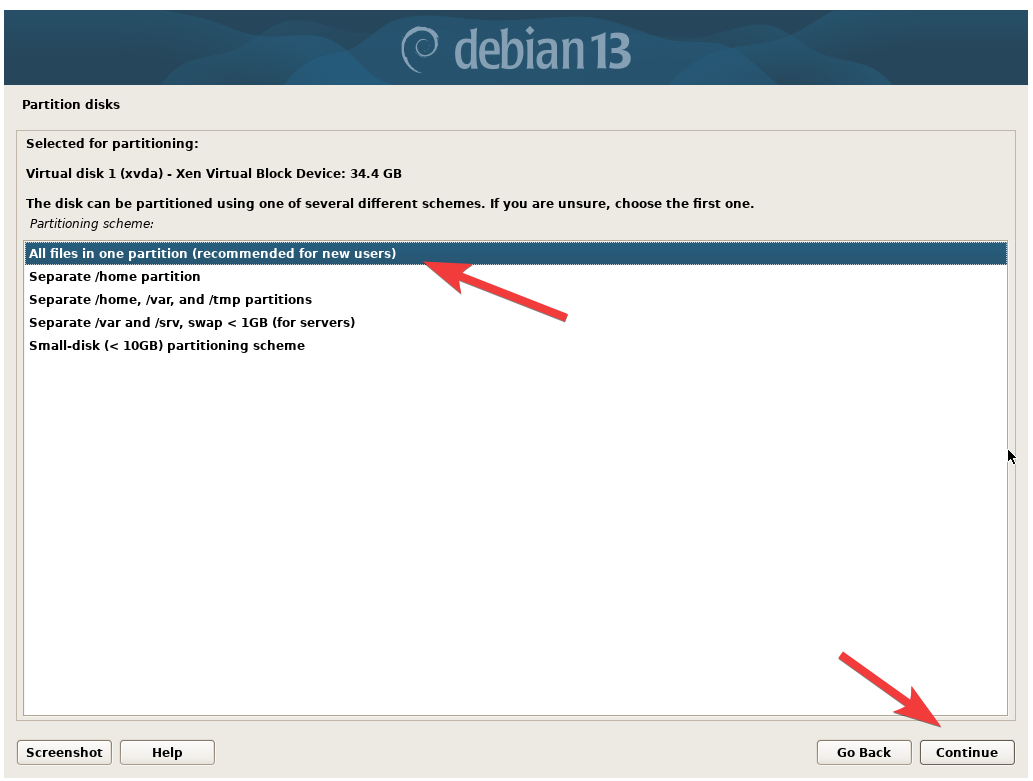
Choose All files in one partition. This method is the most beginner friendly as it allows for easy file navigation.
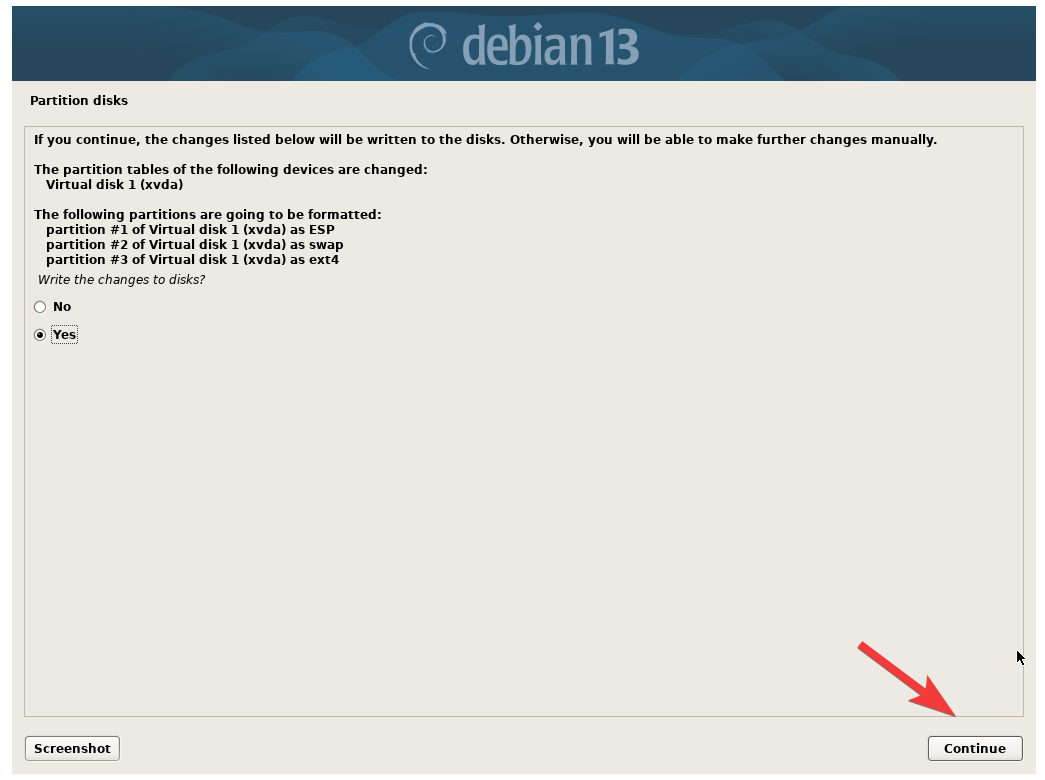
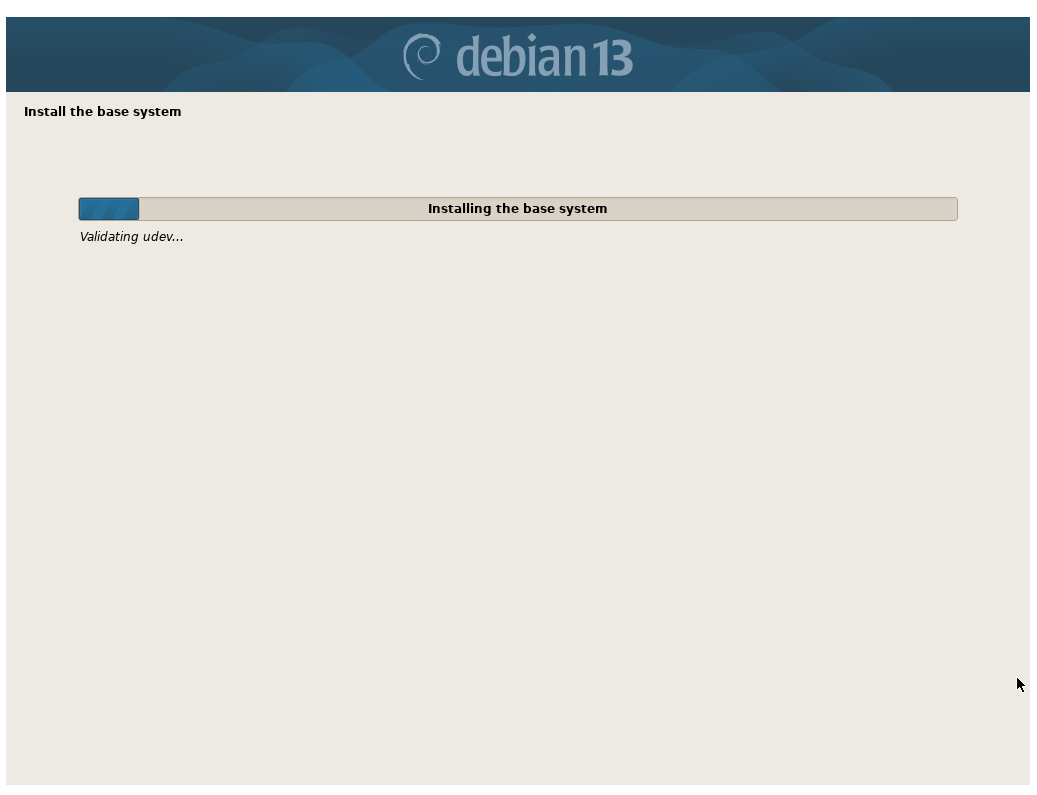
Installation will begin for a bit.
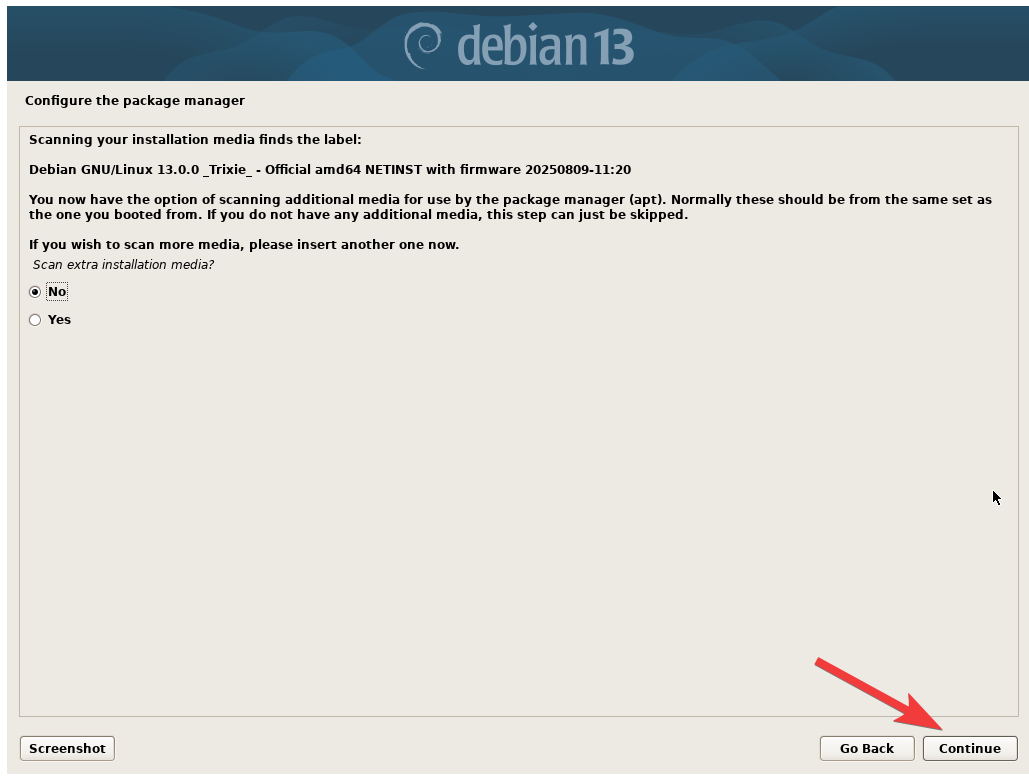
For scanning more media, select No and Continue to continue the installation. As this is a net-install, you will get the latest package updates straight from the source in the next few steps.
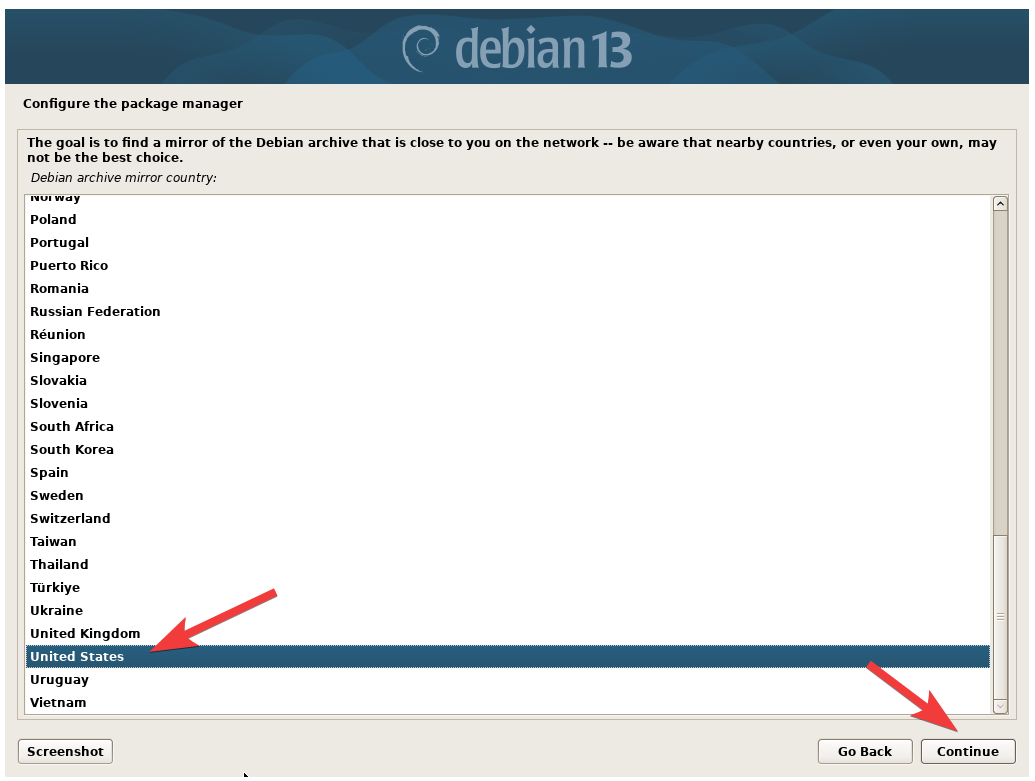
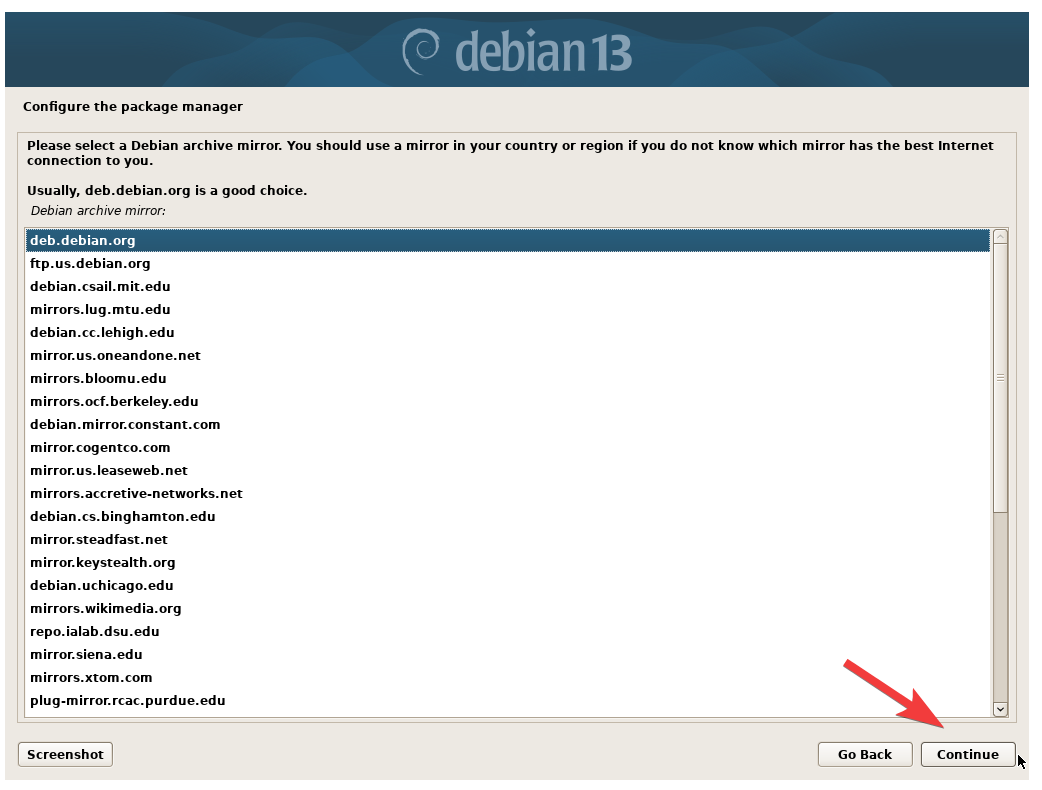
Choose a location that is closest to you, and choose a package manager mirror to use. deb.debian.org is a good choice to use.
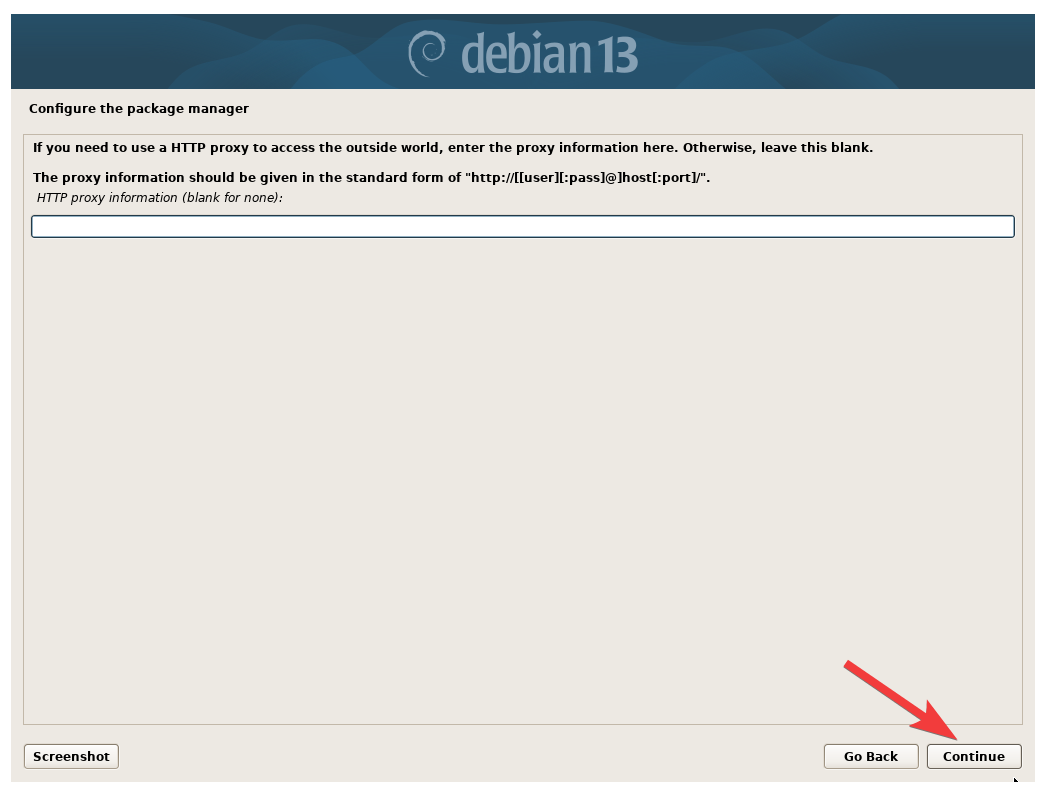
Leave the HTTP proxy blank unless you have a proxy setup.
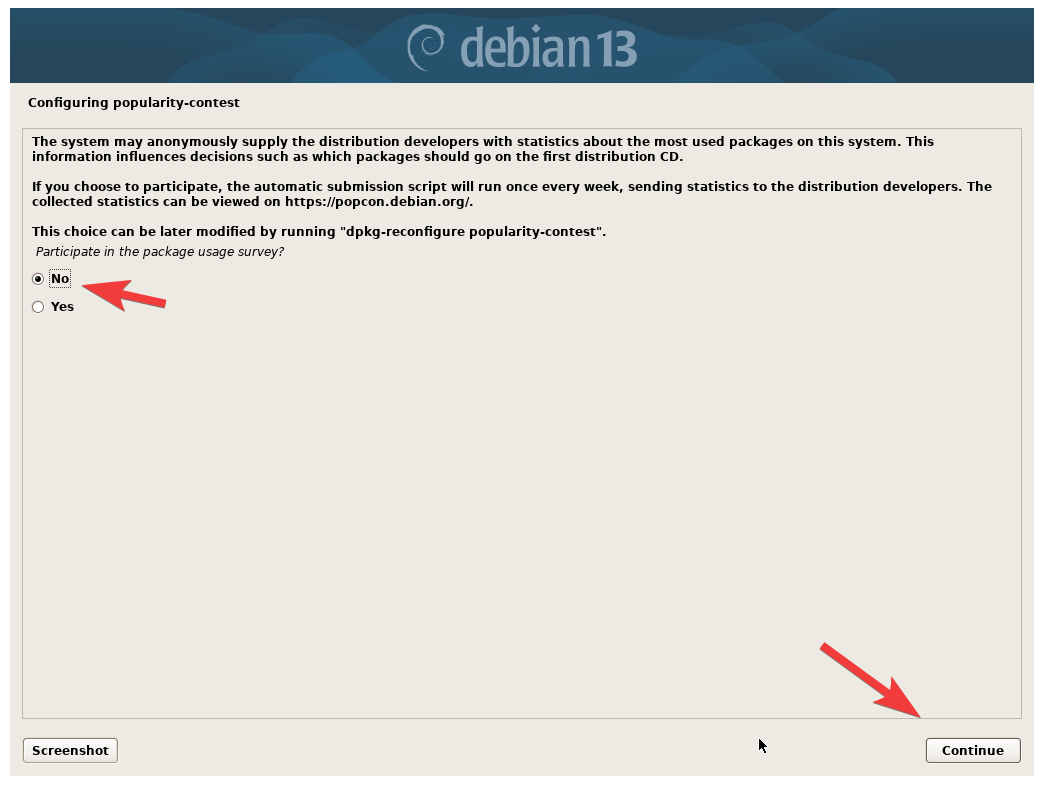
You can choose if you want to anonymously send statistical data to the developers.
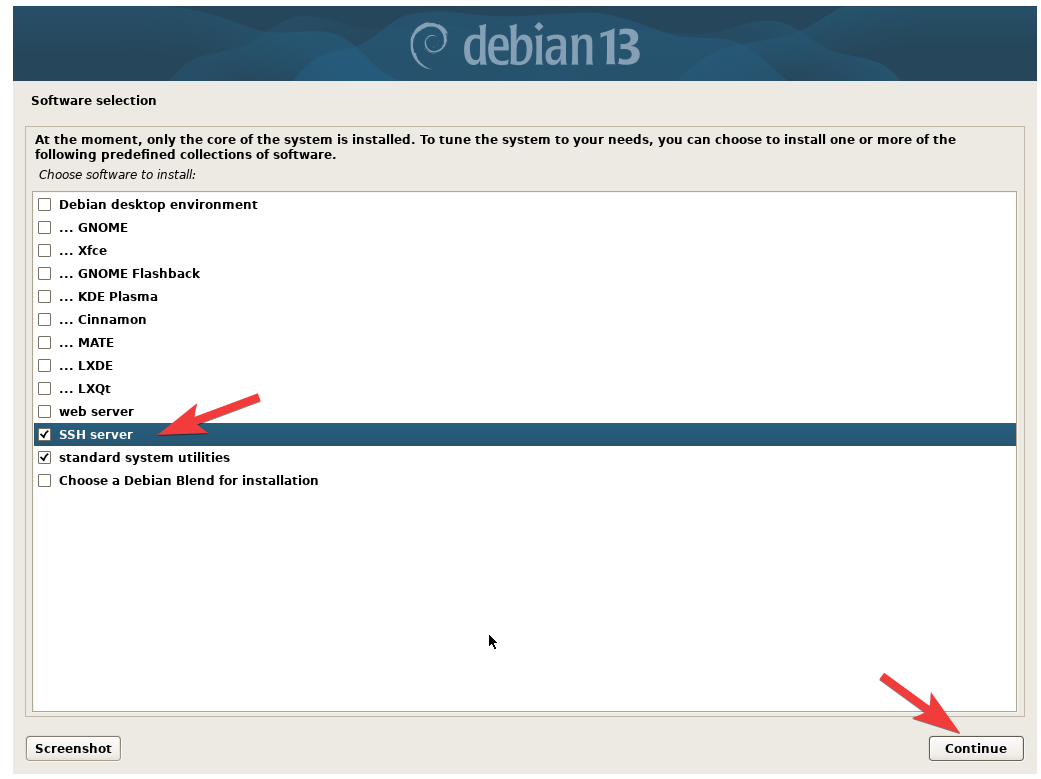
For a headless (no graphical user interface) install, check only the SSH Server and standard systems utilities.
If you need a GUI (graphical user interface), you can also check the Debian desktop environment, and one of the desktop environment option.
Xfce is a very lightweight, and designed to use as little system resource as possible. It’s a great desktop environment option for low spec systems. KDE Plasma has been my new go-to option with its more modern and sleek design.
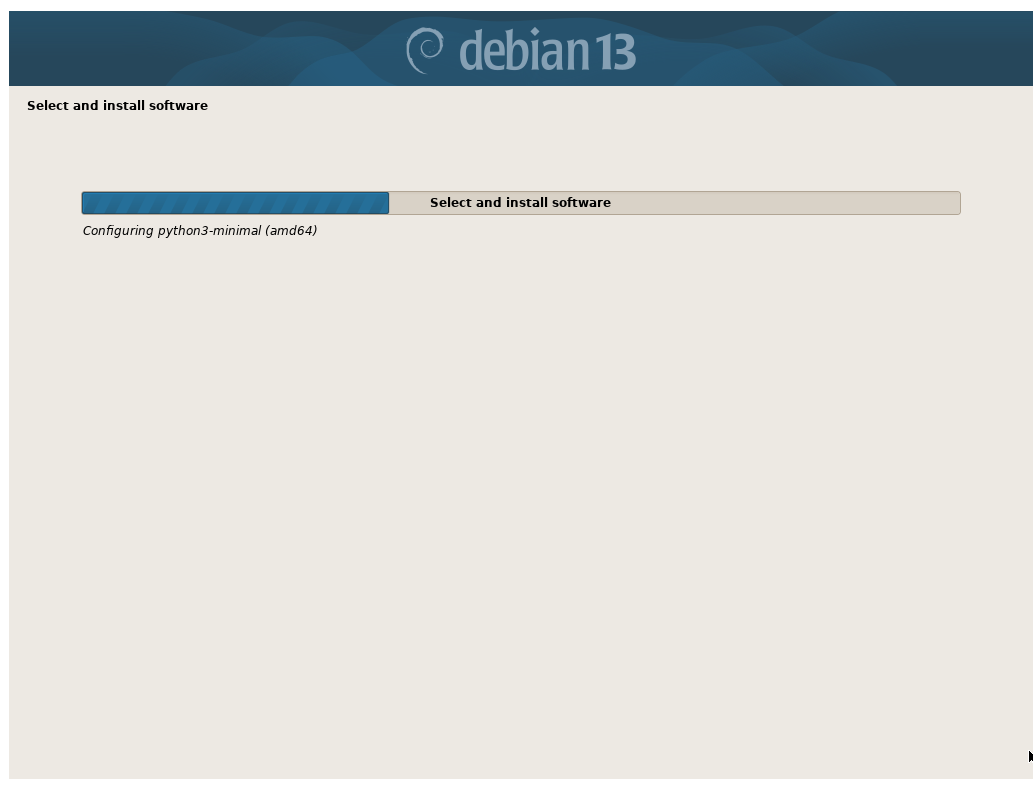
Once you click continue, the system will finish up the installation and reboot.
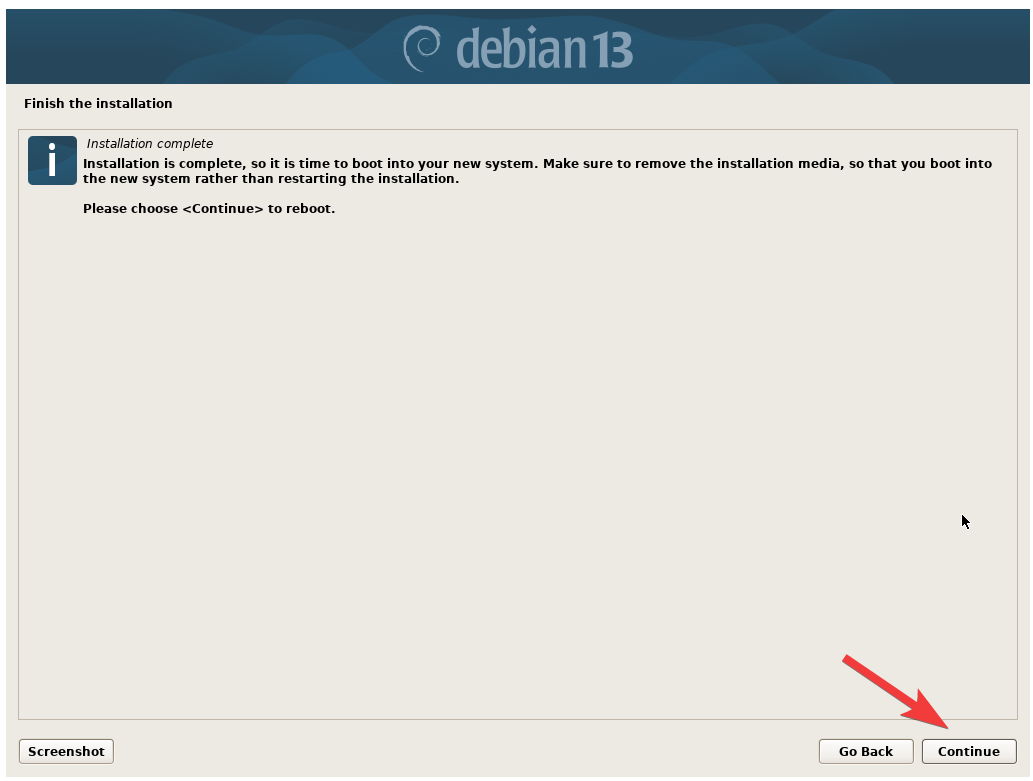
That’s it! You have successfully finished installing Debian 13 Trixie on your computer.
