
How to install Debian 12 Bookworm
Debian is known for its stability, robustness, and adherence to free software principles. Each Debian release aims to improve upon the previous versions by introducing new features, bug fixes, and updated software packages.
In this guide, I will walk you through how to install Debian 12 Bookworm, the latest Debian release as of 2023-06-14.
Step 1: Download and Prepare Installation Media
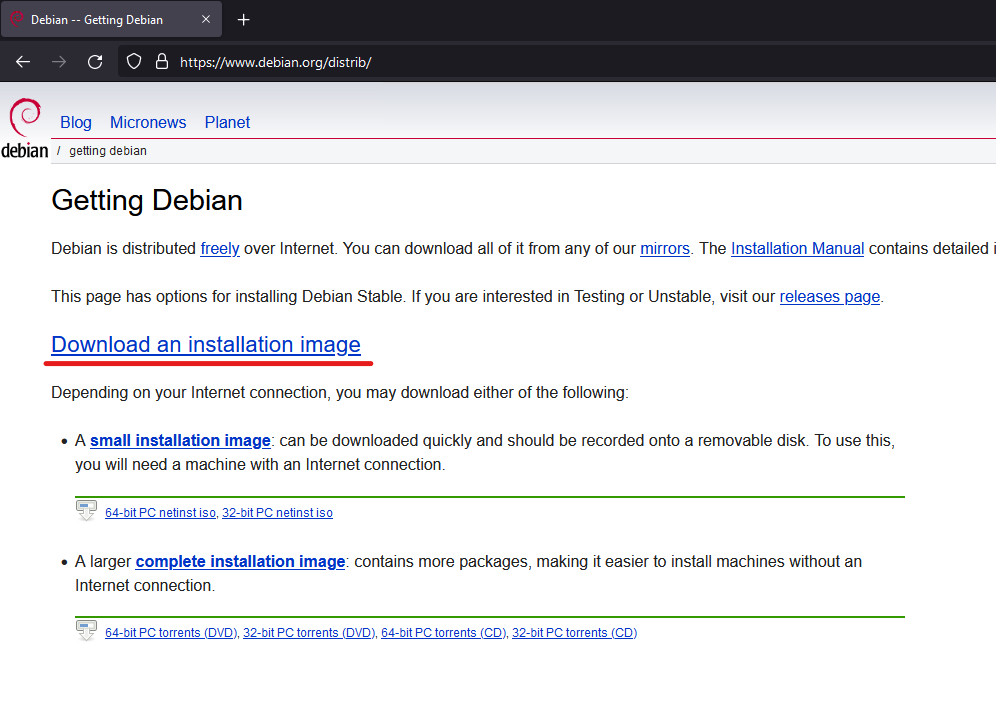
You can download the installation ISO from the official website at https://www.debian.org/distrib/.
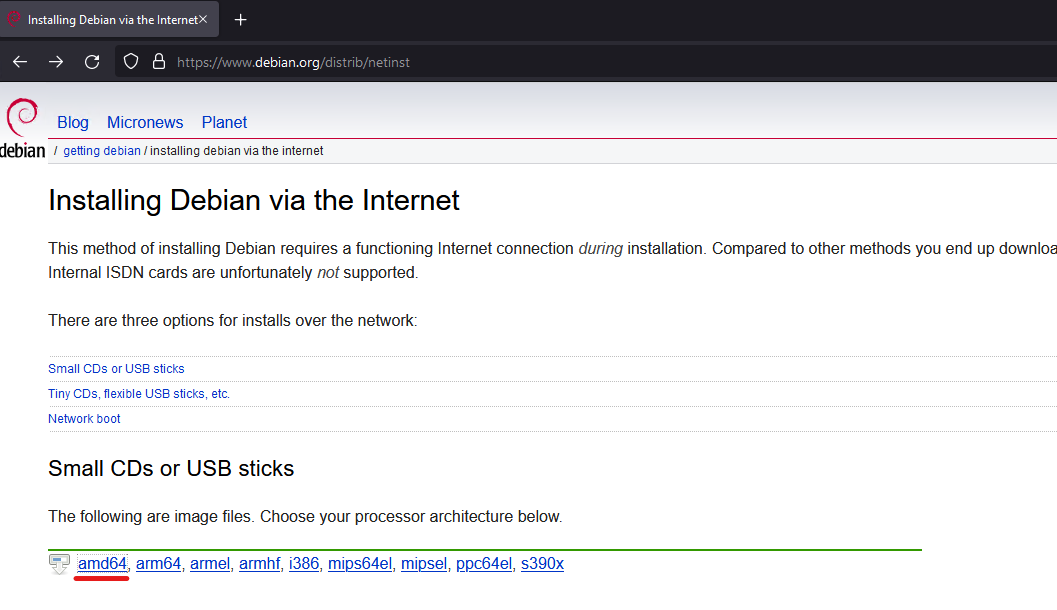
Choose the appropriate image according to your CPU’s architecture. This installation image will require an internet connection in order to work as it is a net-install image.
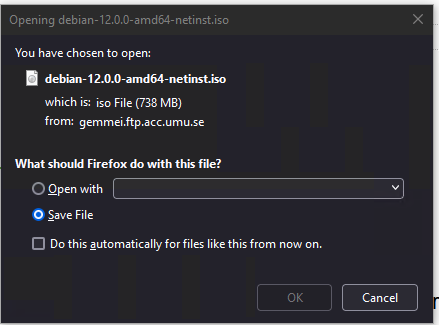
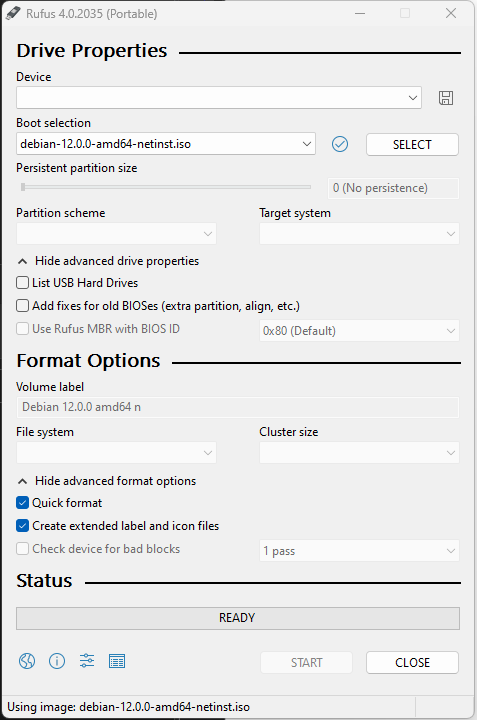
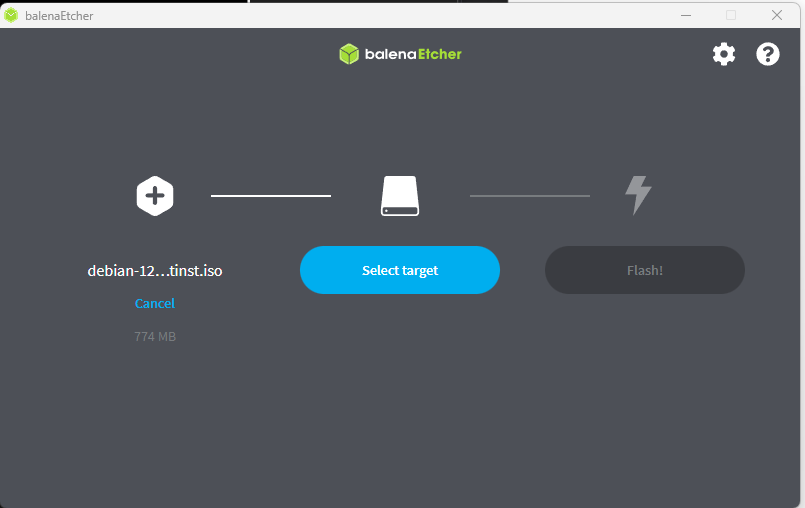
Once the file is downloaded, you can burn it to a USB Flash drive using Rufus (https://rufus.ie/en_US/) or Etcher (https://www.balena.io/etcher/).
Step 2: Start Installing
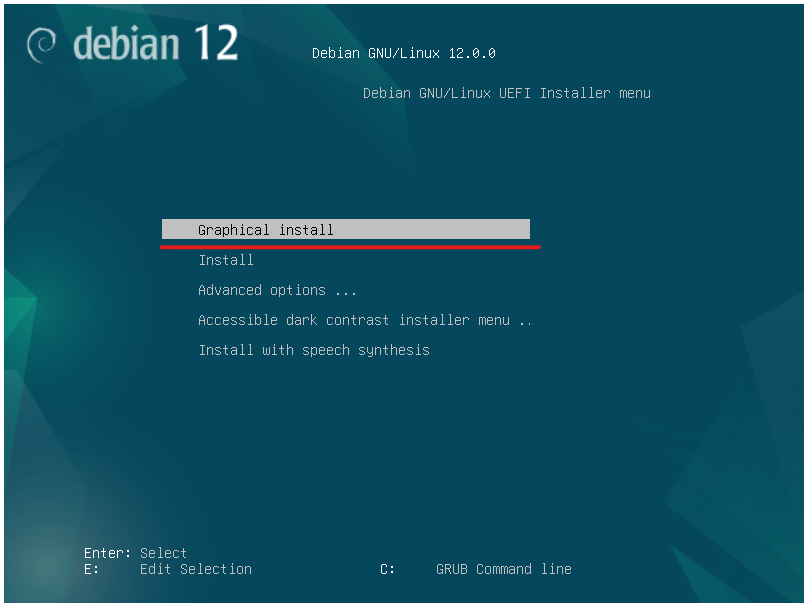
Plug the USB Installer into the computer, and boot into the ISO.
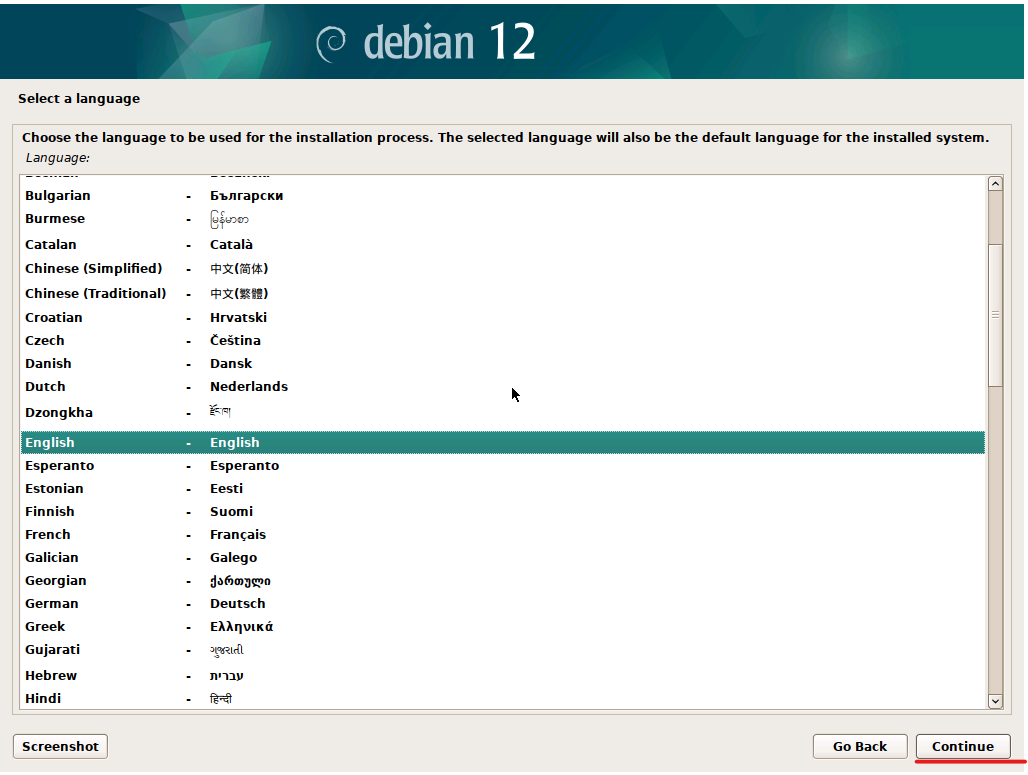
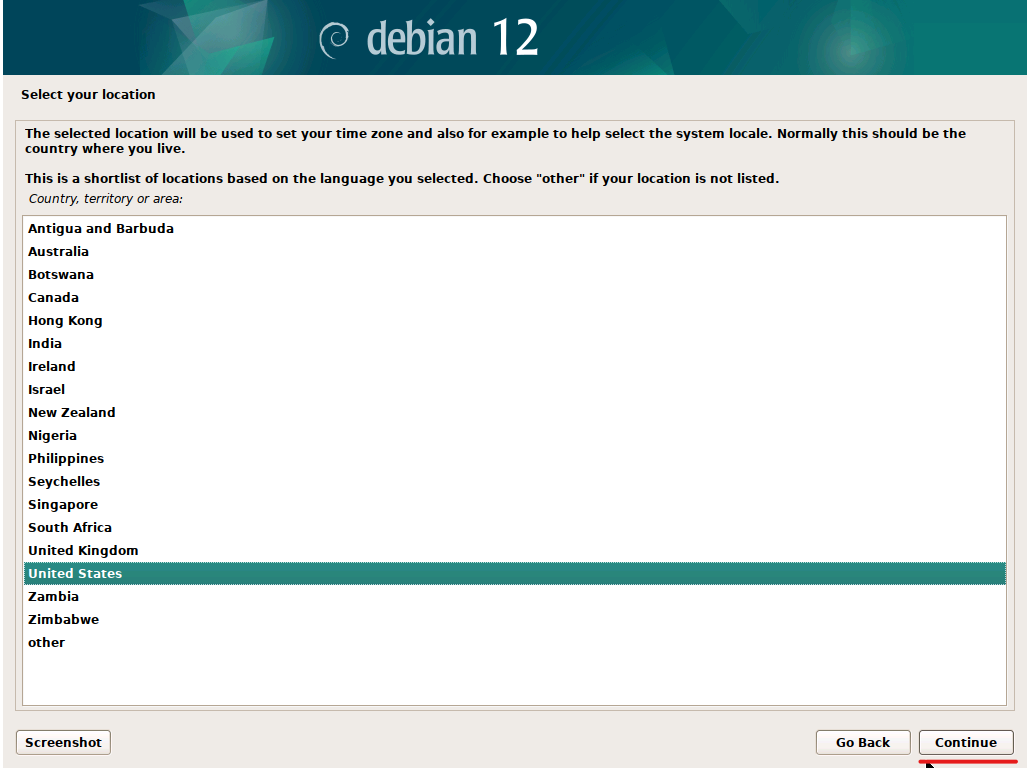
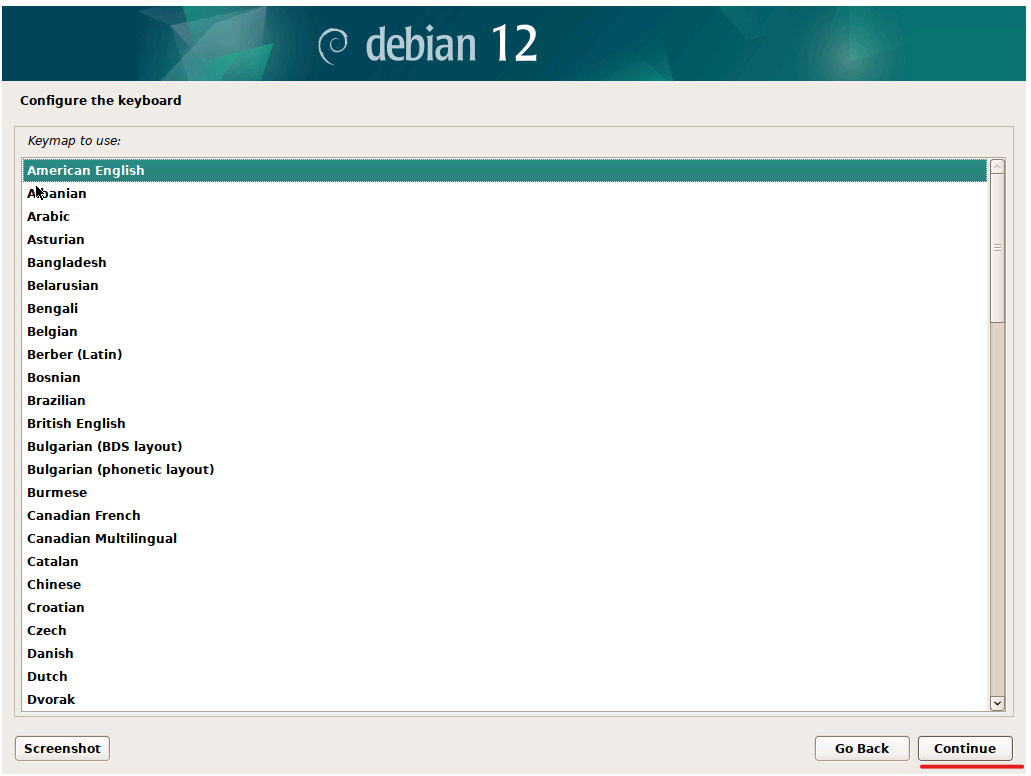
Choose your preferred Language, Location, and Keyboard layout, and click Continue.
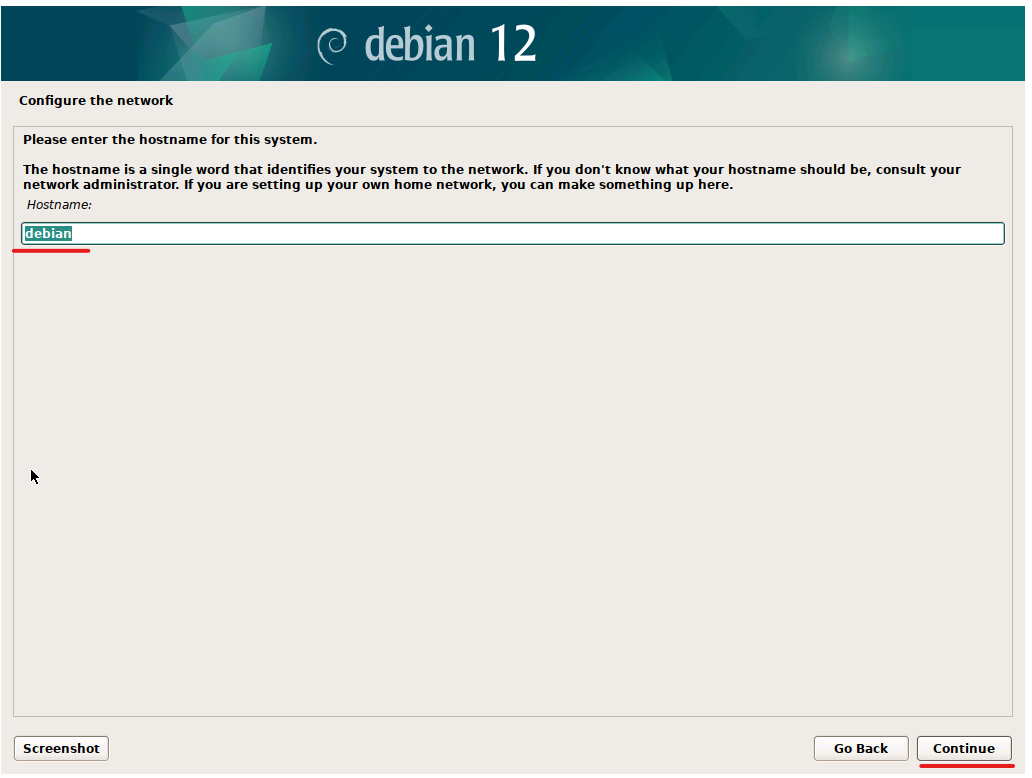
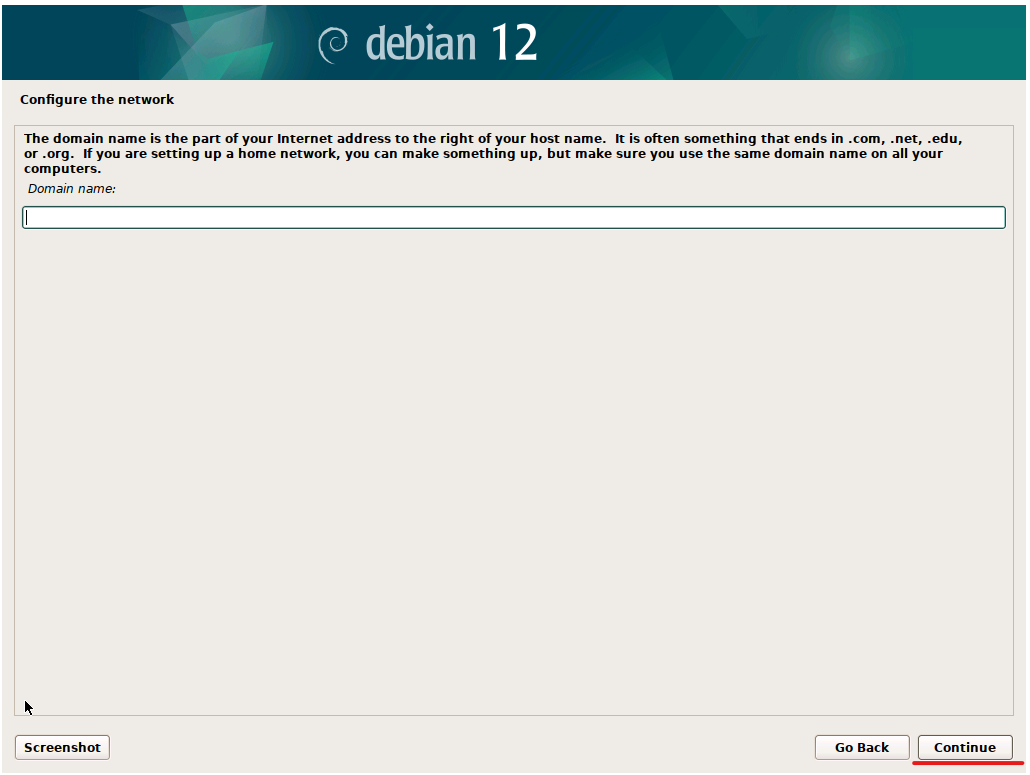
Give your machine a Hostname, and the network Domain name if you have a domain setup.
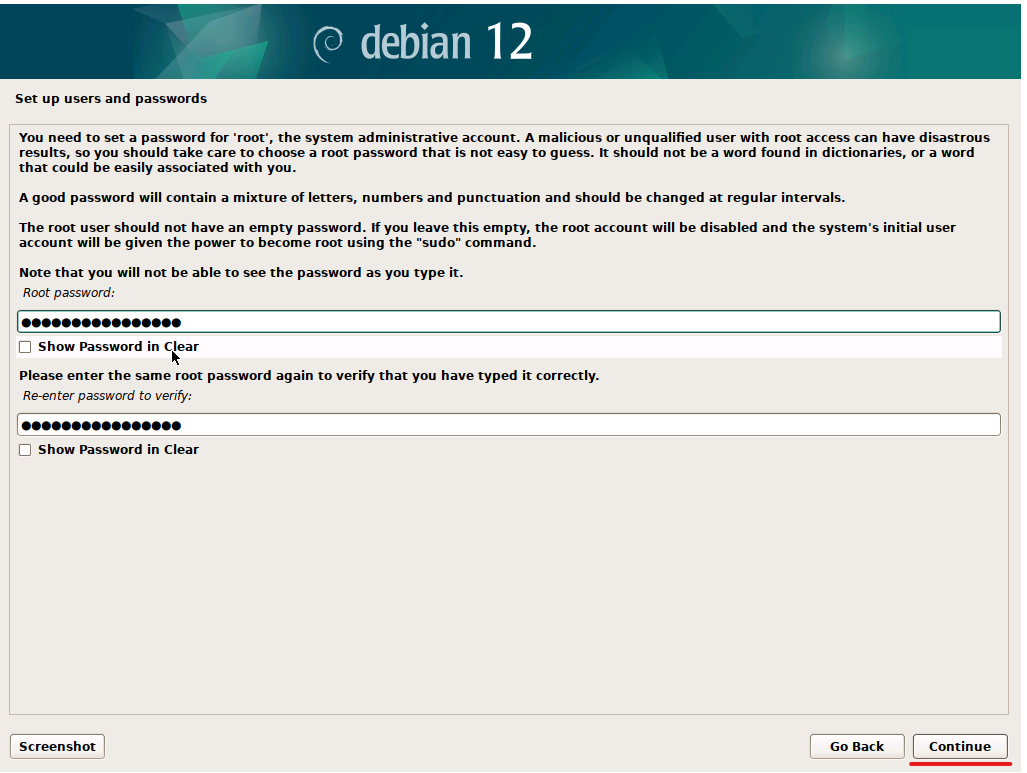
Set the root user password and continue. The root user is the user that have access to everything and anything on a Linux OS.
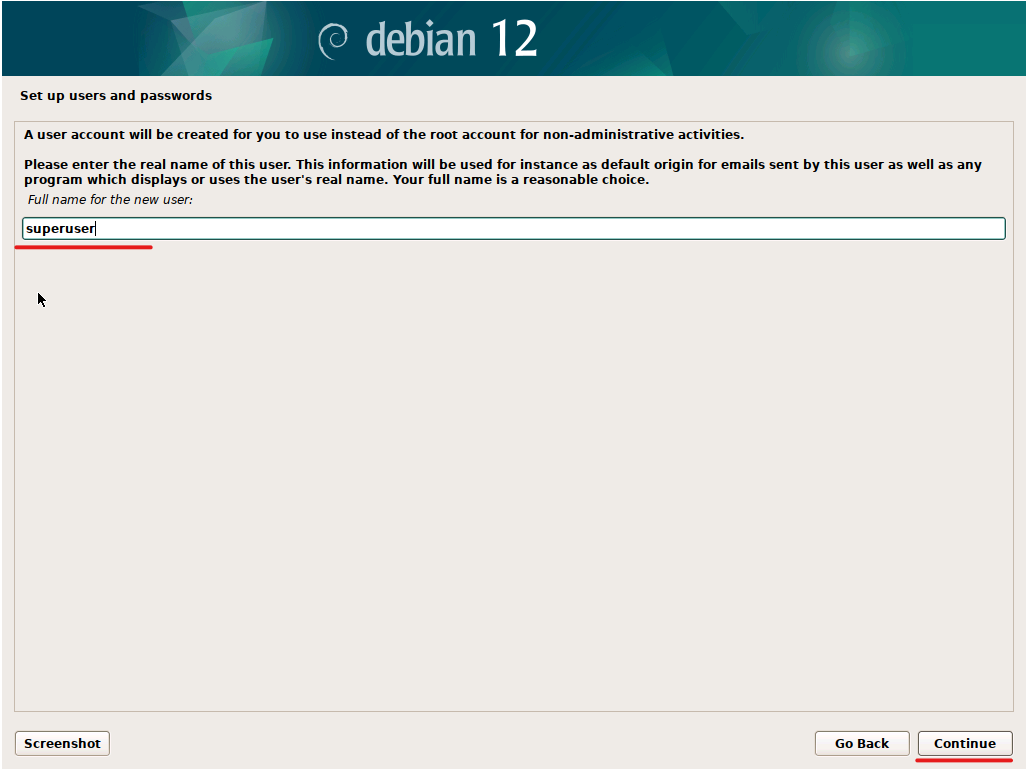
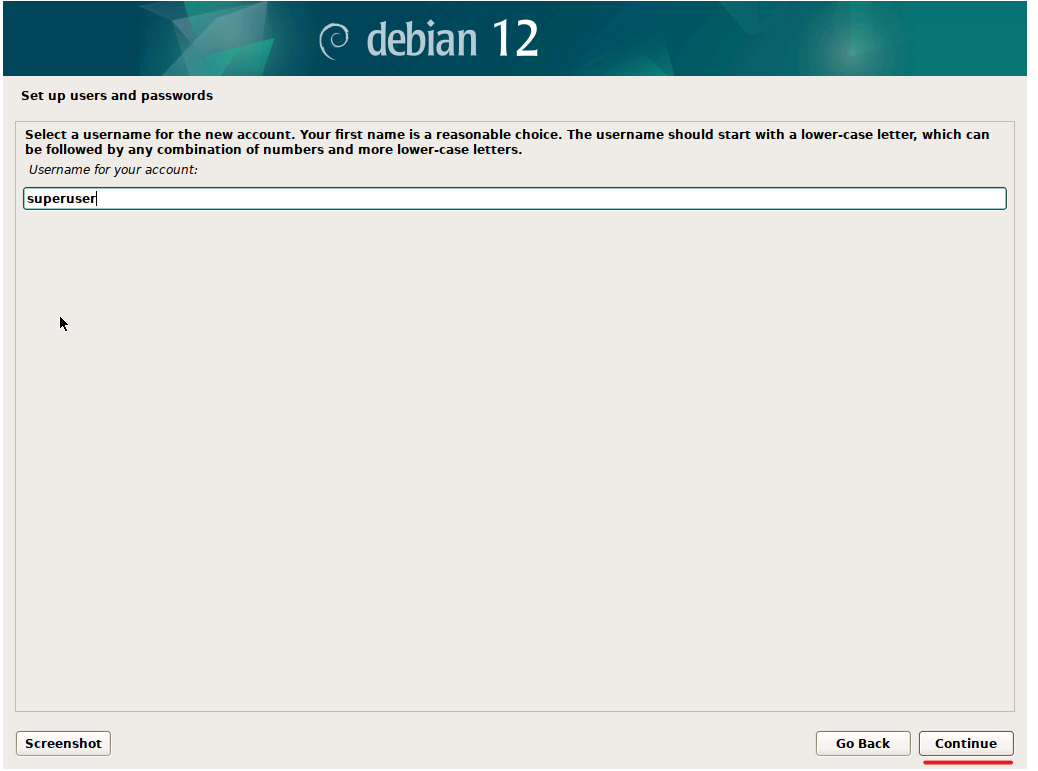
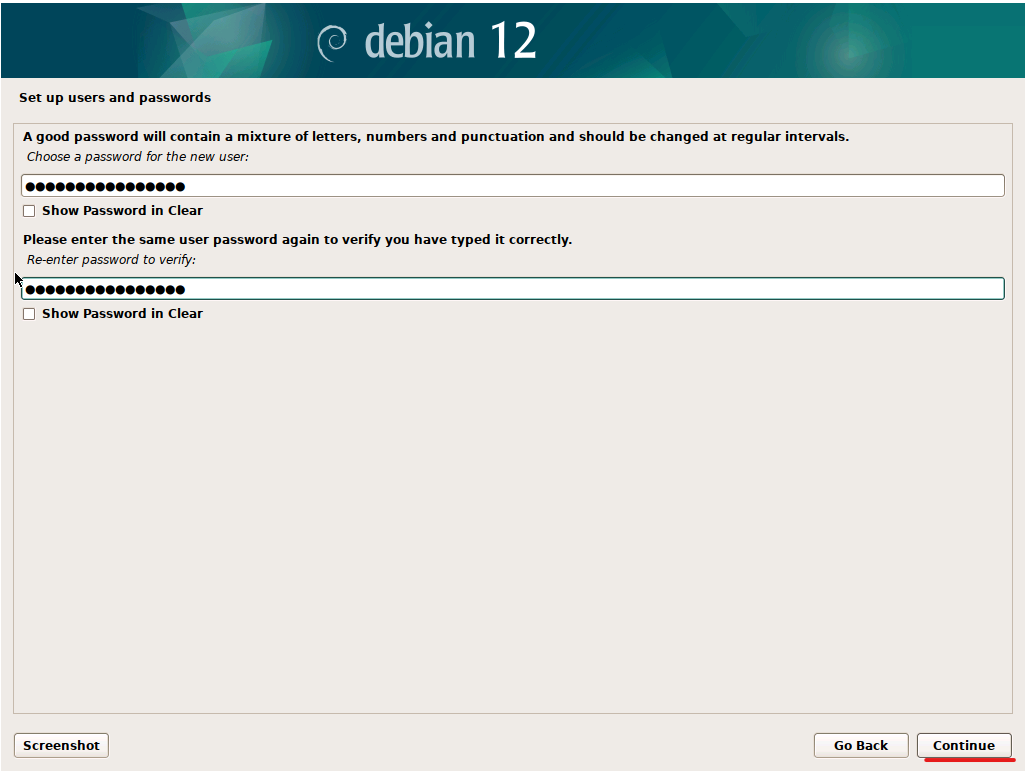
 Set a name for the standard user account. The standard user account can be use instead of root for regular day to day activities. Set the password for the standard user and continue.
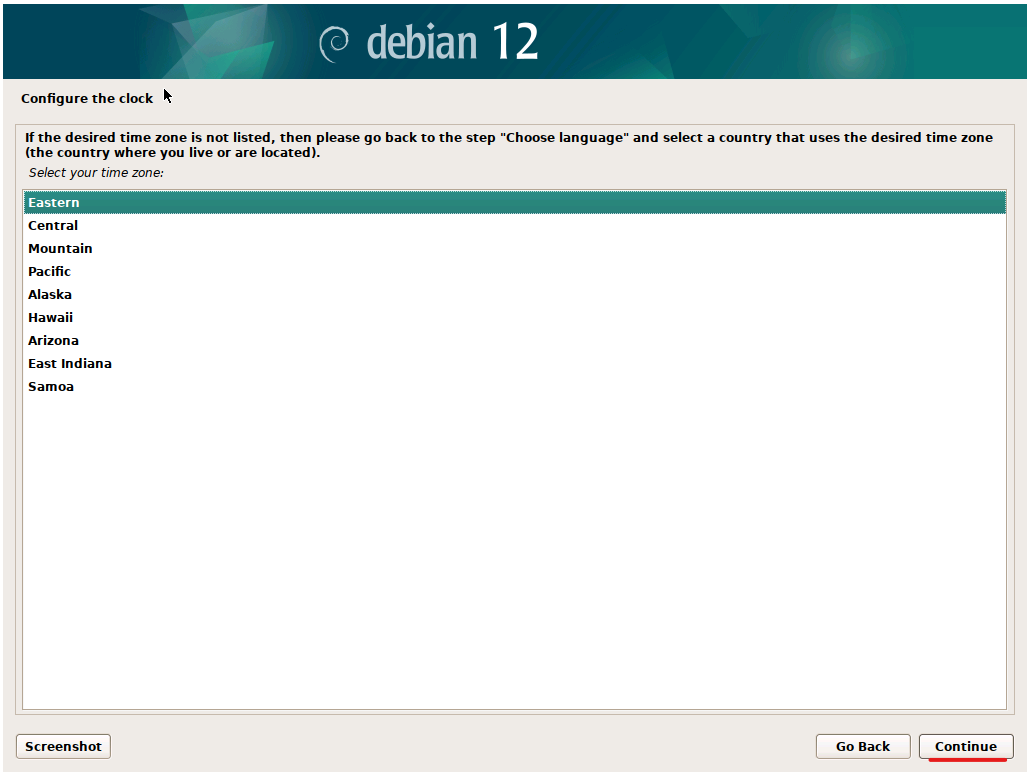
 Set the Time Zone.
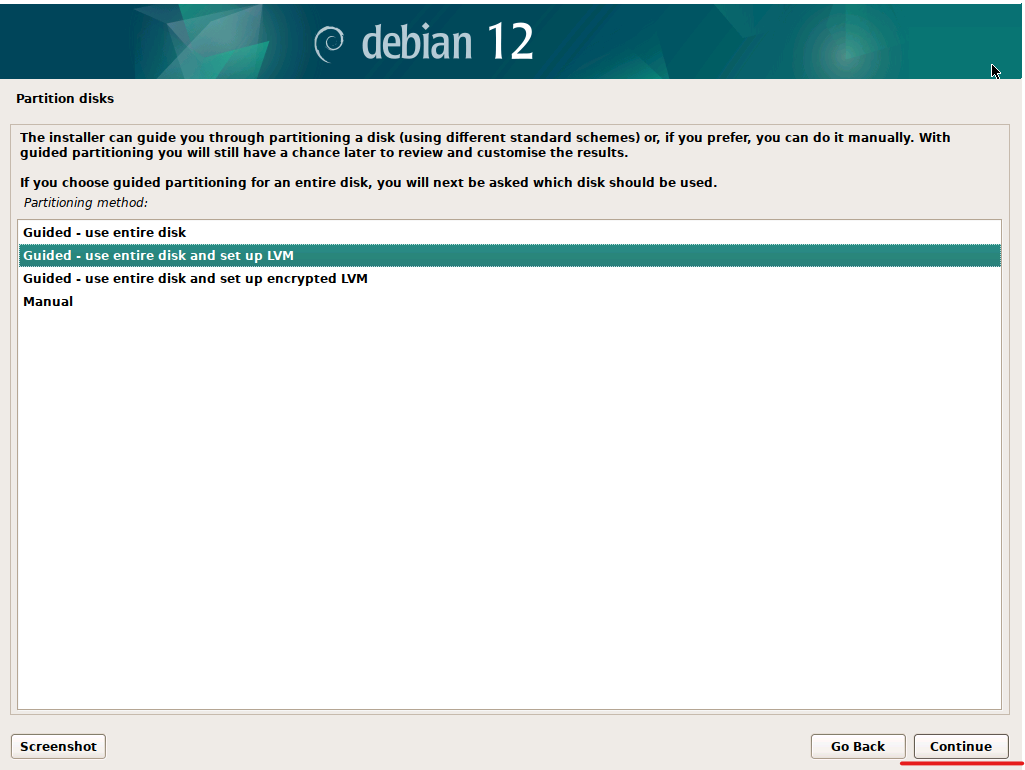
Select Guided – use entire disk and set up LVM to install Debian 12 on the entire drive. LVM is a logical volume manager, that allows for easily growing partition later on. Even if you do not think you will use LVM in the future, it does not hurt to have LVM selected from the beginning, in case you do end up using it.
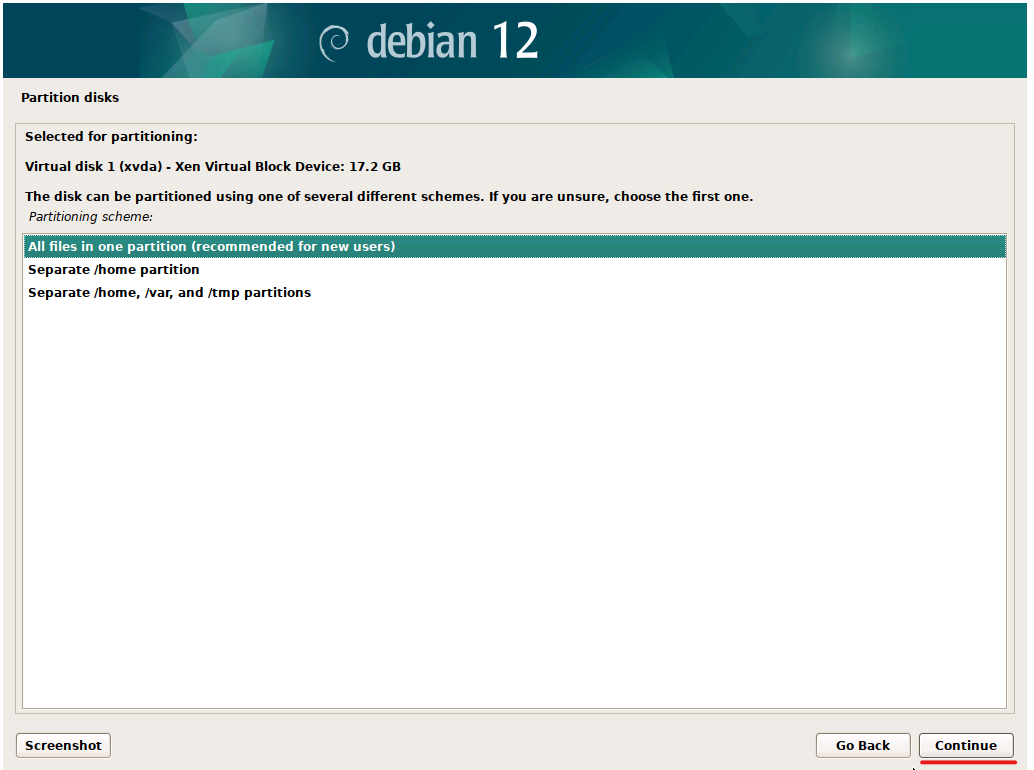
Choose All files in one partition. This method is the most beginner friendly as it allows for easy file navigation.
Select Yes to configure the LVM and Continue.

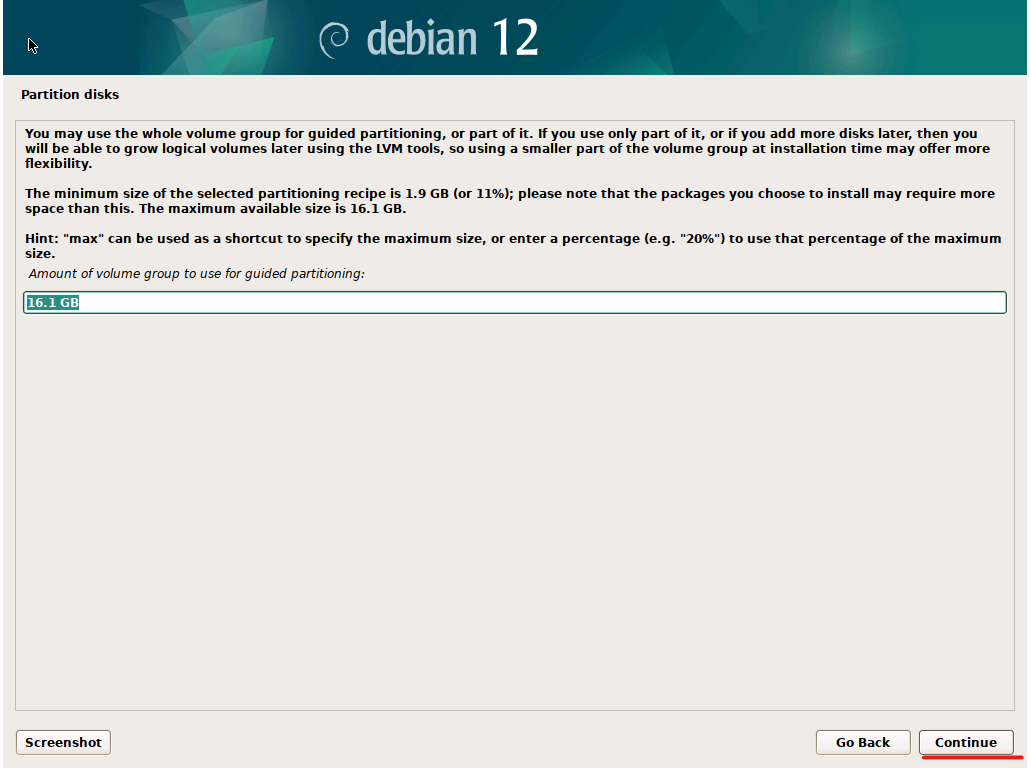
By default, the max amount of drive space is selected to be use for the LVM partition. Click continue.
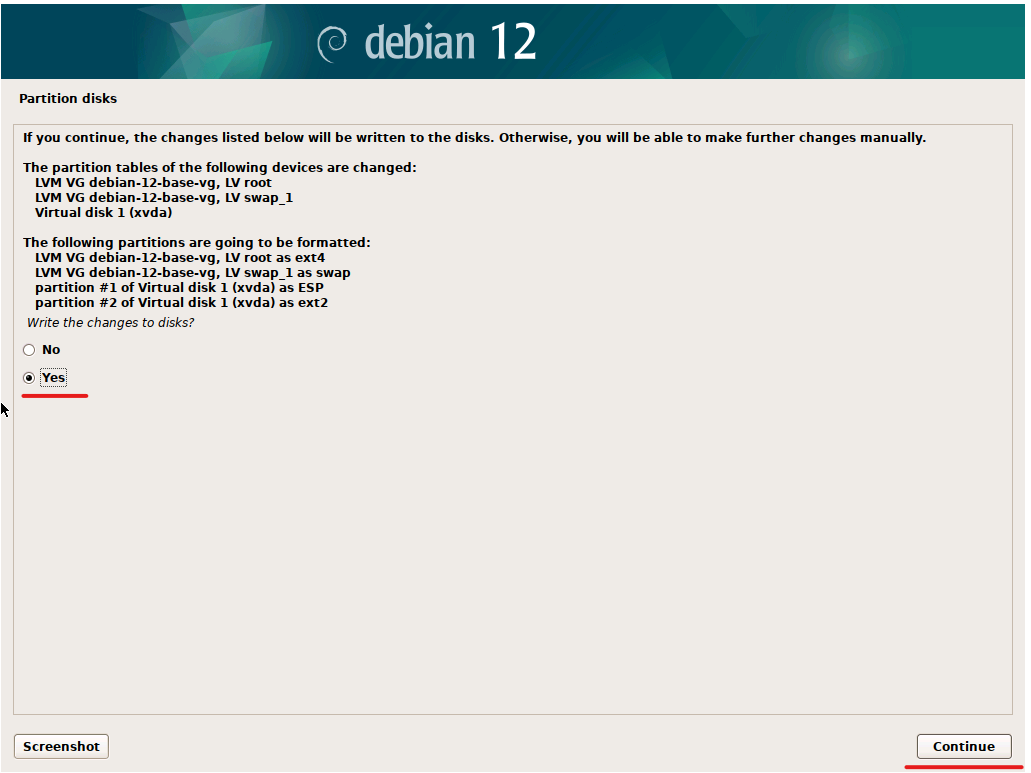
Choose Yes and Continue to confirm writing to the disk.
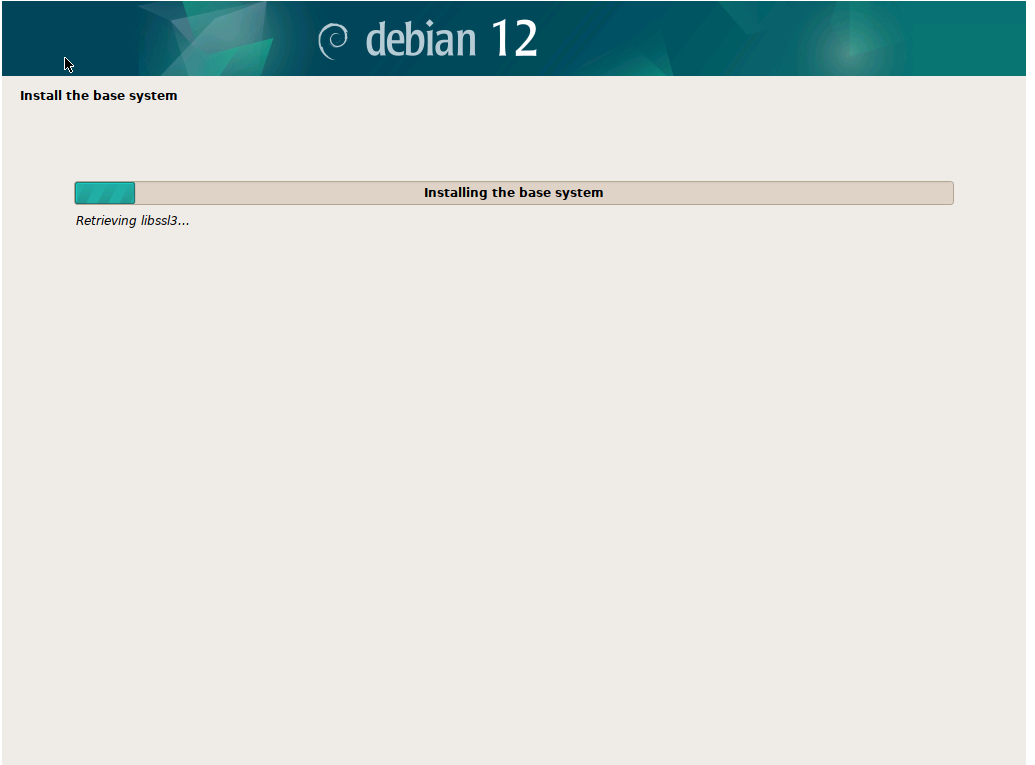
Installation will begin for a bit.
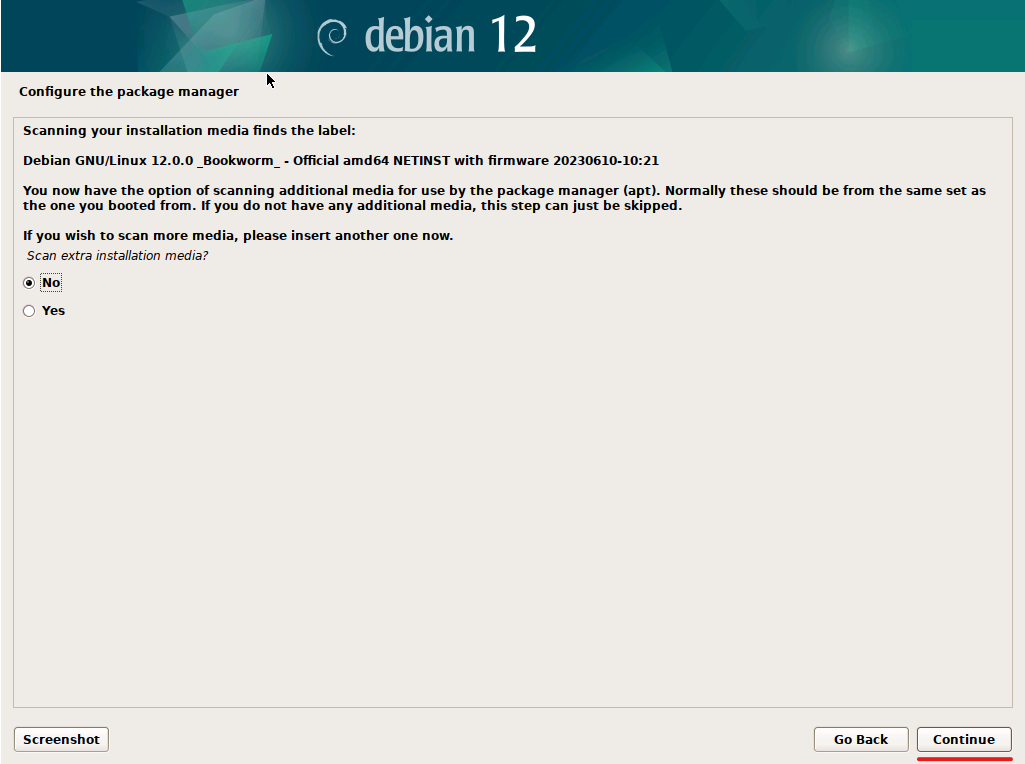
For scanning more media, select No and Continue to continue the installation. As this is a net-install, you will get the latest package updates straight from the source in the next few steps.
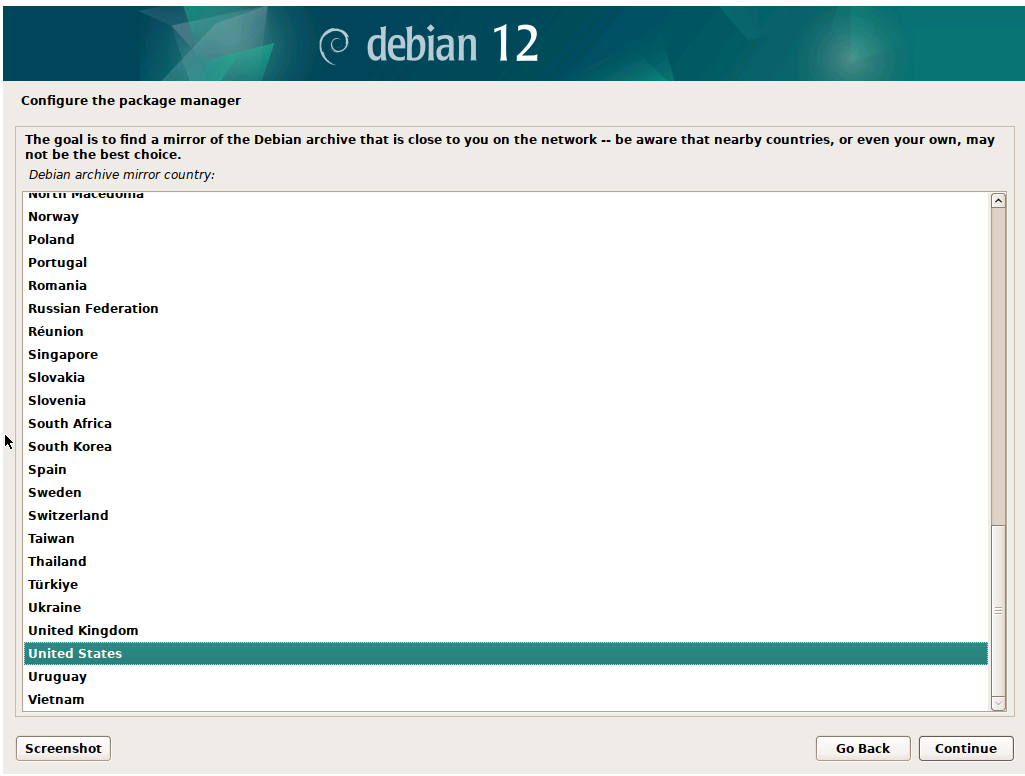
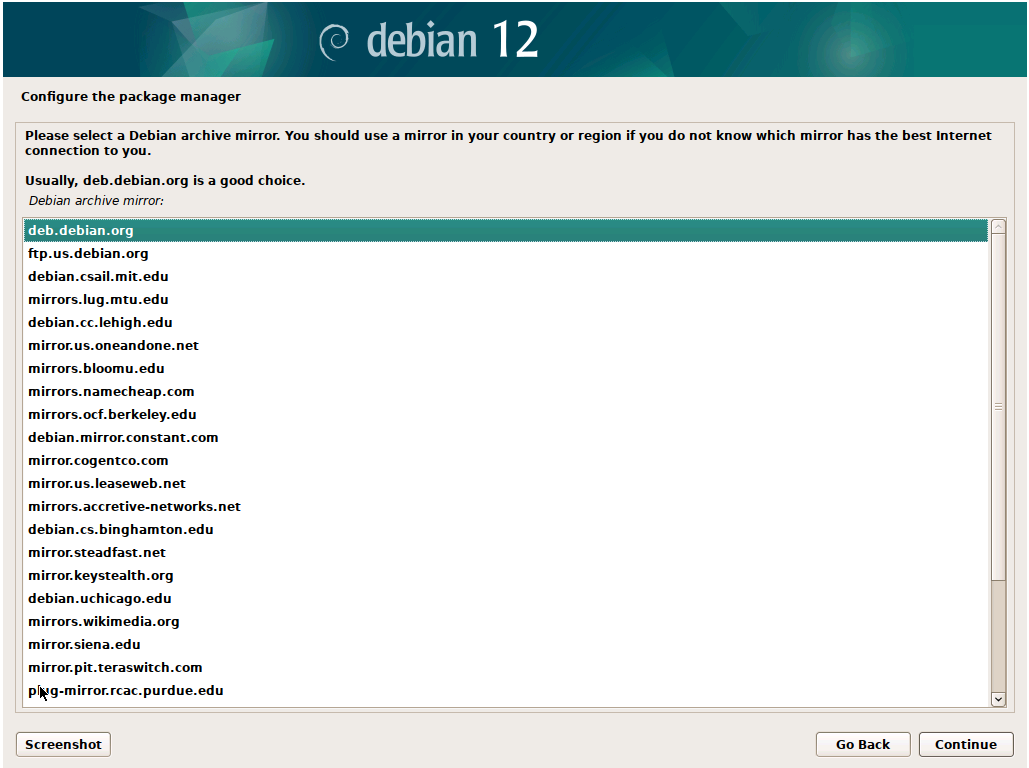
Choose a location that is closest to you, and choose a package manager mirror to use. deb.debian.org is a good choice to use.
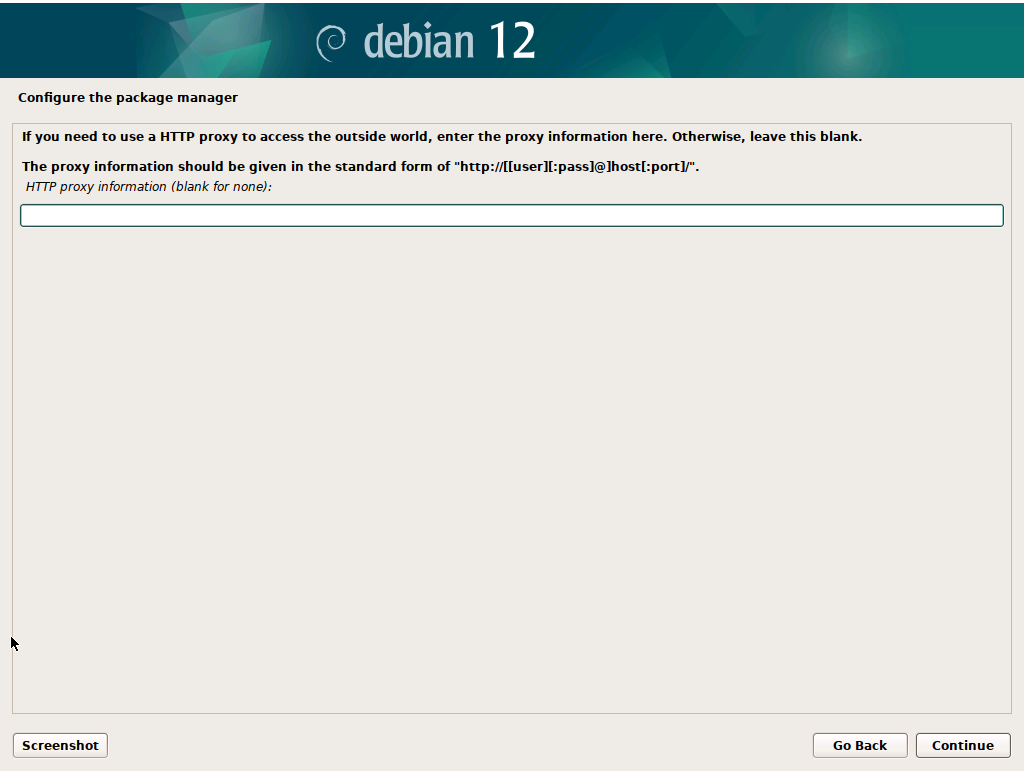
Leave the HTTP proxy blank unless you have a proxy setup.
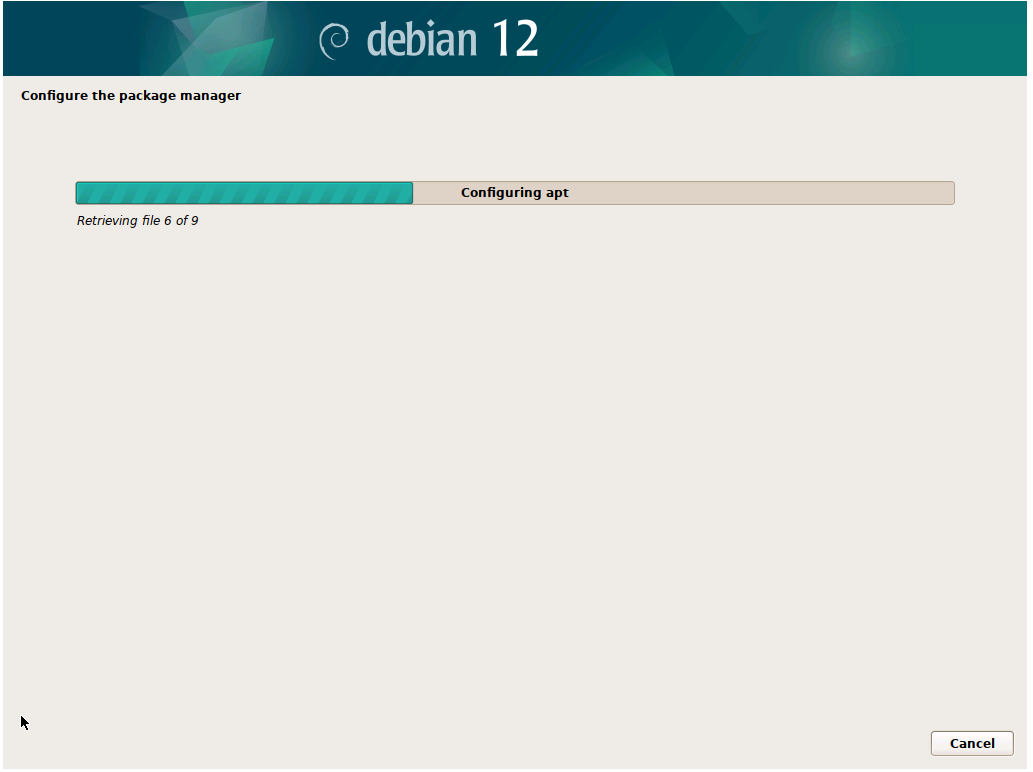
Installation will continue.
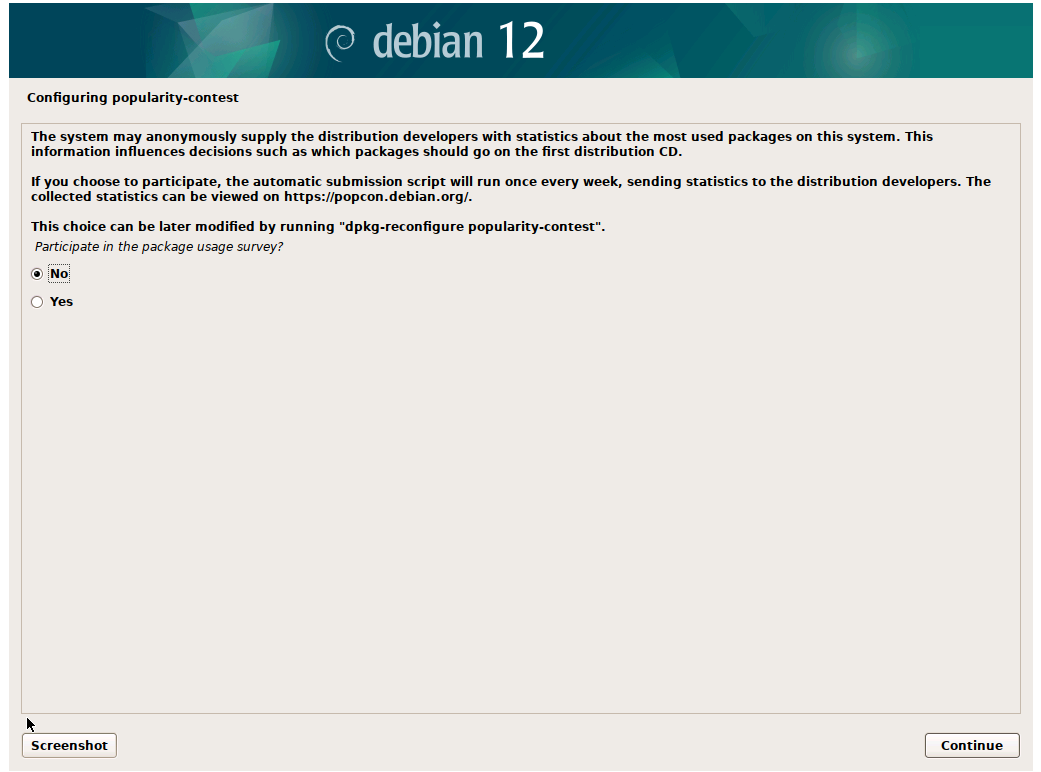
You can choose if you want to anonymously send statistical data to the developers. On Linux, you have the freedom to choose, and the freedom to do anything and everything you want to the OS.
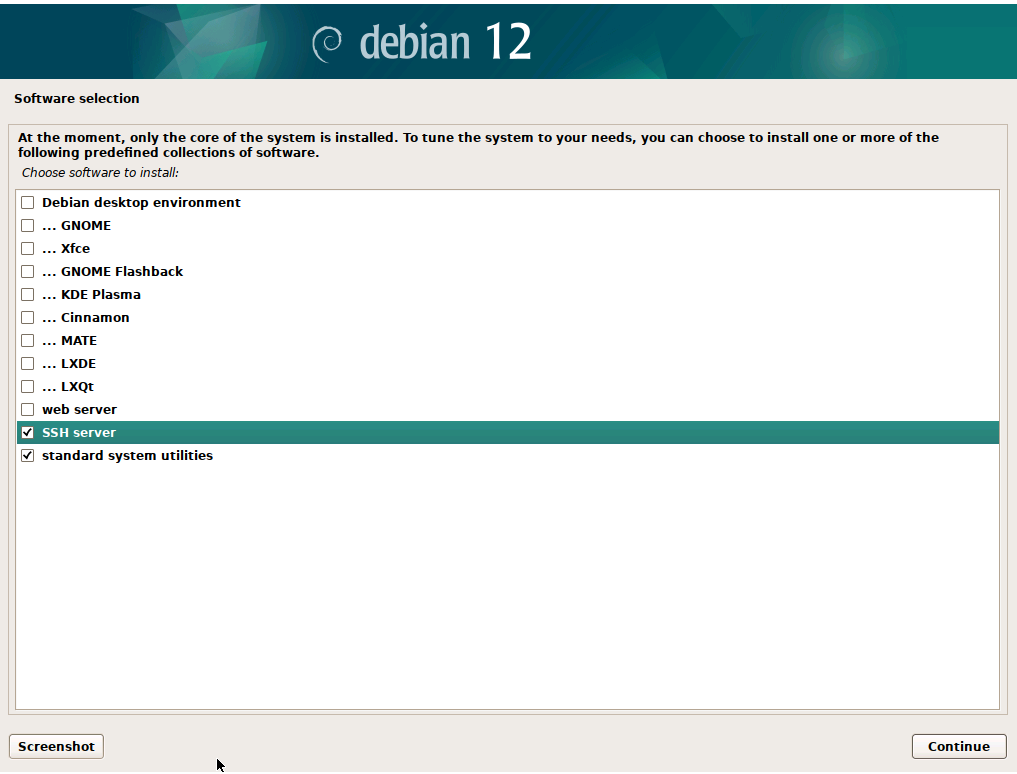
For a headless (no graphical user interface) install, check only the SSH Server and standard systems utilities.
If you need a GUI (graphical user interface), you can also check the Debian desktop environment, and one of the desktop environment option. Xfce is one of my go-to desktop environment as it is very lightweight, and designed to use as little system resource as possible. It’s a great desktop environment option for low spec systems.
Once you click continue, the system will finish up the installation and reboot.
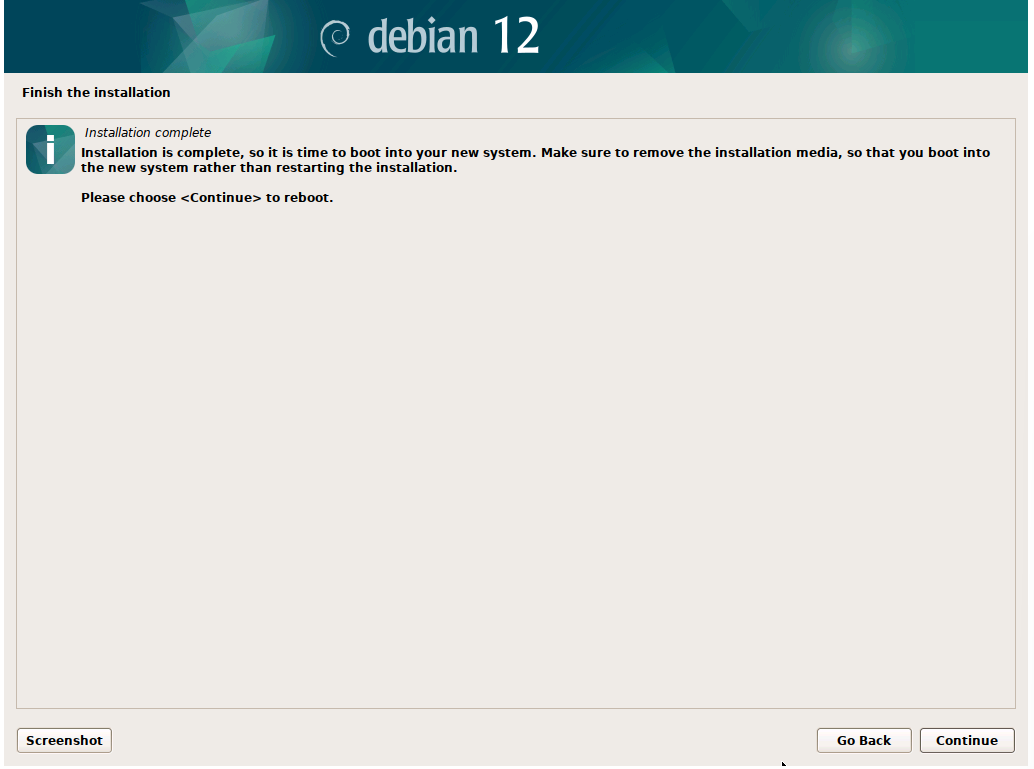
That’s it! You have successfully finished installing Debian 12 Bookworm on your computer.
One of the major package that it does not come with in the headless install is sudo, a package that allows a standard user to temporary run commands as with root privileges. Before you login as your standard user, make sure to install sudo so that you do not run into issues later on.
Install Sudo
Sudo is a package that allows you to temporary allow the standard user to run a command with root permission. This can reduce the chance of accidental bad command execution, and increase security of the system. Generally, you do not want to login as the root user since the root user have access to everything on the system, and can do anything.
Login to the system as root. Run the following command to update the system first:
apt update && apt upgrade -ySudo can then be installed via the follow command:
apt install sudo -y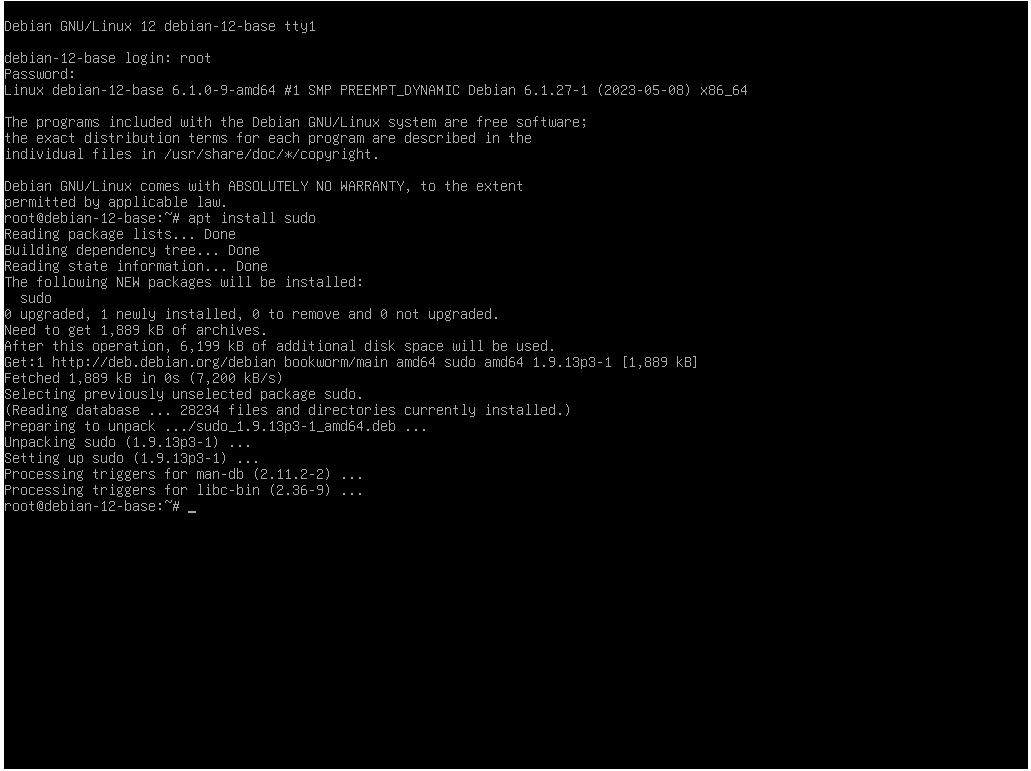
Once sudo is installed, you will need to add your standard user to the sudo group in order for your standard user to use the sudo command.
You can add your standard user to sudo via the following command:
usermod -aG sudo your_standard_user_name