Intsalling Pi-Hole on Raspberry Pi
In this guide, I will guide you through how to set up Pi-Hole for your network. Because Pi-Hole is very resource efficient, it can run on any version of Raspberry Pi. You can even run it over Wi-Fi on a Raspberry Pi Zero!
Prerequisites
A working Raspberry Pi with Raspberry Pi OS on it.
Install Pi-Hole
The developers at Pi-Hole project have a simple one line install script for installing Pi-Hole. Enter the following command to start the installation process:
sudo curl -sSL https://install.pi-hole.net | bash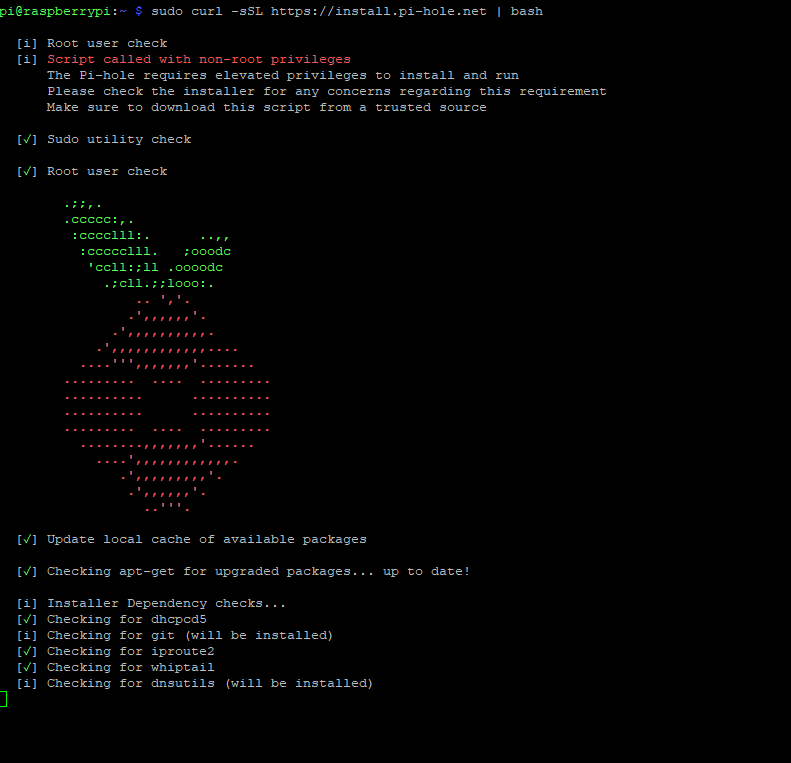
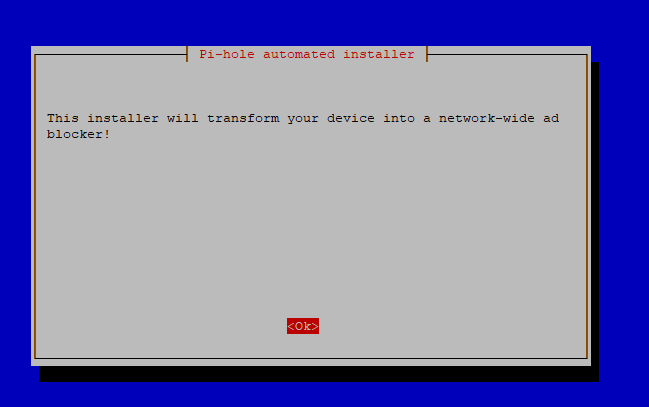
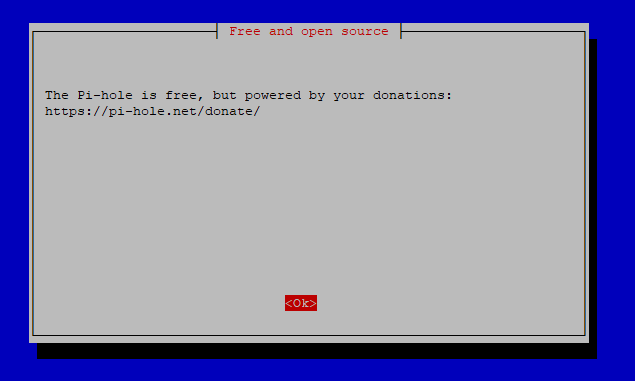
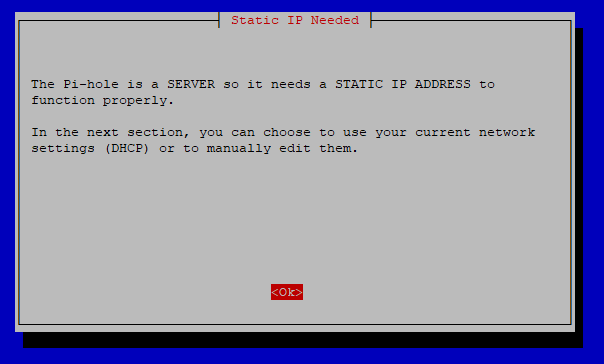
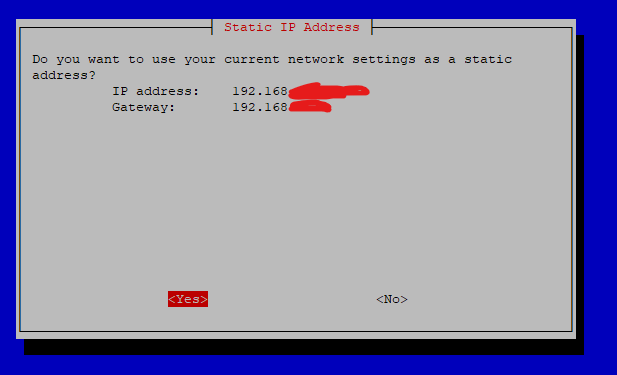
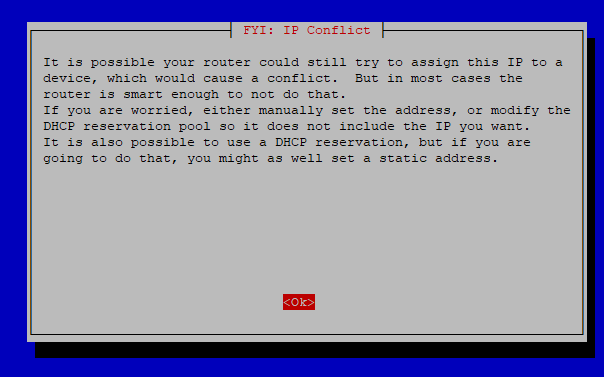
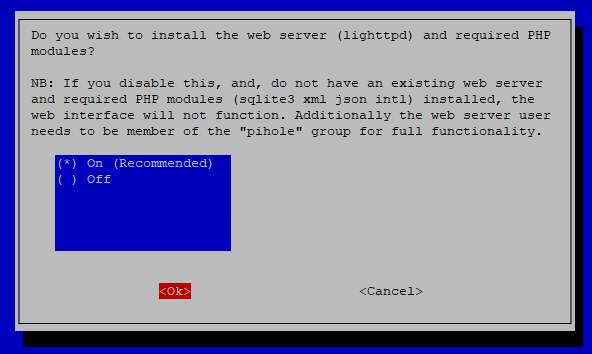
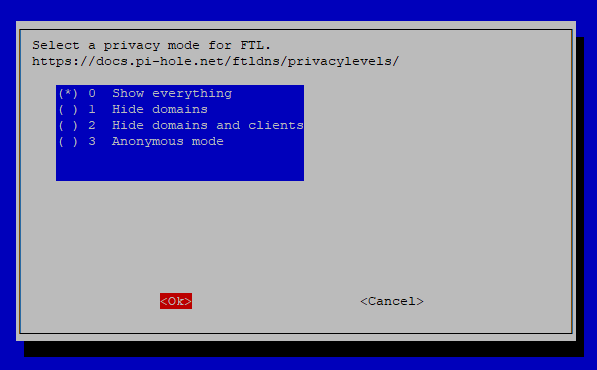
Follow through the steps to continue with the installation.
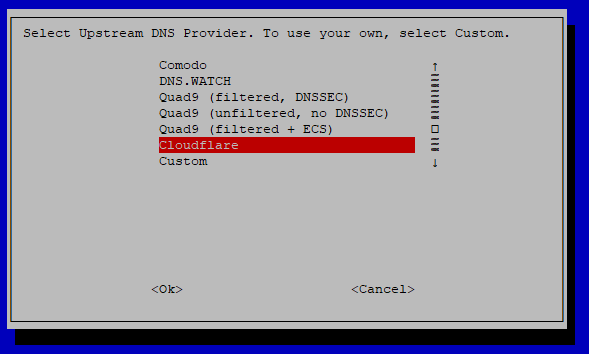
For the upstream DNS provider, you can set this to any DNS provider you want. I personally use Cloudflare DNS 1.1.1.1 and 1.0.0.1 as Cloudflare DNS are known to be more privacy focus than the other DNS providers.
Pi-Hole comes with one default block list now days, so keep it and continue on.

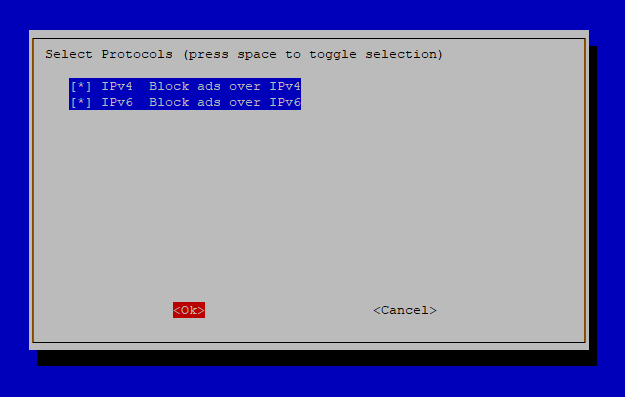
I usually keep both IPv4 and IPv6 on. You can deselect the IPv6 option if you do not run an IPv6 network.


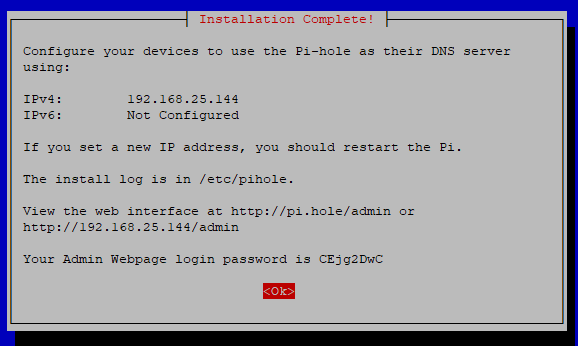
That's it! Pi-Hole is now installed.
You can proceed to my other guides on Pi-Hole to start configuring and using Pi-Hole for your network.