Install Pi-Hole 6 on Debian 12
As of 2025-07-16, the latest version of Pi-Hole is version 6, which brings forth significant changes to how Pi-Hole is installed.
For starters, Pi-Hole 6 no longer uses PHP in its codebase, and comes with a built-in webserver that supports HTTPS out of the box.
In this guide, I will show you how to install Pi-Hole 6 on Debian 12.
Prepare the Debian 12 System
As always, make sure your system is up to date.
sudo apt update && sudo apt upgrade -y
Install Pi-Hole 6
The Pi-Hole install script can be found at https://github.com/pi-hole/pi-hole
In my previous guide. I used the one-line automated install method to install Pi-Hole. This method pipes the command striaght from the web to bash, which is a controversial method, as it does not show what is being run on your system.
Instead, I will be using one of the alternative install method instead, which is downloading the bash script and then run it.
wget -O basic-install.sh https://install.pi-hole.net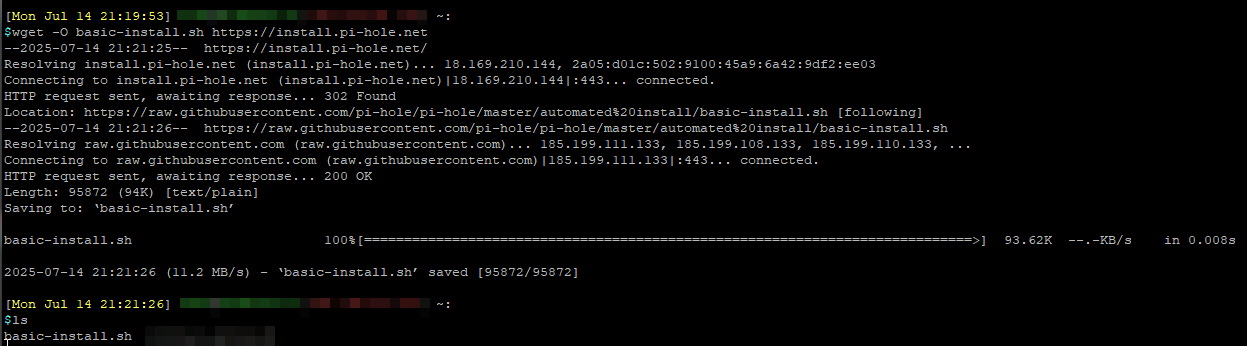
Run the install scrtipt
sudo bash basic-install.sh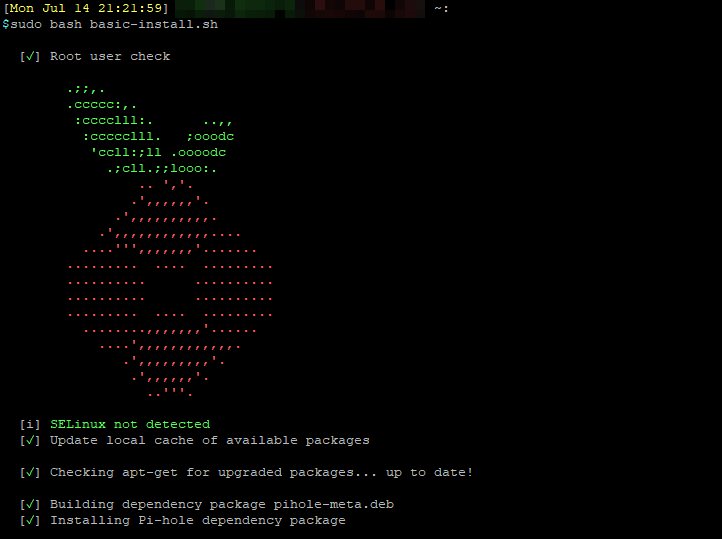
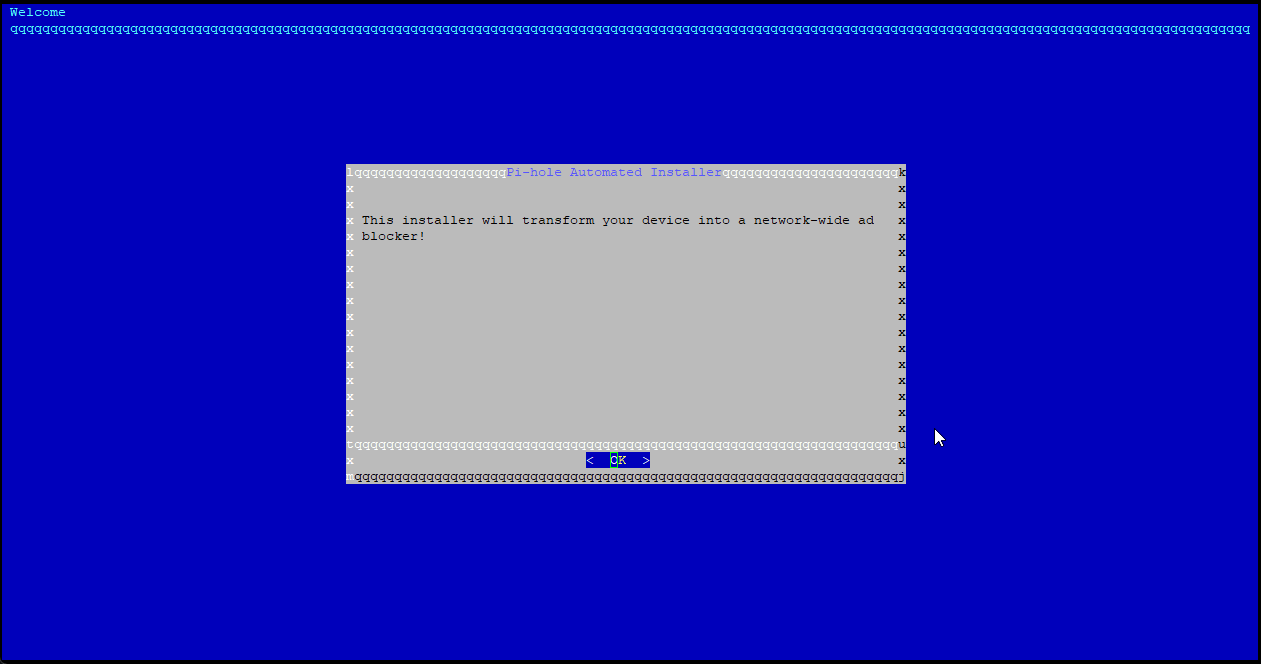
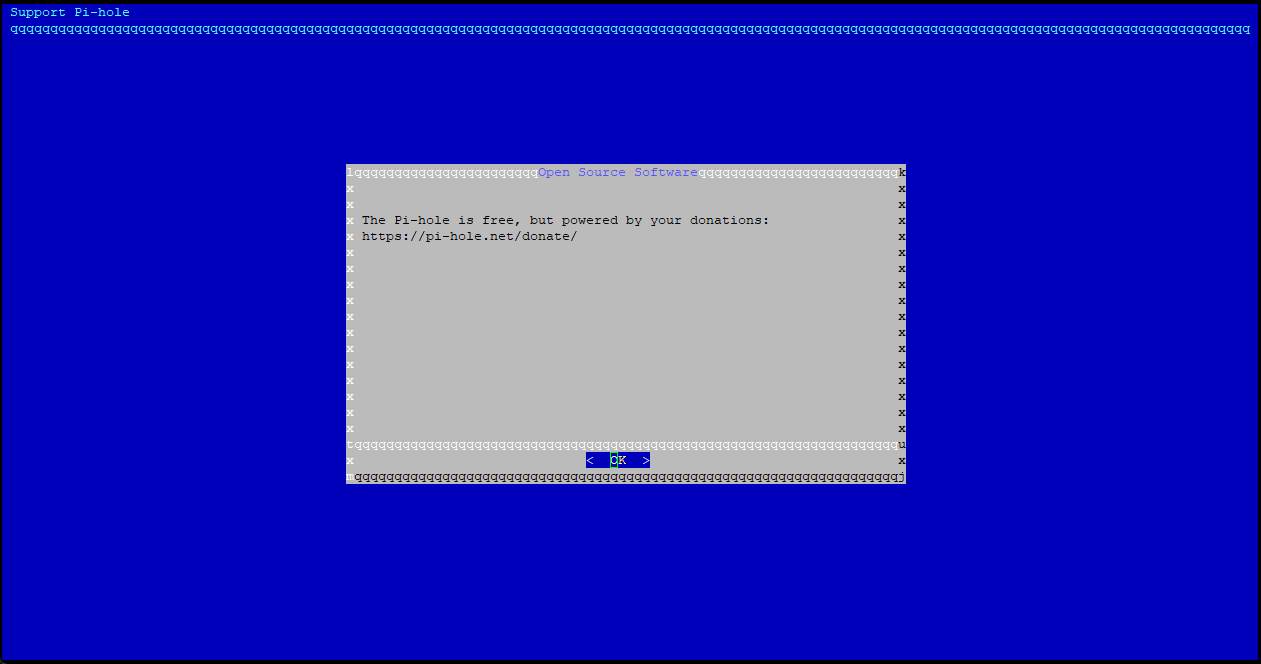
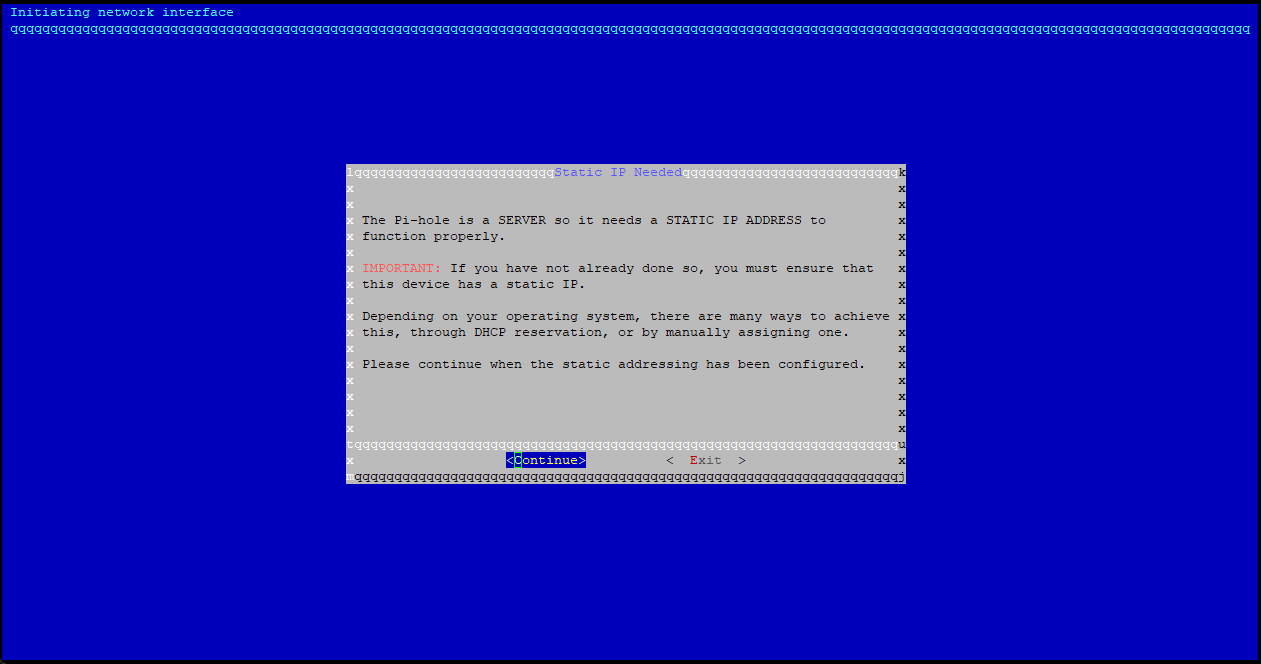
The installer will start. Follow the prompts to continue.
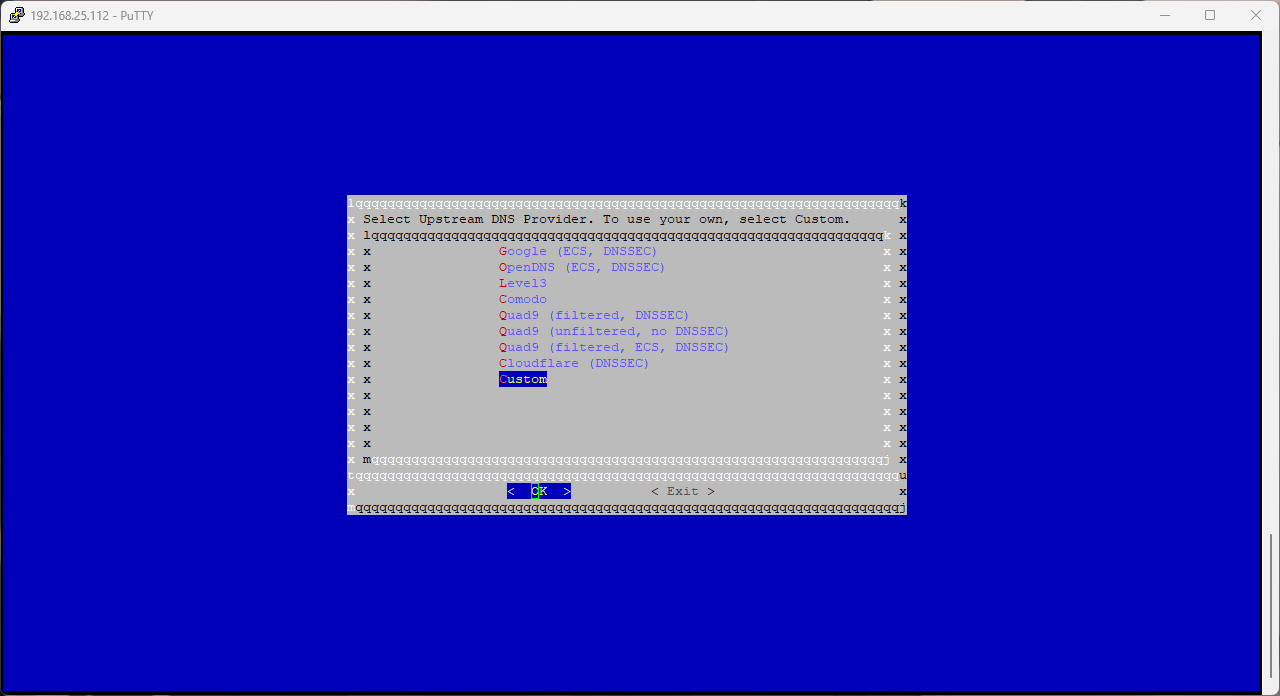
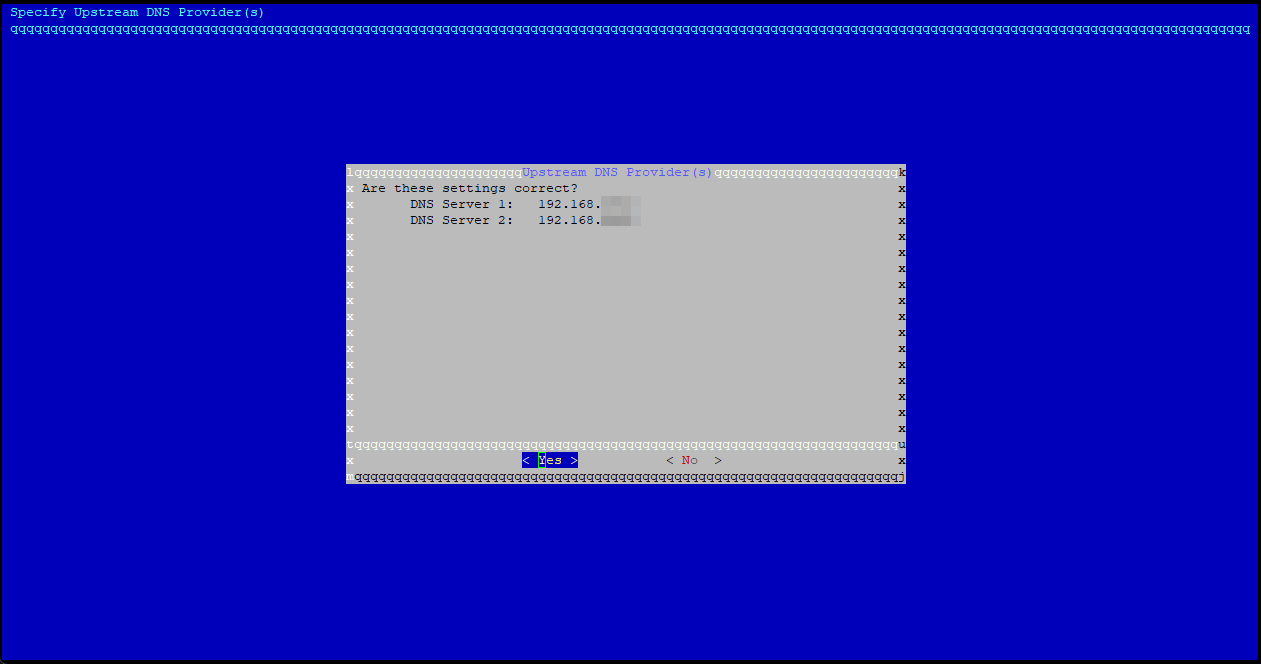
Select the DNS server you would like to use. For my setup, I have Pi-Hole's upstream DNS set to Custom so that it can pointed to my pfSense, which in turn is pointing to Cloudflare and Quad9.
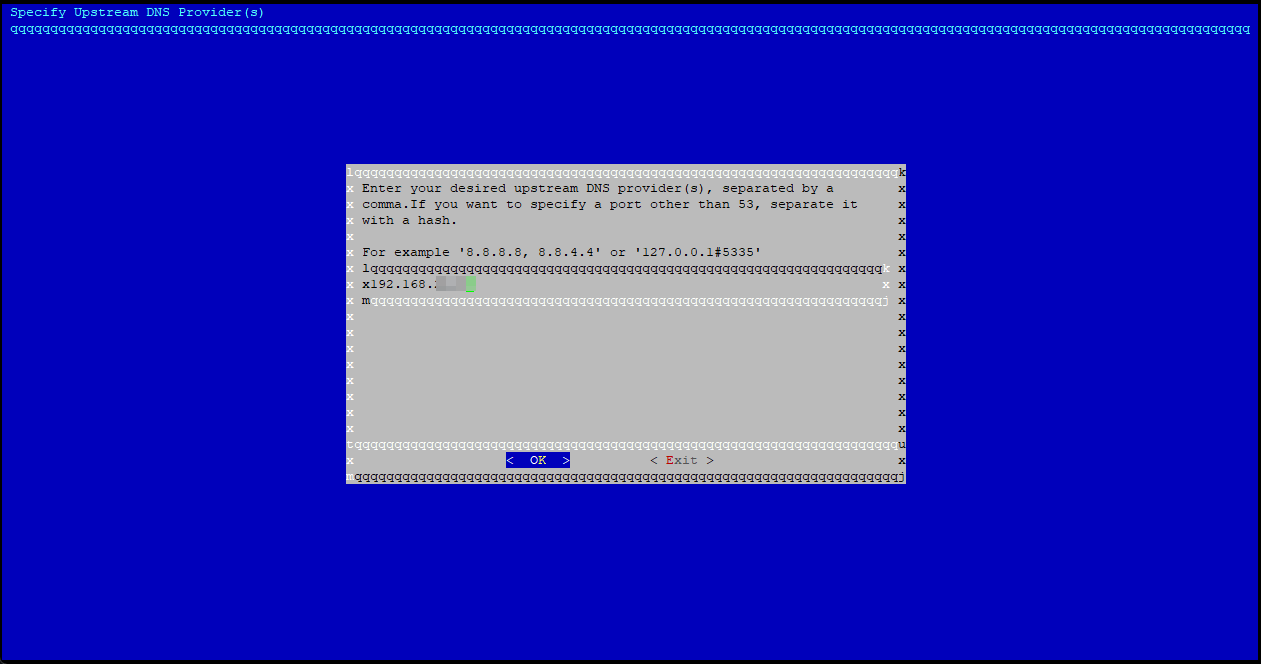
If you select Custom DNS, enter the DNS IP Address now.
Review the Upstream DNS server setting.
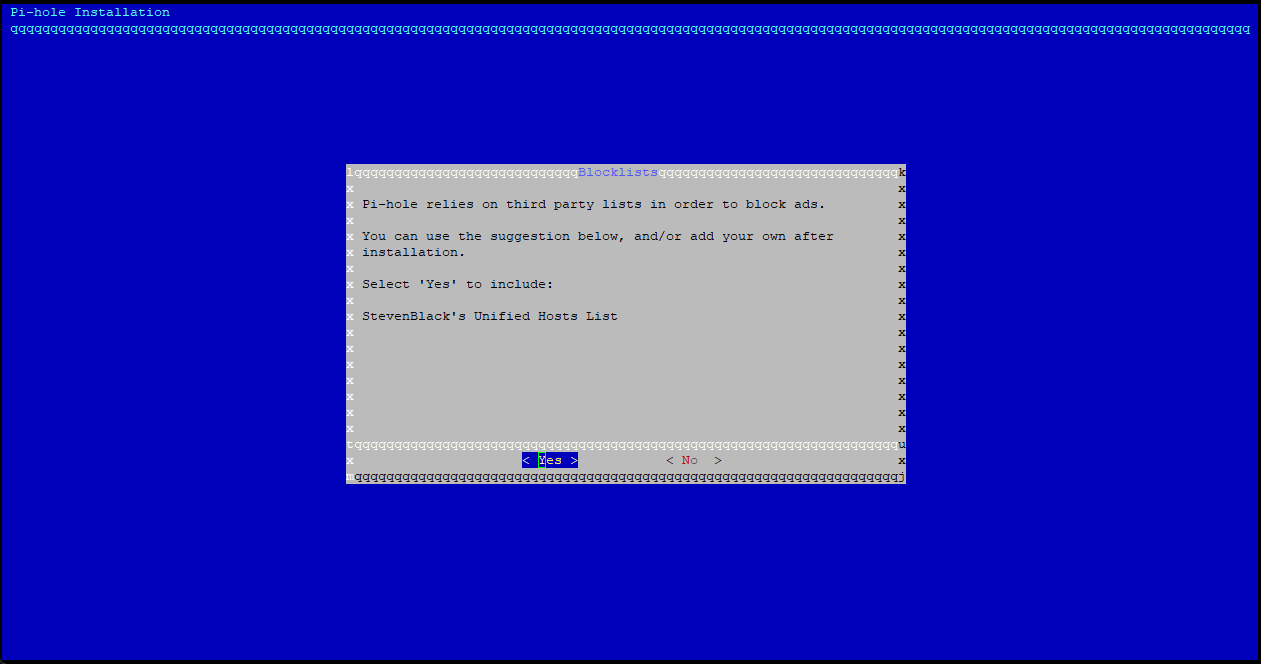
The default Pi-Hole blocklist is the StevenBlack's list, as of 2025-07-16.
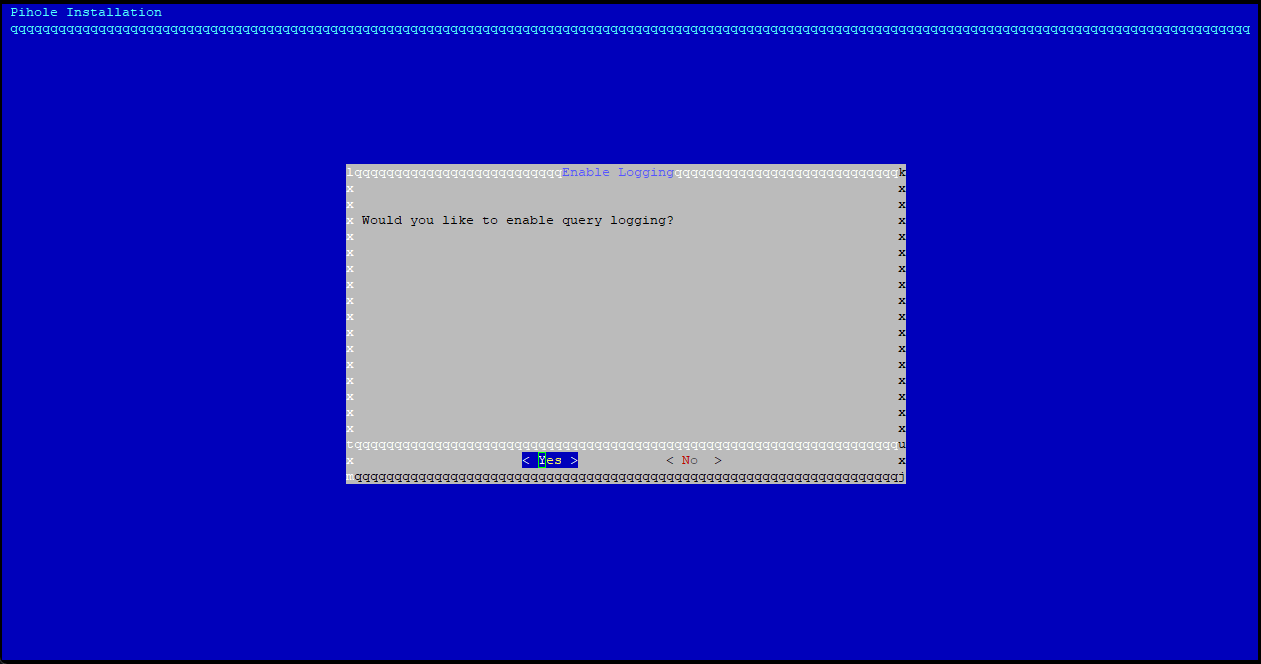
Select yes to enable logging for historical data.
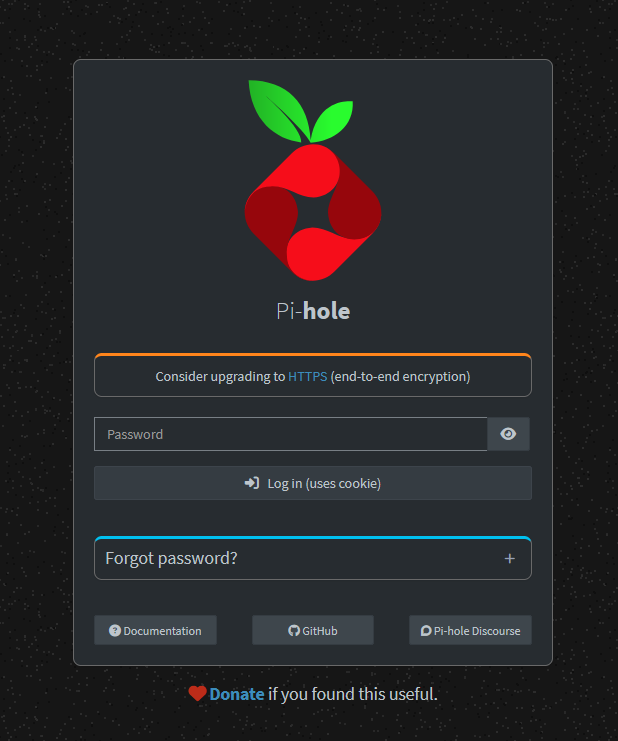
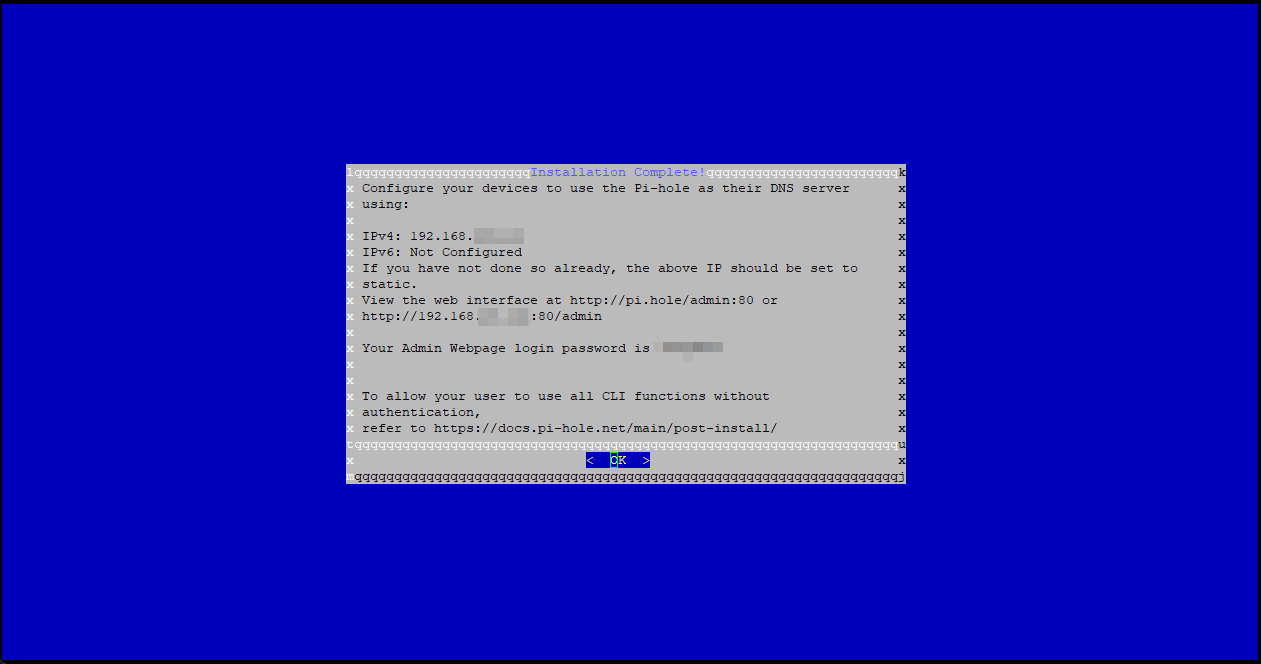
That's it! Note down the temporary webGUI admin password. You will need this in order to login to the Pi-Hole webGUI.
If you have UFW enabled on the Debian system, make sure you have DNS and HTTP/HTTPS allow through.

You will notice that the WebGUI now shows a banner for switching to HTTPS. This is one of the major chanegs in Pi-Hole 6 from Pi-Hole 5.