Installing Windows 10
To start installing Windows 10, plug the USB Flash drive into your PC boot into the USB flash drive. You may need to choose your boot order in the BIOS setting in order for your PC to boot from USB flash drive. On some motherboards, you can use F11 key to launch the boot option menu.
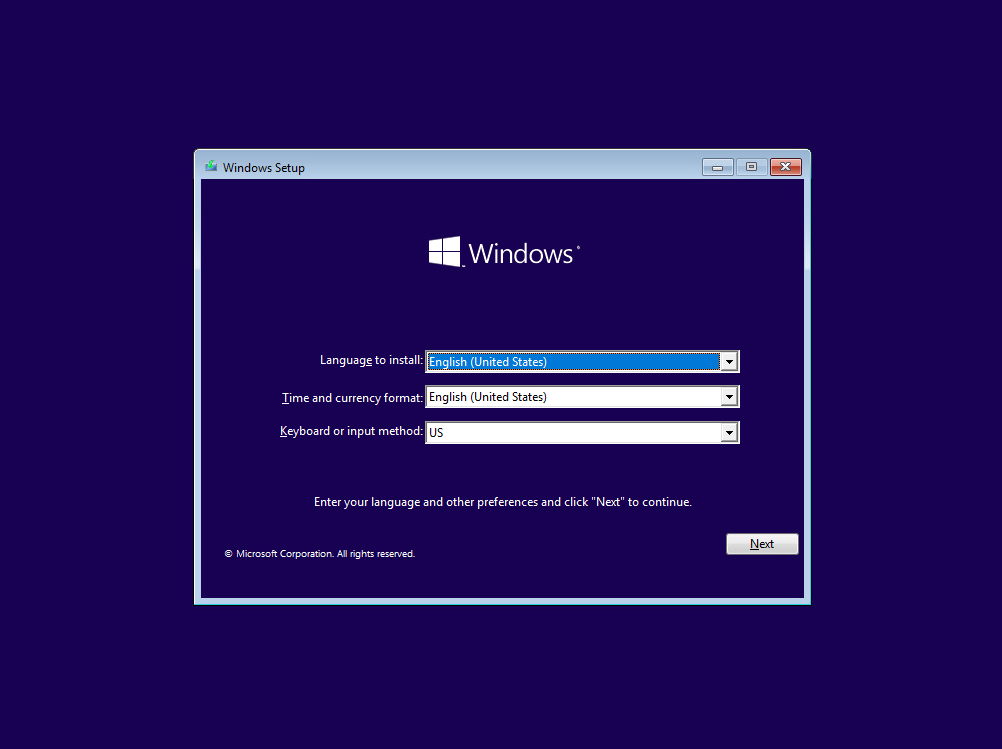
Once you are booted into the USB flash drive, you should see the Windows Setup screen.
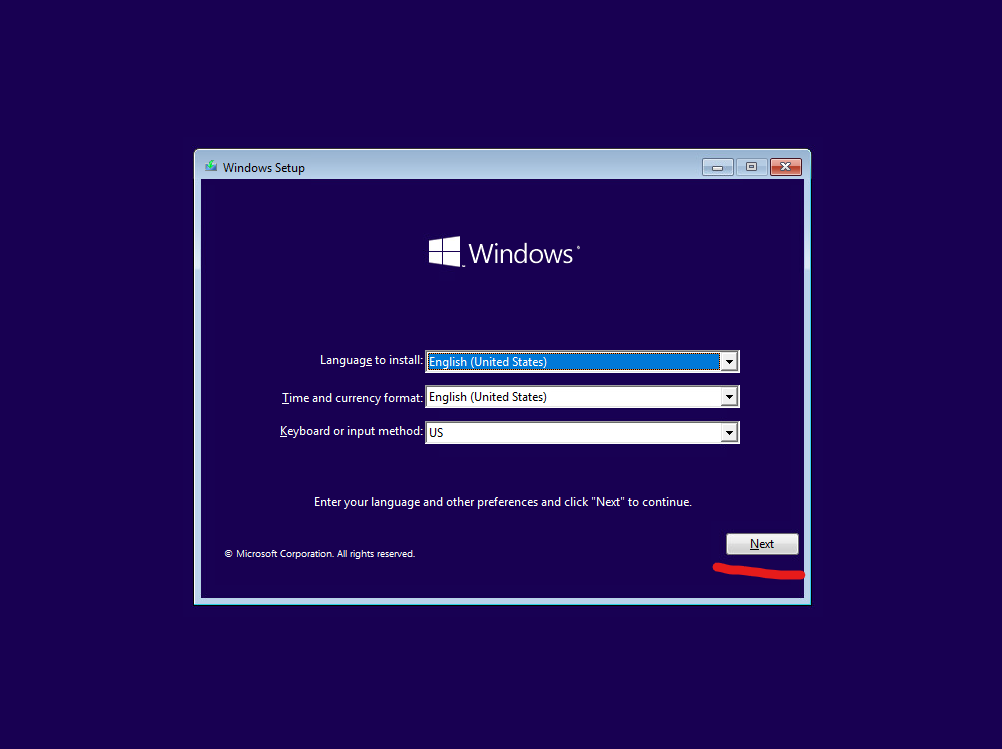
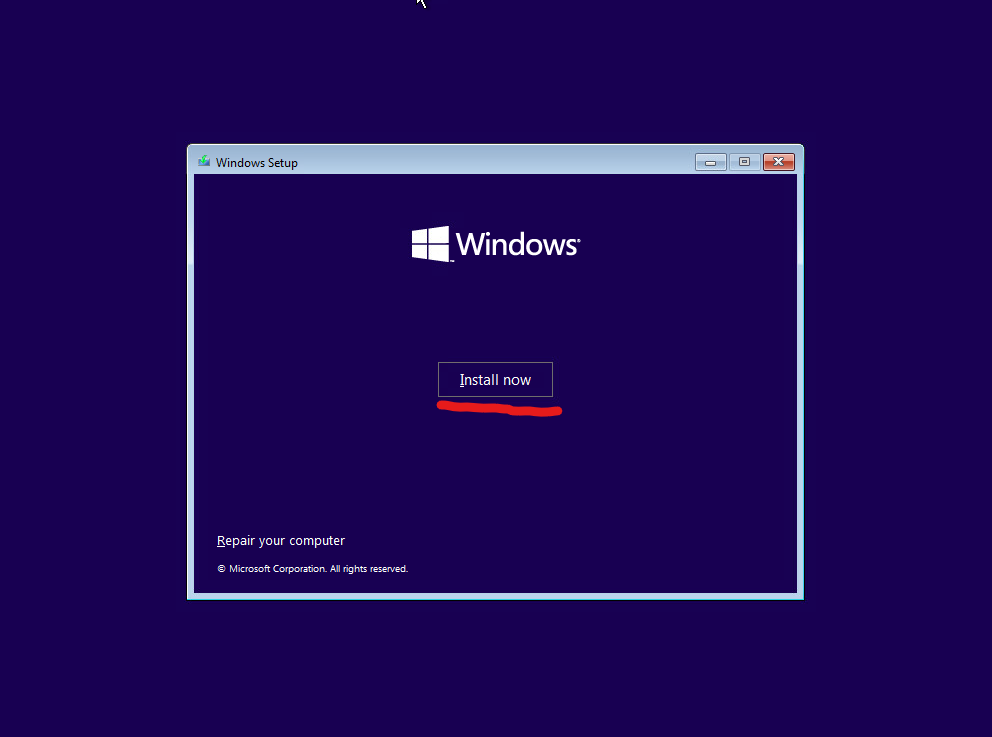
Click Next to proceed.
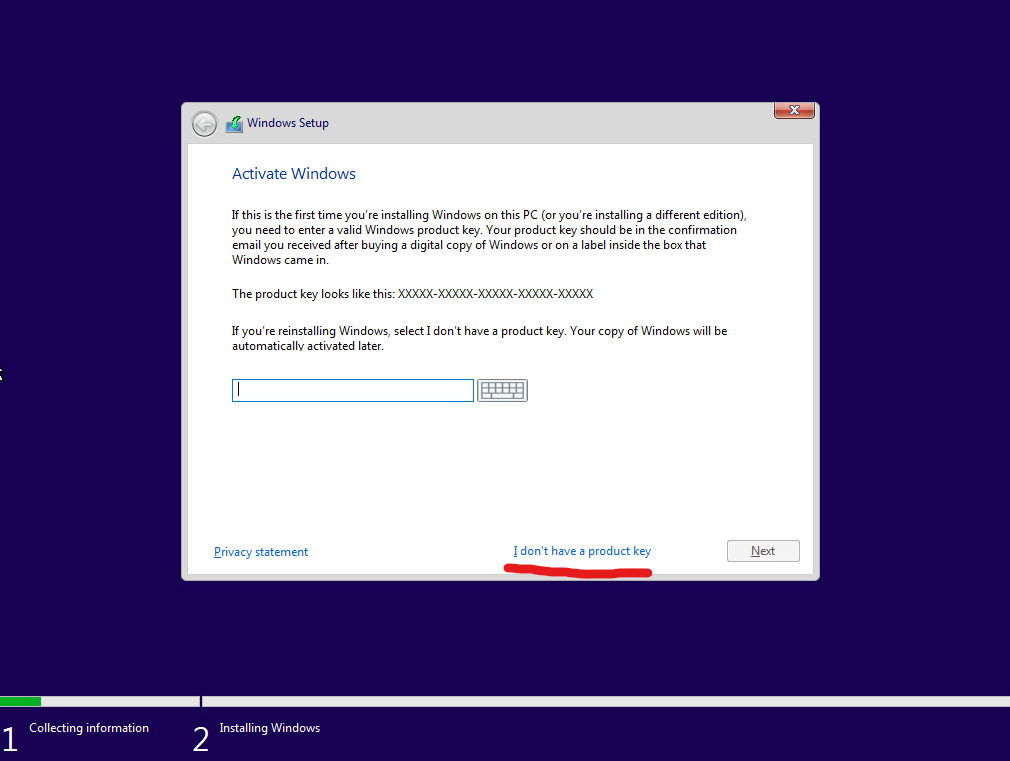
When you get to the Activate Windows page, you can choose the I don’t have a product key option. Modern day Windows 10 installation will have the license key tied to the motherboard itself, so during a fresh re-installation, you don’t have to input the key at this stage. Windows 10 will pick up the license key afterwards by itself if the motherboard previously had a licensed Windows 10 install.
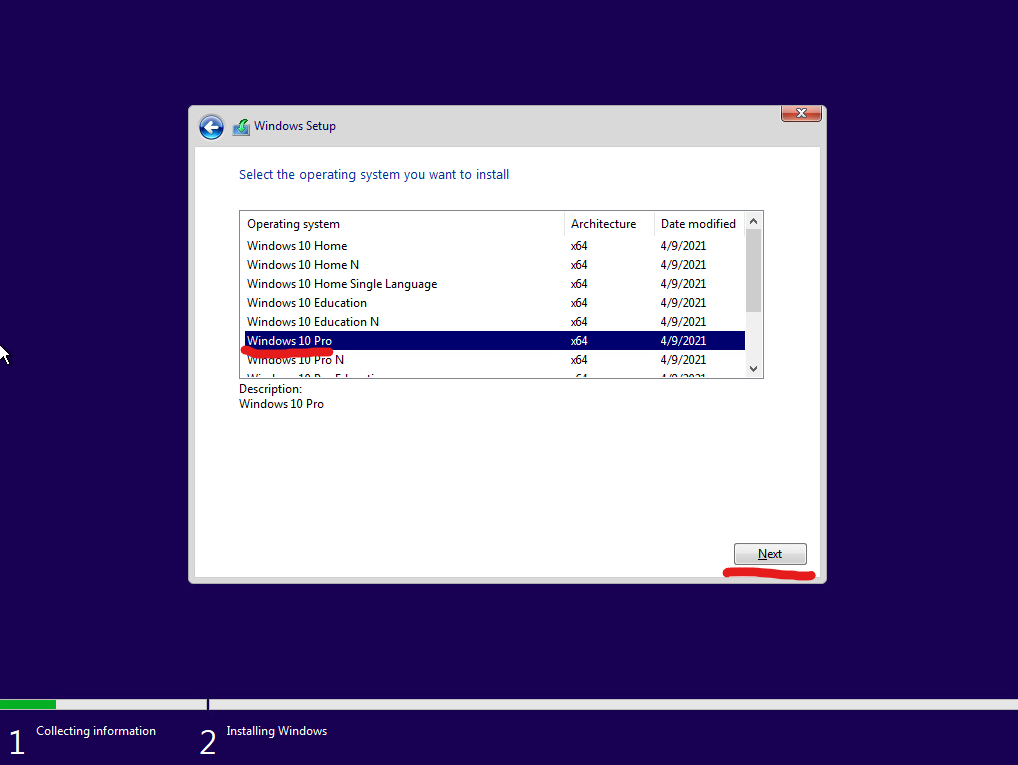
Choose the appropriate Windows 10 edition that you have. Generally, most people will have Windows 10 Home edition. Windows 10 Pro is the highest tier edition with all the features unlocked.
For this guide, I will be choosing Windows 10 Pro edition as I am reinstalling Windows on one of my test Windows 10 Pro machine.
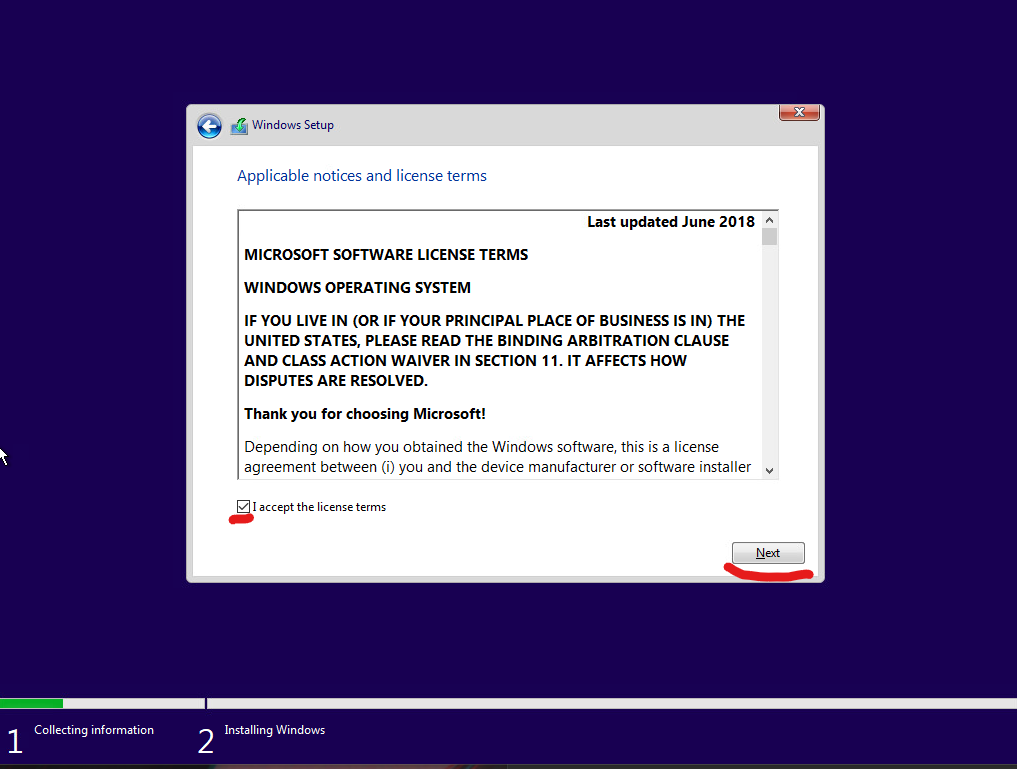
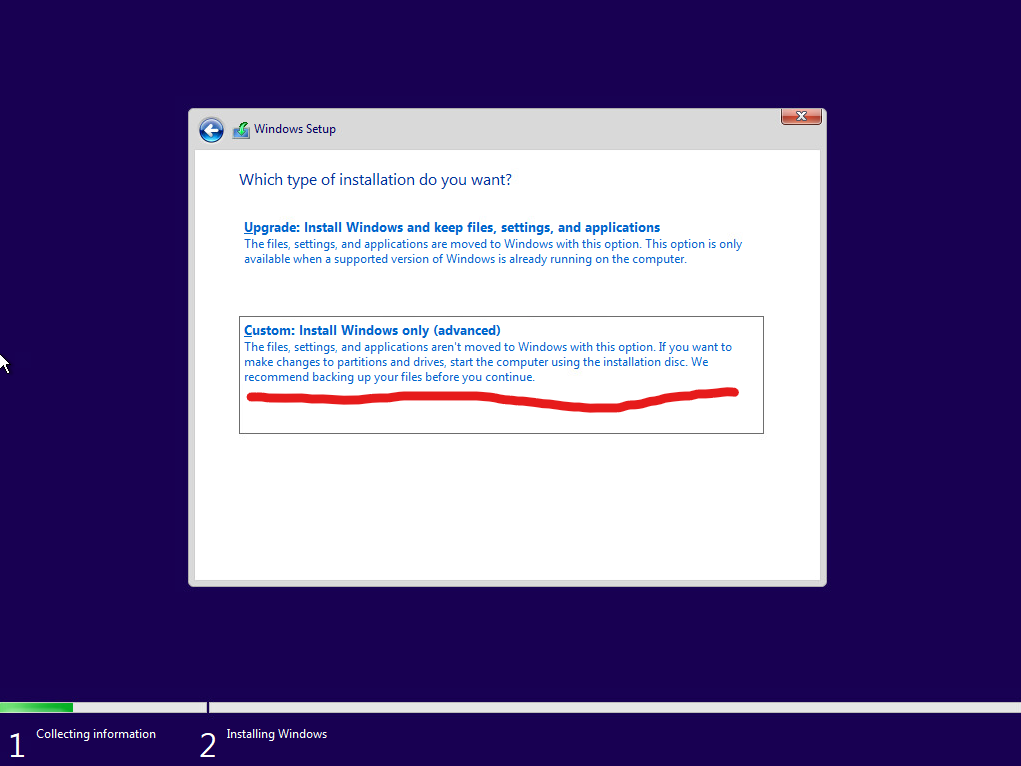
Accept the license agreement, and choose the Custom: Install Windows Only to proceed with the installation.
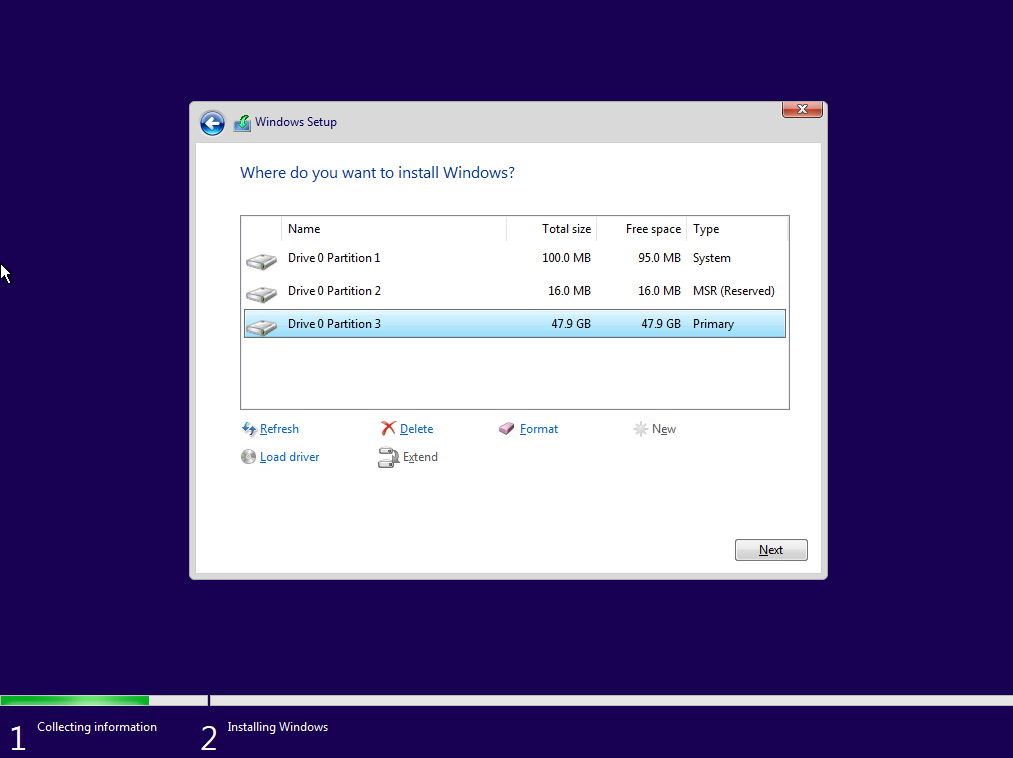
If you have existing partitions on your OS drive, you will see them here.
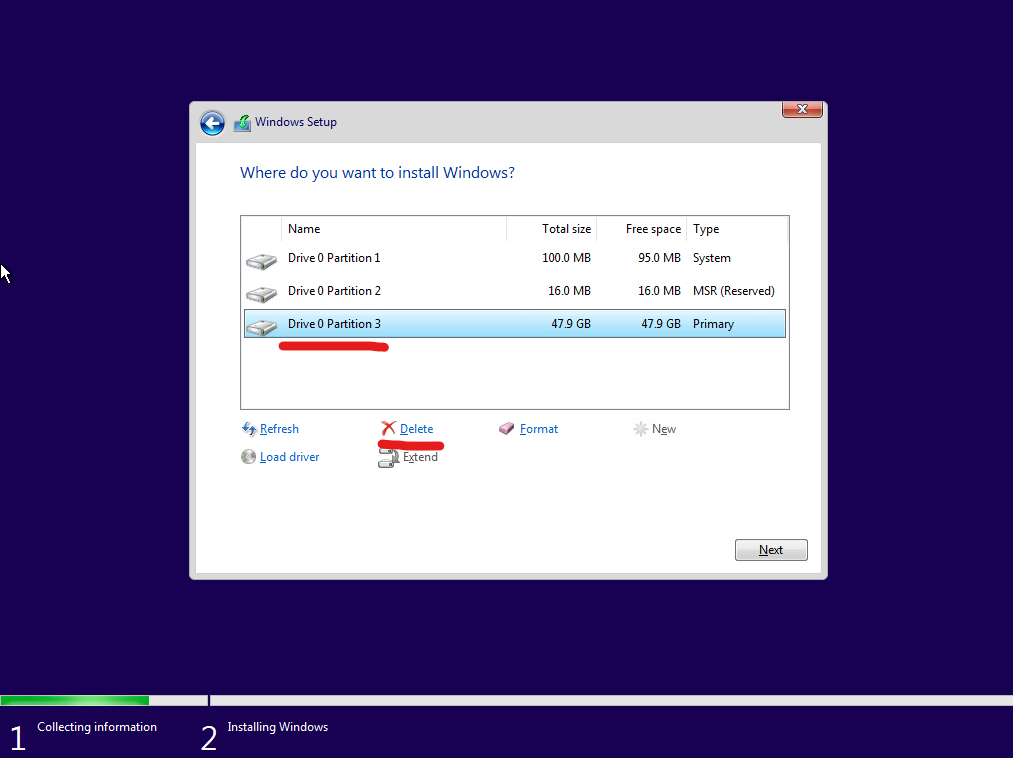
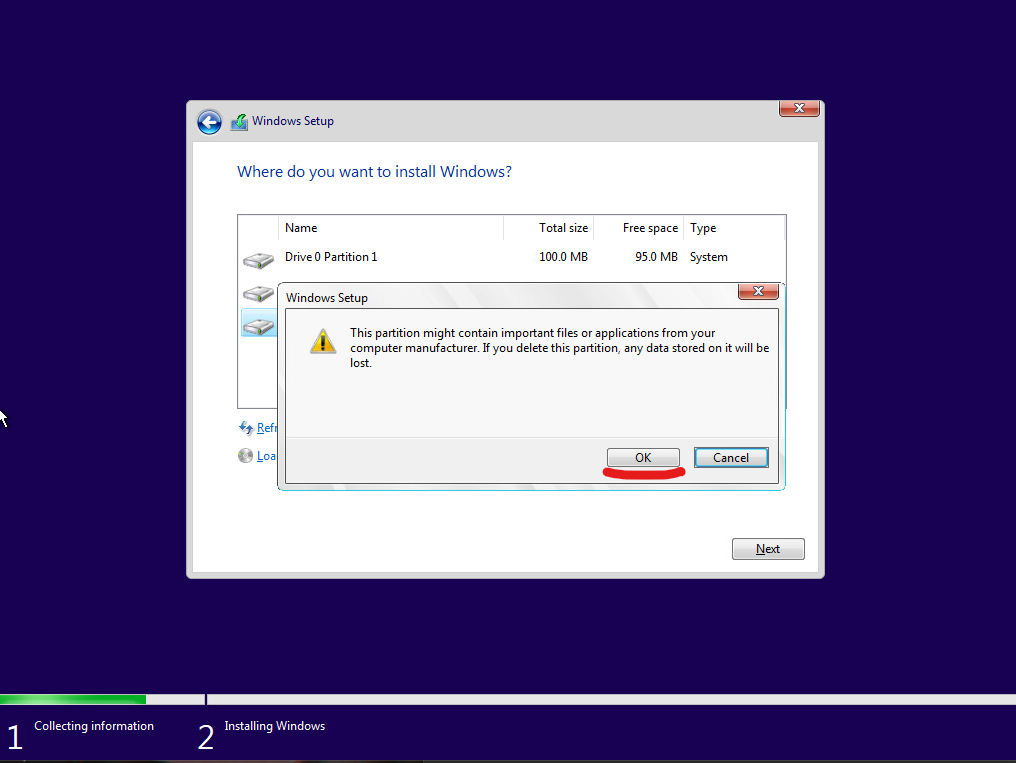
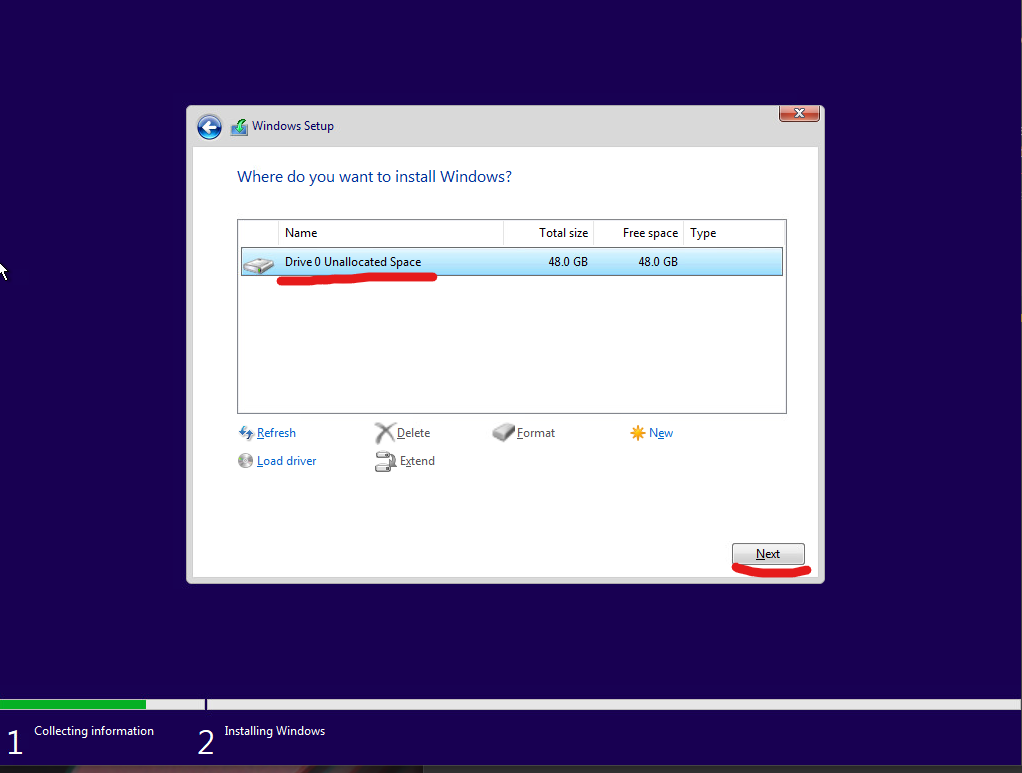
Highlight one partition, and click on the Delete option. Click OK to delete the partition. Repeat until all you have left is one option of Unallocated Space.
Click next to continue.
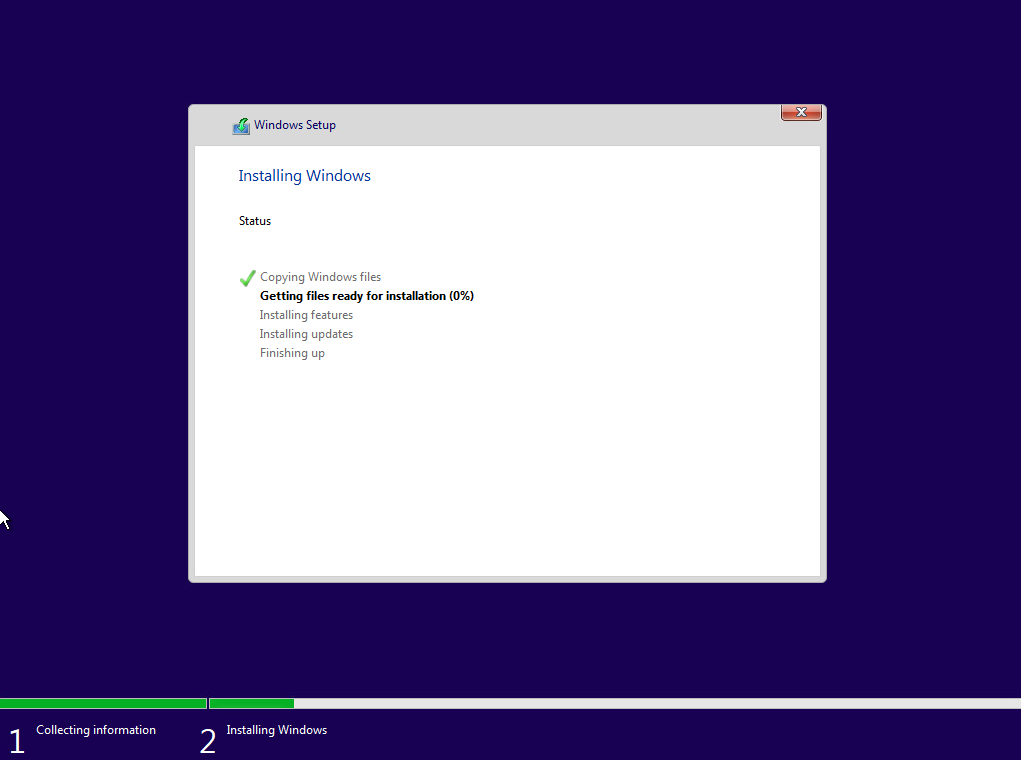
Windows 10 will now start to install itself onto the OS drive.
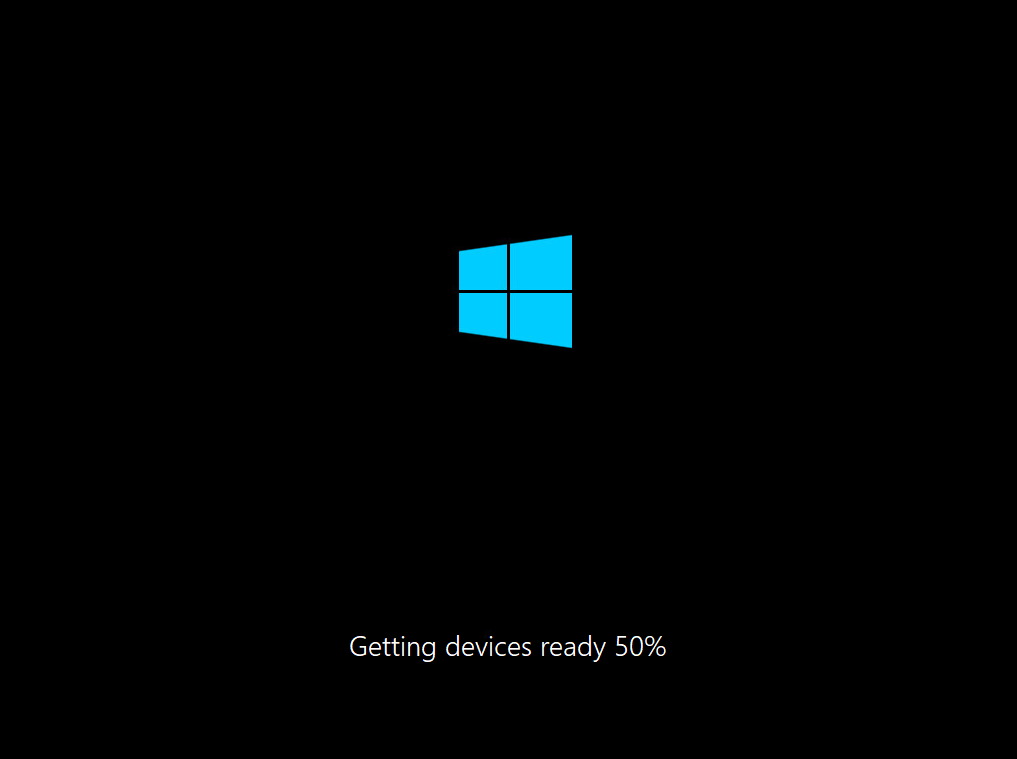
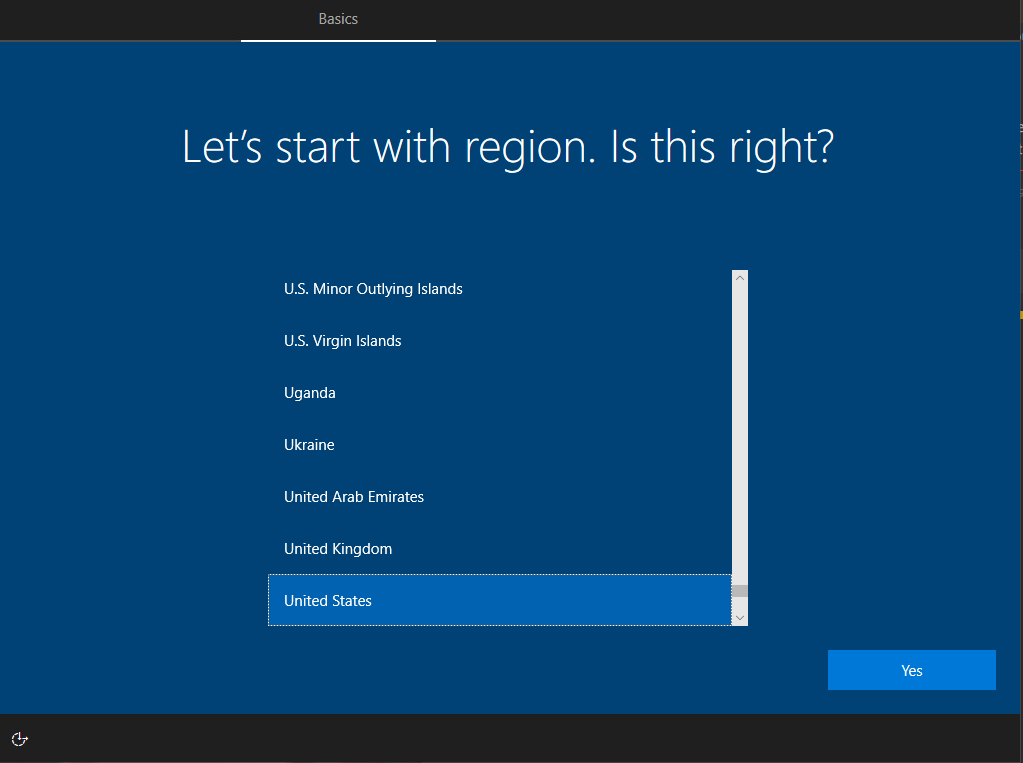
After a few minutes, Windows will reboot itself, and boot straight into the new, fresh Windows 10 OS.
That’s it! You have successfully installed Windows 10.

