Creating SMB Share and Setting ACL Permissions
If you want to access your TrueNAS dataset on a Windows client machine, chances are, you will want to setup an SMB share. SMB (Server Message Block) is a network protocol for Windows to access files on the network. SMB is also commonly known as Samba.
Creating SMB Share
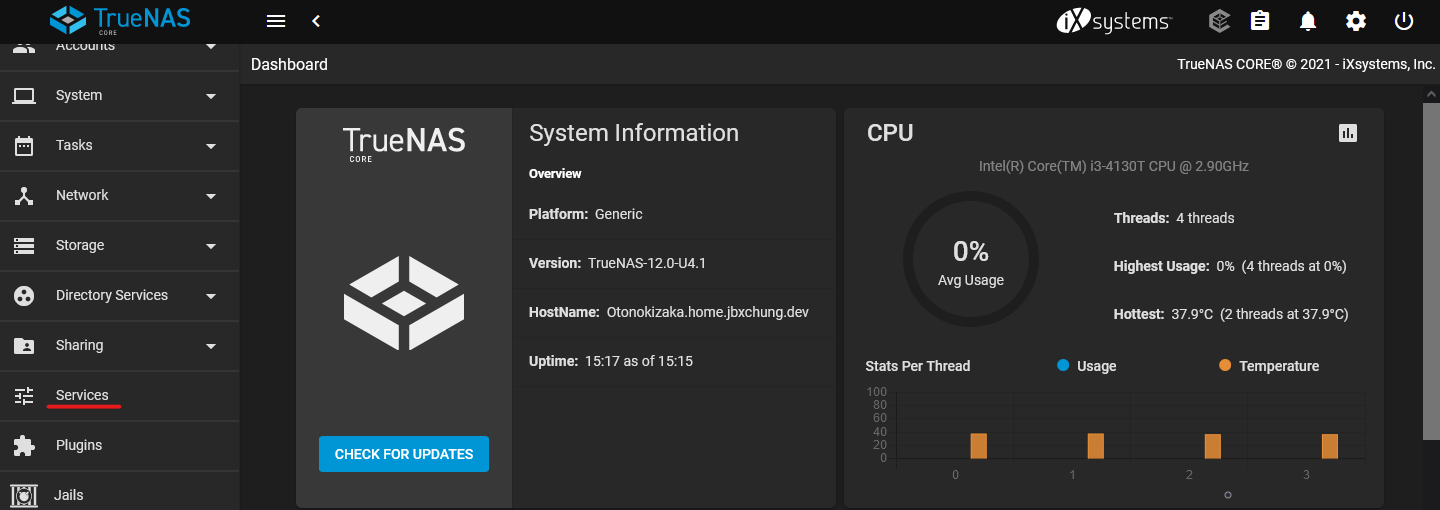
Login to TrueNAS WebGUI.
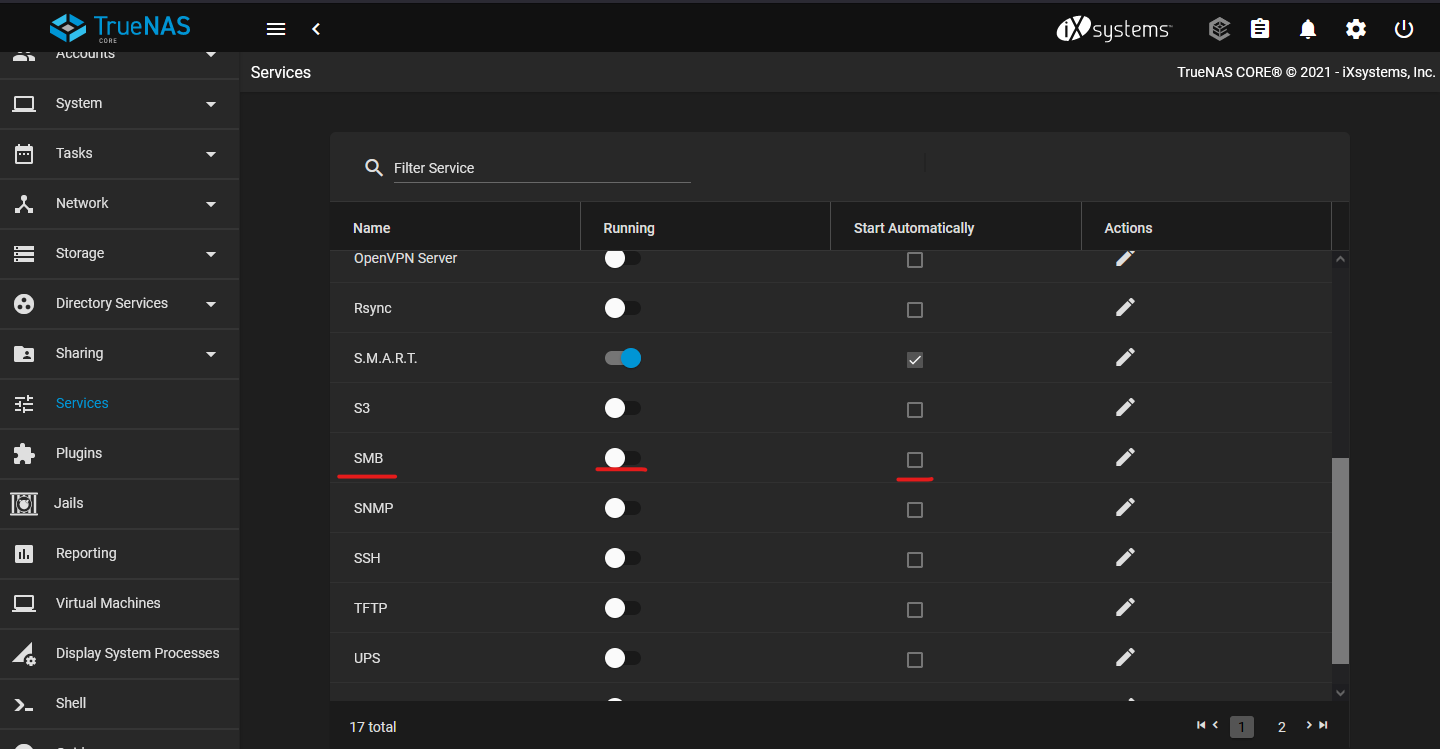
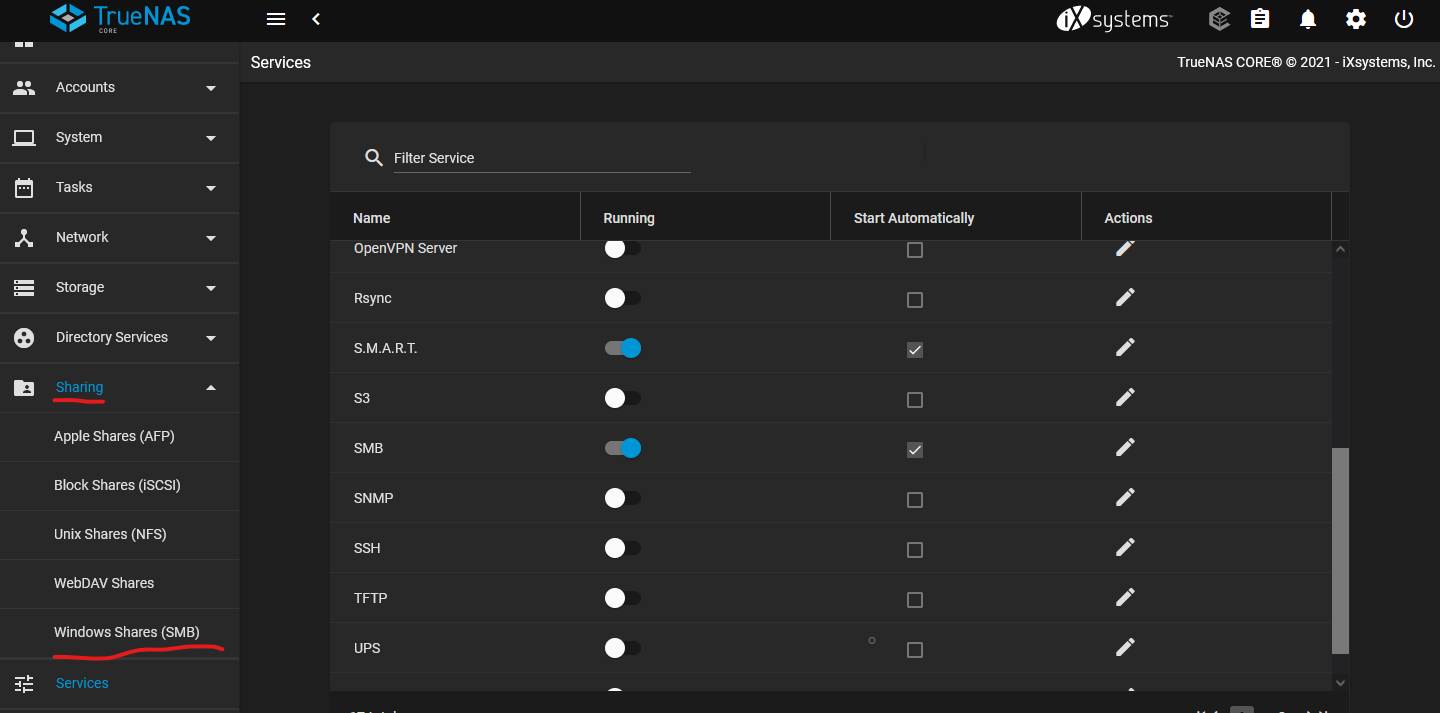
Slide the slider for SMB to enable the SMB Service on TrueNAS, and check the box for it to start automatically.
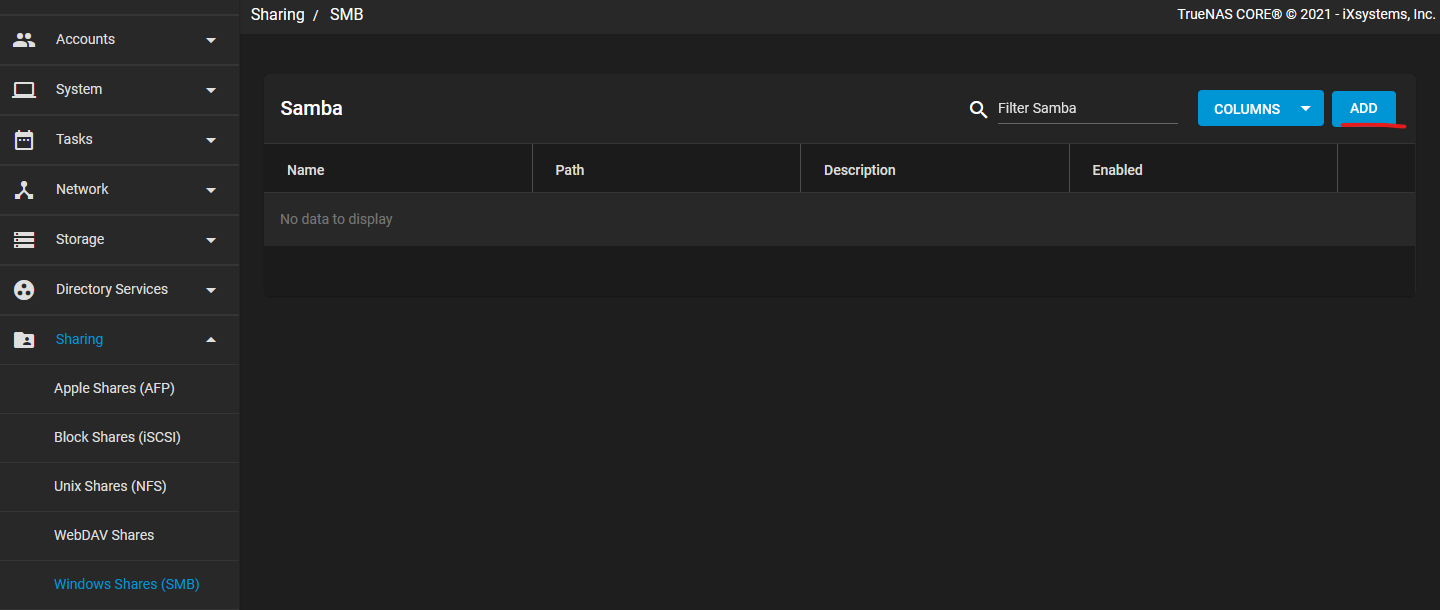
Click on Add on the top right to add a new Samba Share.
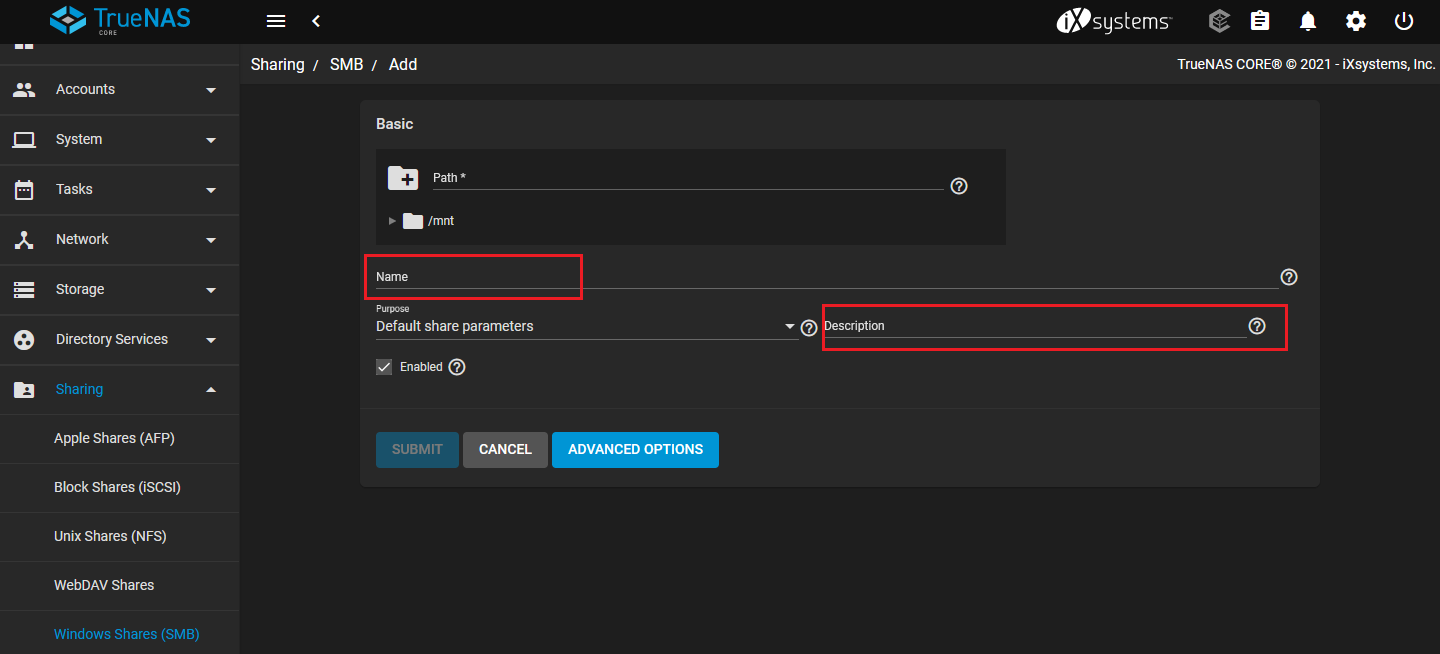
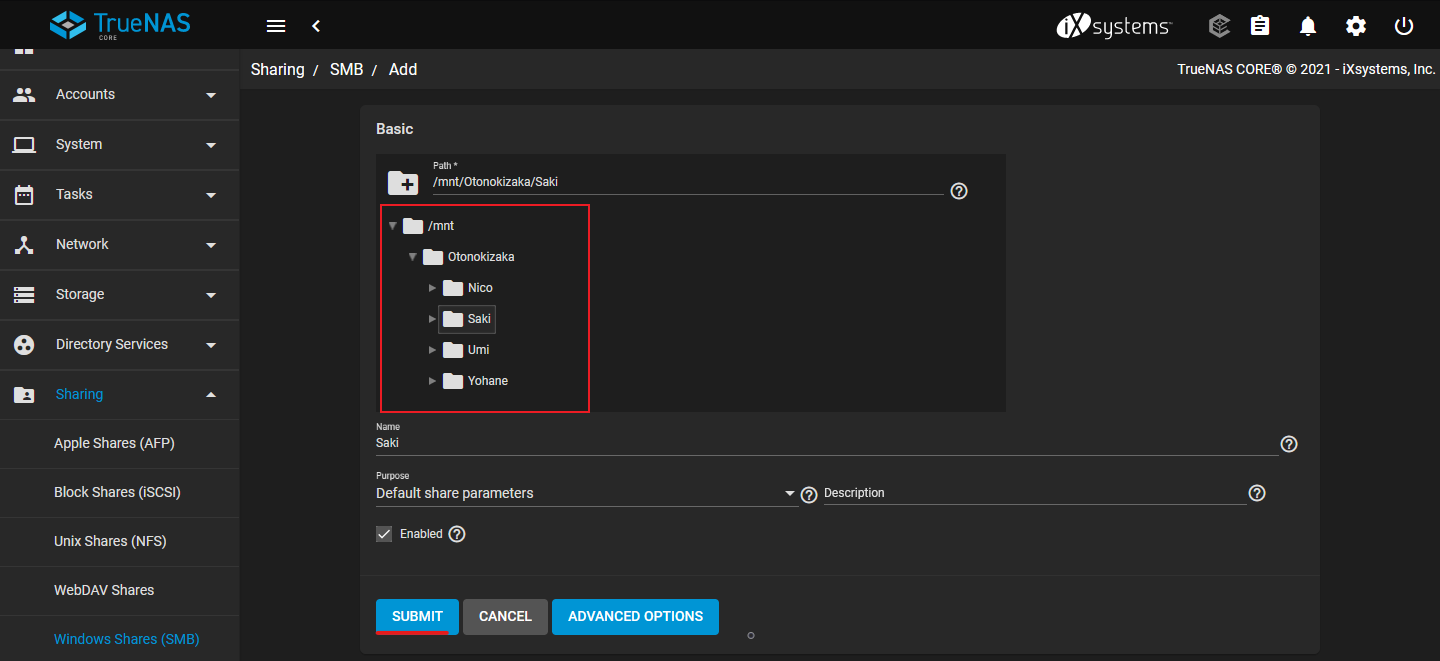
Expand the /mnt folder, and select the dataset that you want to share on the network. Click SubmitSubmit to finish creating the SMB Share.
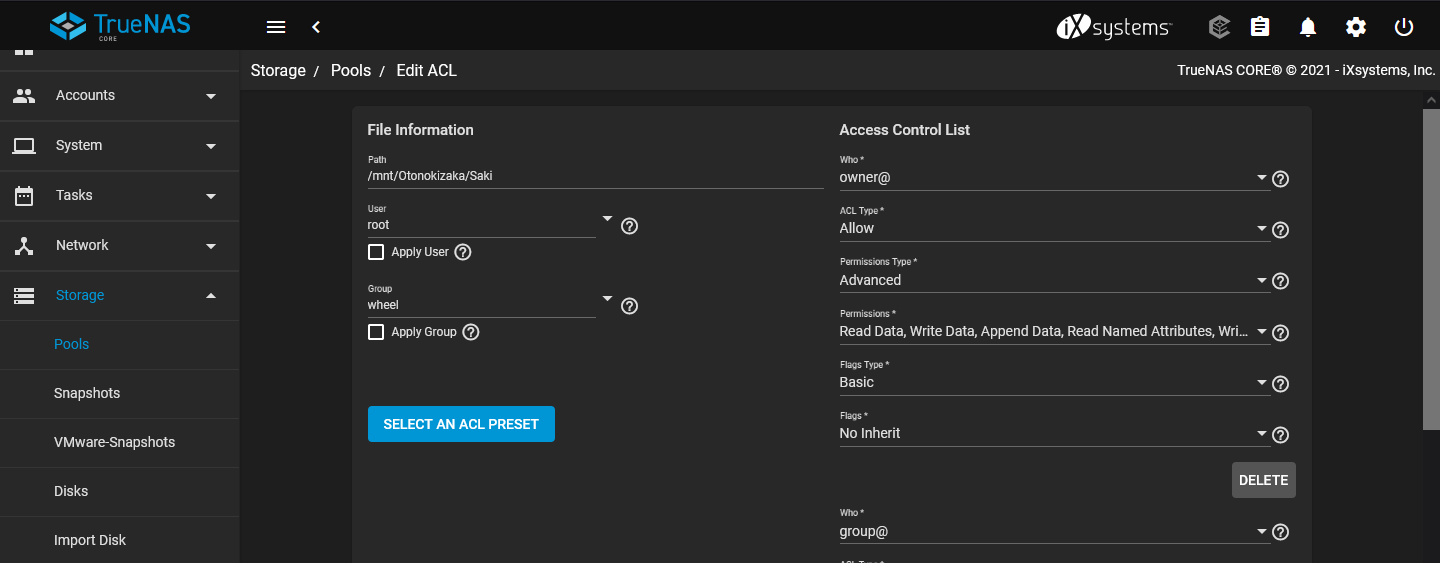
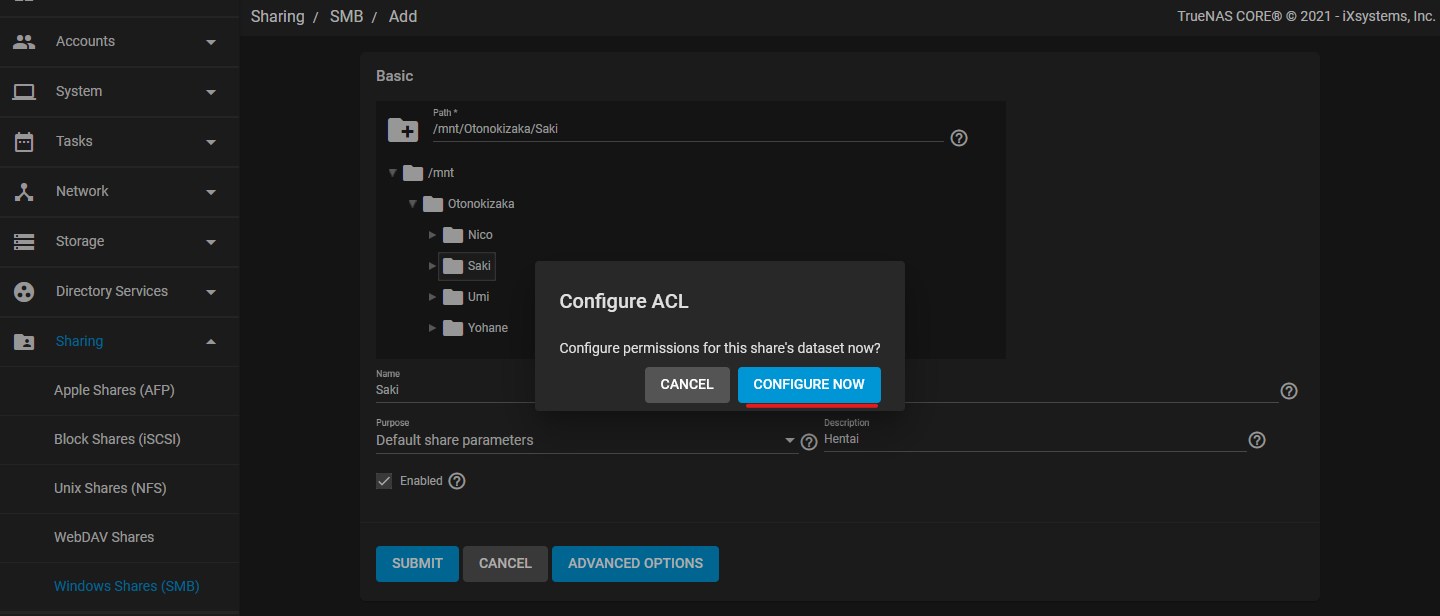
A newly created SMB Share will have the default ACL (Access Control List) Permission set for it. TrueNAS will ask you if you would like to configure the ACL list at this point. Select Configure Now to start setting the ACL.
You can always revisit the ACL and configure it later.
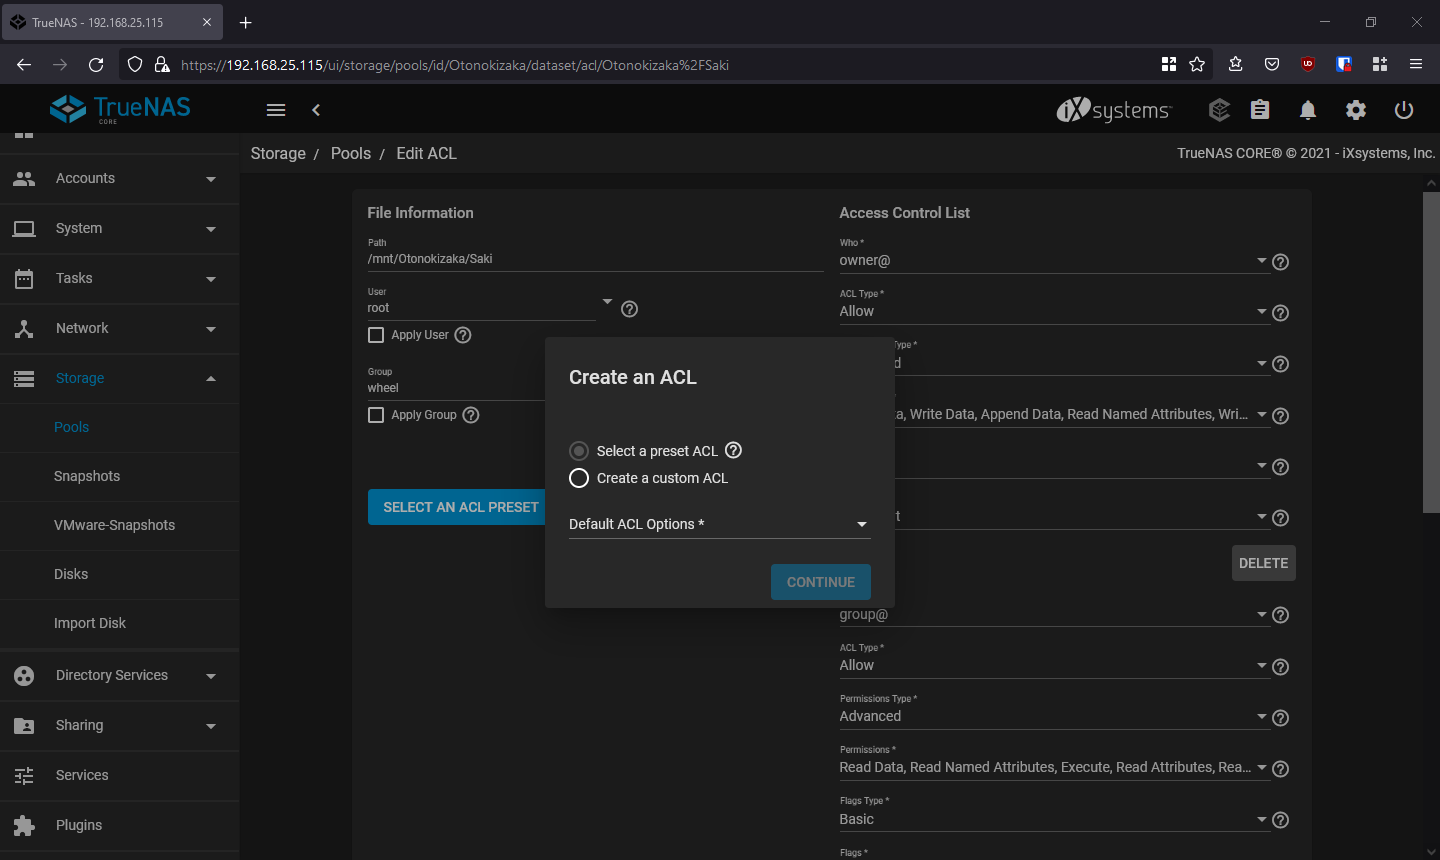
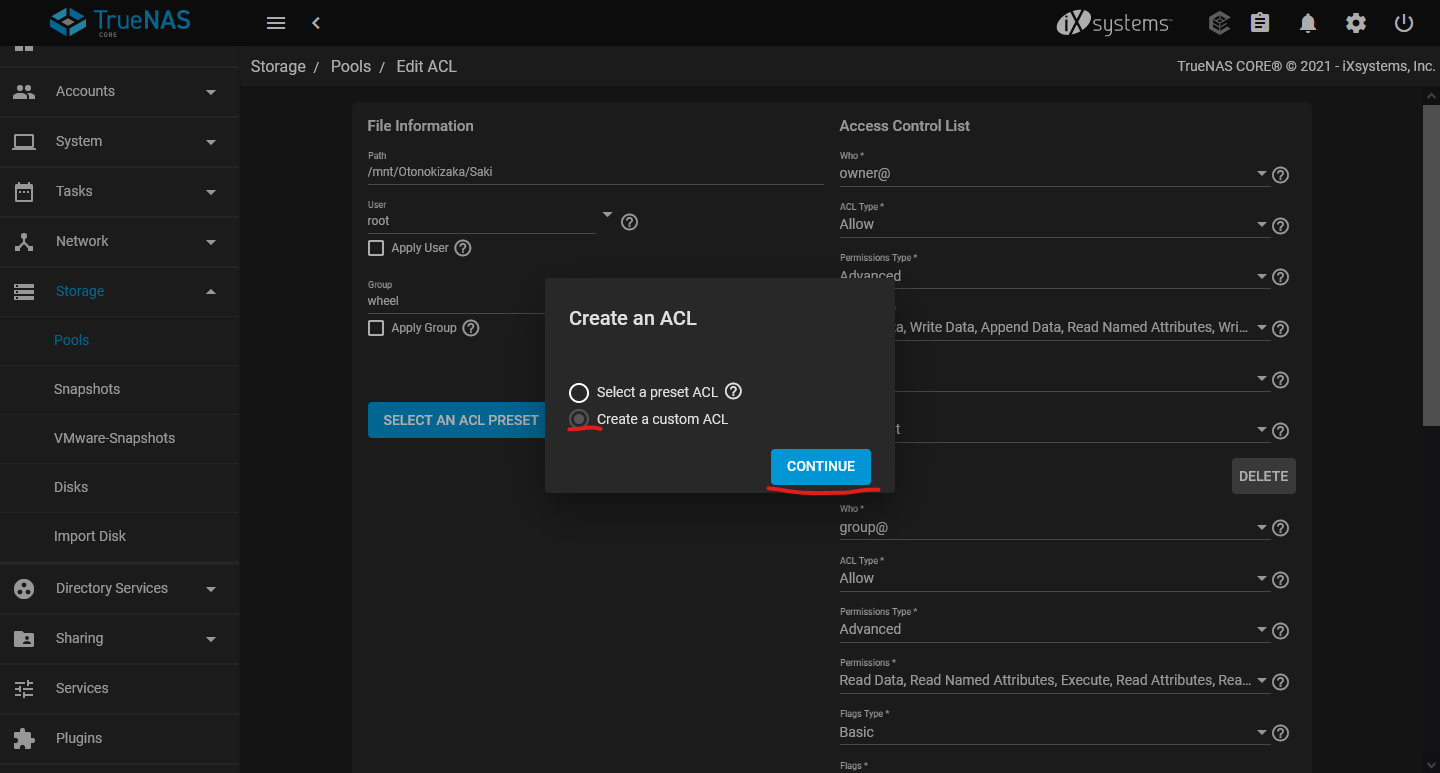
You will be asked to select a preset ACL or create a custom ACL. We will go over creating a custom ACL.
You can learn more about the ACL settings from TrueNAS's official documentation: https://www.truenas.com/docs/core/coretutorials/storage/pools/permissions/