Download and Flash Raspberry Pi OS
Step 1: Download
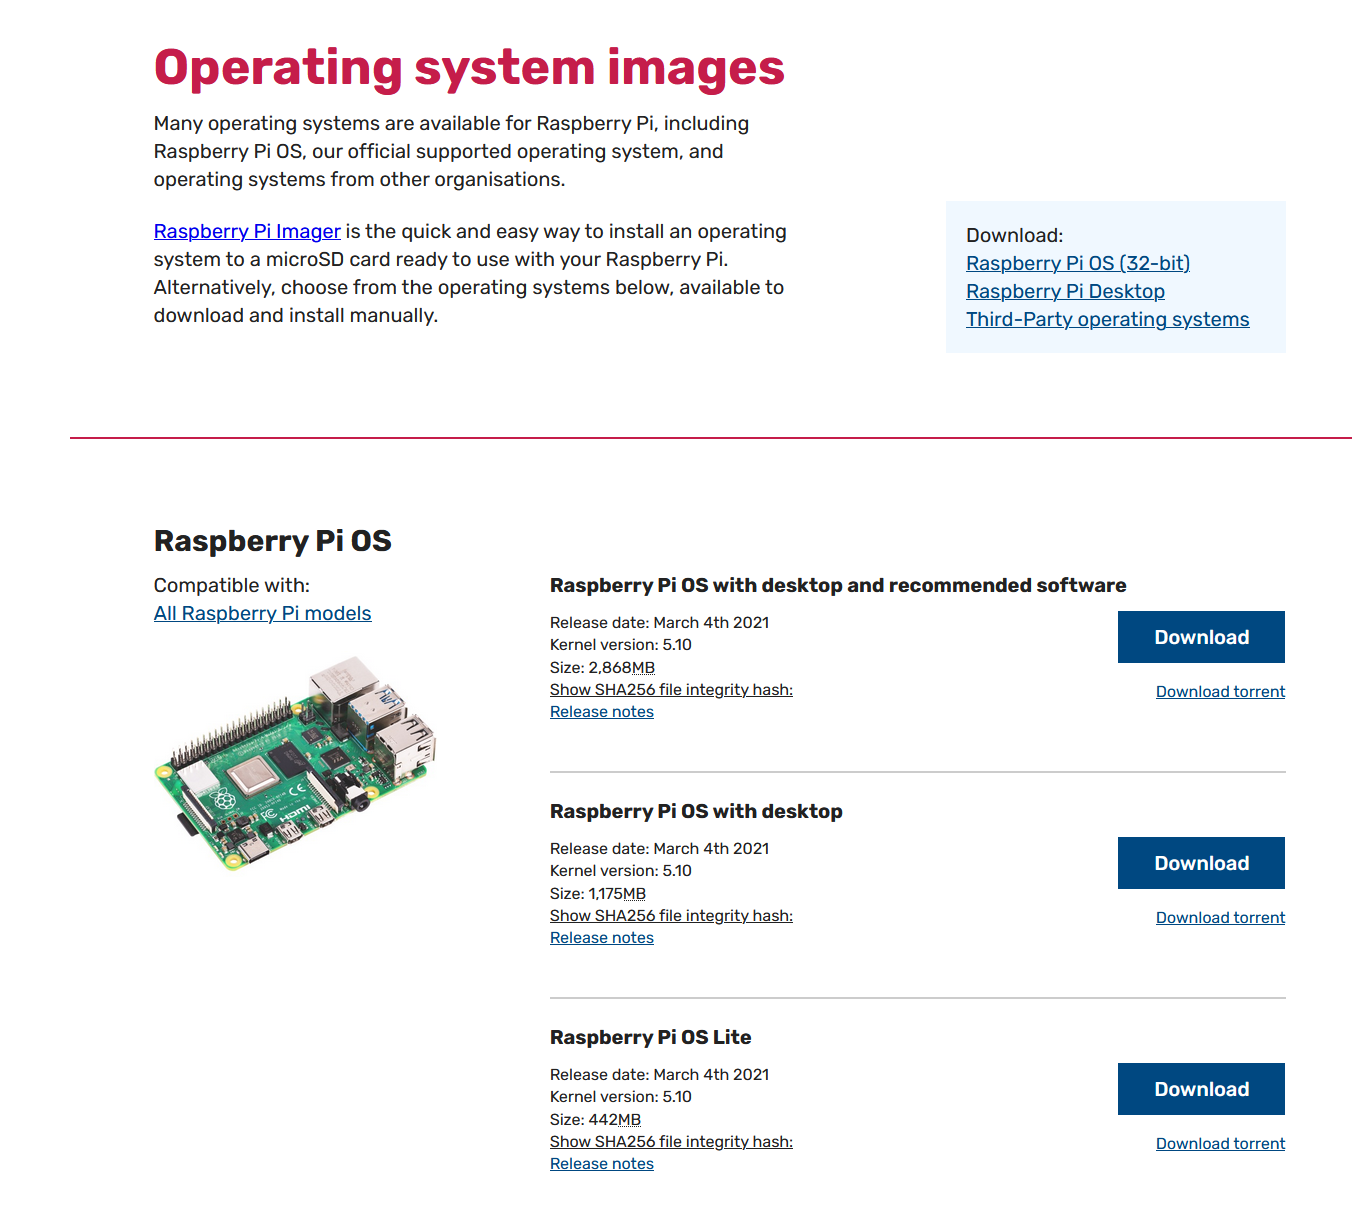
First, download the OS from the official Raspberry Pi Foundation website below. There are three different versions of the Raspberry Pi OS. The Raspberry Pi OS with desktop and recommended software is suitable for beginners. Raspberry Pi OS with desktop is suitable for basic desktop setups. Raspberry Pi OS Lite is the minimal OS without a GUI (Graphical User Interface), suitable for server setups.
- Raspberry Pi OS – https://www.raspberrypi.org/software/operating-systems/
- The official Raspberry Pi operating system from the Raspberry Pi Foundation. Download the image that best suit your needs. For me, I personally prefer the Raspberry Pi OS Lite as I use my Raspberry Pis for a lot of server tasks.
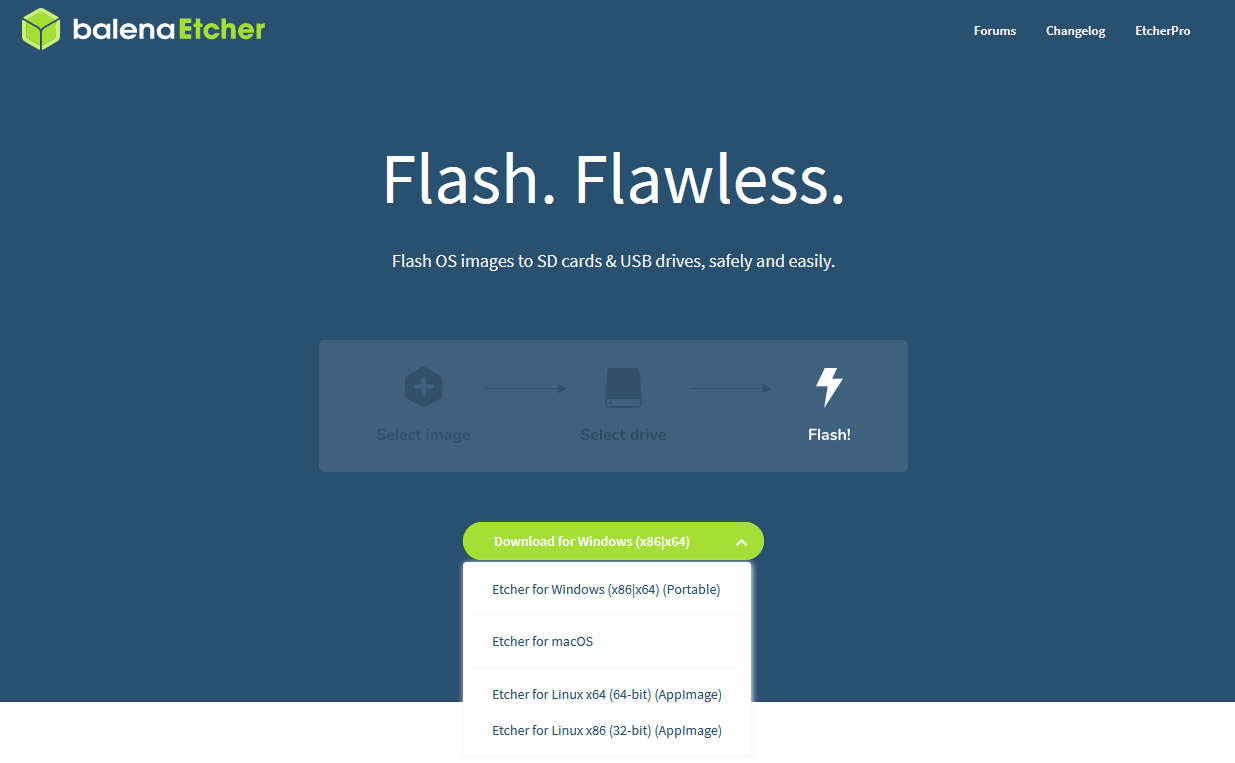
Balena Etcher – https://www.balena.io/etcher/
- Etcher is a utility tool that will flash the OS onto a microSD card. Choose the correct version for your Operation System.
- For this guide, I will be using the portable version Etcher for Windows.
Step 2: Flash the OS
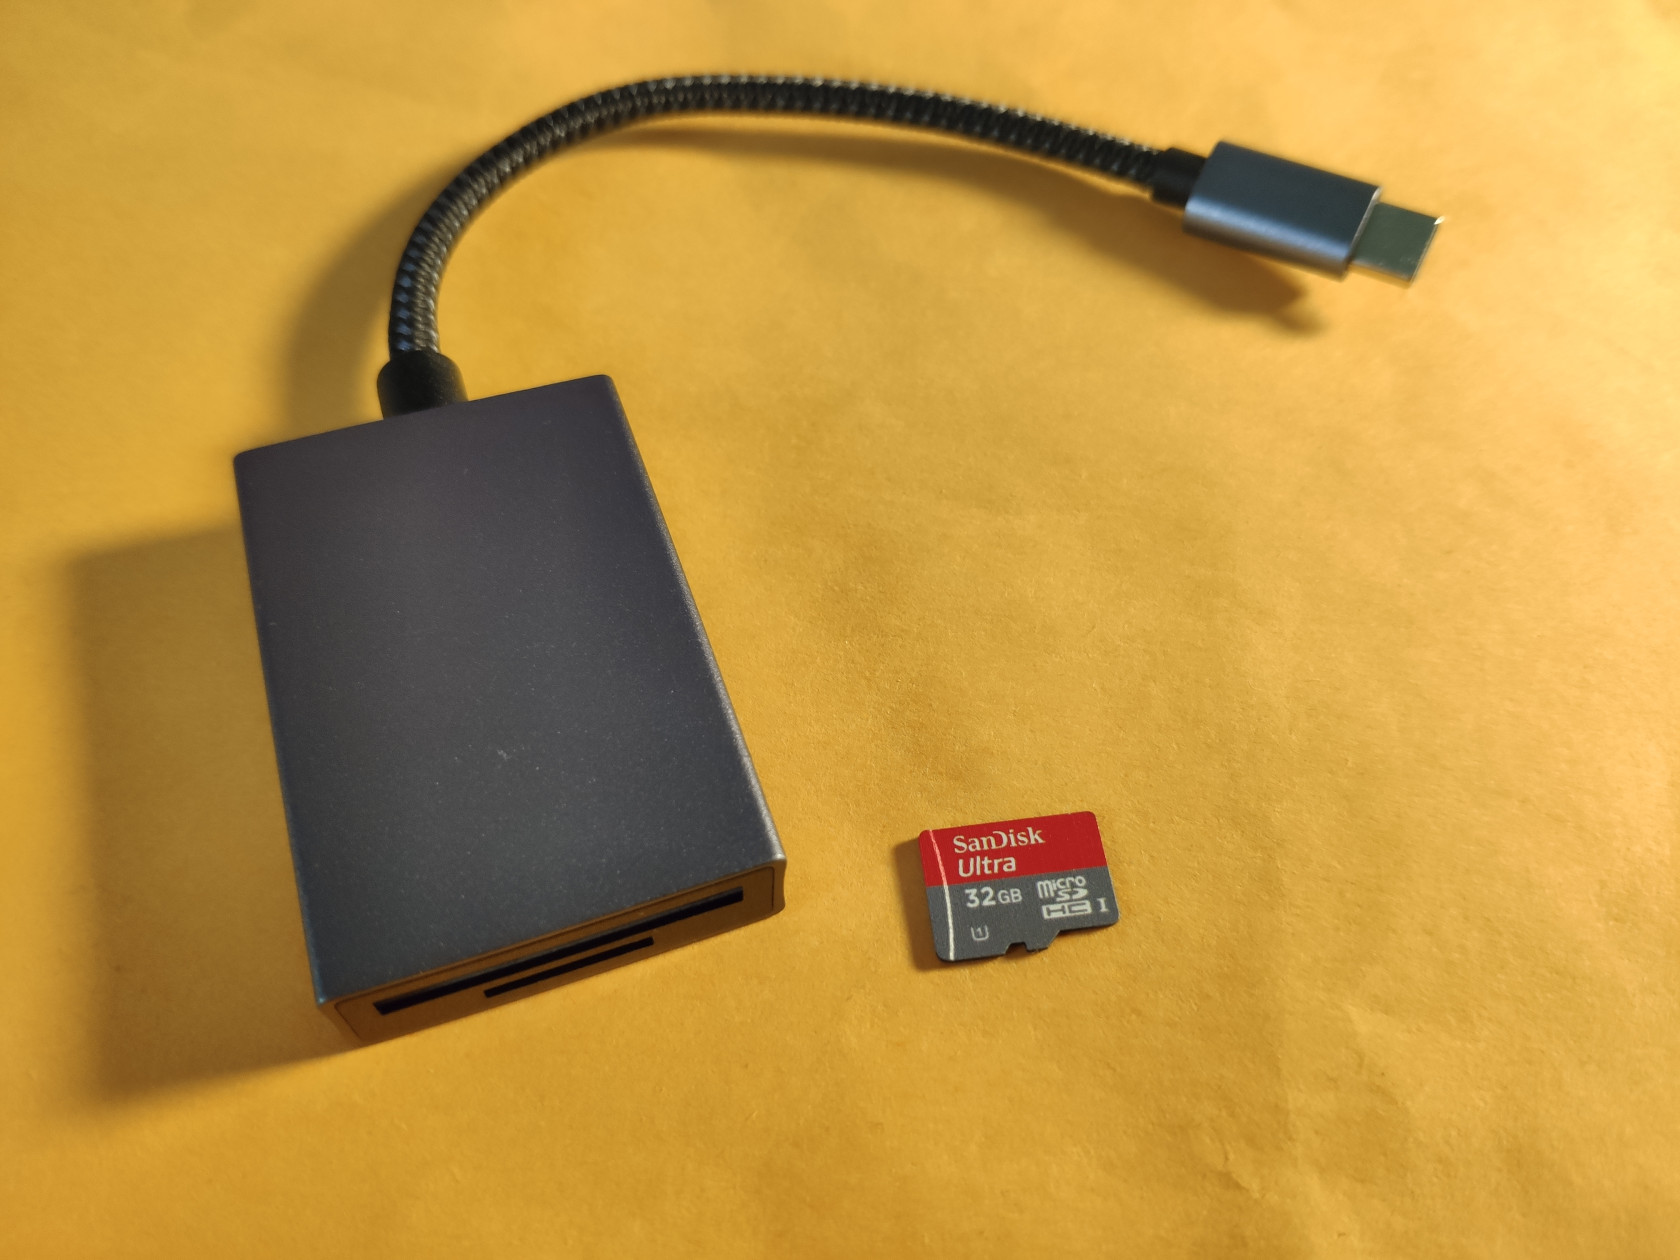
Insert the MicroSD card into a MicroSD Reader on your computer.
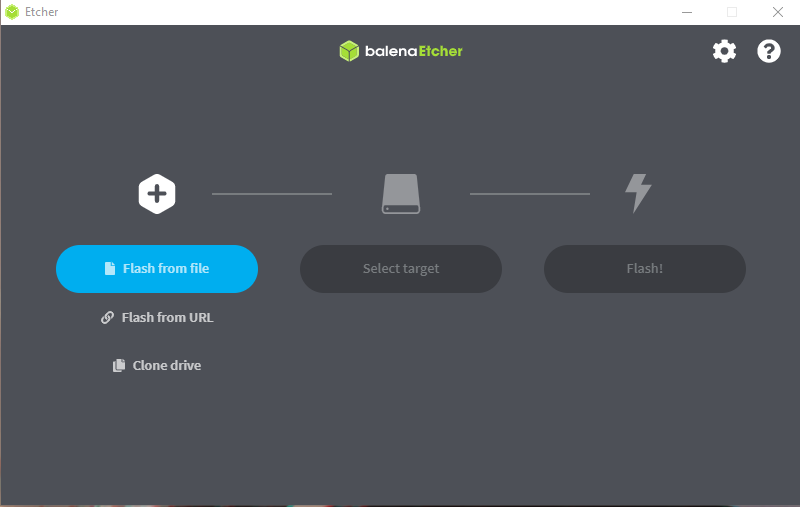
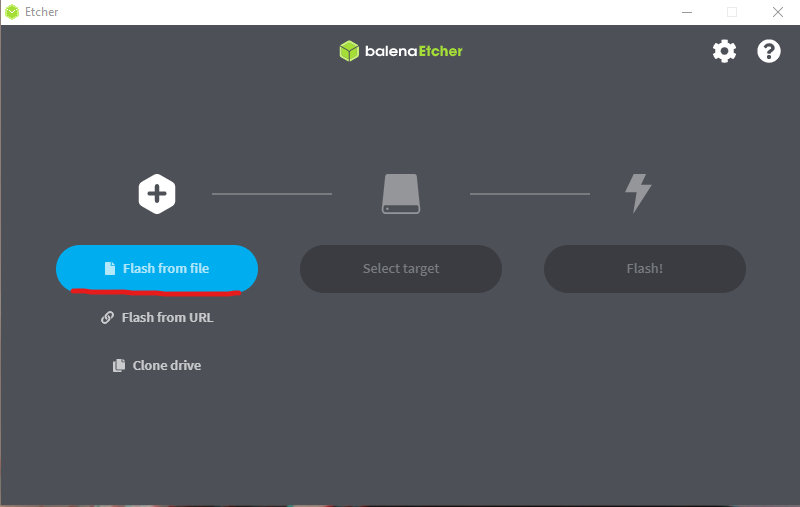
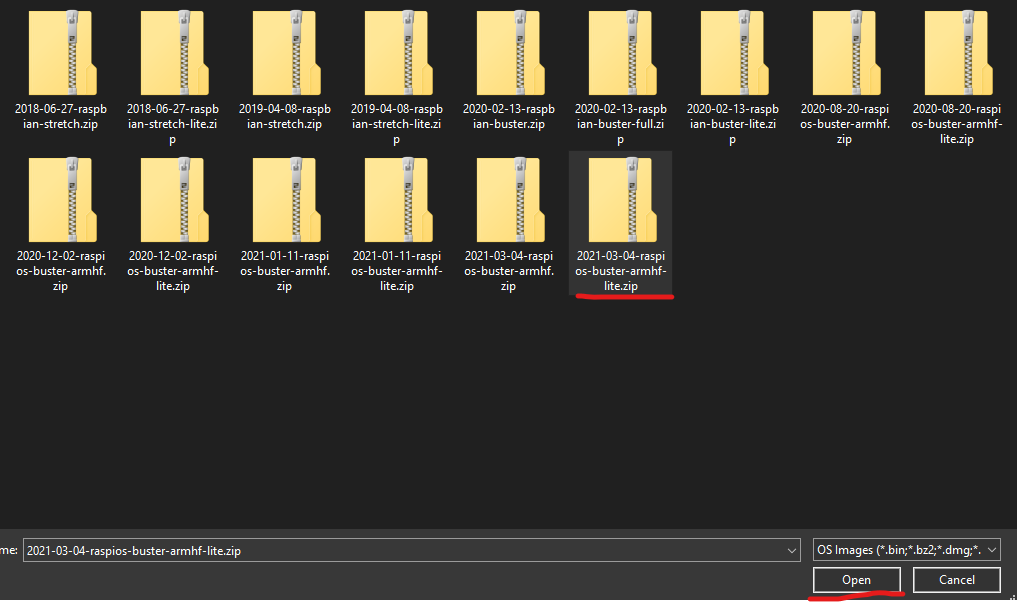
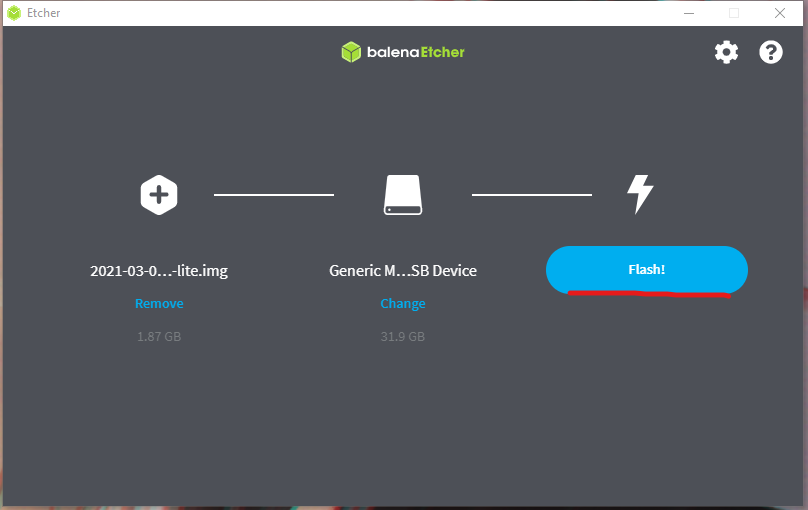
Next, select the target SD card to flash the OS onto.
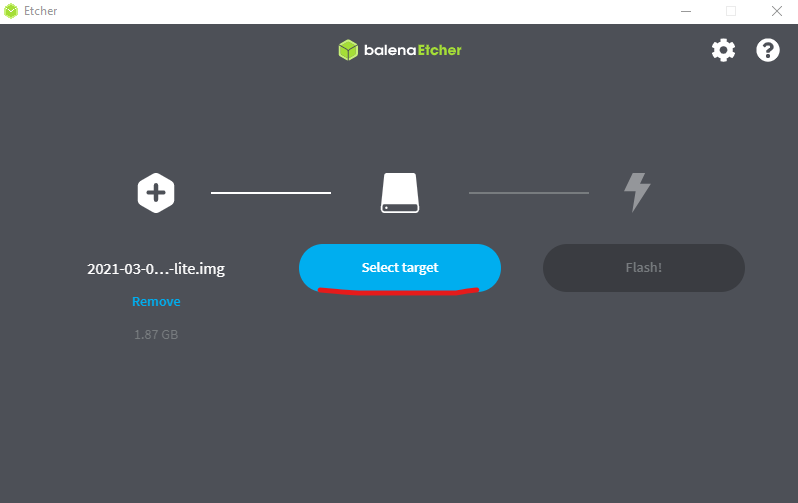
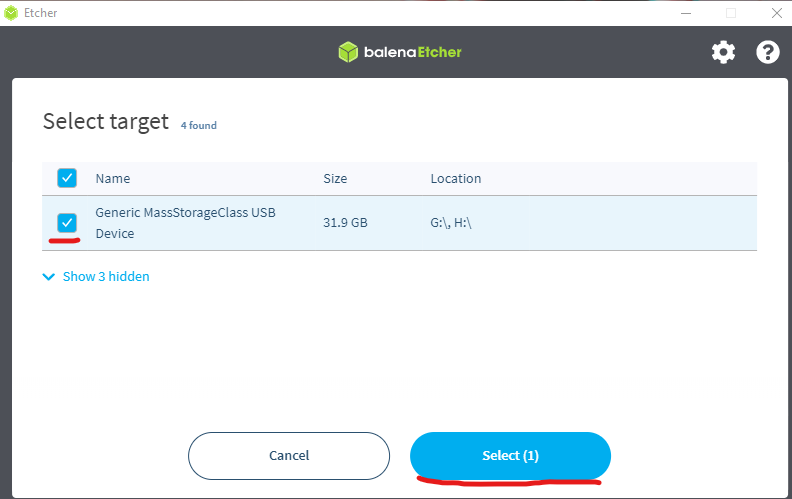
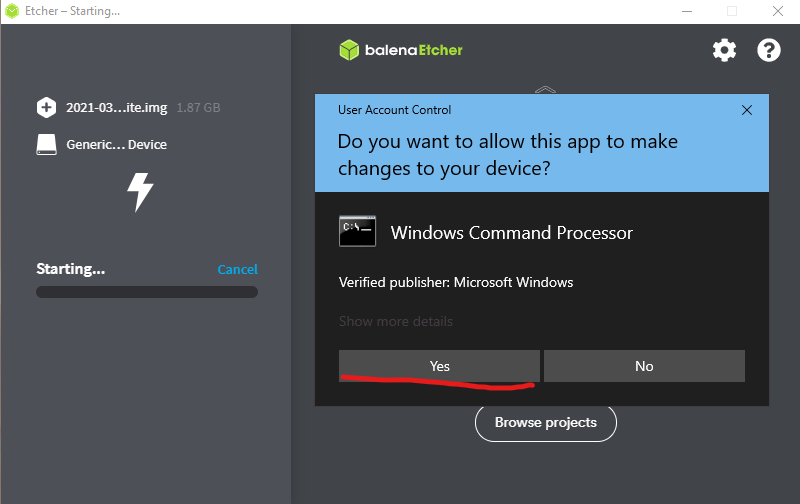
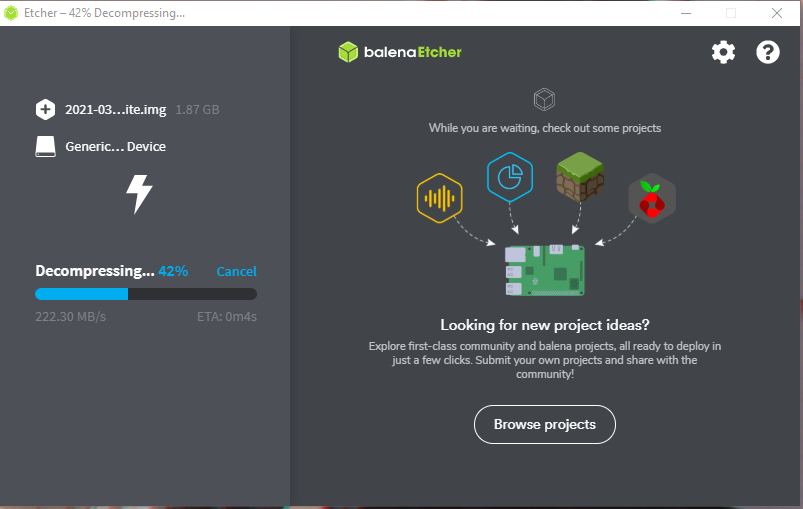
Lastly, hit Flash to start the flashing process. A Windows UAC prompt may pop up to ask for permission to start the process.
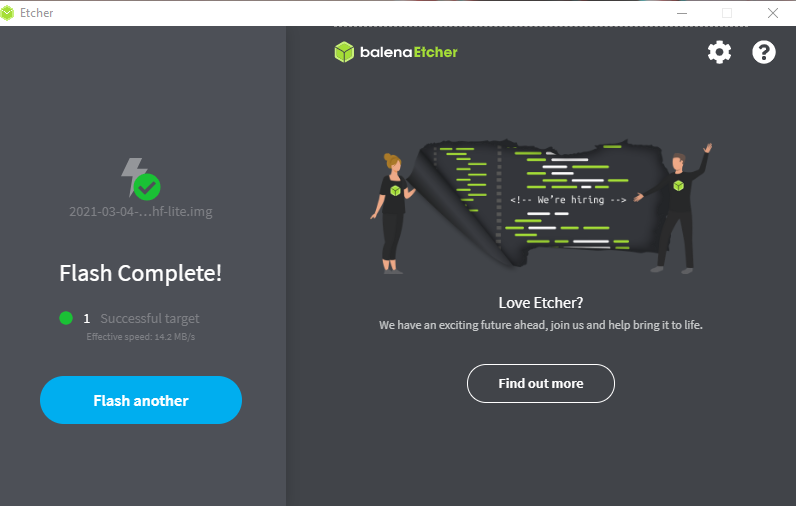
When complete, Etcher will display a green check for successful flash like below.
Step 3: Test the OS
Take the MicroSD card and plug it into the MicroSD card slot on the Pi.
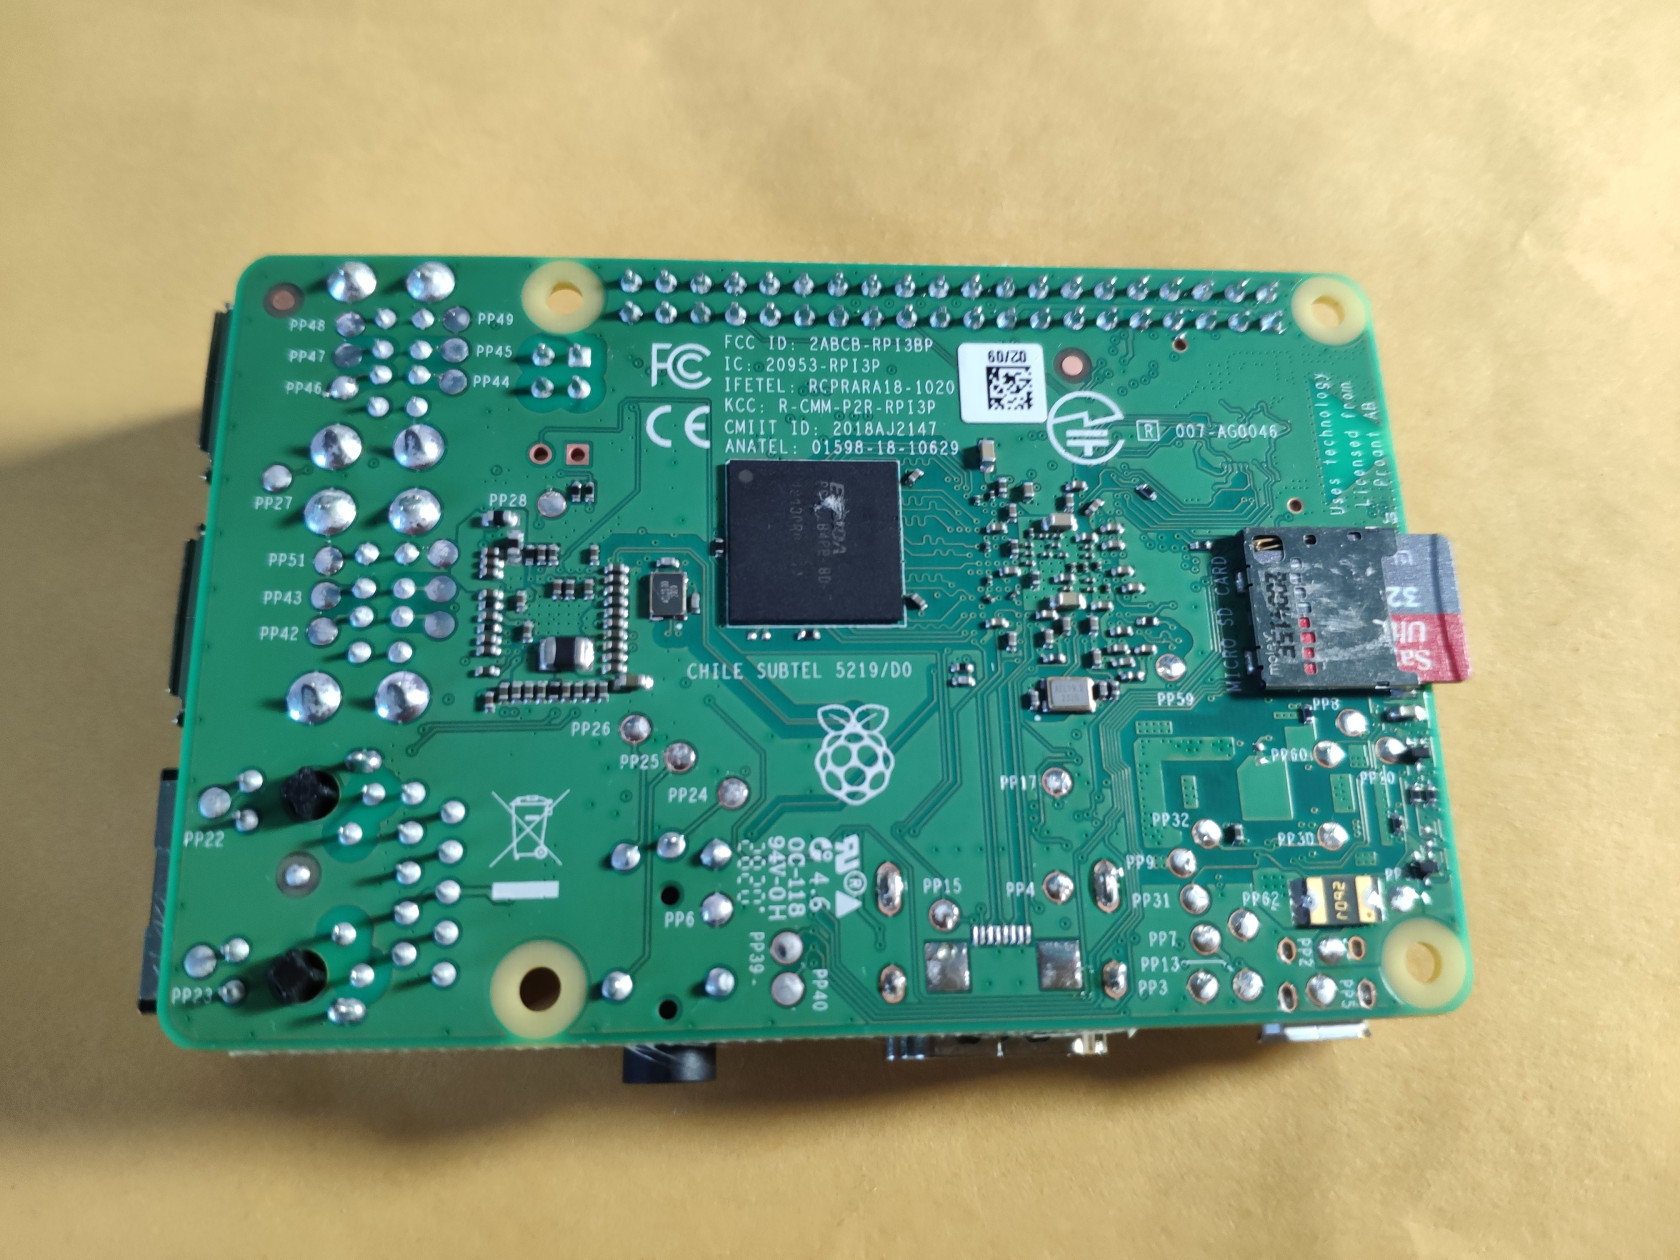
Plug in the power source, HDMI cable, and watch the Pi boot up into the Raspberry Pi OS.
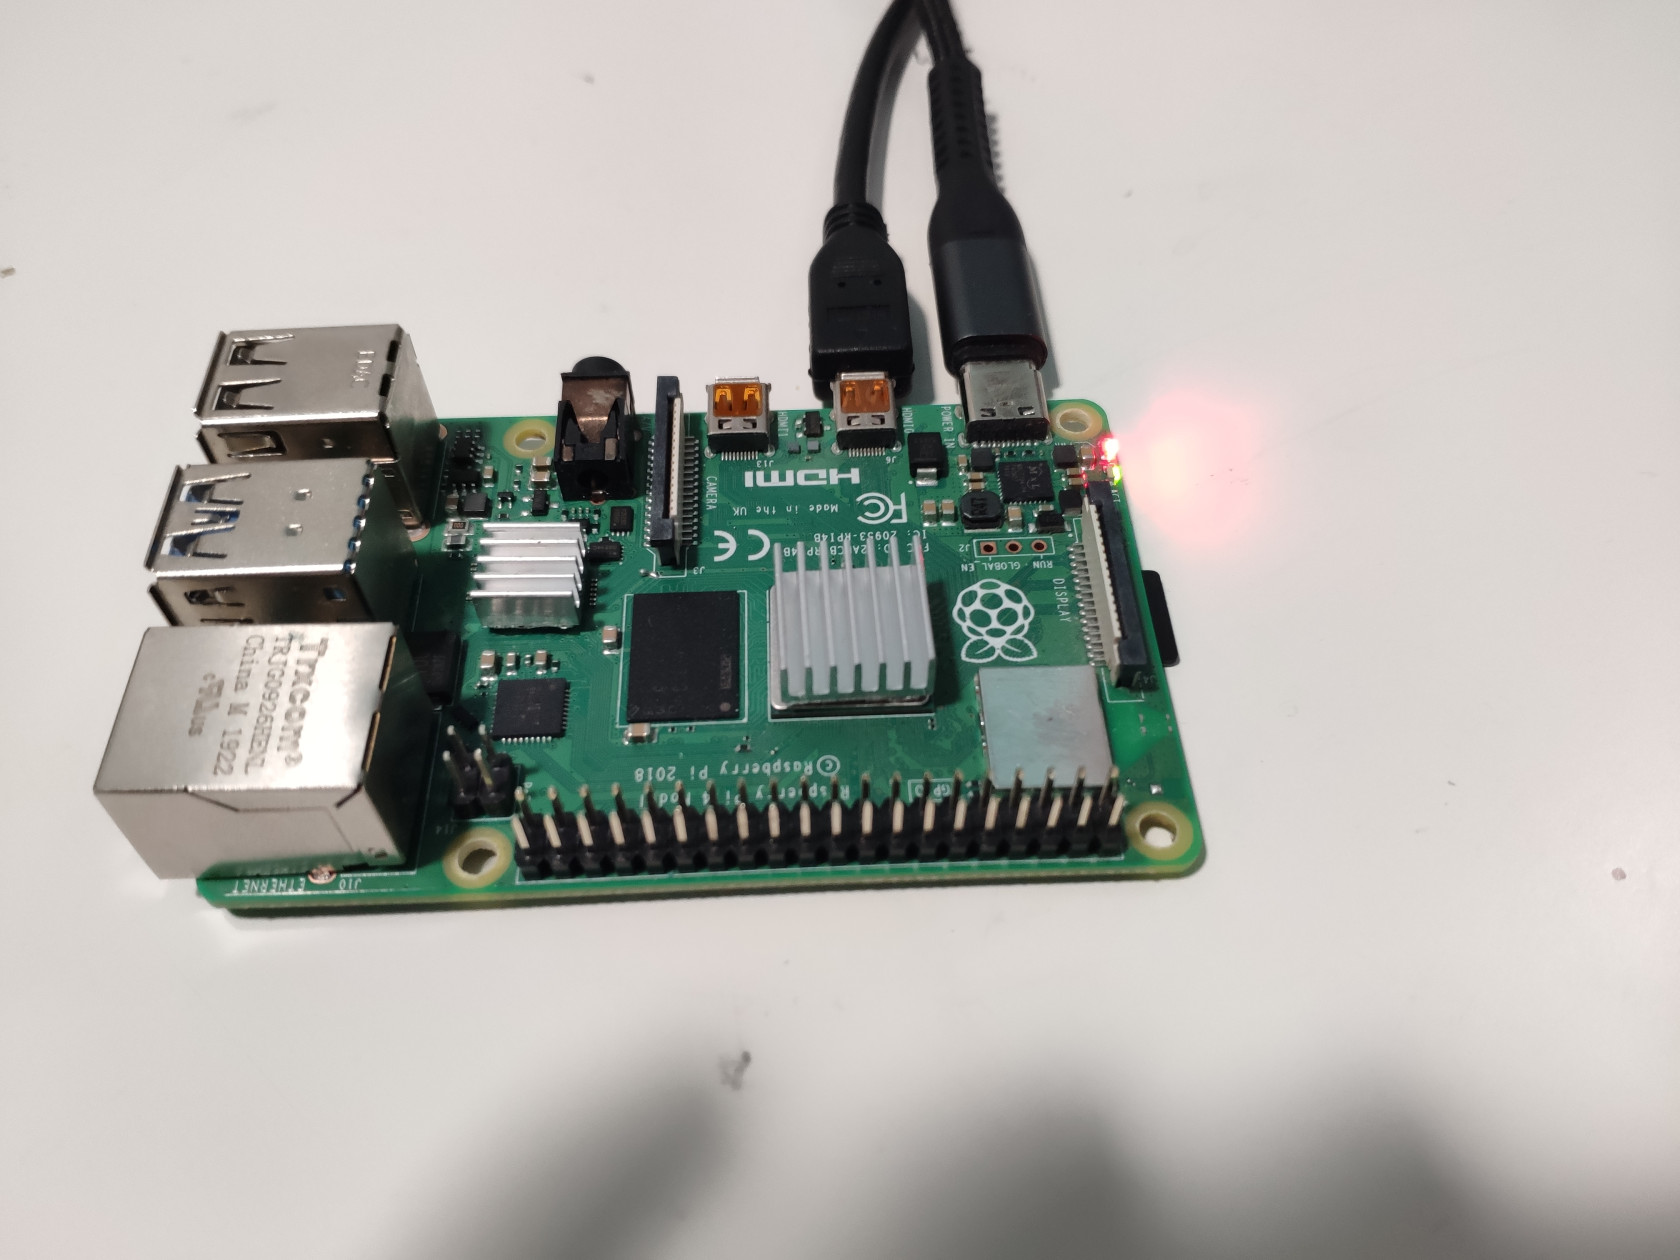
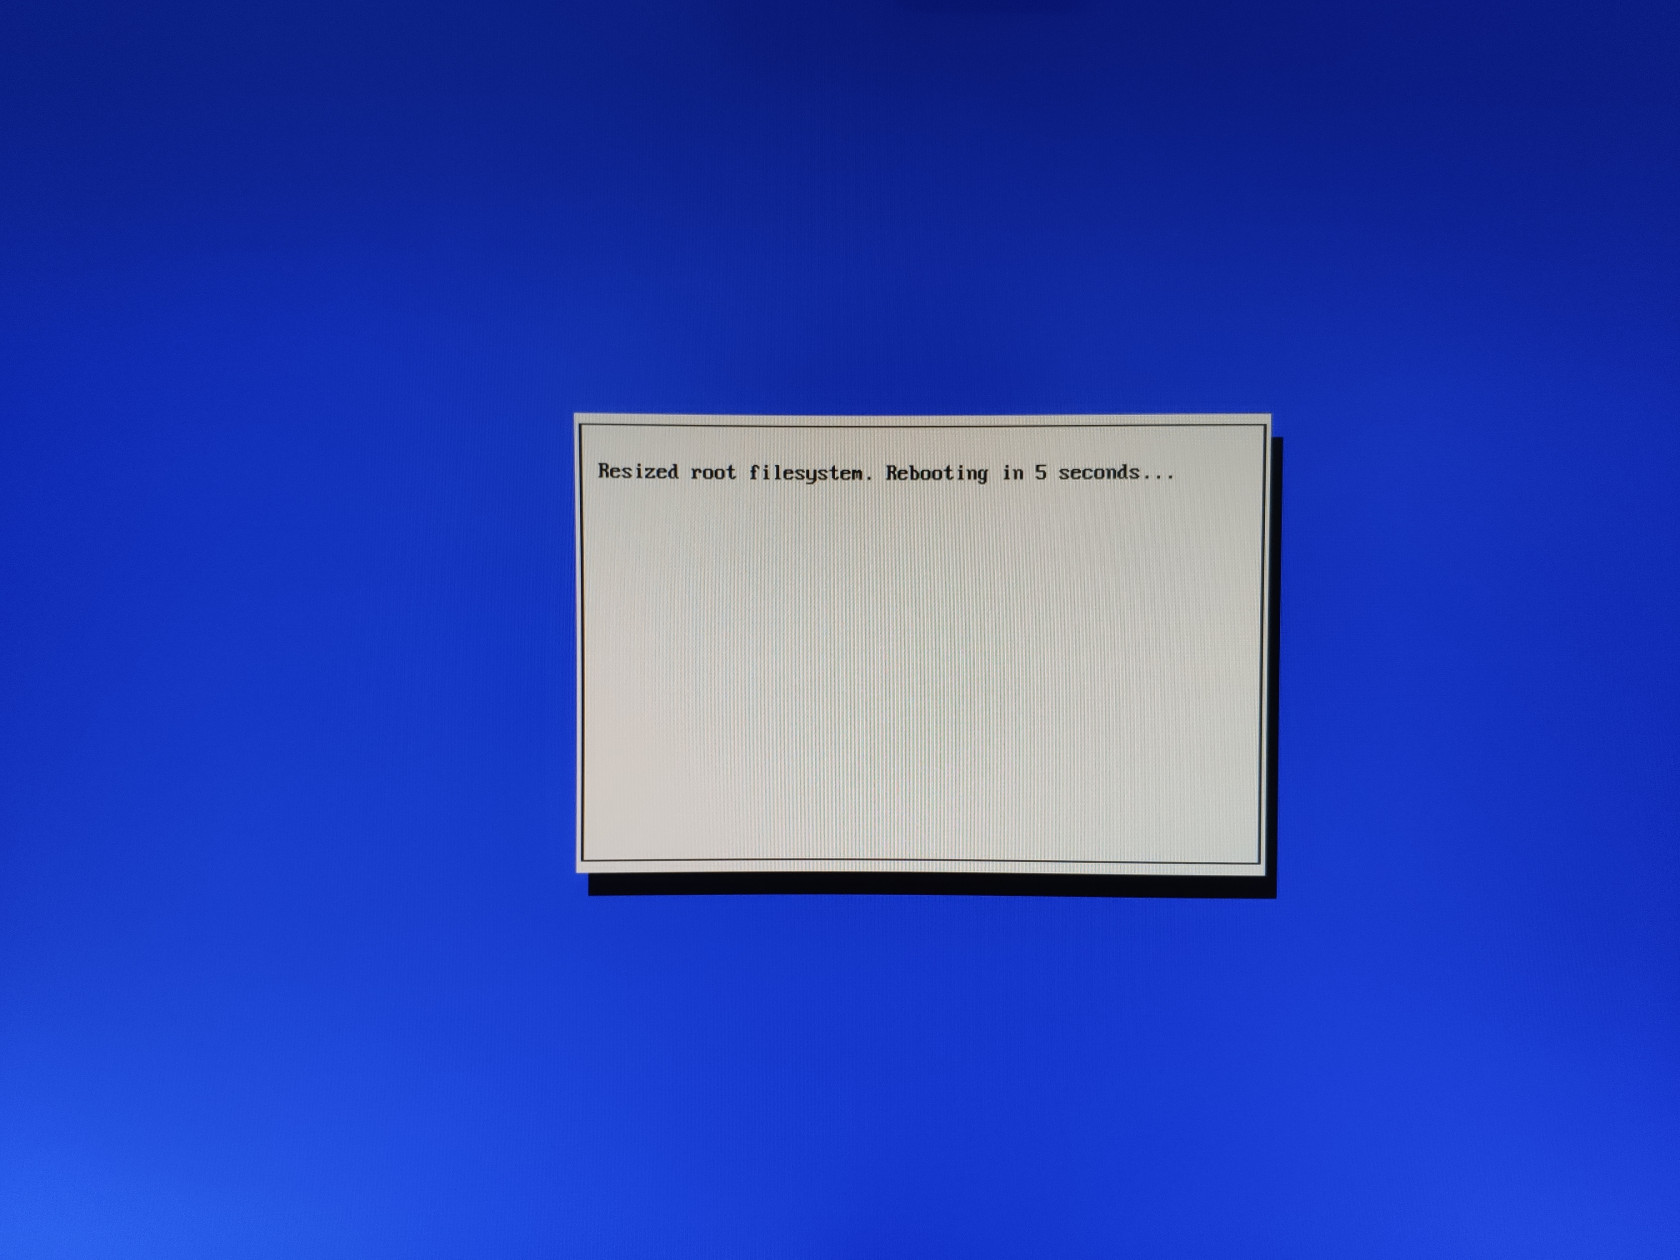
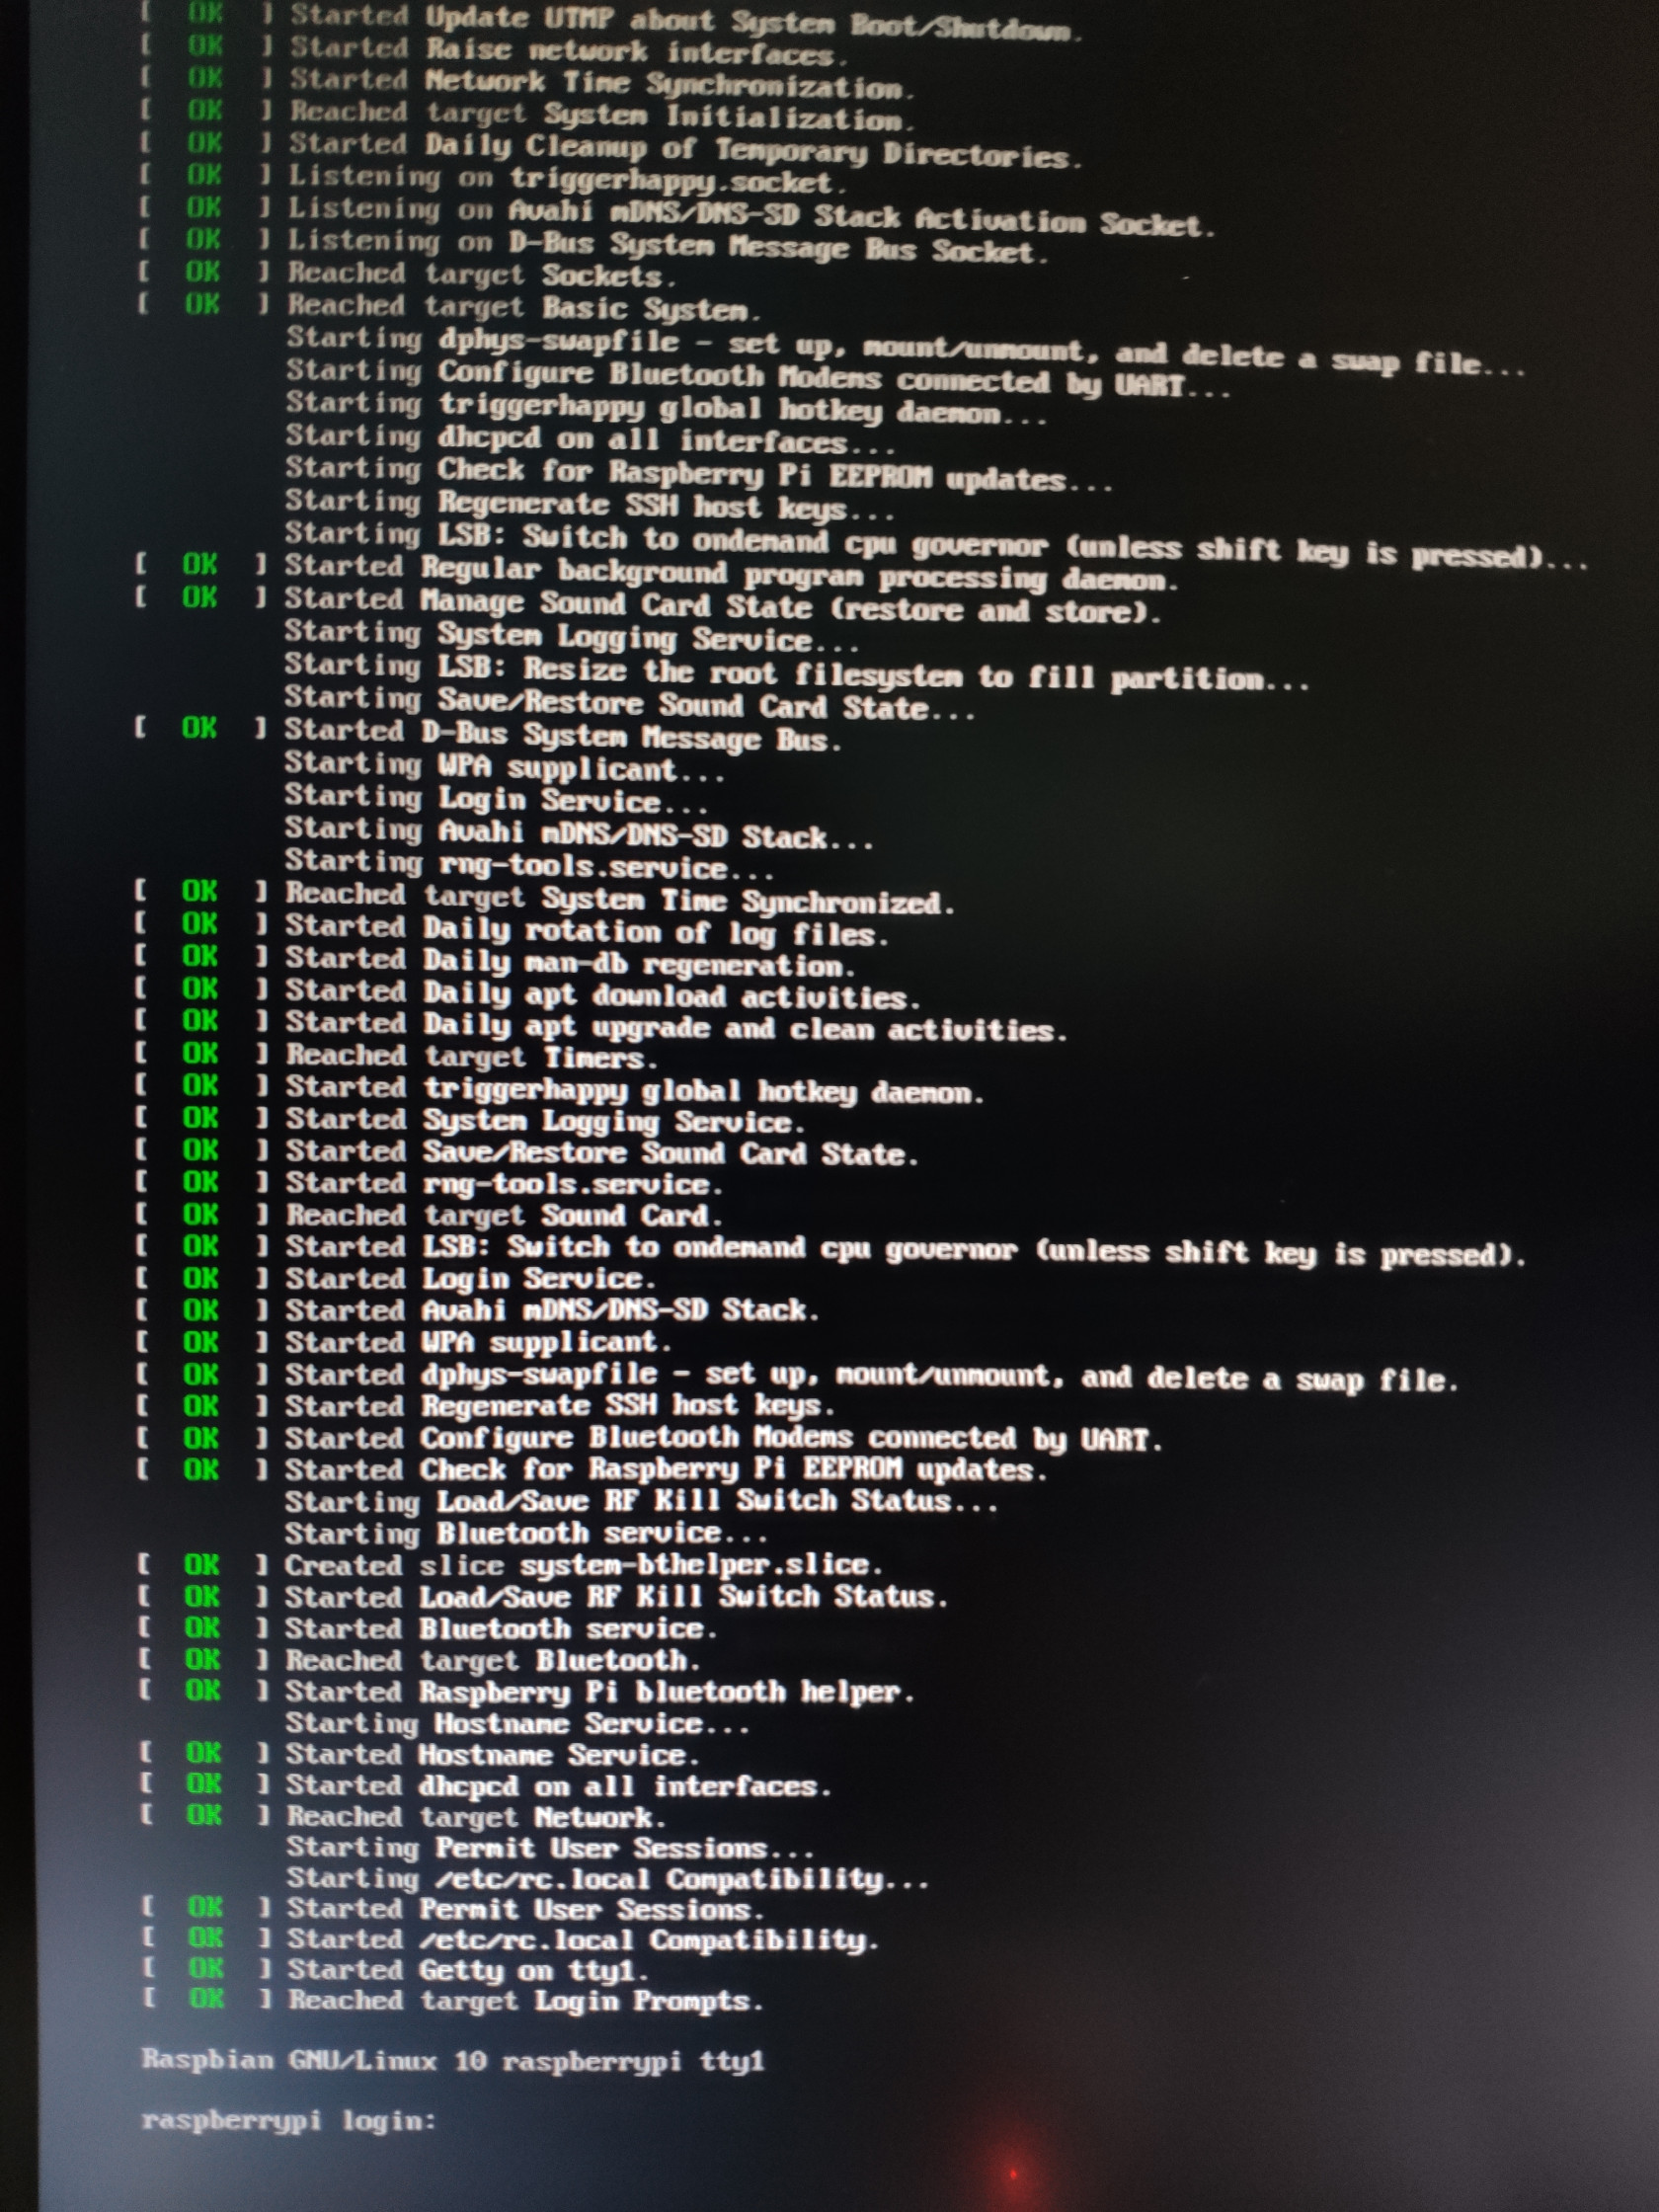
Congrats, you have now successfully installed a Raspberry Pi OS on a Raspberry Pi.
