Creating Users and Enabling Multi-Factor Authentication
Login as the admin user.
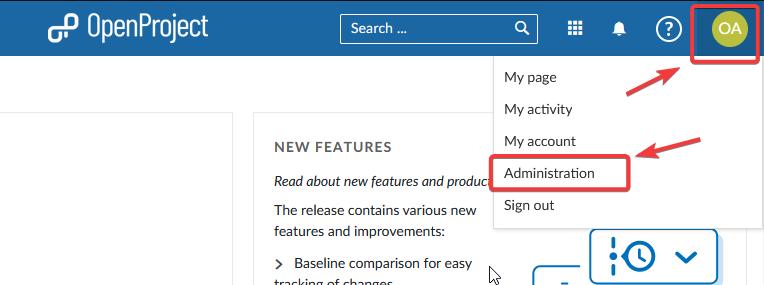
Click on your username icon on the top right, then select Administration.
Here, you will see a while bunch of settings that you can change for your OpenProject instance.
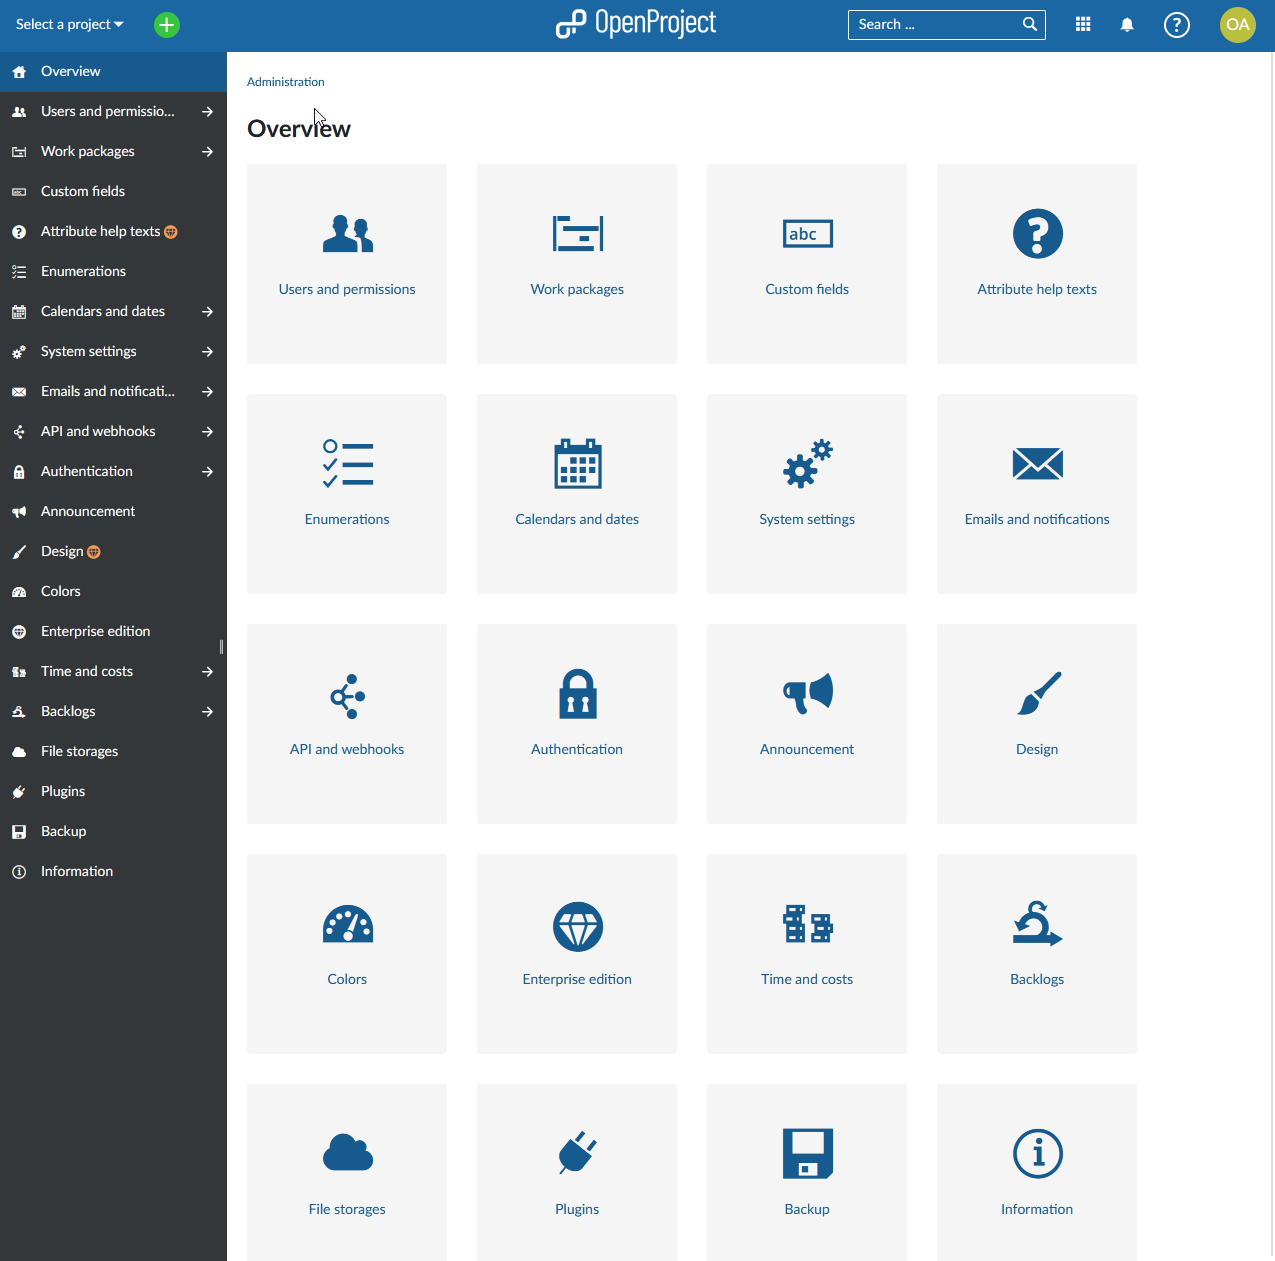
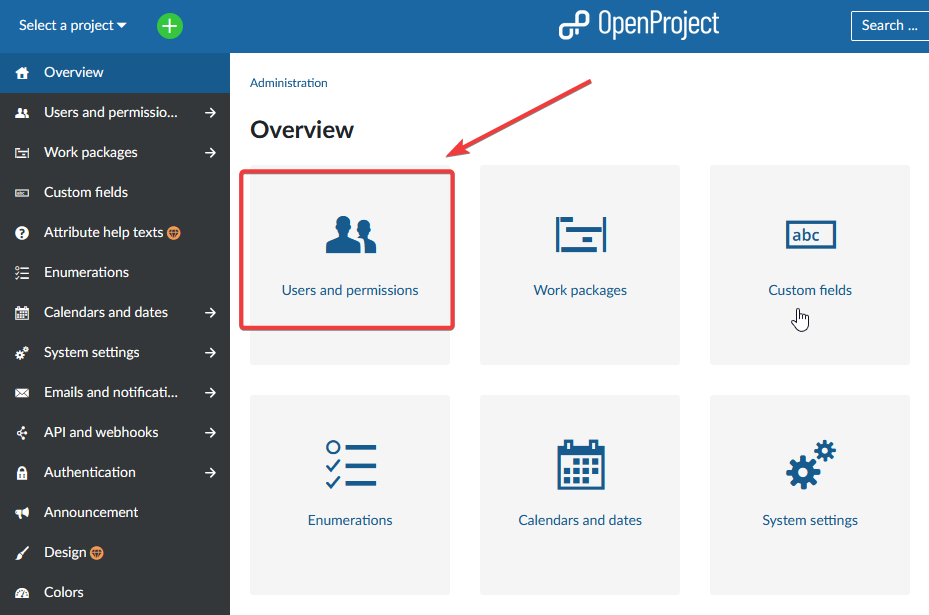
Click on Users and Permissions.
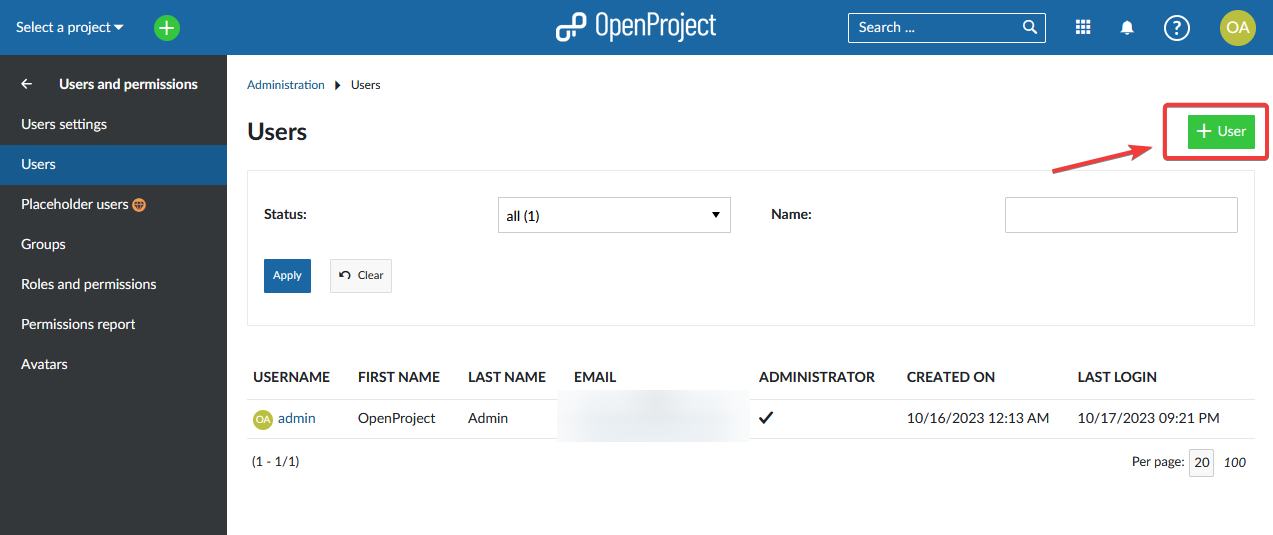
Click on + User.
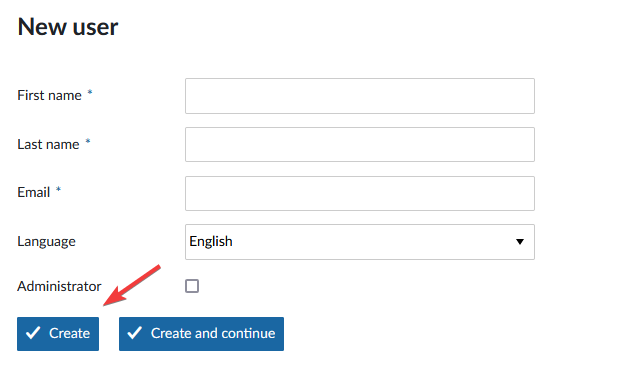
Enter the information for the new user, and click Create. Check the box for Administrator if this new user will be an admin.
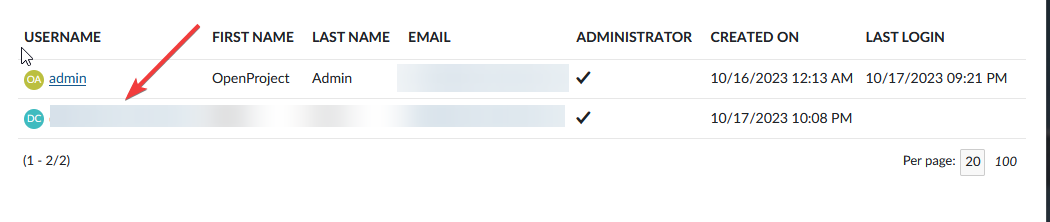
Once created, you will see the new user in the list of users. Click on the newly created user.
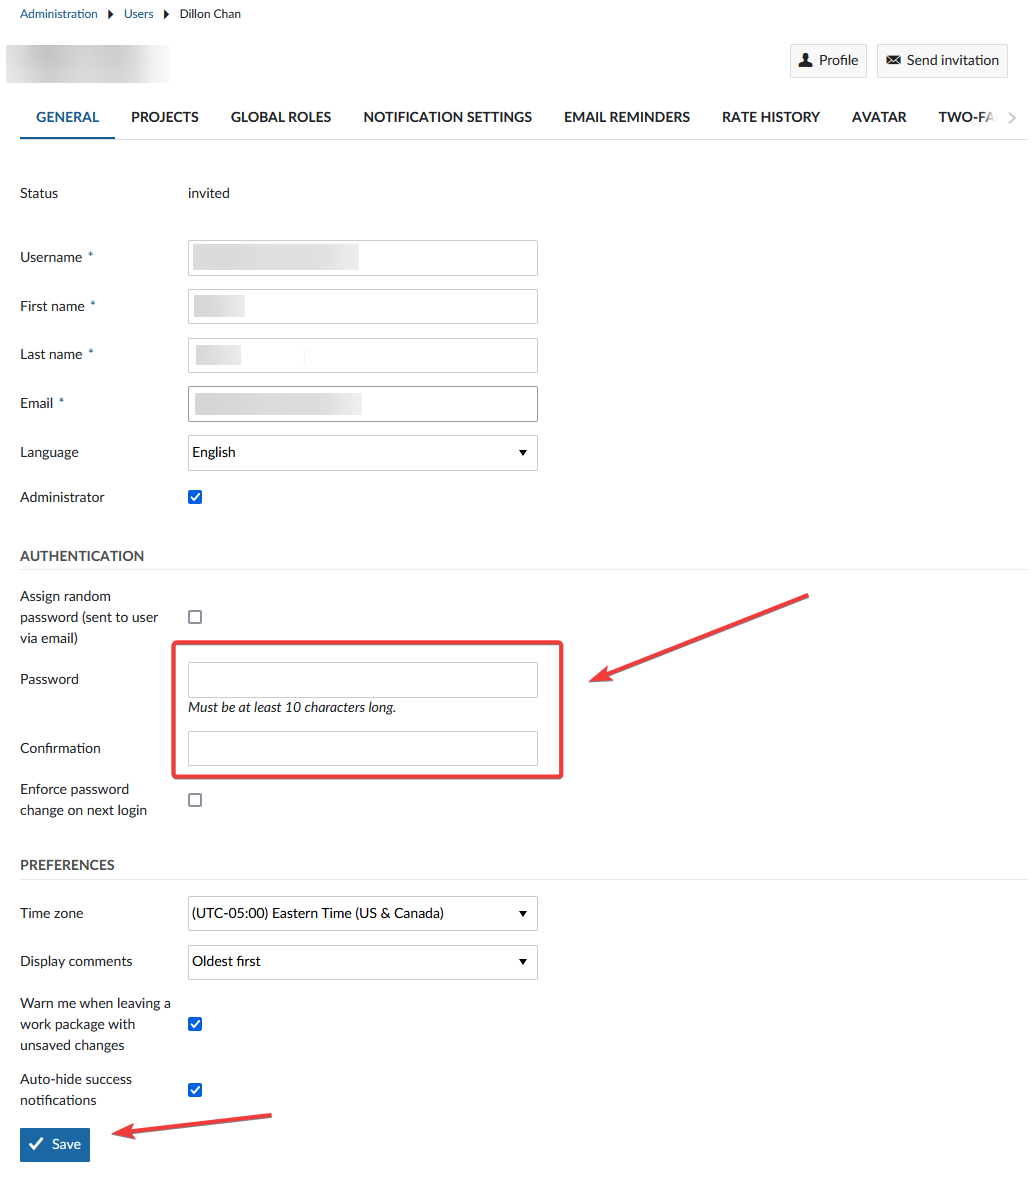
In the Password field, set a new password for the user, and save.
Enable Multi-Factor Authentication
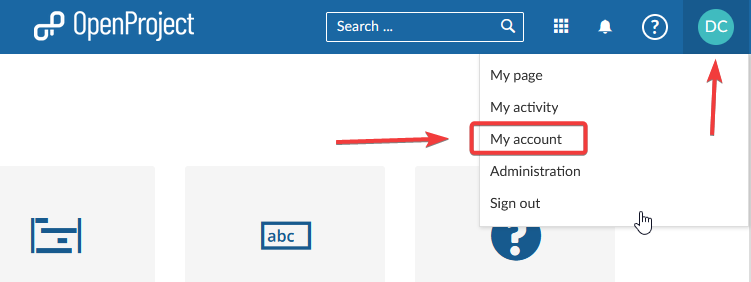
Click on the username icon on the top right, then select My Account.
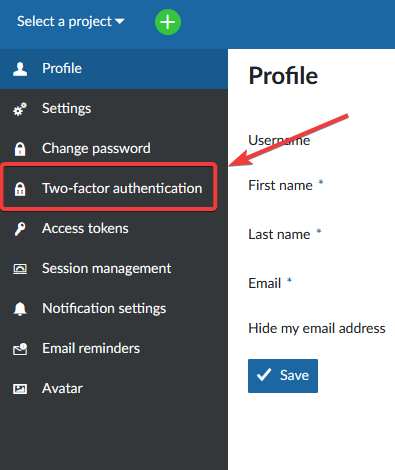
Choose Two-Factor Authentication option on the left side.
Click on + 2FA Device on the top right.

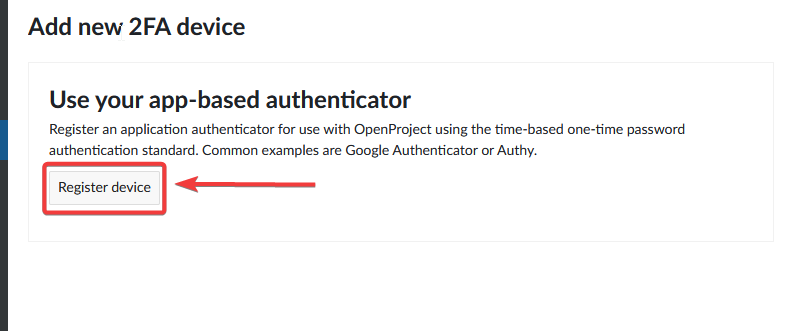
Choose Register device.
Give this 2FA device a name, and scan the QR Code to your authenticator app.
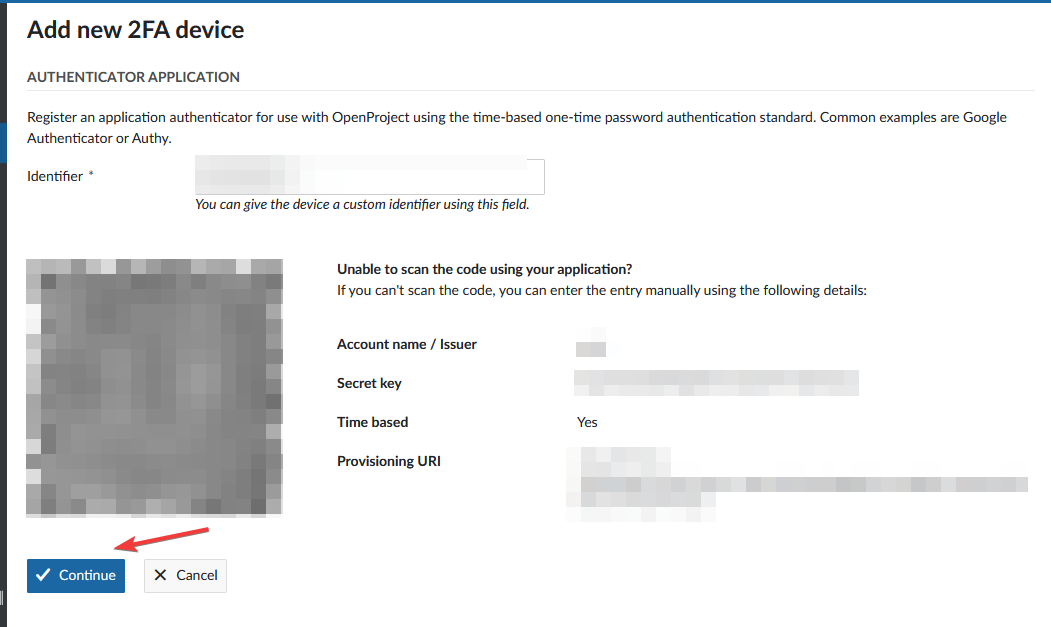
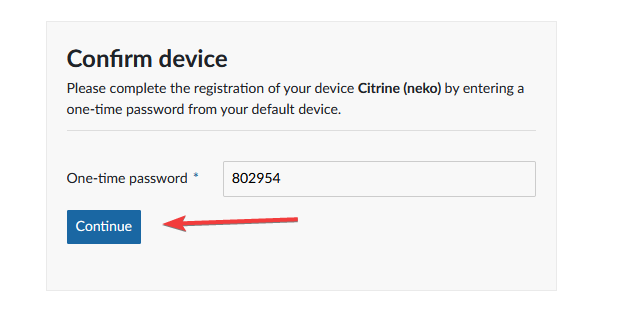
Enter the 6 digit ToTP code from your authentication app here, and click continue to confirm the 2FA device.
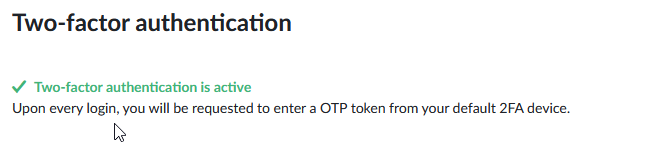
Your Two-factor authentication setting is now active.