Manual Installation on Debian
For this guide, I am will be using NGINX as the webserver, MariaDB as the database, and PHP version 8,3.
As of 2024-04-28, This guide has been updated for installing on Debian 12.
Install Utilities and Update System
We will begin by installing some basic utilities that are not included as part of the default Debian 11 installation.
sudo apt install gnupg git unzip curl 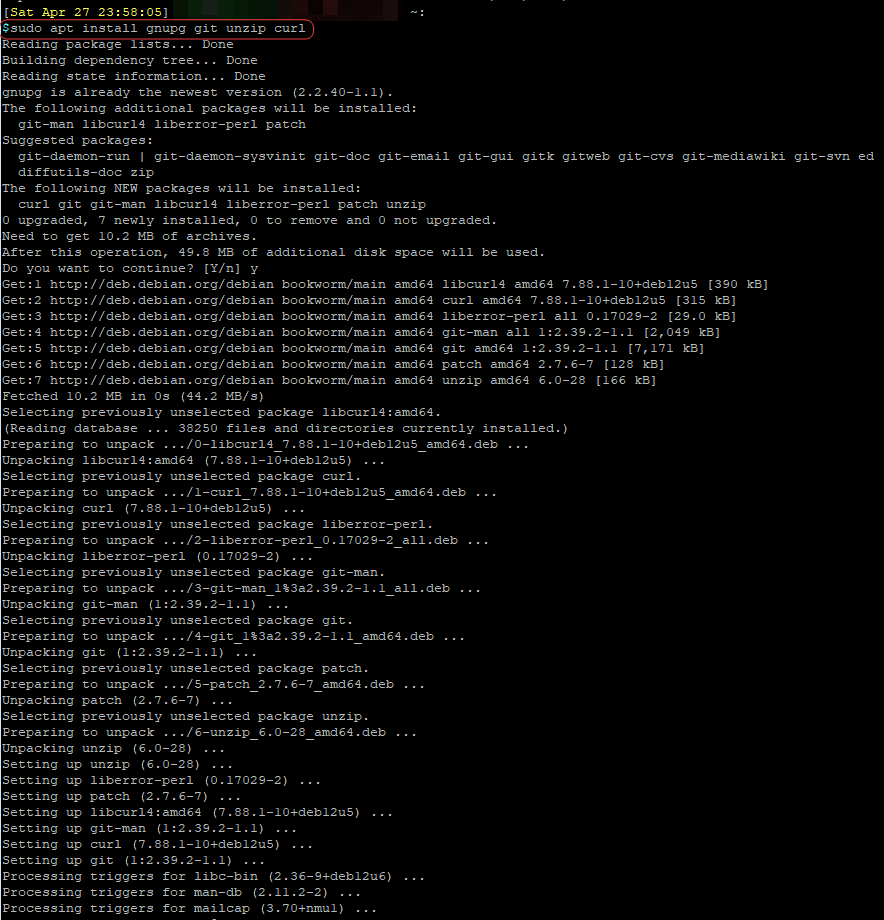
Make sure the your Debian system is up to date.
sudo apt update && sudo apt upgrade -y
Install NGINX
sudo apt install nginx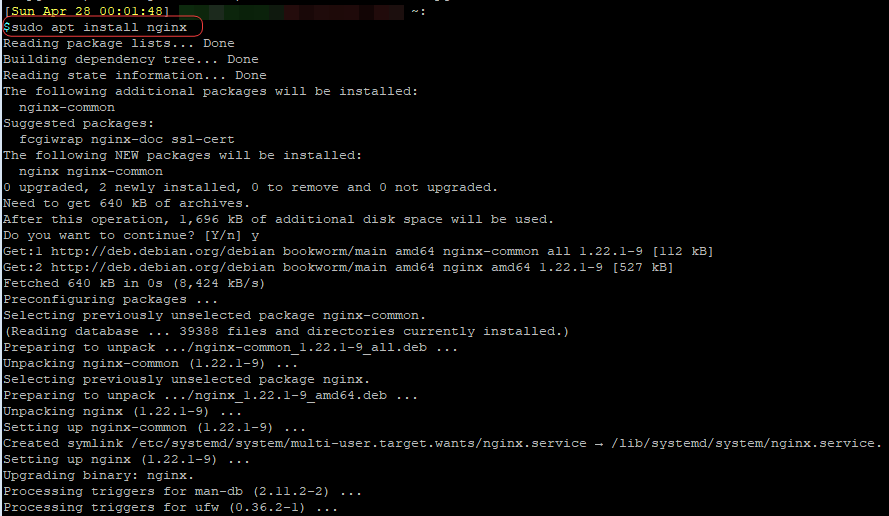
Start NGINX at boot
sudo systemctl enable nginx
Install MariaDB
sudo apt install mariadb-server mariadb-client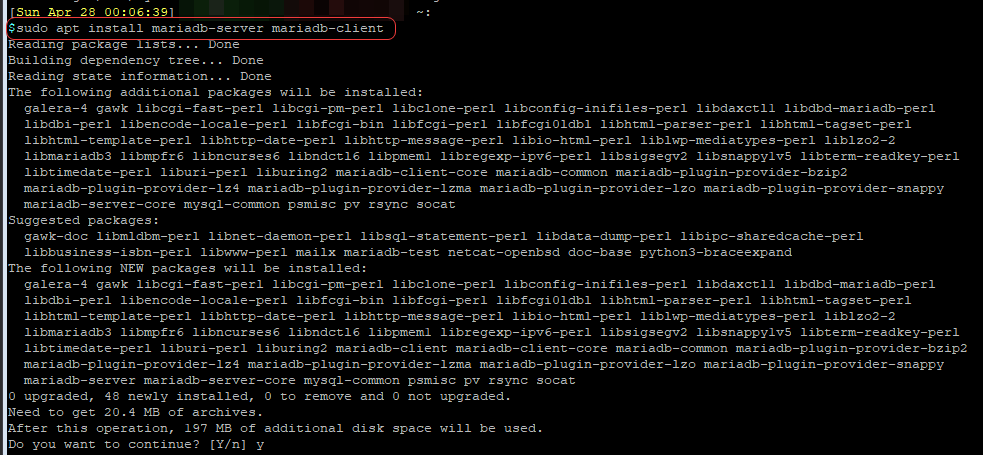
Start MariaDB at boot
sudo systemctl enable mariadb
Install PHP 8.3
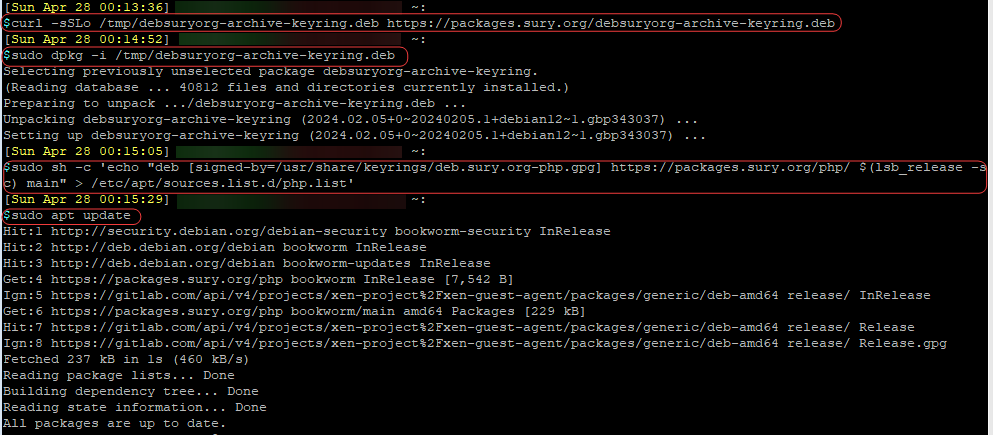
Add the Sury PHP Repository and update afterwards
#Get the repo keyring
curl -sSLo /tmp/debsuryorg-archive-keyring.deb https://packages.sury.org/debsuryorg-archive-keyring.deb

#Install the repo keyring
sudo dpkg -i /tmp/debsuryorg-archive-keyring.deb

#Add the Sury PHP repo to apt source
sudo sh -c 'echo "deb [signed-by=/usr/share/keyrings/deb.sury.org-php.gpg] https://packages.sury.org/php/ $(lsb_release -sc) main" > /etc/apt/sources.list.d/php.list'

#Update the repo
sudo apt update
Install PHP 8.3 and the required PHP packages for BookStack
sudo apt install php8.3 php8.3-{curl,mbstring,ldap,xml,zip,gd,mysql,fpm}
Start PHP FPM at boot
sudo systemctl enable php8.3-fpm
Create BookStack Database
Run the following command to create the BookStack Database. Replace YOUR-SUPER-STRONG-PASSWORD with an actual, strong password. This password will be needed for the BookStack application to connect to the database.
You may change the Database name and database user name to suit your need.
sudo mysql -u root --execute="CREATE DATABASE bookstack;"
sudo mysql -u root --execute="CREATE USER 'bookstack'@'localhost' IDENTIFIED WITH mysql_native_password AS PASSWORD('YOUR-SUPER-STRONG-PASSWORD');"
sudo mysql -u root --execute="GRANT ALL ON bookstack.* TO 'bookstack'@'localhost';FLUSH PRIVILEGES;"
Secure your local MariaDB instance by running the mysql_secure_installation script.
sudo mysql_secure_installationChoose the following for the questions:
Switch to unix_socket authentication [Y/n] n
Change the root password? [Y/n] y
Remove anonymous users? [Y/n] y
Disallow root login remotely? [Y/n] y
Remove test database and access to it? [Y/n] y
Reload privilege tables now? [Y/n] y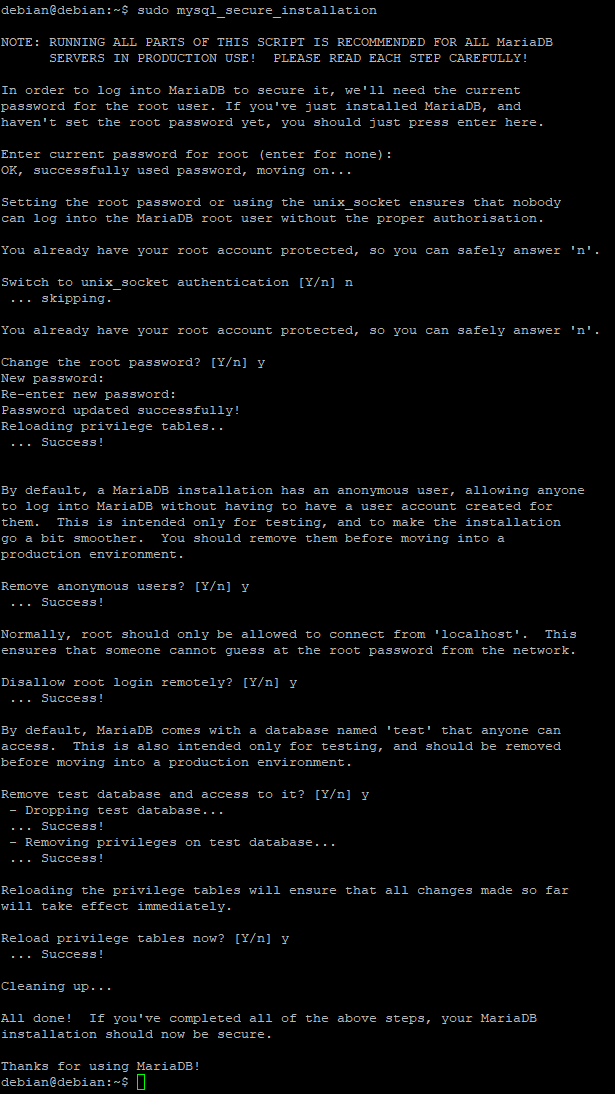
Install Composer
Composer (https://getcomposer.org/) is used to manage the Bookstack PHP dependencies.
You can check out the official guide on Composer at https://getcomposer.org/download/
php -r "copy('https://getcomposer.org/installer', 'composer-setup.php');"
php composer-setup.php
php -r "unlink('composer-setup.php');"
sudo mv composer.phar /usr/local/bin/composer
Install BookStack
Change directory into /var/www/ and clone the repository from GitHub
cd /var/www/
sudo git clone https://github.com/BookStackApp/BookStack.git --branch release --single-branch
cd BookStack
sudo composer install --no-dev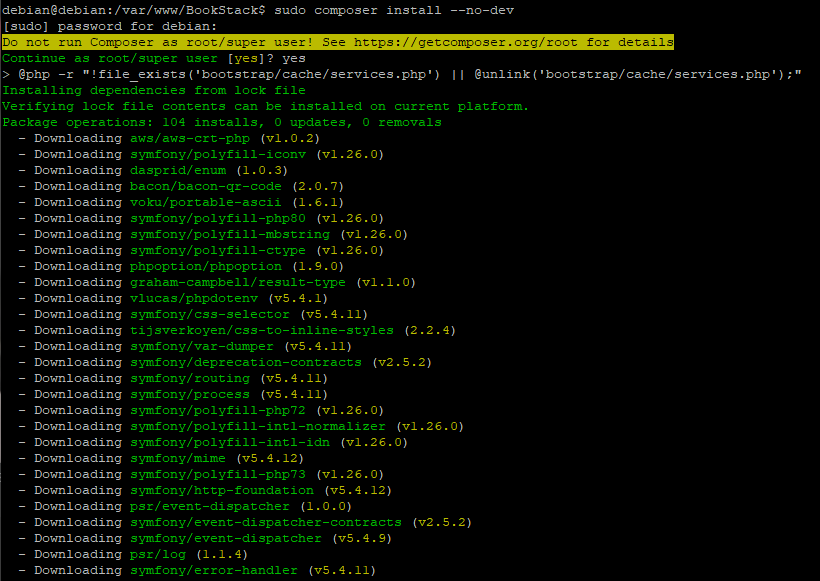
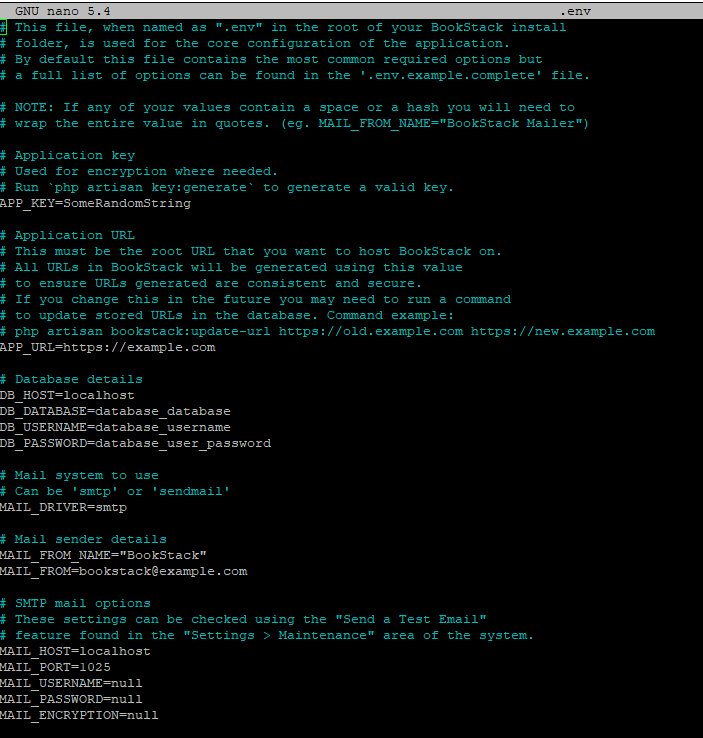
Copy the default .env config file.
sudo cp .env.example .envUse your preferred text editor, edit the .env file and fill out the database information.
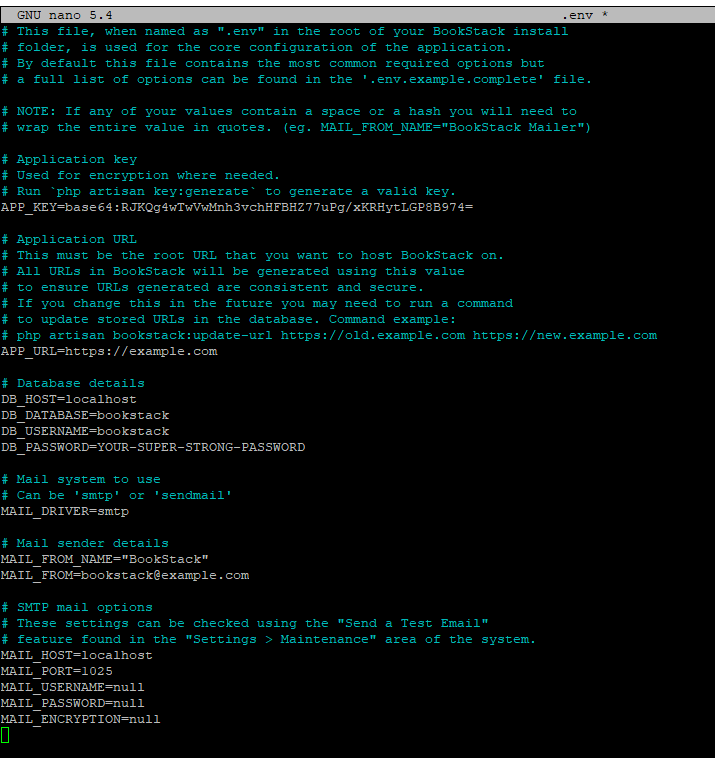
Make sure the storage, bootstrap/cache, and public/uploads folders are accessible by the web-server user, www-data
sudo chown -R www-data:www-data storage bootstrap/cache public/uploads
Generate the application key
sudo php artisan key:generate
Update the BookStack database
sudo php artisan migrate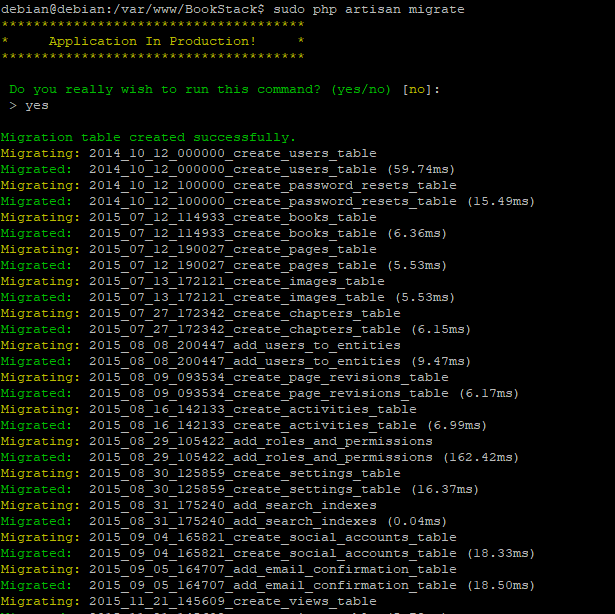
Create NGINX Config
Un-link the default NGINX config file
sudo unlink /etc/nginx/sites-enabled/default
Using your preferred text editor, create a new nginx file at /etc/nginx/sites-available/ , and copy the following configuration in it. Make sure to change the server_name and the SSL cert locations.
server {
  #This config is for HTTPS setup
  listen 443 ssl http2;
  server_name your_servers_name.domain.com;

  #SSL Cert Location
  ssl_certificate /etc/ssl/certs/self-sign-SSL-or-public-ssl.crt;
  ssl_certificate_key /etc/ssl/private/self-sign-SSL-or-public-ssl.key;

  #Disable NGINX current version reporting on error pages
  server_tokens off;

  #Force strong TLS
  ssl_protocols      TLSv1.3;
  ssl_prefer_server_ciphers   on;

  #Disable weak ciphers
  ssl_ciphers "EECDH+ECDSA+AESGCM EECDH+aRSA+AESGCM EECDH+ECDSA+SHA384 EECDH+ECDSA+SHA256 EECDH+aRSA+SHA384 EECDH+aRSA+SHA256 EECDH+aRSA+RC4 EECDH EDH+aRSA HIGH !RC4 !aNULL !eNULL !LOW !3DES !MD5 !EXP !PSK !SRP !DSS";

  #Increase Upload Size
  client_max_body_size 12M;

  #Enable NGINX logging
  access_log /var/log/nginx/bookstack-access.log;
  error_log /var/log/nginx/bookstack-error.log;

  #Bookstack Locations
  root /var/www/BookStack/public;
  index index.php index.html;

  location / {
    try_files $uri $uri/ /index.php?$query_string;
  }

  location ~ \.php$ {
    include snippets/fastcgi-php.conf;
    fastcgi_pass unix:/run/php/php8.3-fpm.sock;
  }
}
Link the config file.
sudo ln -s /etc/nginx/sites-available/bookstack /etc/nginx/sites-enabled/bookstackTest the config file.
sudo nginx -t
Restart the NGINX service
sudo systemctl restart nginxThat's it! Open up the web-browser, and head over to the server's IP or FQDN, and you will see the default BookStack login page.
