Rebuild XCP-NG OS RAID
XCP-NG uses mdadm for its software RAID, if you have selected the RAID option during the XCP-NG install.
To rebuild the mdadm RAID, login to SSH to the XCP-NG host.
Run the following to check the current mdadm RAID information, and note down the mdadm RAID name. In my case, it is called md127:
cat /proc/mdstat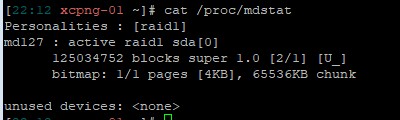
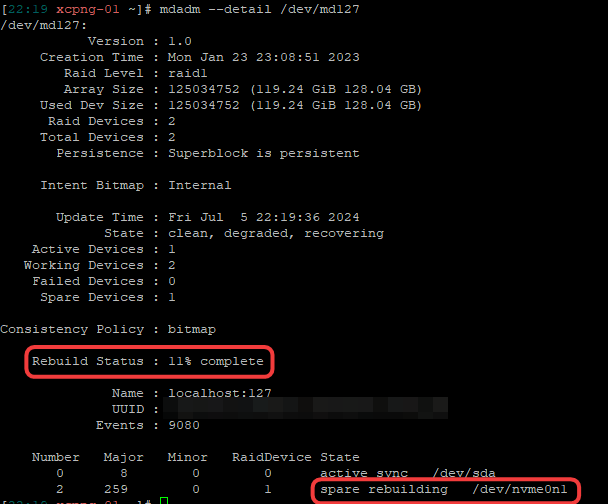
Next, check the details of the RAID. Here, you can see that I have one of the RAID memebers unavailable.
mdadm --detail /dev/<md RAID name>

mdadm --detail /dev/md127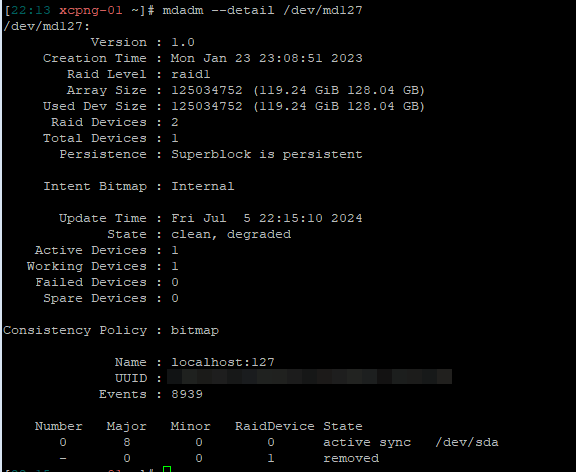
lsblk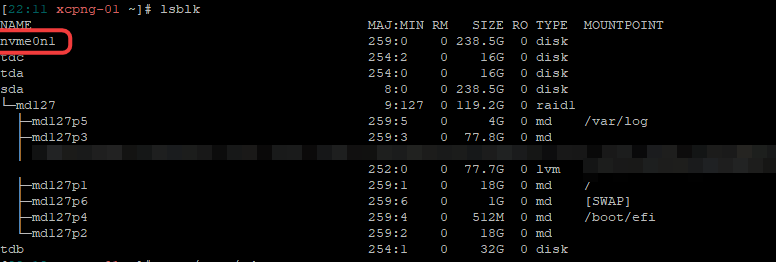
Once you have identify the drive, it is time to add it to the mdadm RAID.
mdadm --manage /dev/<md RAID name> -a /dev/<replacement drive name>

mdadm --manage /dev/md127 -a /dev/nvme0n1
mdadm --grow /dev/md127 --size=max
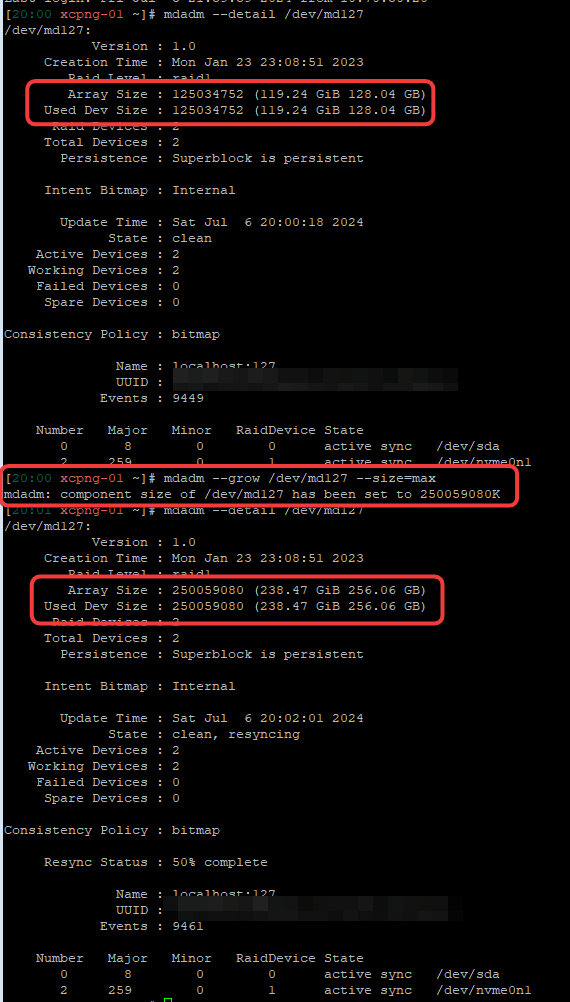
mdadm --grow /dev/<RAID Name> --size=max

mdadm --grow /dev/md127 --size=max
If you run mdadm --detail again, you will see that the RAID is rebuilding.
If all members of the RAID set was replaced by a larger drive, you can grow and expand the RAID using the following:
mdadm --grow /dev/<RAID Name> --size=max

mdadm --grow /dev/md127 --size=max