Backup and Restore ESXI Host Config
If you are running ESXI free license in your home lab environment, chances are, you might have wonder about how to backup the ESXI config data. Fortunately, you can export the config data from the ESXI host itself through a few simple command lines.
Backing up ESXI Host Config
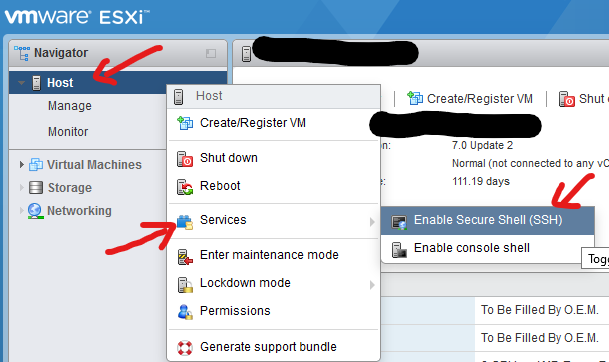
First, login and enable SSH on the ESXI Host via the ESXI WebGUI.


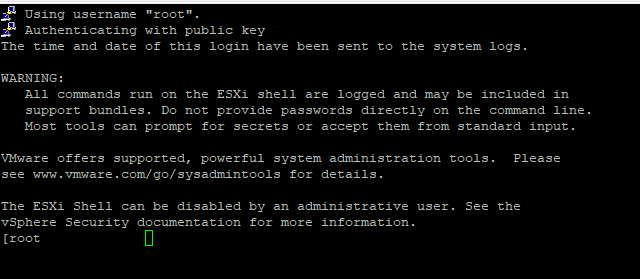
Connect via SSH to the ESXI host using your favorite terminal, like Putty or your operating system’s built-in terminal.

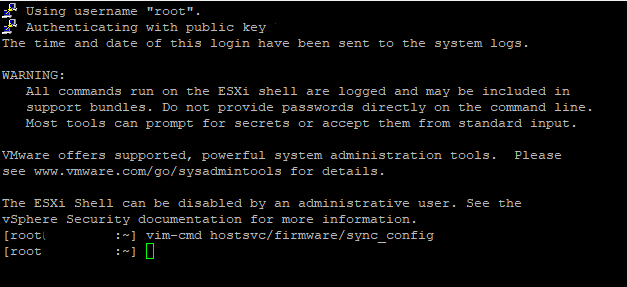
Sync the current configurations to the ESXI storage:
vim-cmd hostsvc/firmware/sync_config
Backup the current config data:
vim-cmd hostsvc/firmware/backup_config
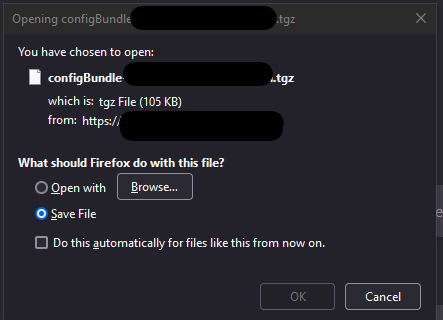
You should see the command telling you that the bundle can be downloaded. Copy the http address shown, replace the asterisk “*” with your ESXI host’s IP or FQDN, and paste the address into your web browser.

Once you hit enter, you will see that a a .tar file will be downloaded. Save it to a safe location.

That’s it! You have successfully backed up the ESXI Host config.
Restoring ESXI Config
In order to successfully restore ESXI Host configs, the target ESXI Host’s ESXI version MUST be the same version as the backup config’s.
Rename the backup config file to configBundle.tgz. You do not need to decompress the file.
Using the ESXI WebGUI or SFTP, upload the configBundle.tgz to one of the ESXI Host datastore.
Place the ESXI Host into maintenance mode and enable SSH.
Connect via SSH into the ESXI Host, and run the following command, pointing to the datastore folder location that you uploaded the configBundle.tgz to:
vim-cmd hostsvc/firmware/restore_config /your_backup_location/configBundle.tgzThe ESXI host will reboot after the command finishes. The configs will be successfully restored upon reboot.
