
Creating an Encrypted Volume with a Hidden Volume on Windows
An Encrypted Volume with a Hidden Volume, as implemented in Veracrypt, is a technique used to create two layers of encryption within a single container file or disk partition.
The Outer Volume is the primary encrypted volume that is visible and accessible upon mounting with a specific password. The outer volume contains data that you're comfortable revealing or sharing when compelled to provide access.
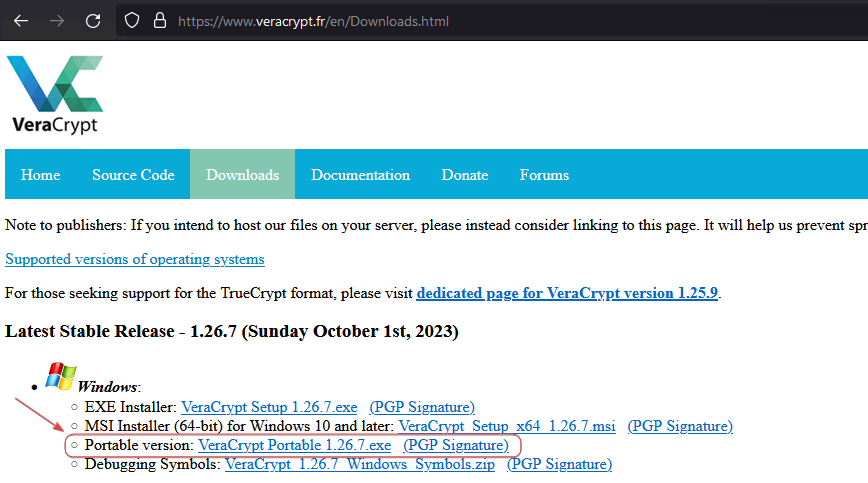
Download the Portable Version
One of the easiest way to get started with Vercrypt on Windows is to use the portable version. Visit the office Veracrypt website (https://www.veracrypt.fr/en/Downloads.html) and download the portable version for Windows.
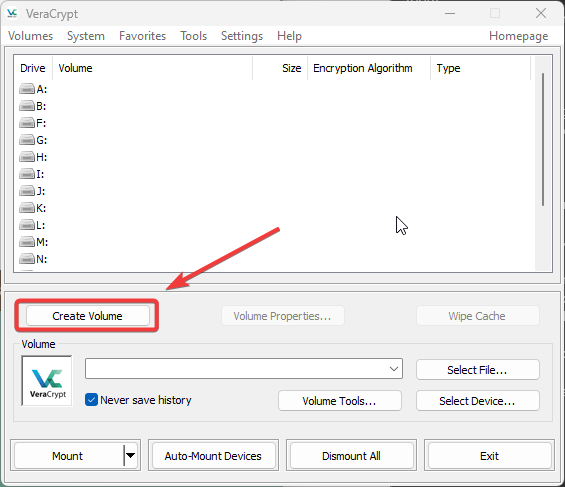
Running the Portable Version
Launch the Veracrypt application. Click on Create Volume in the Veracrypt main window.
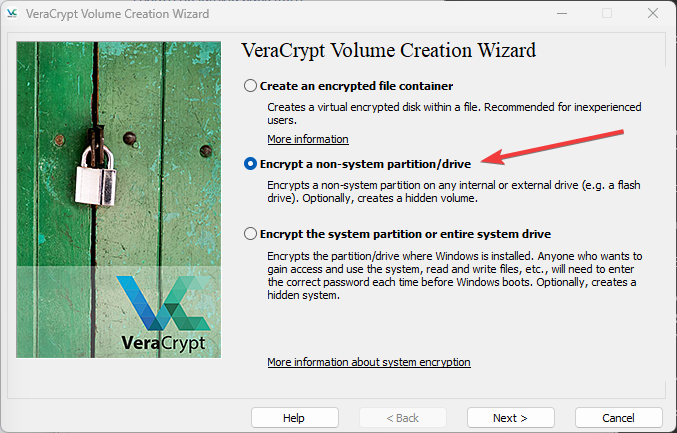
Select Encrypt a non-system partition/drive and click Next.
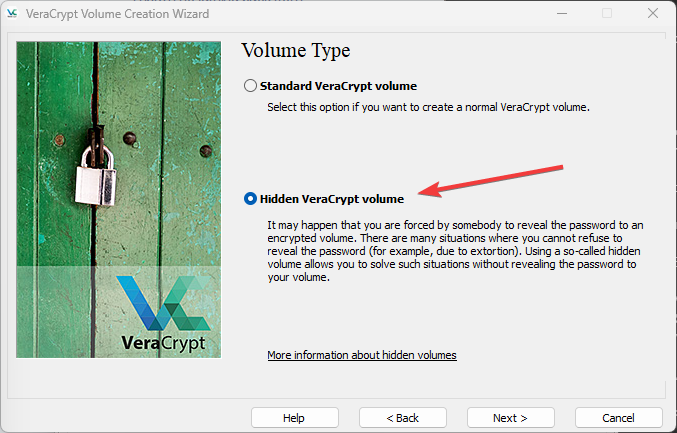
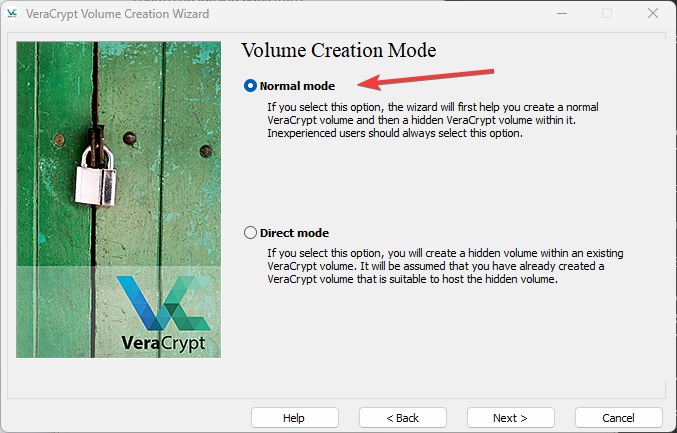
Select Normal Mode and click Next.
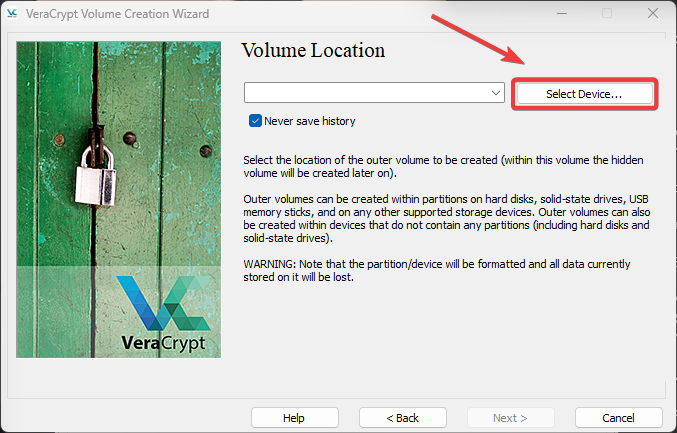
Click Select Device to open up the device selection menu. If you have not already plugged in the storage drive that you want to encrupt, plug it in now to your Windows system.
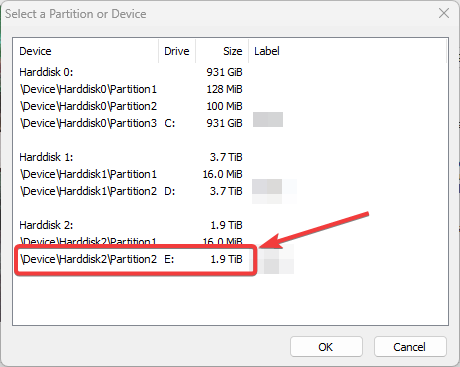
Select the stroage device, and click Ok.
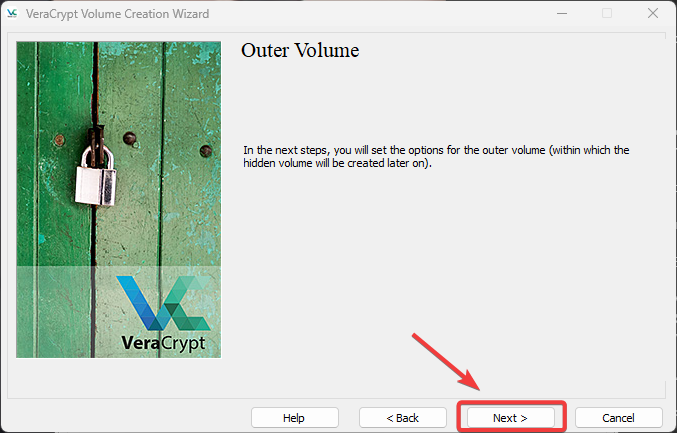
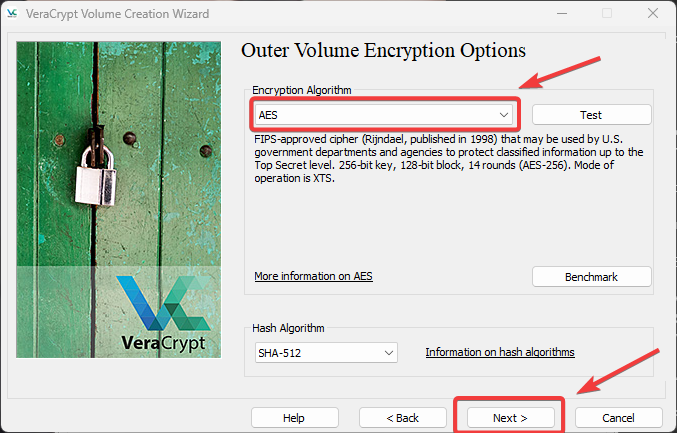
Select Next. We will be creating the Outer Volume now.
AES is an modern encryption standard that is supported on many modern platforms. Default to AES unless your hardware does not have hardware AES support.
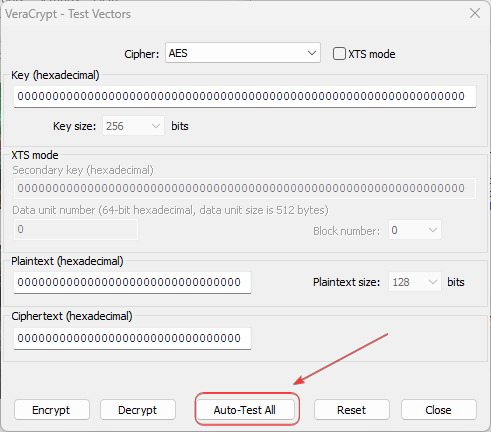
You can click on Test to see which Encryption Algorithm is supported by your hardware.
Test which which Encryption Algorithm is supported by your hardware

Click Auto-Test All.
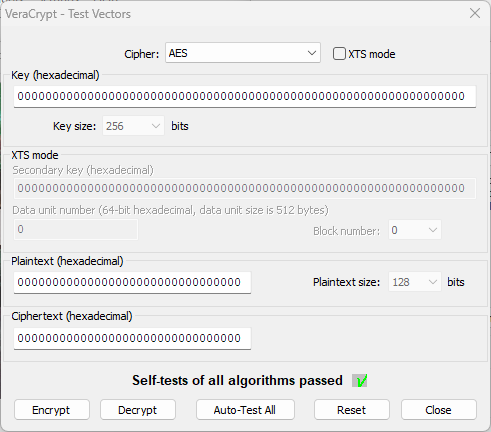
If your hardware supports the encryption algorithms, you will see a green check mark for passing.
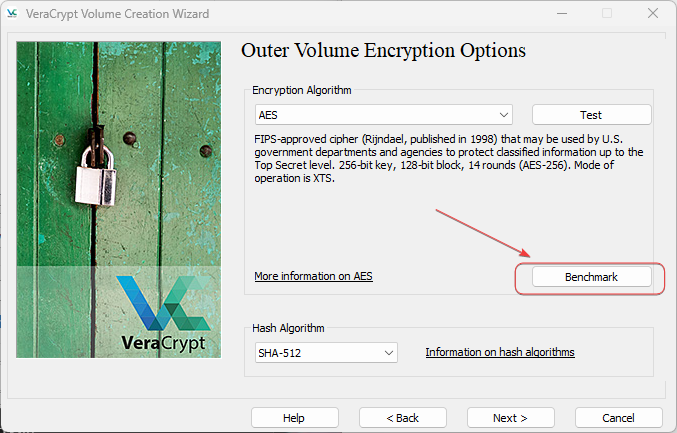
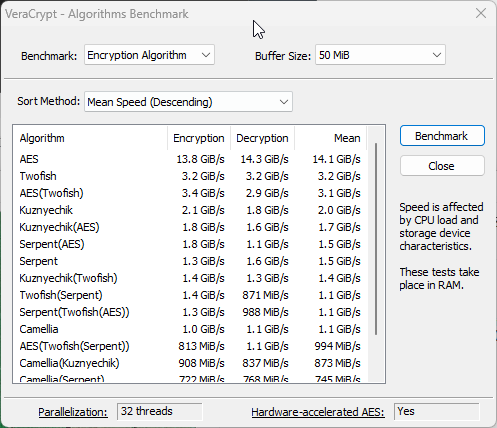
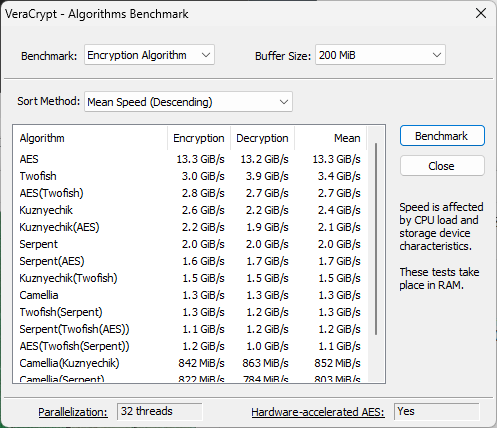
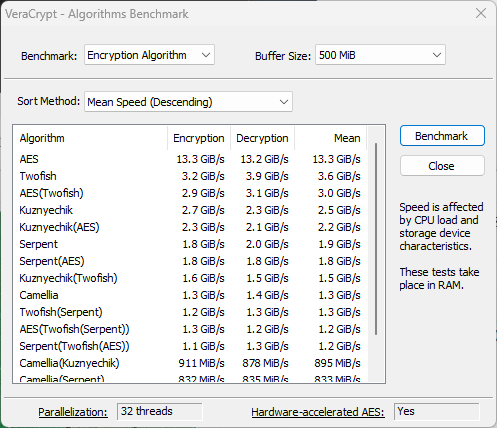
You can use the Benchmark option to test how your fast your system will handle the encryption or decryption workloads.
Encryption/Decryption Benchmark
Choose a Buffer Size, and click Benchmark.
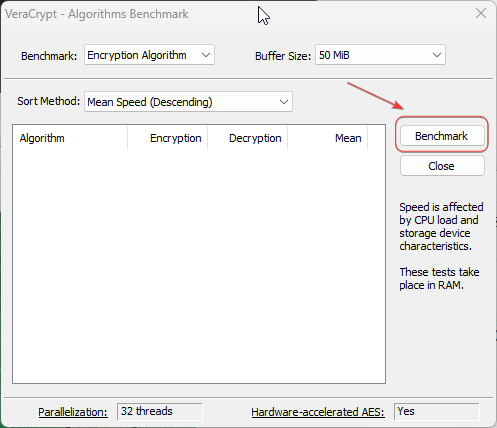
After a bit, you will see the speed result. Below are the results from my AMD 5950X system with all 32 threads utlized, across different buffer sizes.
Click Next to continue.
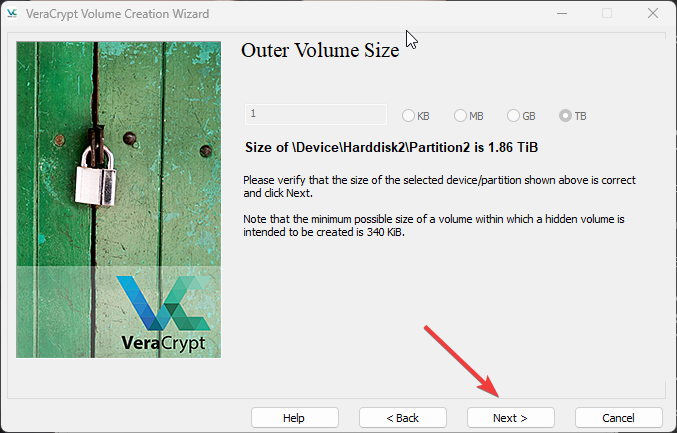
You will see the size of your storage drive. If the size is correct, click Next to continue.
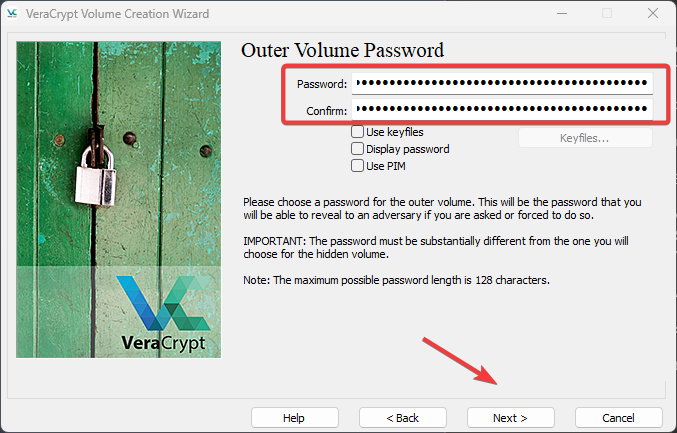
Enter a strong password for the Outer Volume. Click Next.
Decide if you want large file size support for the Outer Volume. This is only for individual large files.
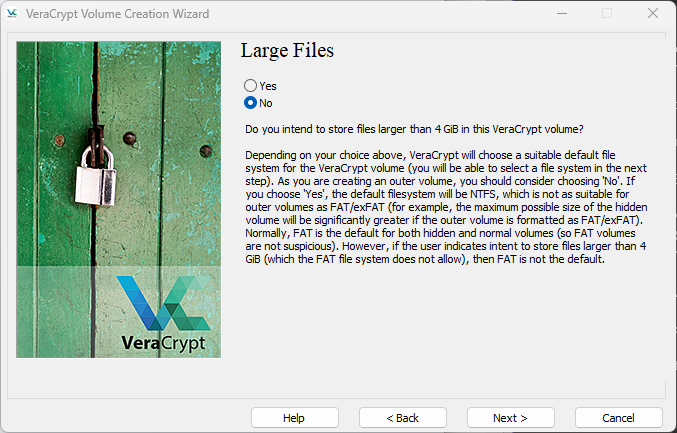
If you do have single files that are 4GB or larger, you will need to choose NTFS file system in the next step.
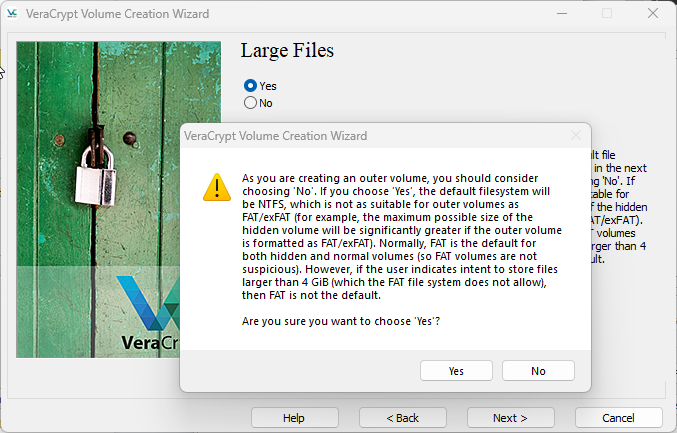
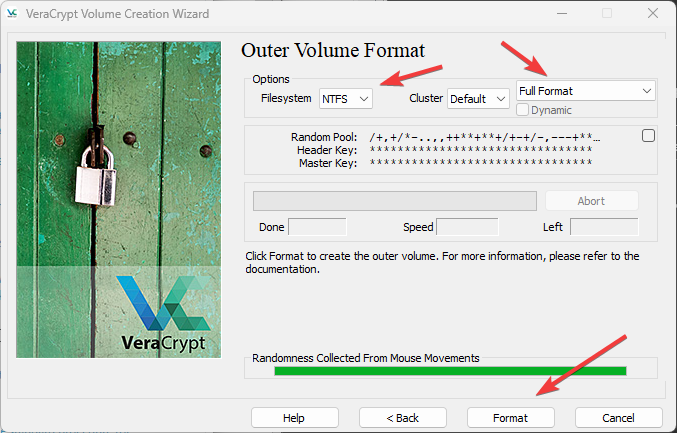
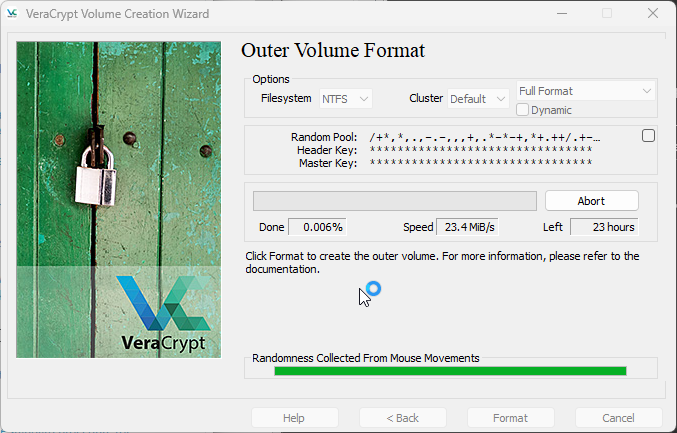
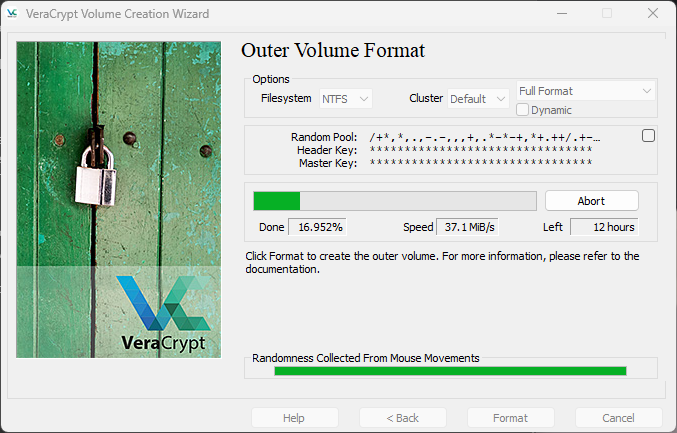
Select the NTFS as the file system, and Full Format.
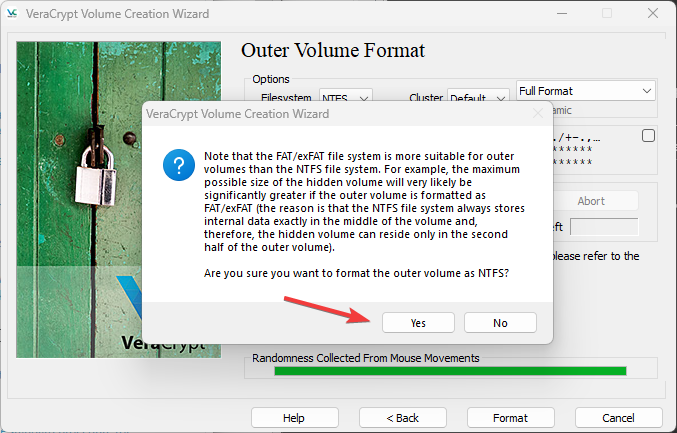
Click Yes to continue.
Confirm that you want to full format the drive.
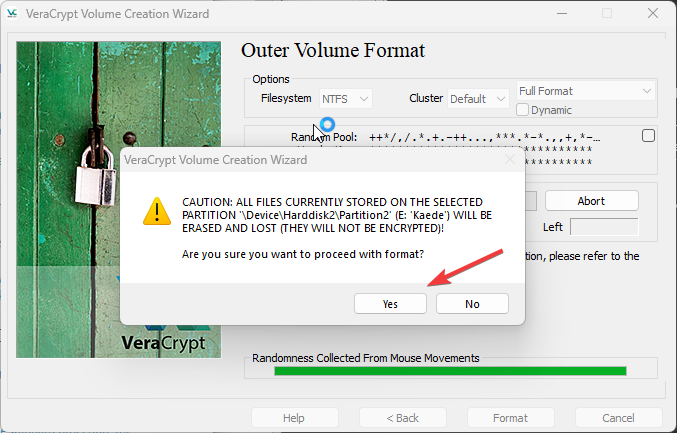
Confirm once more that you want to continue to Full format the drive.
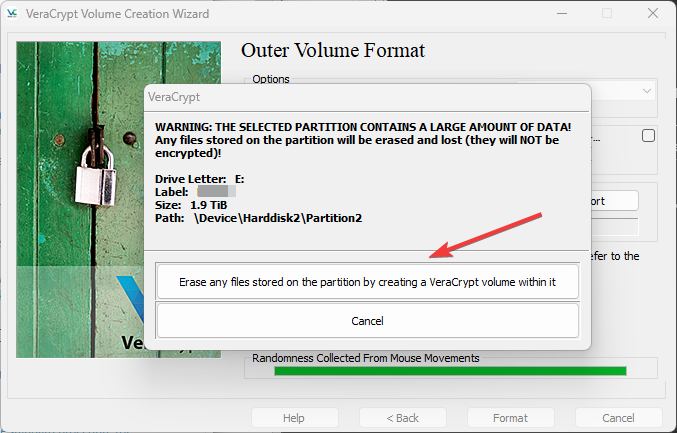
The system will now format the whole drive. Depending on the drive speed, this may take a long time.
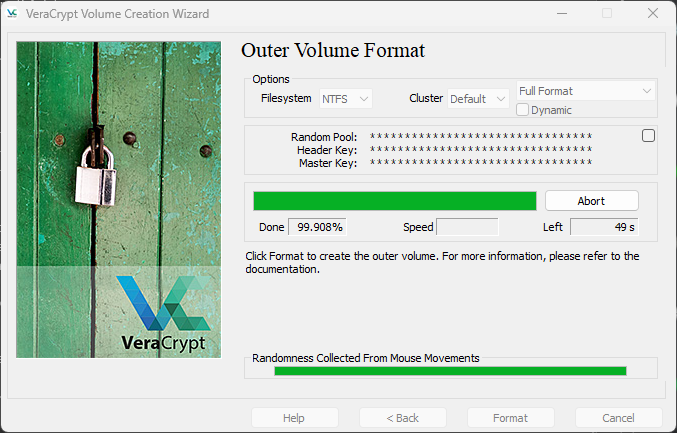
Once the format is completed, click Next.
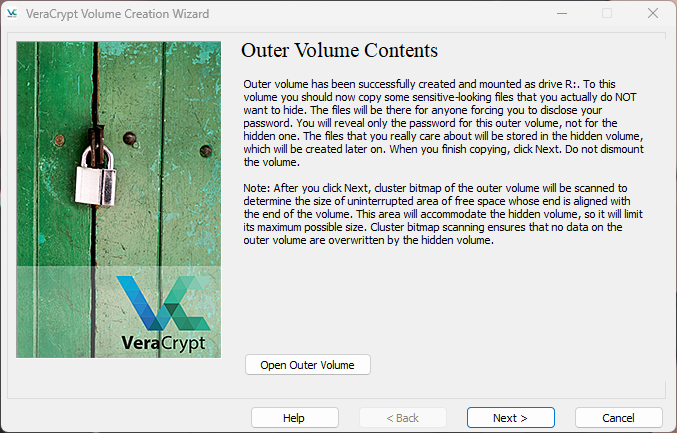
We will now set up the Hidden Volume.
Similar to the Outer Volume settings, select AES as the encryption and continue.

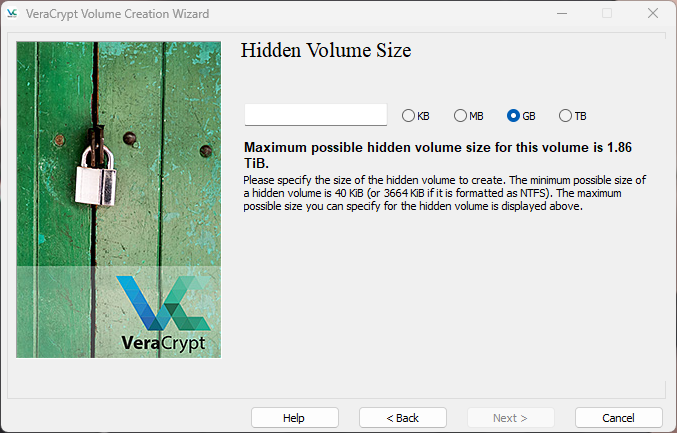
Specify the size for the hidden volume and click Next.
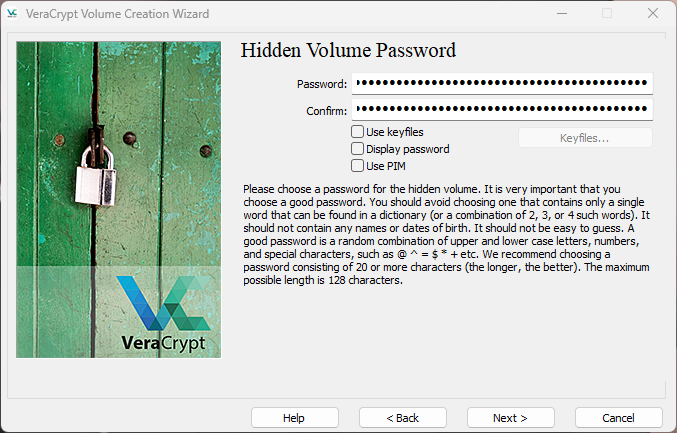
Enter a strong password for the hidden volume. Click Next.
Similar to the Outer Volume, select if you want large file support. Generally speaking, Hidden Volume probably does not need large file support.
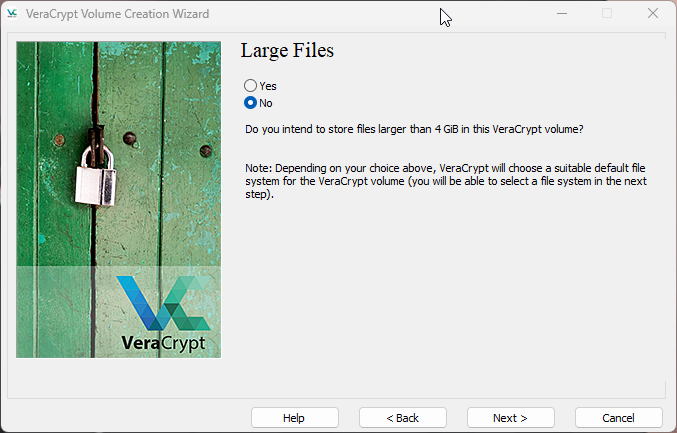
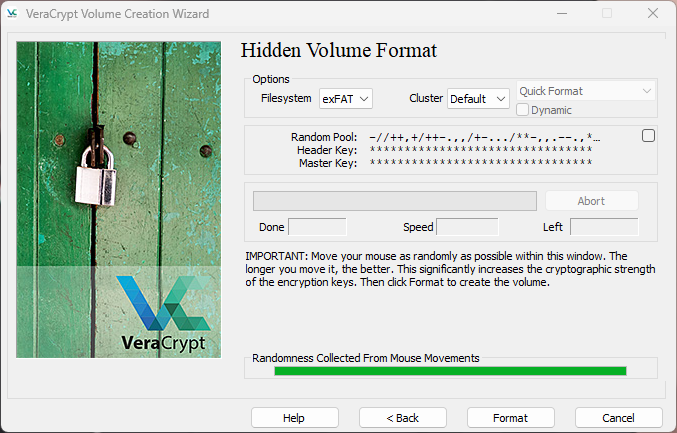
If you do not need large file support, then you can use exFAT for the filesystem for greater flexibiltiy. Click Format to continue.
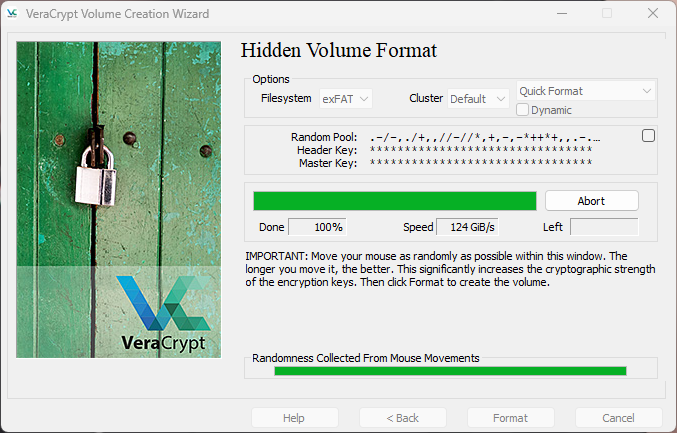
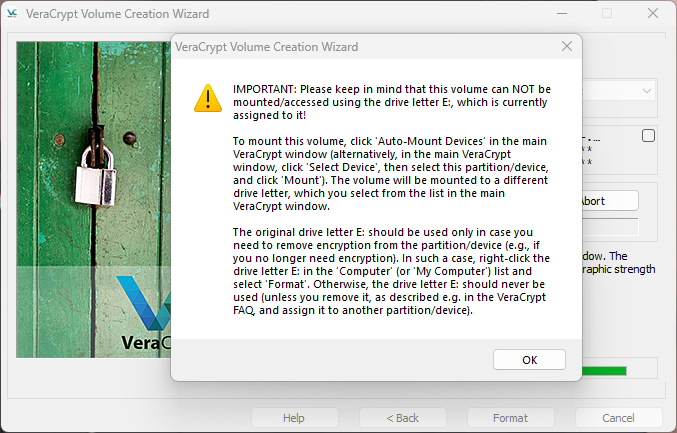
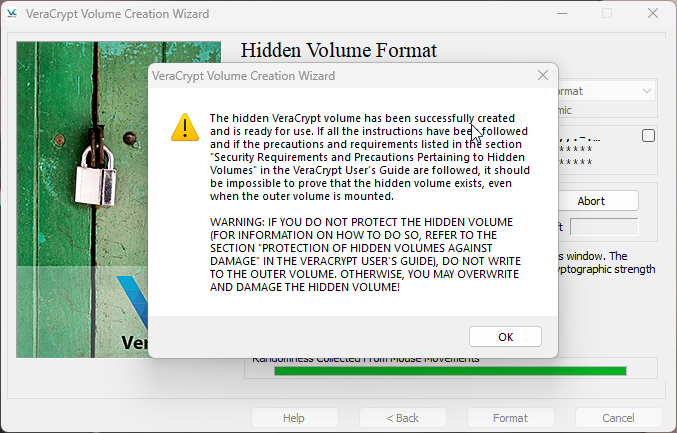
That's it! The Hidden Volume is now created.

You can now proceed to mount and use your newly created, encrypted drive.