Intsalling Pi-Hole on Raspberry Pi
In this guide, I will guide you through how to set up Pi-Hole for your network. Because Pi-Hole is very resource efficient, it can run on any version of Raspberry Pi. You can even run it over Wi-Fi on a Raspberry Pi Zero!
Prerequisites
- Raspberry Pi with Raspberry Pi OS Lite
Basic knowledge of your home network setup, such as finding the router login information in order to set the DHCP settingAlternatively, if you do not know your router information, you can set the DNS setting on your local computer instead to take advantage of Pi-Hole
Step 1: Find the Pi’s IP Address
Login to your Pi locally or via SSH. Use the ifconfig command to find out your Pi’s IP address. You will need this information later.
ifconfig
The IP address is listed next to the inet, on the second line.
Step 2: Install Pi-Hole
The developers at Pi-Hole project have a simple one line install script for installing Pi-Hole. Enter the following command to start the installation process:
sudo curl -sSL https://install.pi-hole.net | bash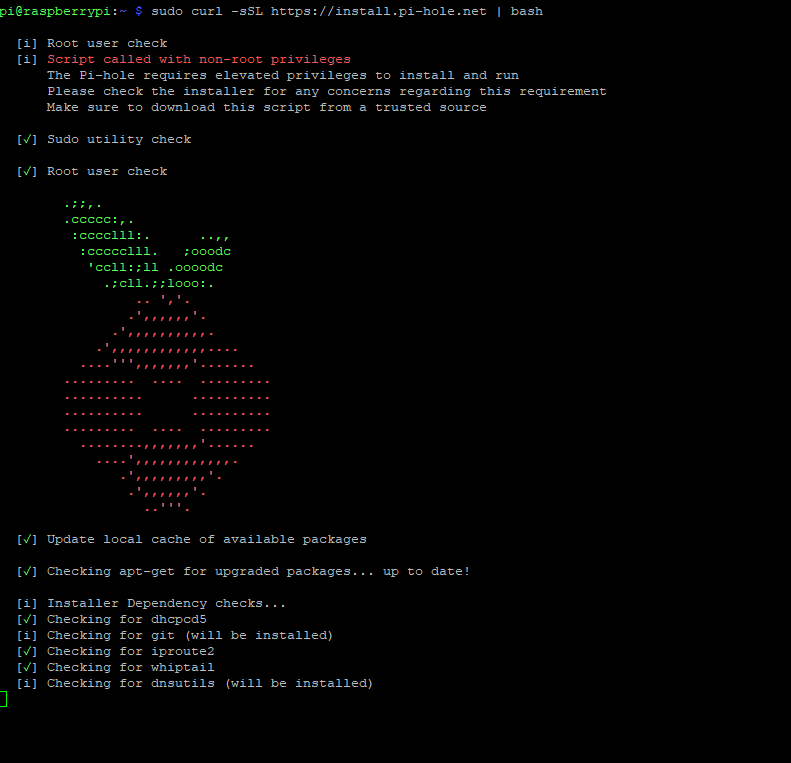
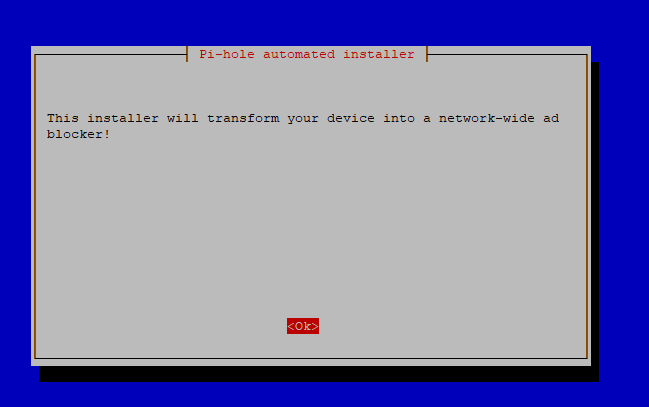
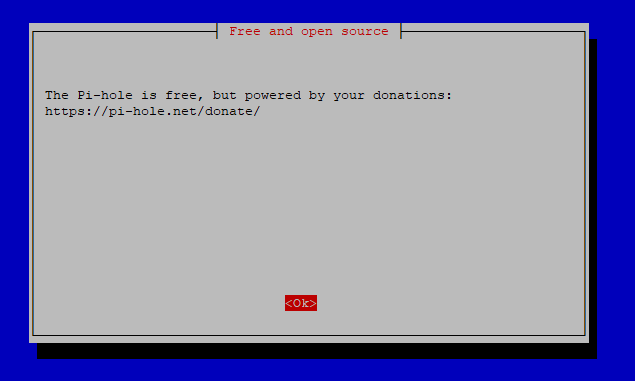
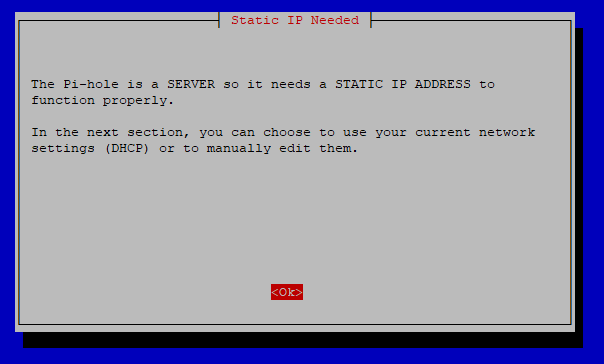
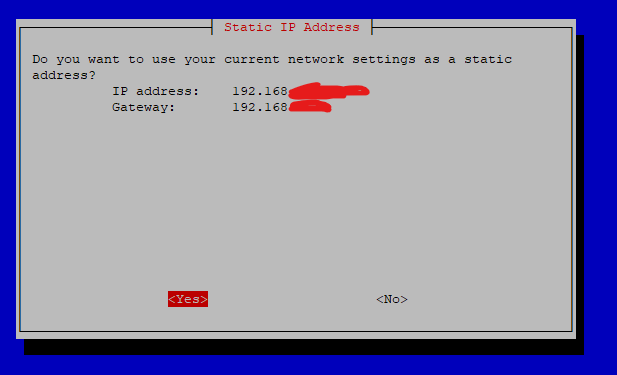
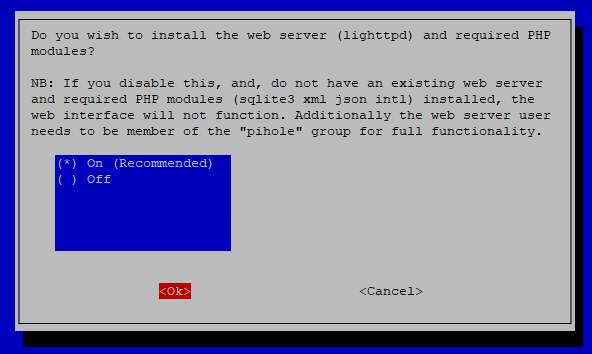
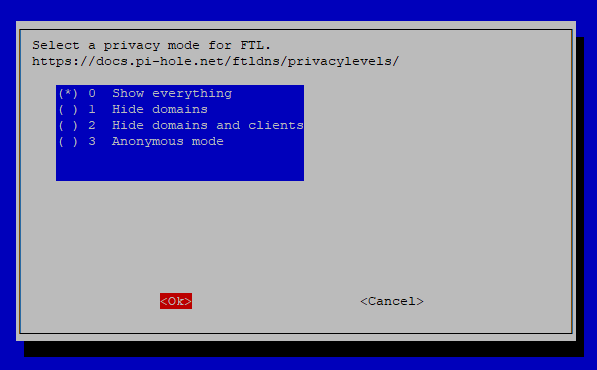
Follow through the steps to continue with the installation.
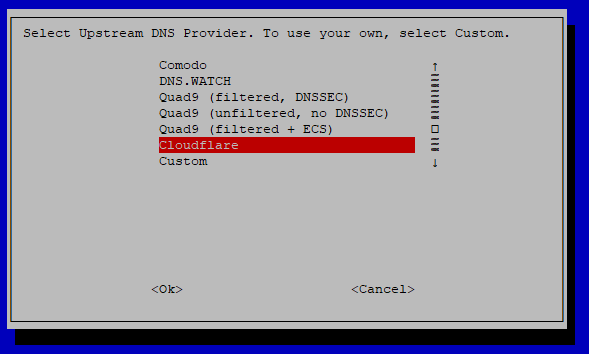
For the upstream DNS provider, you can set this to any DNS provider you want. I personally use Cloudflare DNS 1.1.1.1 and 1.0.0.1 as Cloudflare DNS are known to be more privacy focus than the other DNS providers.
Pi-Hole comes with one default block list now days, so keep it and continue on.

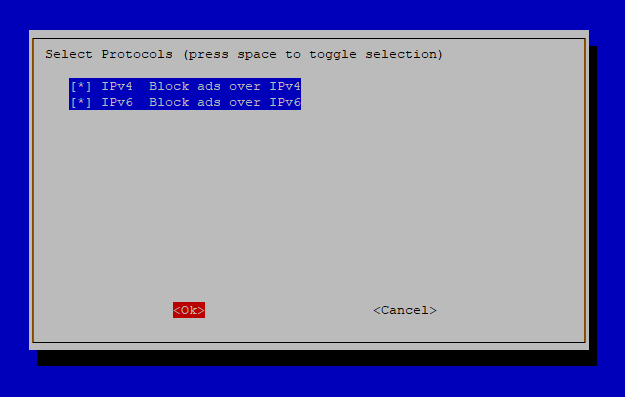
I usually keep both IPv4 and IPv6 on. You can deselect the IPv6 option if you do not run an IPv6 network.


Step
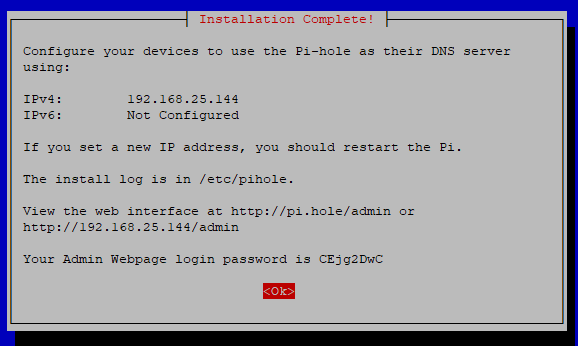
That's 3: Configure Pi-Hole
Whenit! Pi-Hole completesis installation,now it will have a random password set for you to login into the web console. You can change the password by issuing the following command:installed.
sudo pihole -a -p


Click Login to the web console.

There are many things you can do once logged in. Generally, the default settings are enough for most people. The main setting you will most likely change are adding more adlist to Pi-Hole. As of May 2021, Pi-Hole comes with one adlist by default.
Select Group Management – > Adlists to manage adlists.
