
Configuring VLAN
Adding VLAN ID
In order to allow Netgear switch to process VLAN traffics, we have to add the VLAN information to the switch first.
Login to the webGUI of your Netgear Switch. Almost all the Netgear switches will have a similar webGUI layout. In this guide, I will show the webGUI of my Netgear GS110TP switch.
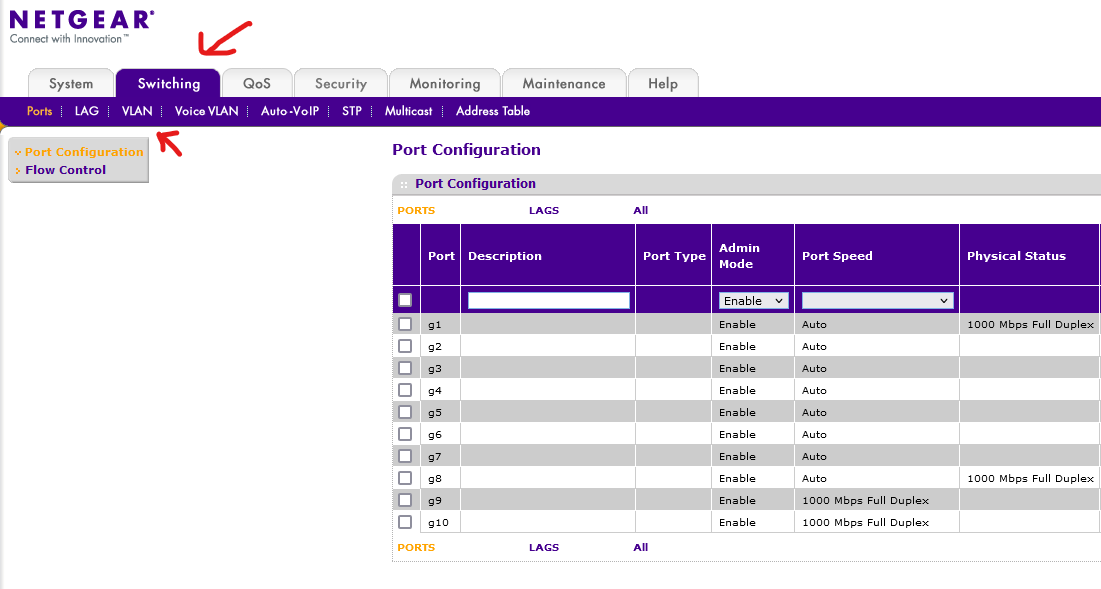
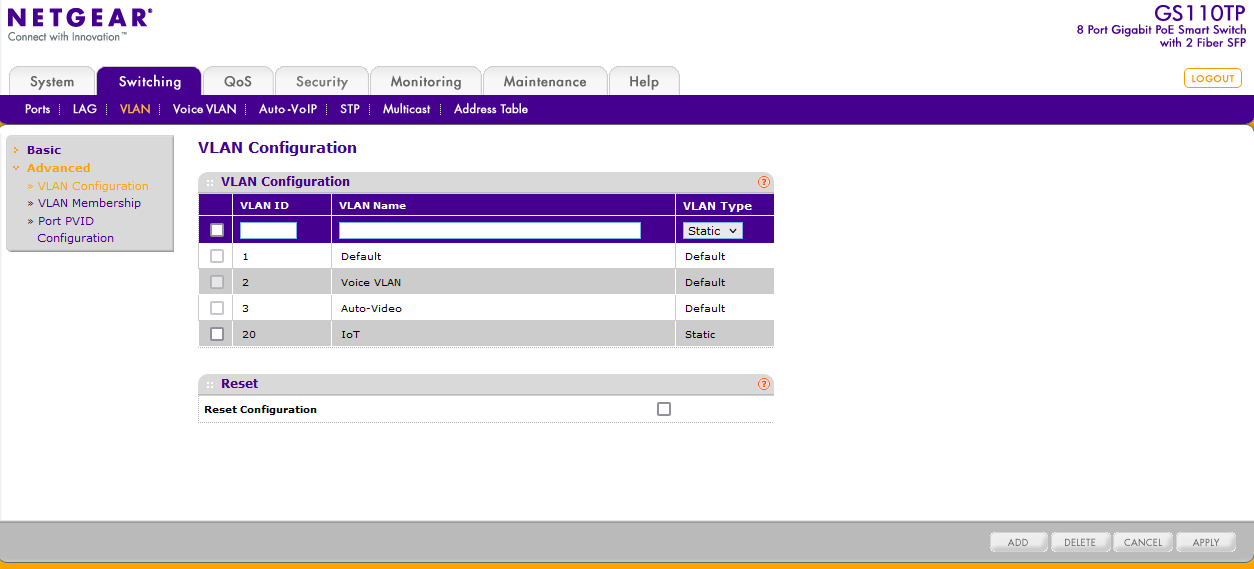
Click on the Switching tab, then click on the VLAN tab.
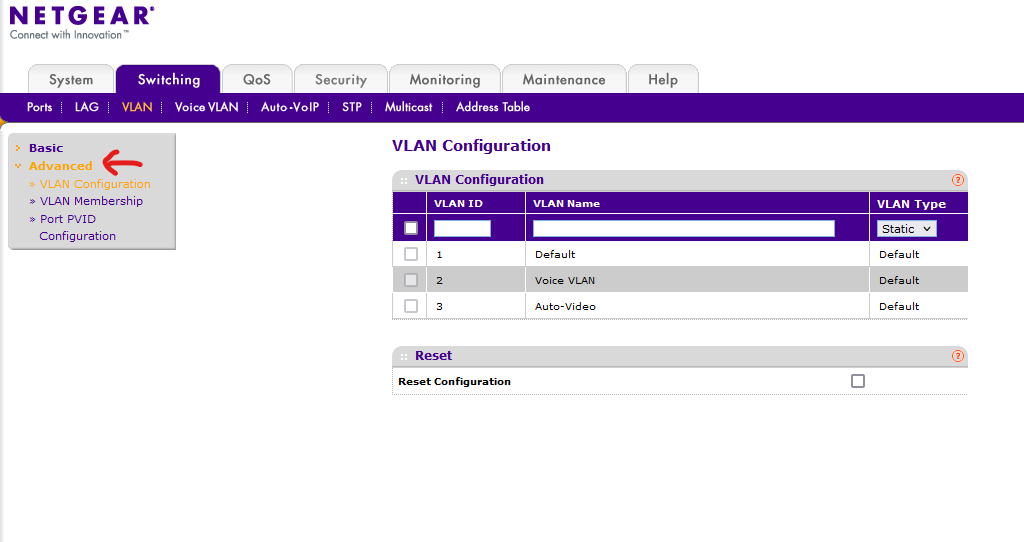
Click on Advanced to open up all the VLAN options.
In the VLAN ID field, type in the VLAN tag number for your VLAN. Enter a VLAN name in the VLAN Name box. Click Add to add the VLAN.
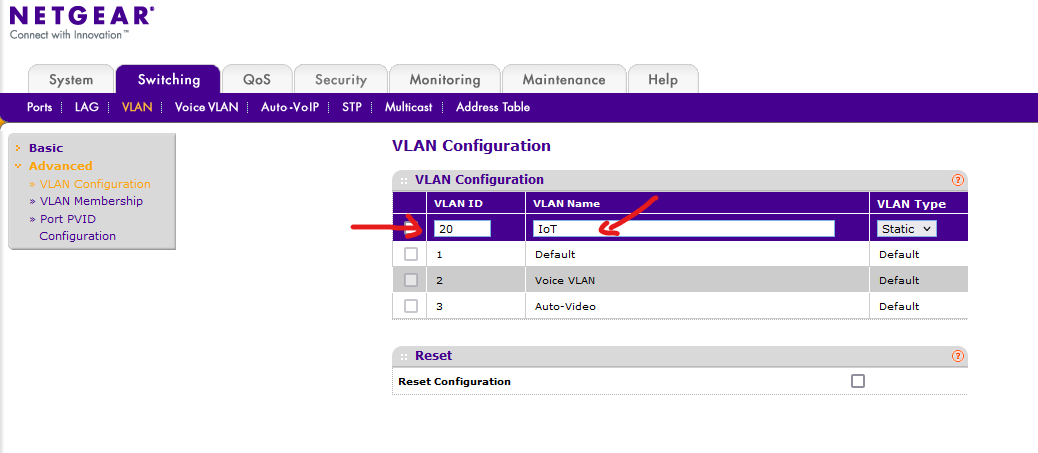
Repeat the above step if you have more VLANs to add.
Setting VLAN Trunk Port
VLAN Trunks are ports that will carry more than 1 VLAN tags. This is usually set on uplink or downlink ports so that different VLAN traffic can flow in or out of the switch to the next device.
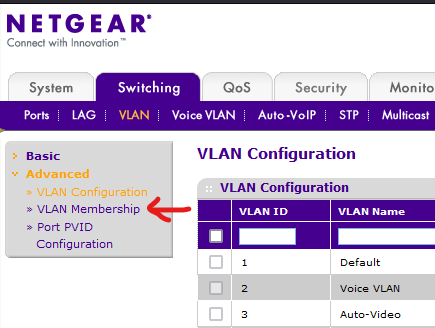
Under the VLAN tab, Advanced, click on VLAN Membership.
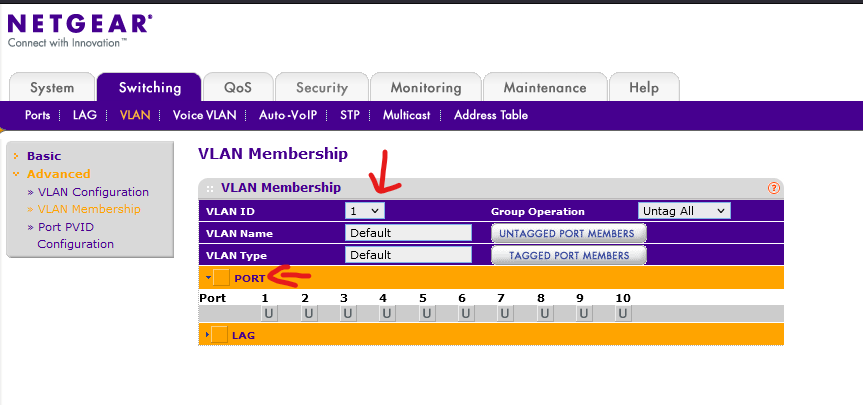
Change the VLAN ID from the default 1 to the VLAN ID you want to configure. Then click on PORT to expand the drop down.
Click the box under the Port number to mark the port as T (tagged). Click Apply to apply the changes.
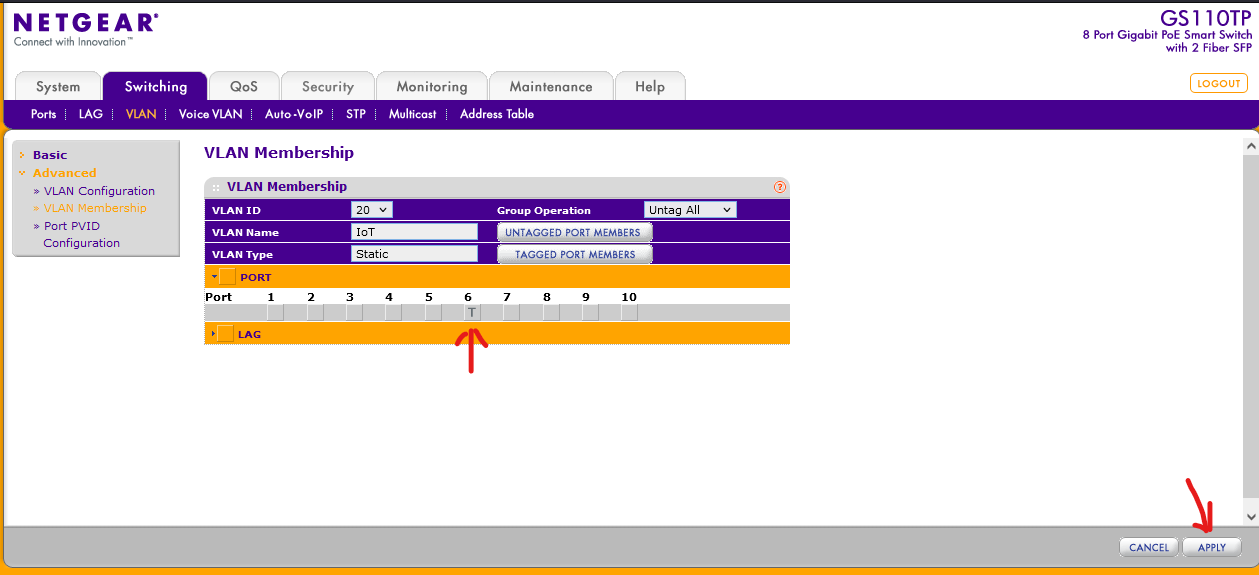
Now change the VLAN ID to the next VLAN you want to configure, and mark the same port as T (tagged) for that VLAN. Repeat until all the VLAN you want on the port has been added.
The port is now a VLAN Trunk port.
Setting Port VLAN
When you want to a port on a switch to process all traffic coming into that port as a specific VLAN, you will have to set a Port VLAN on the switch. By setting a Port VLAN on a specific port, any device connecting to that port will be placed in that specific VLAN.
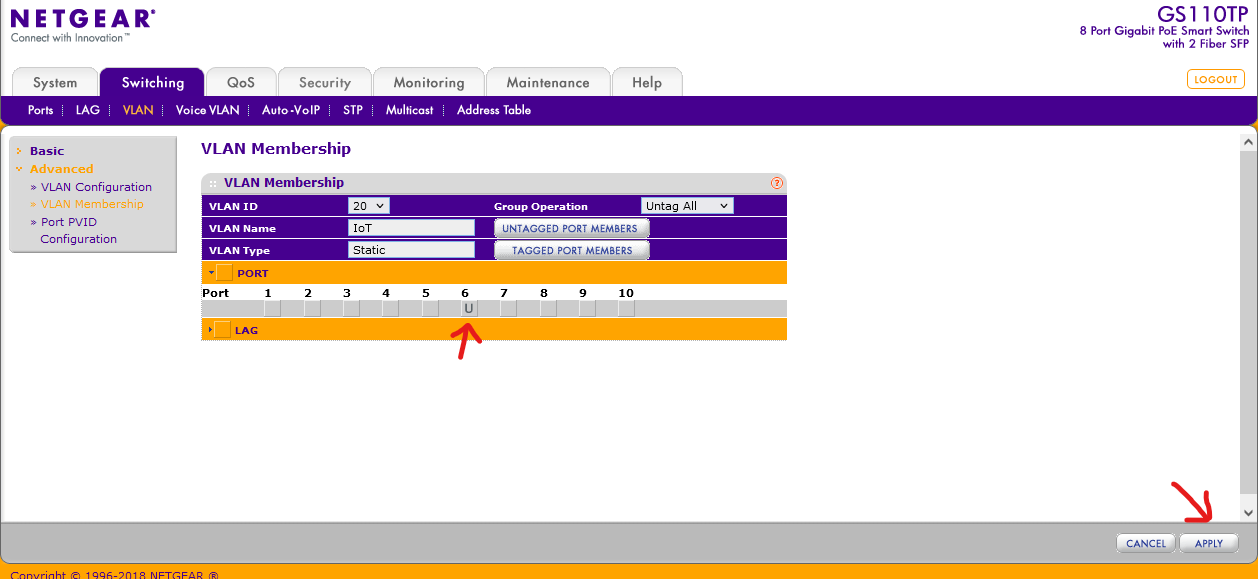
Head back to the VLAN Membership setting, change the VLAN ID to the VLAN you want a specific port to become, and mark the port as U (untagged). Click Apply.
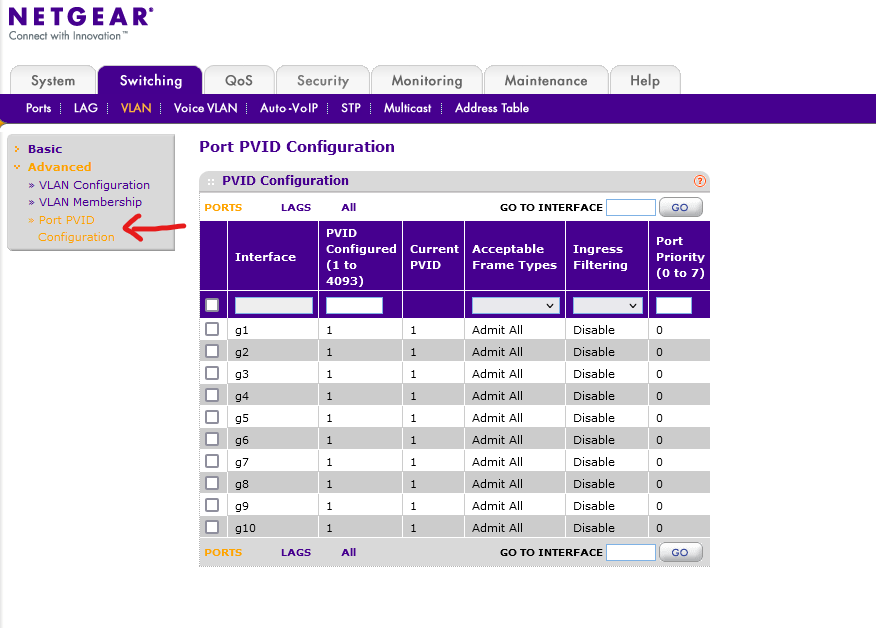
Next, click on the Port PVID Configuration tab.
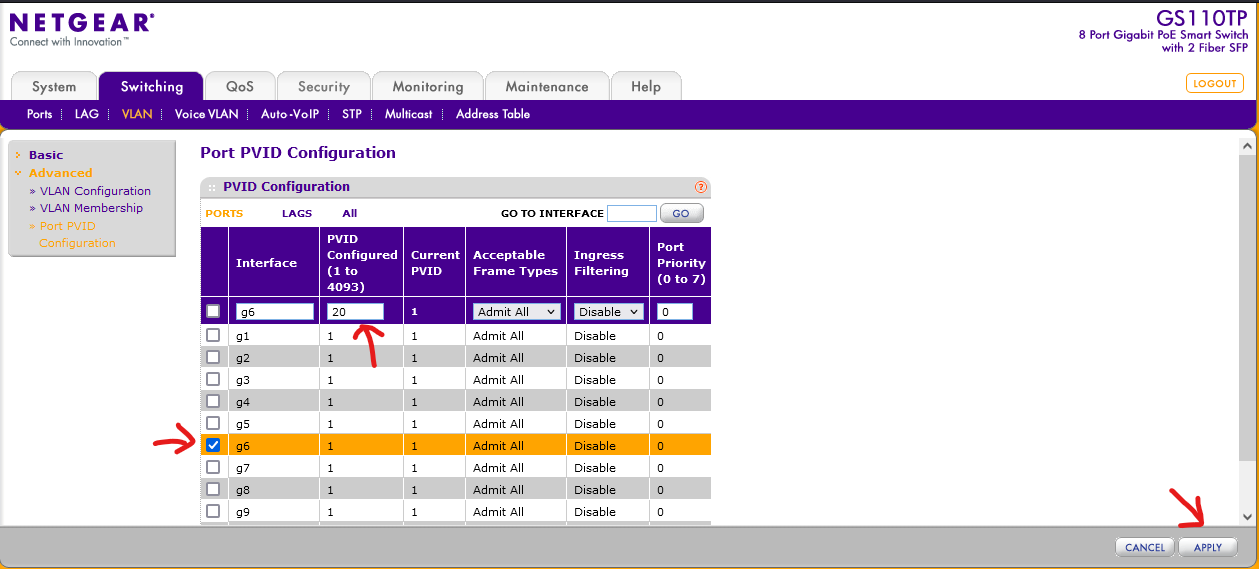
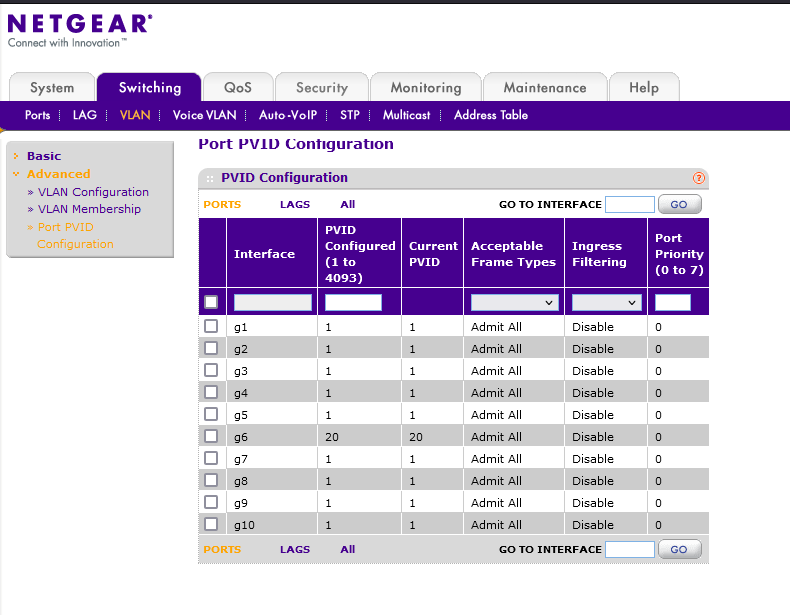
Click on the port that was previously marked as U (untagged), and change the PVID Configured field to the VLAN ID that the port is going to become. Click Apply to finish the change.
That’s it! Now any device connected to that port will be placed on the port’s VLAN network.
Summary
- VLAN Trunk: Mark the port as T (tagged) for each VLAN
- Port VLAN: Mark the port as U (untagged), then change PVID (Port VLAN ID) to the VLAN ID