Updating Java on Windows for better Minecraft FPS
The default Java version that comes bundled with Minecraft is Java 8. While Java 8 is still supported, it was released back in 2014, making it pretty old for today’s standards. There have been many other Java editions releases since then that have many improvements that can give significant performance boost in terms of Minecraft FPS.
In this article I will guide you through how to install the latest Java version on your Windows PC and set your Minecraft Launcher to use that Java version.
At the time of writing, the latest Java version is 15, and we will be using AdoptOpenJDK 15 for the upgrade. AdoptOpenJDK is a JDK based on the OpenJDK binaries that is free for anyone to use. By contrast, the Oracle Java requires a paid license if you were to use it for any commercial and production purposes, such as getting paid for streaming Minecraft or hosting Minecraft server.
Step 1: Download
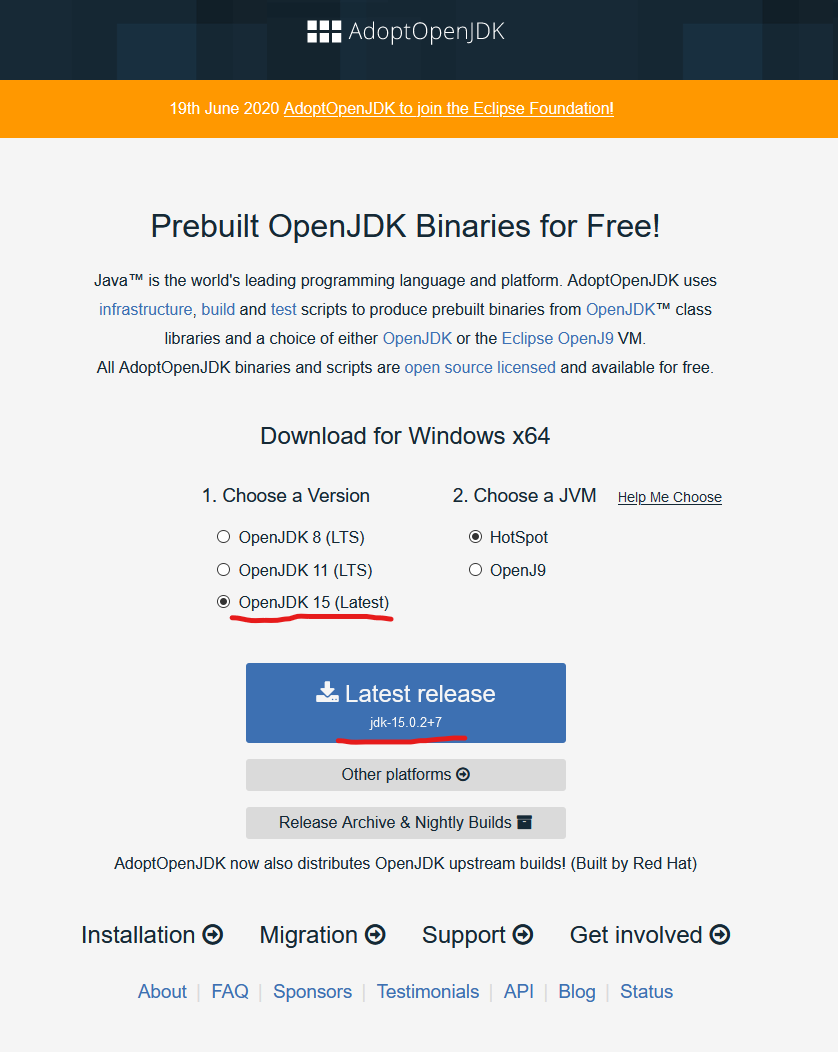
Head over to the AdoptOpenJDK website, https://adoptopenjdk.net/?variant=openjdk15&jvmVariant=hotspot, choose the OpenJDK 15 option, and click on the Latest Release to download.
Step 2: Install
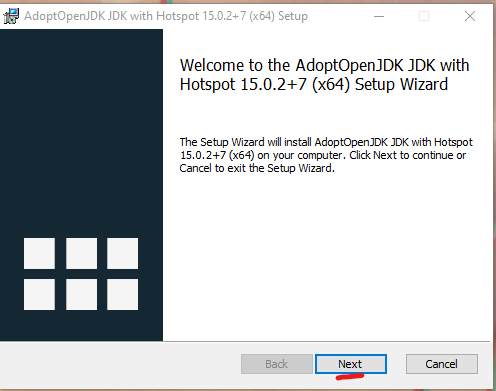
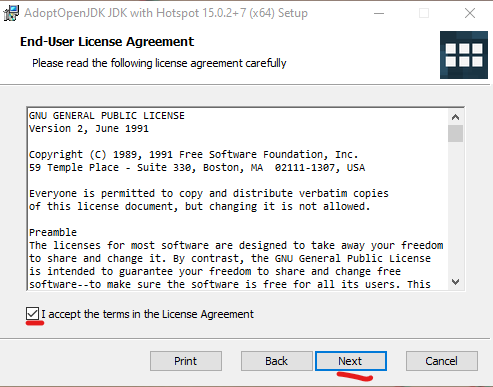
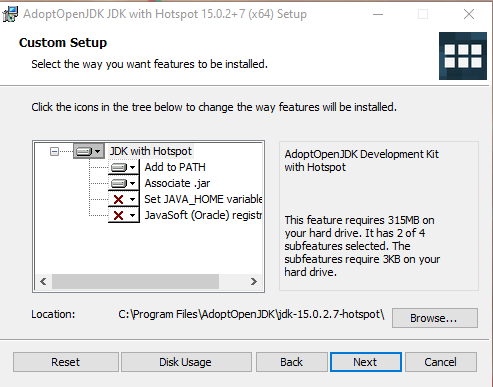
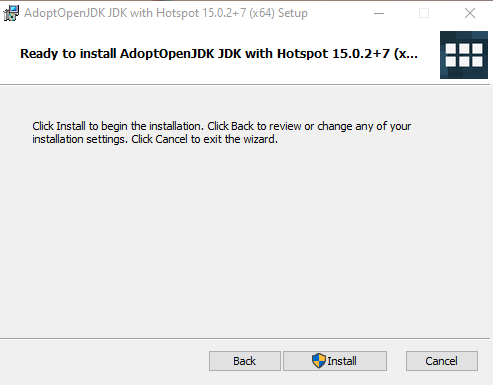
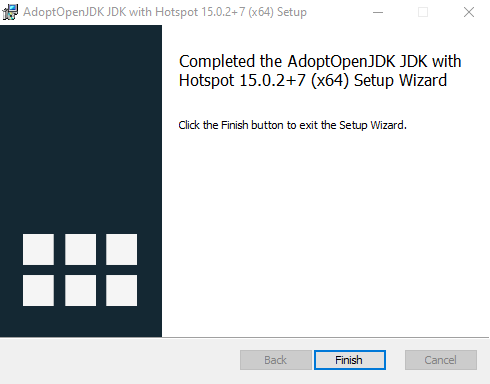
Double-click on the downloaded installer to begin the installation.
Step 3: Change the Minecraft Launcher Options
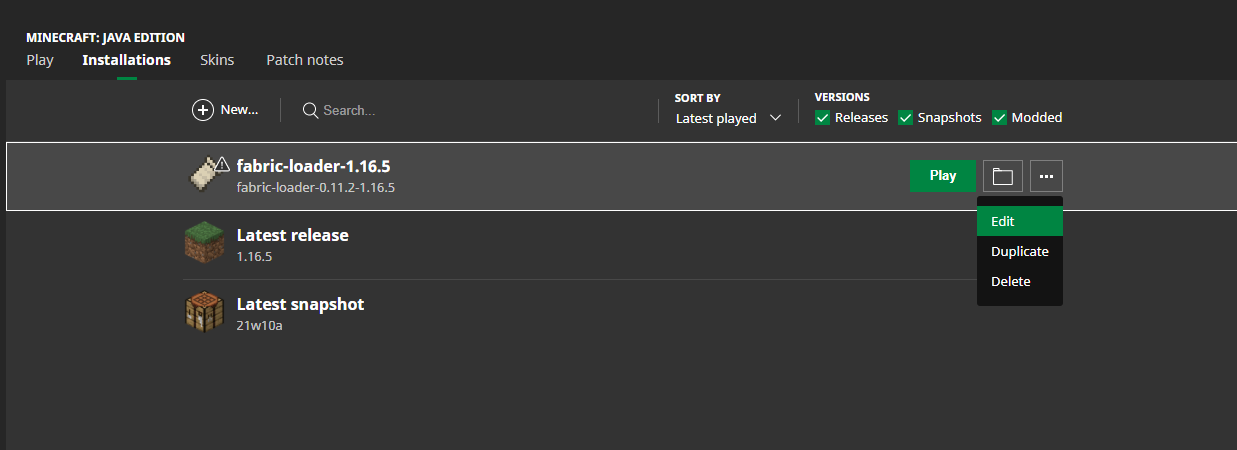
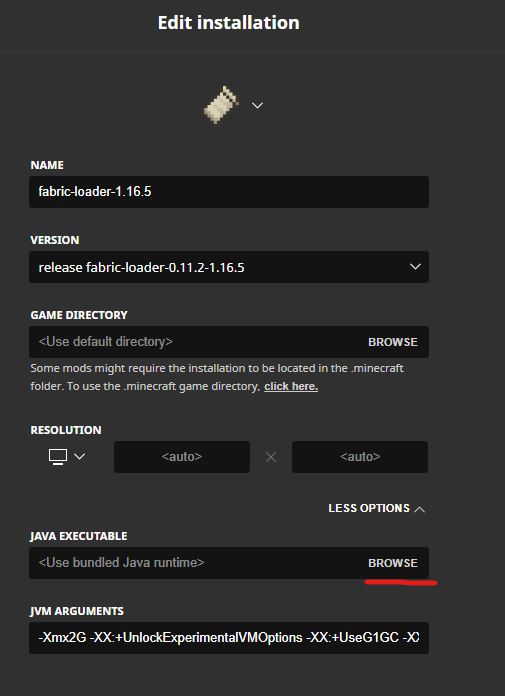
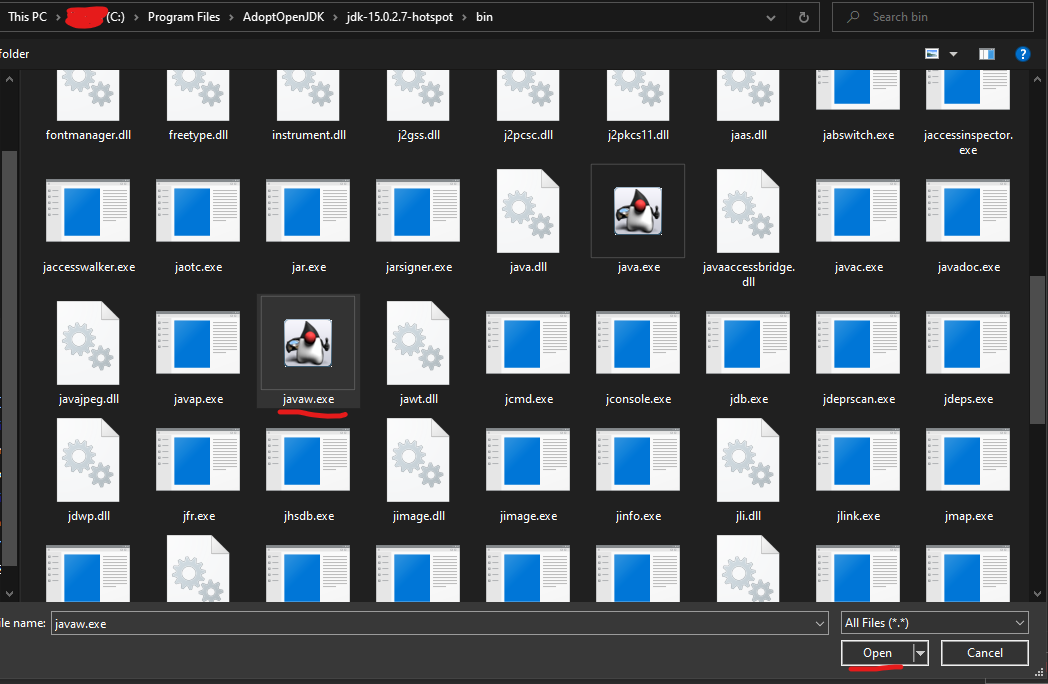
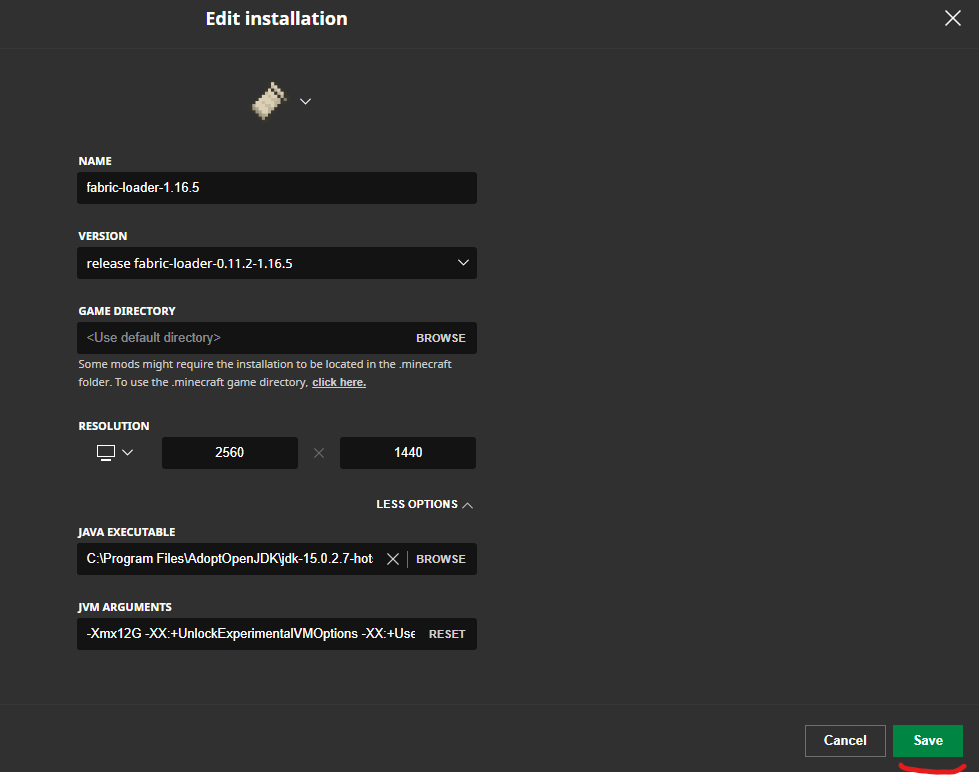
Launch your Minecraft Launcher and head to the Installation section. Click Edit on the installations you want to change, and click on Advanced to bring up all the options. Click on the Browse next to the Java Executable.

That’s it! You can now launch your game and enjoy the performance boost.
