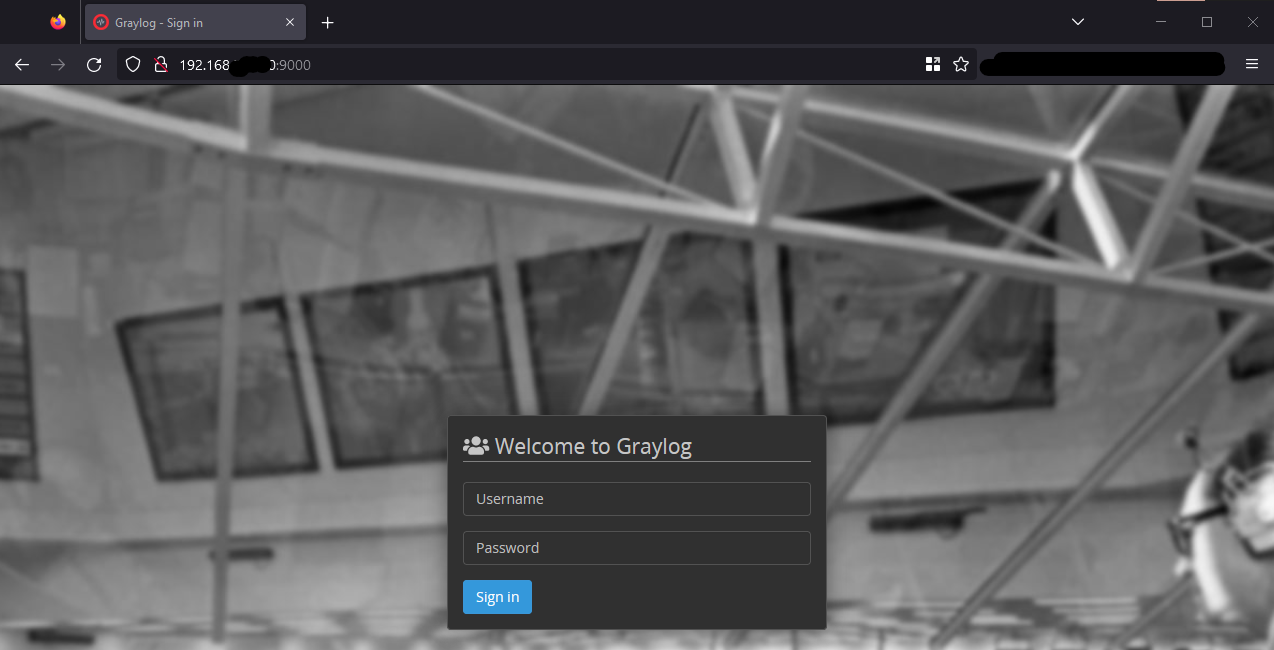
Manual Install on Debian
Install the Prerequisites for Debian Minimal Installations
The steps in this guide has been tested to work with Debian 12.
sudo apt install apt-transport-https uuid-runtime pwgen dirmngr gnupg wget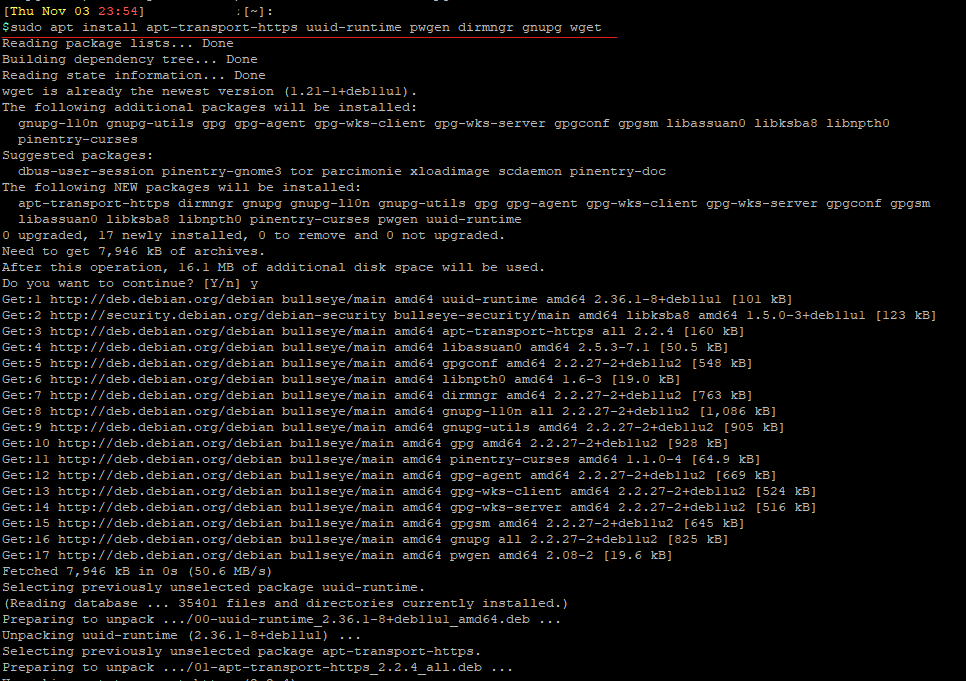
As of 2022-11-11, the official documentation for Graylog (https://docs.graylog.org/docs/debian) calls for Java 11. Graylog can run under a newer version of Java.
For this guide, I will be going with Java 17, the latest version of Java from the Debian 11 repository.
sudo apt intsall openjdk-17-jre-headless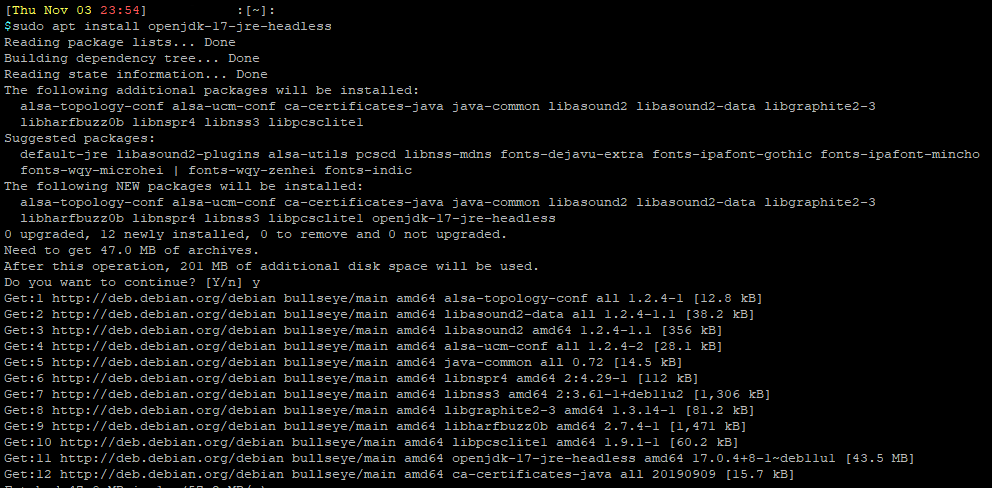
Install MongoDB
Graylog requires MongoDB to run. Add the MongoDB repository to Debian 11 with the following commands:
wget -qO - https://www.mongodb.org/static/pgp/server-4.4.asc | sudo apt-key add -
echo "deb http://repo.mongodb.org/apt/debian buster/mongodb-org/4.4 main" | sudo tee /etc/apt/sources.list.d/mongodb-org-4.4.list
sudo apt update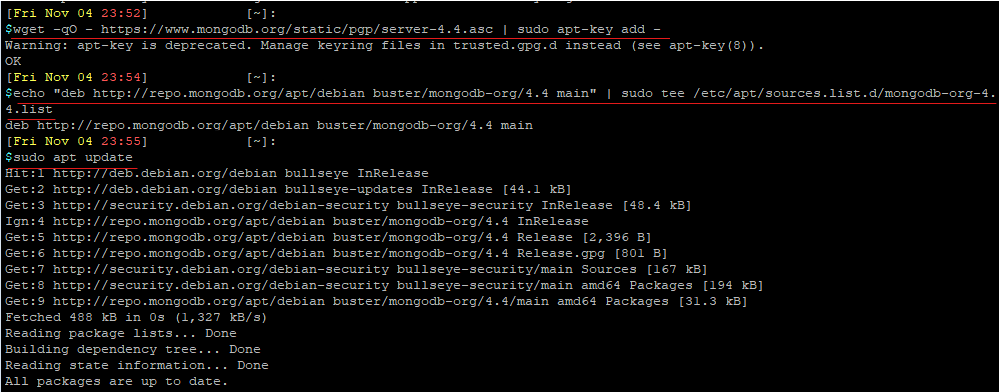
Install MongoDB
sudo apt install mongodb-org -y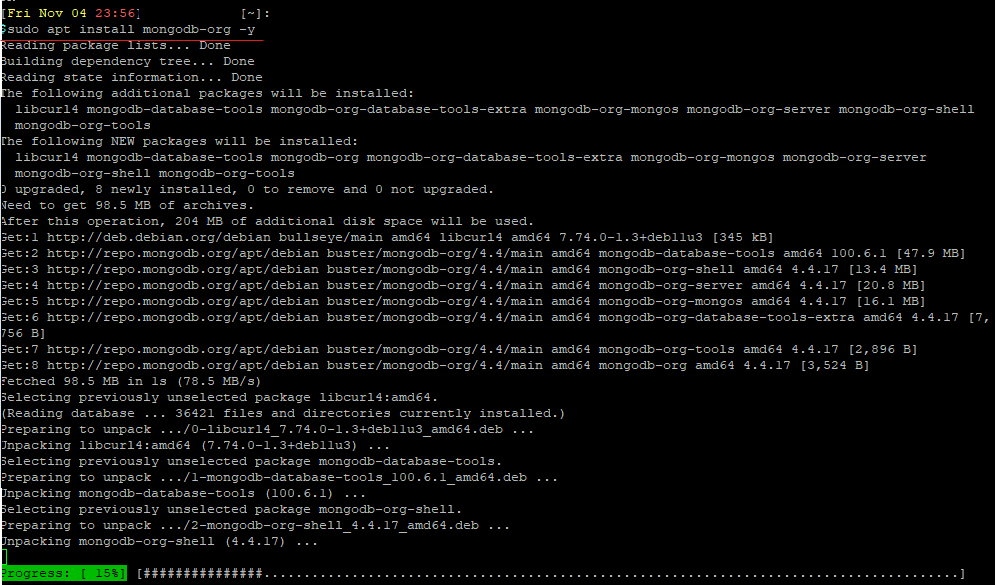
Enable MongoDB at boot
sudo systemctl daemon-reload
sudo systemctl enable mongod.service
sudo systemctl restart mongod.service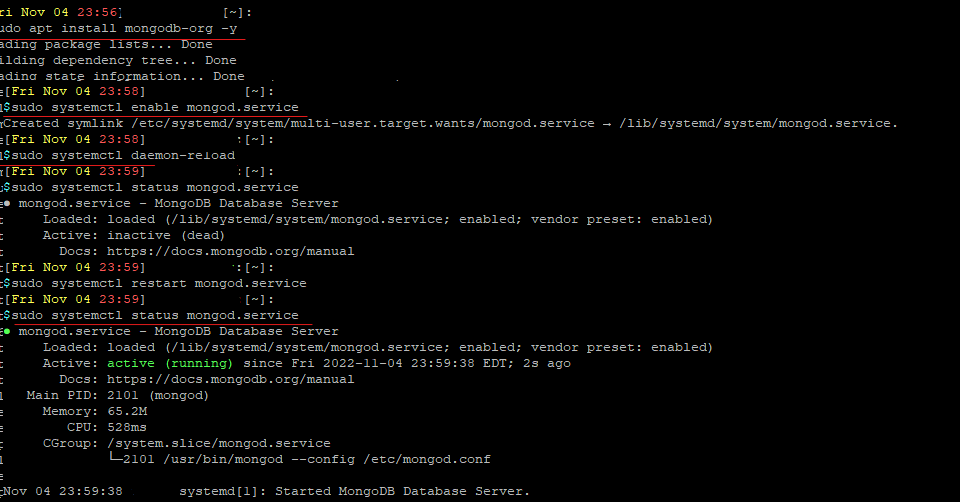
Install Elasticsearch
Add Elasticsearch repository
wget -qO - https://artifacts.elastic.co/GPG-KEY-elasticsearch | sudo apt-key add -
echo "deb https://artifacts.elastic.co/packages/oss-7.x/apt stable main" | sudo tee -a /etc/apt/sources.list.d/elastic-7.x.list
sudo apt update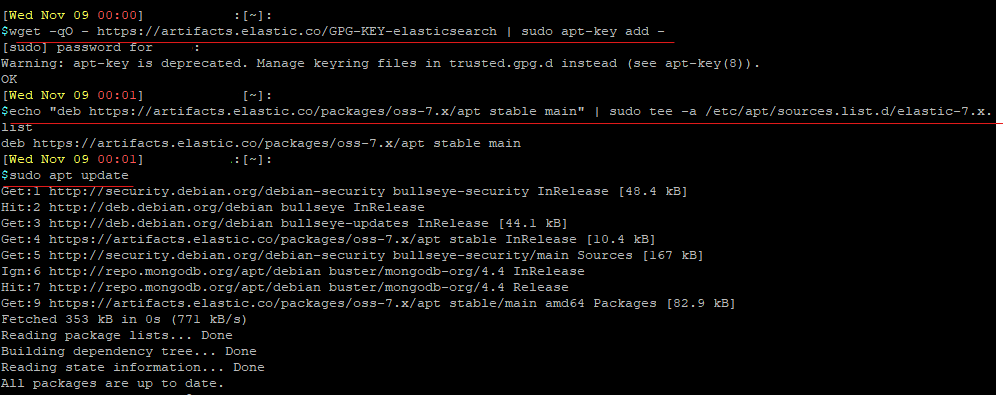
Install Elasticsearch
sudo apt install elasticsearch-oss
Run the following command to edit the elasticsearch config file:
sudo tee -a /etc/elasticsearch/elasticsearch.yml > /dev/null << EOT
cluster.name: graylog
action.auto_create_index: false
EOT
Enable Elasticsearch at boot
sudo systemctl daemon-reload
sudo systemctl enable elasticsearch.service
sudo systemctl restart elasticsearch.service
Install Graylog Open Source
Download Graylog repository
wget https://packages.graylog2.org/repo/packages/graylog-4.3-repository_latest.deb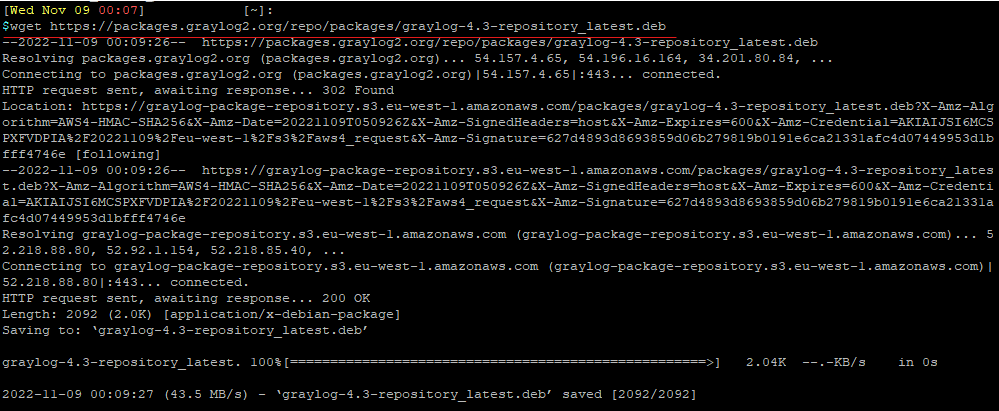
Unpack and install the repository
sudo dpkg -i graylog-4.3-repository_latest.deb
Update the repository and install Graylog Open Source
sudo apt update
sudo apt install graylog-server graylog-integrations-plugins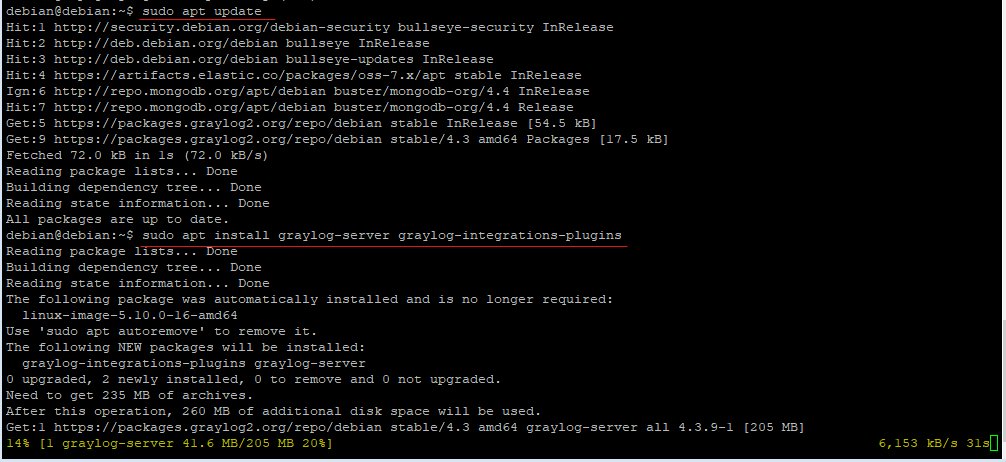
Generate a Password Secret and copy it down.
pwgen -N 1 -s 96
Generate an SHA256 hash of the admin account password, and copy it down.
echo -n "Enter Password: " && head -1 </dev/stdin | tr -d '\n' | sha256sum | cut -d" " -f1
Save those values to conf file at /etc/graylog/server/server.conf
sudo nano /etc/graylog/server/server.conf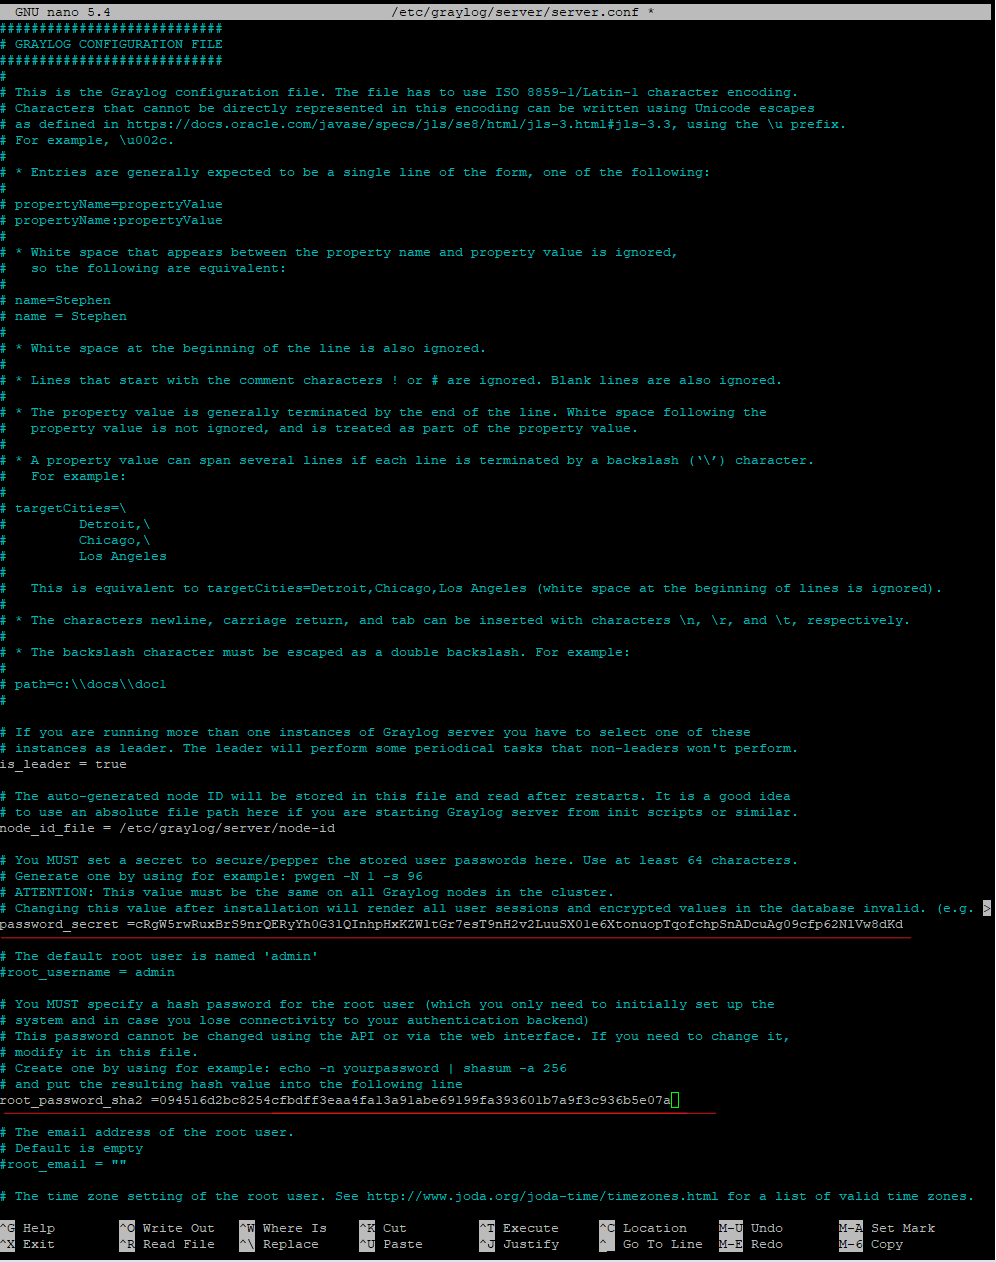
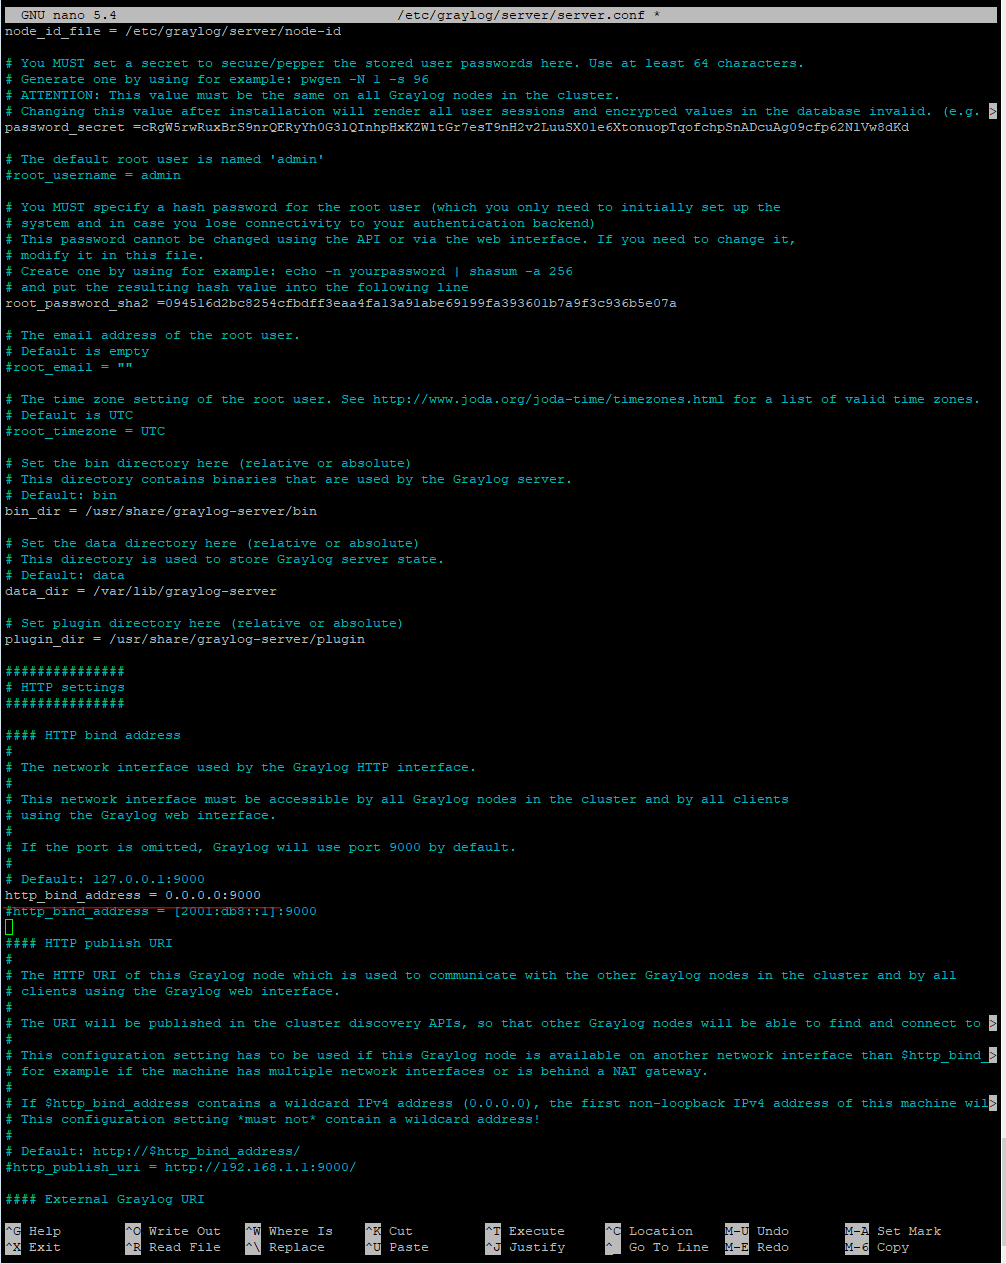
Scroll down a bit in the conf file to find the HTTP line. Uncomment the line to allow Graylog WebGUI to run on localhost at port 9000. Change localhost to 0.0.0.0 to allow Graylog WebGUI to bind to any local network interface.
Save when finished.
Enable Graylog at boot.
sudo systemctl daemon-reload
sudo systemctl enable graylog-server.service
sudo systemctl restart graylog-server.service
Test Graylog WebGUI
