Graylog 6.2 Manual Installation on Debian 12
As of 2025-05-23, Graylog 6.2 is the latest version, and the manual installation process is very different from Graylog 5. You can refer to the official documentation at https://go2docs.graylog.org/current/downloading_and_installing_graylog/debian_installation.htm and follow along.

Install the Prerequisites for Debian 12 Minimal Installations
If you are using a Debian 12 minimal install, you will need to install the following packages first:
sudo apt install gnupg curl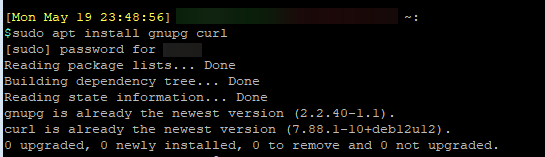
Install MongoDB
Graylog 6.2 requires MongoDB to run, and supports using MongoDB 7.0.
Import the MongoDB repository public key to Debian with the following commands:
curl -fsSL https://www.mongodb.org/static/pgp/server-7.0.asc | \
   sudo gpg -o /usr/share/keyrings/mongodb-server-7.0.gpg \
   --dearmor
Create a list file for MongoDB:
echo "deb [signed-by=/usr/share/keyrings/mongodb-server-7.0.gpg] https://repo.mongodb.org/apt/debian bookworm/mongodb-org/7.0 main" | sudo tee /etc/apt/sources.list.d/mongodb-org-7.0.list
Update the local package repository
sudo apt update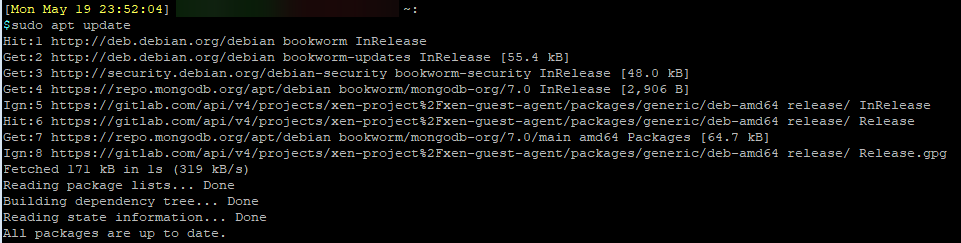
Install MongoDB
sudo apt install mongodb-org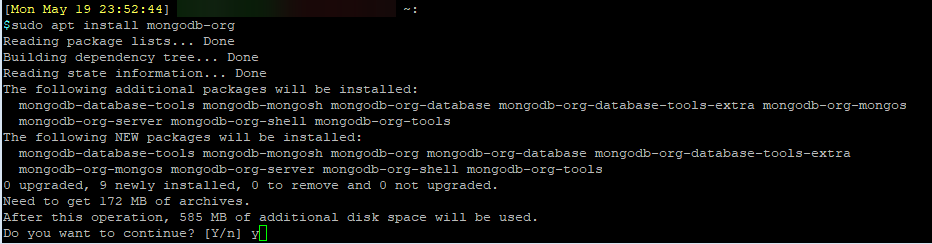
Check that MongoDB is installed, and the current version.
mongod --version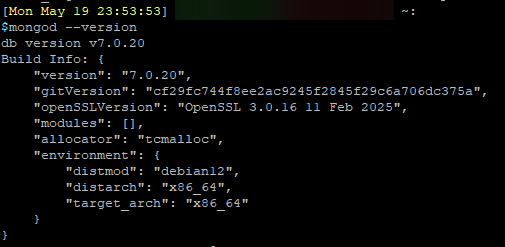
Because Graylog requires specific MongoDB version, which you can refer to their Compatibility Matrix to learn more, https://go2docs.graylog.org/current/downloading_and_installing_graylog/compatibility_matrix.htm, we should hold the current MongoDB version from being updated by our package manager.
sudo apt-mark hold mongodb-org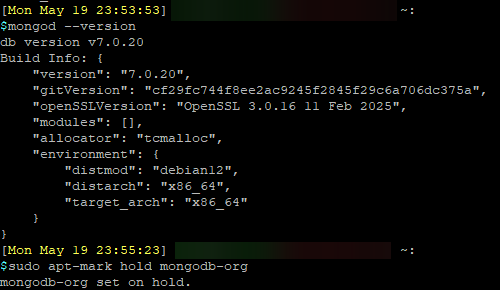
Edit the MongoDB config file at /etc/mongod.conf, to have MongoDB listen on any interfaces instead of just local host.
net:
  port: 27017
  bindIpAll: true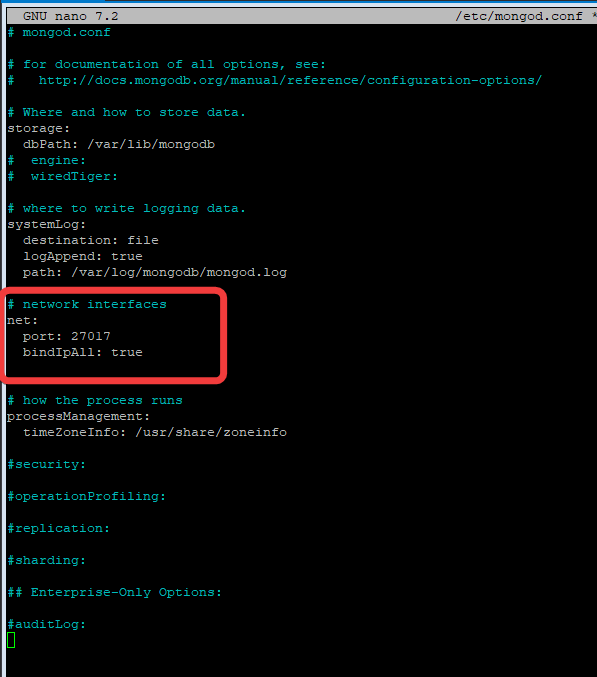
Reload and enable MongoDB to start at boot:
sudo systemctl daemon-reload
sudo systemctl enable mongod.service
sudo systemctl start mongod.service
Install Graylog Datanode
Graylog datanode is what handles the log injestions and processing. This installation process is new compared to Graylog 5.
Download the Graylog Datanode package repository:
wget https://packages.graylog2.org/repo/packages/graylog-6.2-repository_latest.deb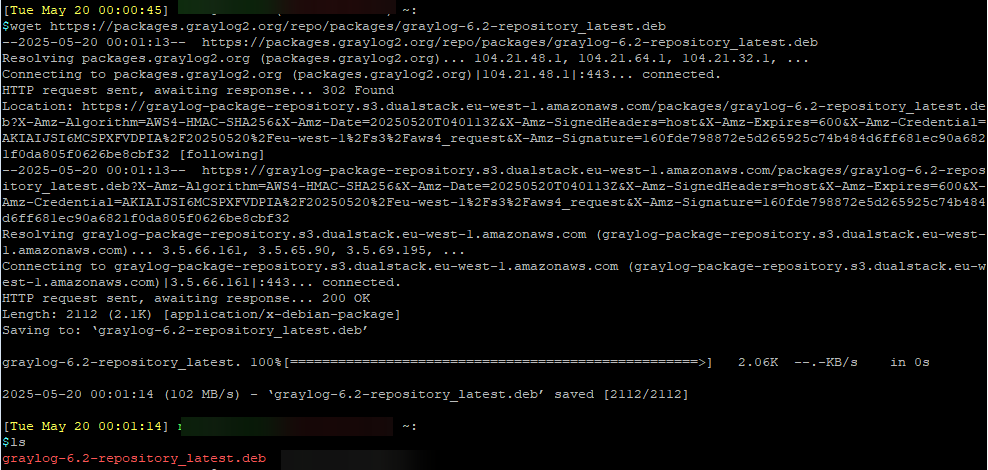
Install the Graylog Datanode repositroy, and update the package manager.
sudo dpkg -i graylog-6.2-repository_latest.deb
sudo apt update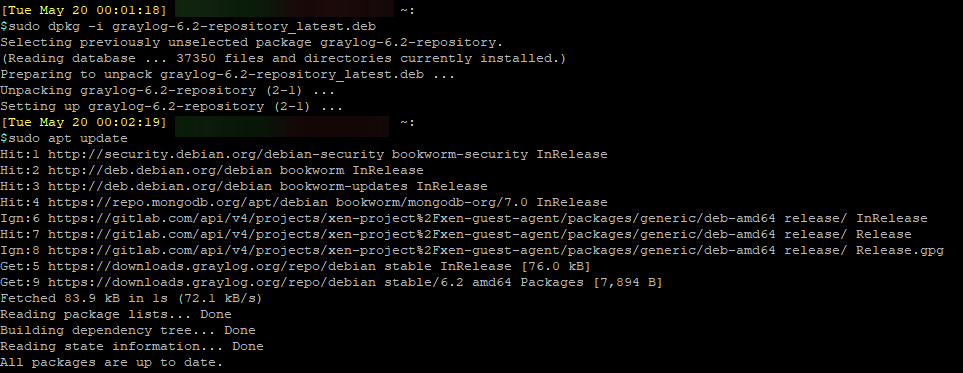
Install Graylog Datanode
sudo apt install graylog-datanode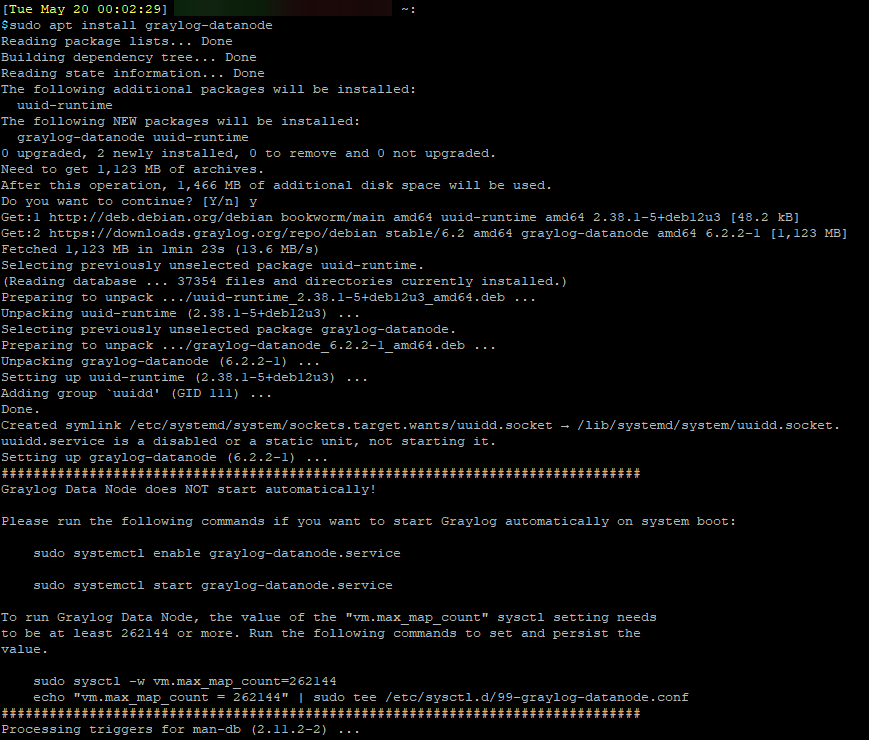
We need to ensure that vm.max_map_count is set to at least 262144. We can check the current value by running the following:
cat /proc/sys/vm/max_map_count
We can increase the value by running the following, and checking it again afterward:
echo 'vm.max_map_count=262144' | sudo tee -a /etc/sysctl.d/99-graylog-datanode.conf
sudo sysctl --system
cat /proc/sys/vm/max_map_count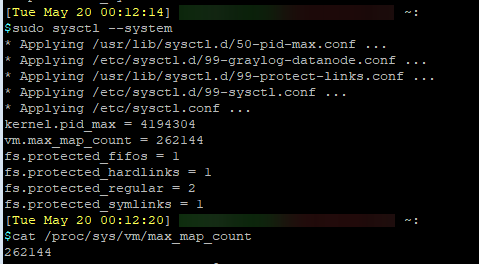
Generate a strong, randomize password secret. This is a value that you will use in the Graylog Datanode config.
You can use openssl to helo genetrate the password:
openssl rand -hex 32
Remember this password secret. You will be adding it to the Graylog Datanode config now, and then also add it to the Graylog server config file later.
Edit the Graylog Datanode file, and add the password secret in.
sudo nano /etc/graylog/datanode/datanode.conf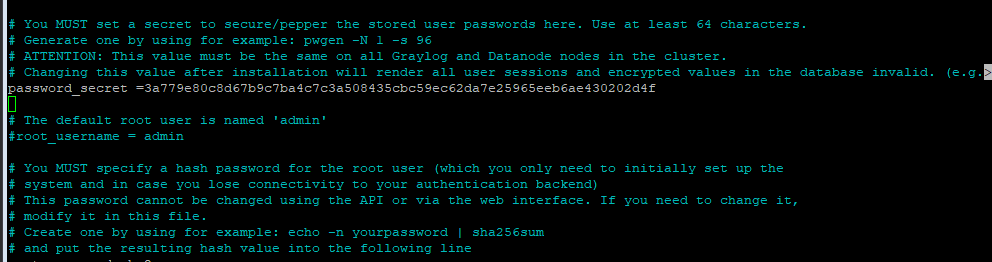
In the same file, at the very end, add the following and set the opensearch_heap value to be half of your system RAM, up to a max of 31GB.
opensearch_heap = 8g
Find and set the MongoDB url. Since MongoDB is on the same system as Graylog, the connection will be set for localhost.
mongodb_uri = mongodb://graylog01:27017/graylog
Save the config file.
Reload and start Graylog Datanode
sudo systemctl daemon-reload
sudo systemctl enable graylog-datanode.service
sudo systemctl start graylog-datanode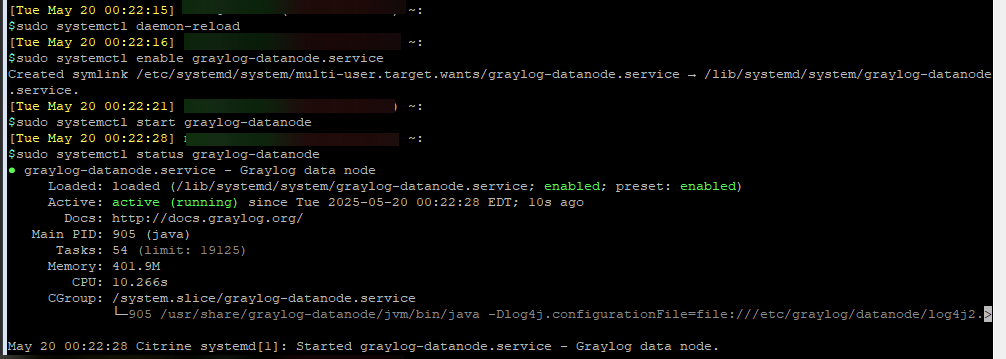
Install Graylog Open
Graylog Open is the free, community edition of the Graylog server.
sudo apt install graylog-server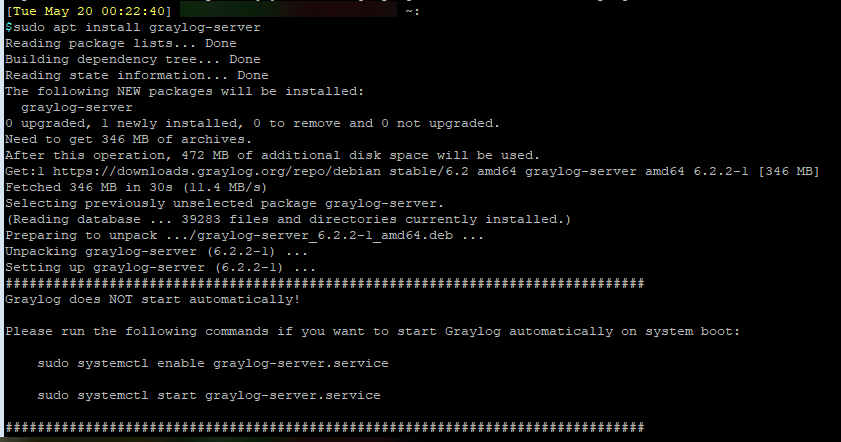
Once Graylog Open is installed, we will need to set the password for our initial admin user.
To do this, run the following command and type in a password. This will split out a SHA256 password hash of the password that can be use in the Graylog config file.

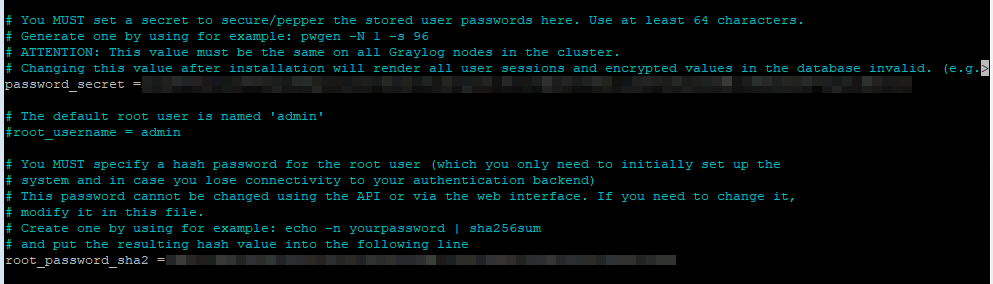
In the /etc/graylog/server/server.conf config file, find the root_password_sha2 line, and enter the password hash from the previous command.
sudo nano /etc/graylog/server/server.confAlso in this file, enter the password_secret value that was used for the Graylog Datanode config file.
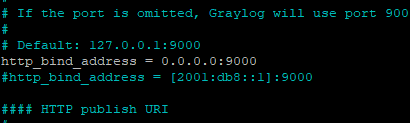
Set the HTTP bind address to listen on all interfaces, or one interface, so that you can access it remotely.
Adjust the journal settings to a reasonable amount. According to the Graylog documentation, "if your expected daily log volume is 30 GB, your max size should be adjusted to 90 GB".

At the end of the config file, add the following Java argument options, setting the Java HEAP value to be half of your system RAM, up to a max of 16GB.
GRAYLOG_SERVER_JAVA_OPTS="-Xms8g -Xmx8g -server -XX:+UseG1GC -XX:-OmitStackTraceInFastThrow"
Reload the deamon, and start Graylog
sudo systemctl daemon-reload
sudo systemctl enable graylog-server.service
sudo systemctl start graylog-server.service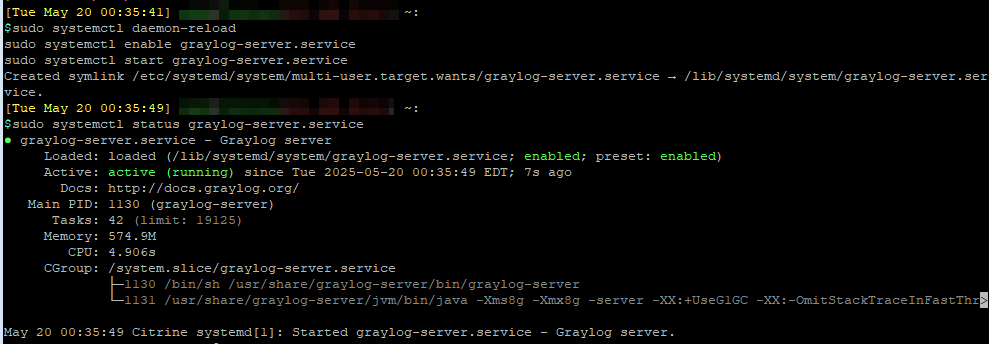
Accessing Graylog
Before you are able access Graylog for the first time and start using it, you need to perform the preflight login process.
Run the following command to get the randomize, initial configuration password for the preflight login.
tail /var/log/graylog-server/server.log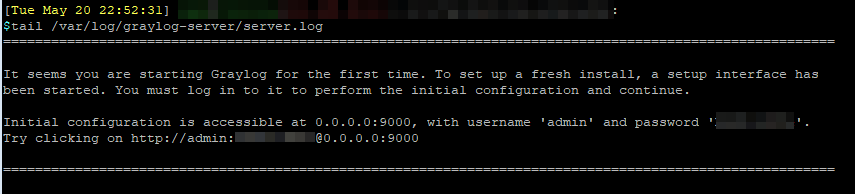
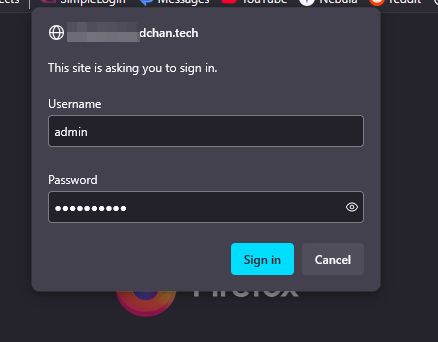
Head over to the Graylog server in the browser, and use the preflight login details.
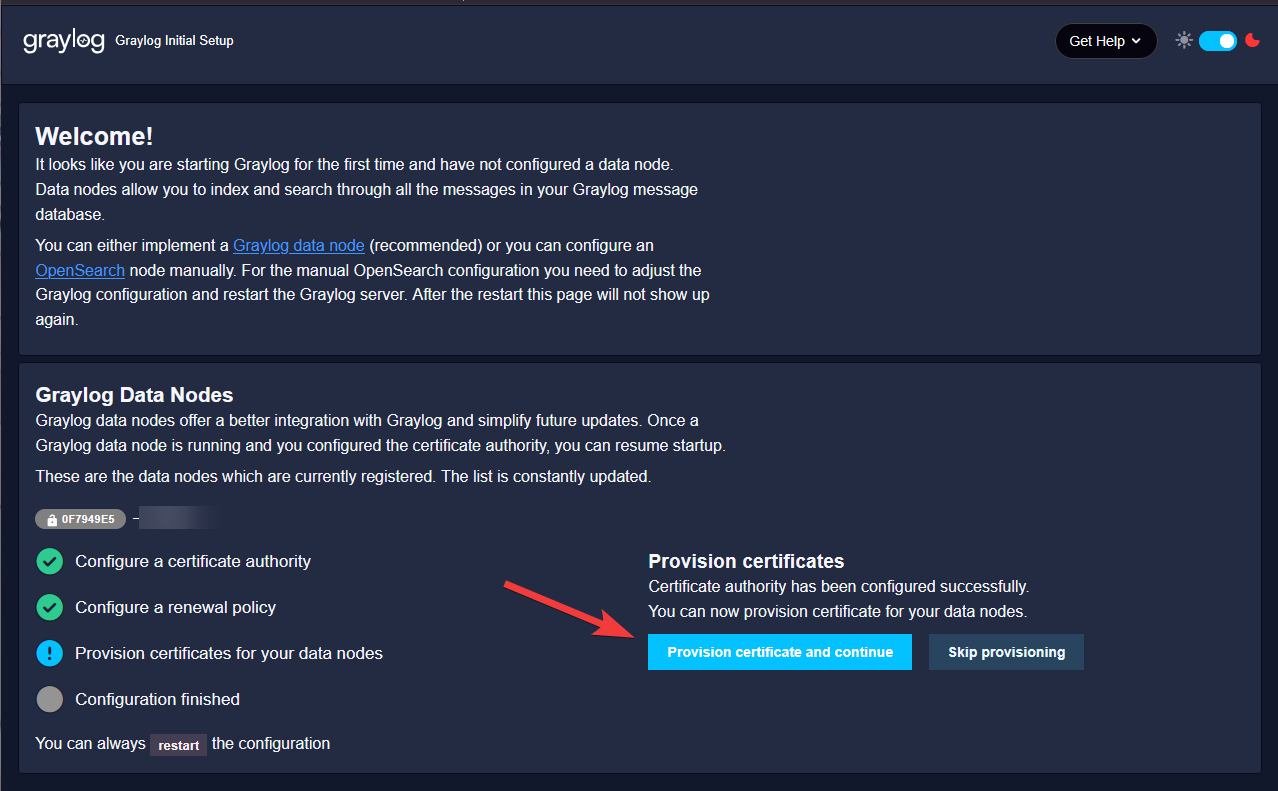
Once login, you will be asked to create or upload a CA. This CA will be responsible for issuing the SSL cert to communicate between the Graylog Datanode and Graylog Open server,
Since thoe two services are on the same VM, we can use a self-sign CA to issue the SSL cert,

Set it to automatic renewal.

Start provisioning.
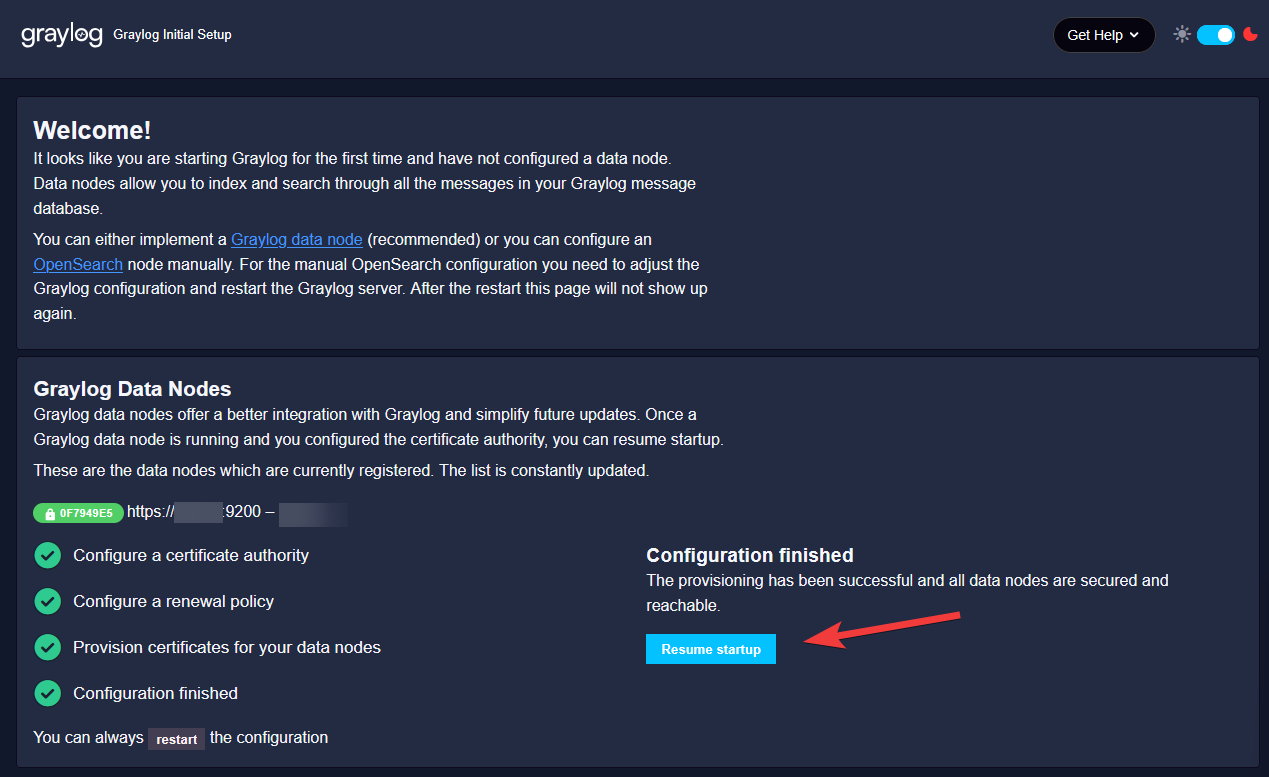
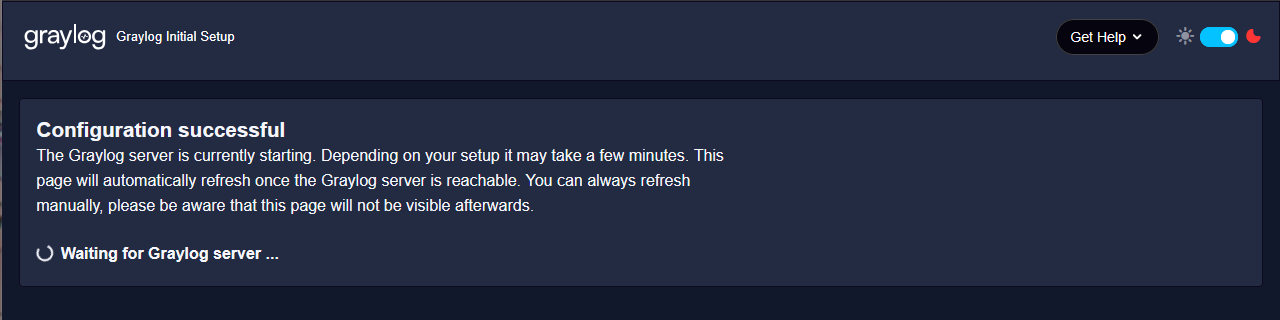
Once provision is ready, you will see that you can now proceed to the Graylog server at port 9200.
Click on Resume Startup.
Head over to Graylog server at port 9200, and login with the admin password you created earlier.
That's it!