Manual Installation on Debian 11
In this guide, I will show you how to install Apache Guacamole server natively on Debian 11.
Apache Guacamole have a nice, official install guide for installing Guacamole natively, located at https://guacamole.apache.org/doc/gug/installing-guacamole.html#building-guacamole-server .
Update and install wget, build-essential
A fresh Debian 11 system does not come with wget or build-essential by default.
Update your Debian installation, then install the two packages.
sudo apt update && sudo apt upgrade -y
sudo apt install -y build-essential wget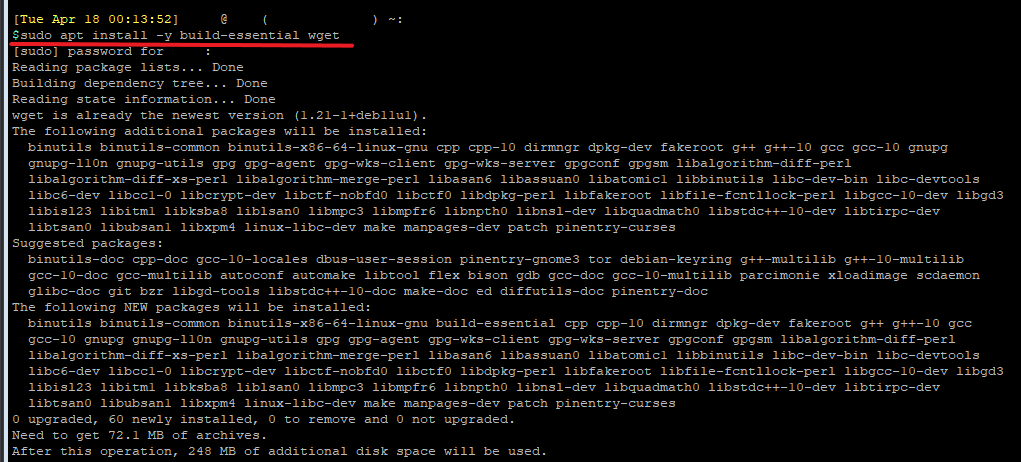
Install Apache Guacamole Dependencies
You can learn more about each dependencies from the official documentation: https://guacamole.apache.org/doc/gug/installing-guacamole.html#building-guacamole-server
sudo apt install -y libcairo2-dev libjpeg62-turbo-dev libpng-dev libtool-bin uuid-dev libavcodec-dev libavformat-dev libavutil-dev libswscale-dev freerdp2-dev libpango1.0-dev libssh2-1-dev libvncserver-dev libwebsockets-dev libpulse-dev libssl-dev libvorbis-dev libwebp-dev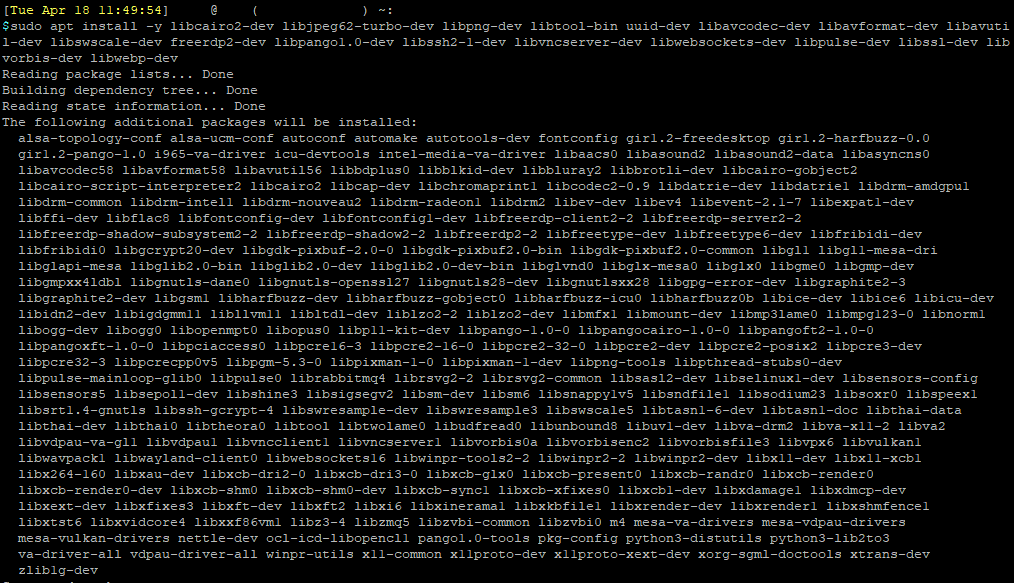
Install Tomcat 9
Tomcat is needed to run the Guacamole client applications.
sudo apt install -y tomcat9 tomcat9-admin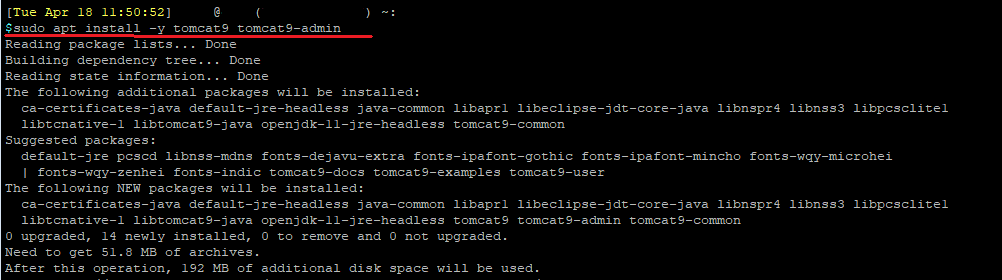
Restart and enable Tomcat9 service at boot.
sudo systemctl start tomcat9
sudo systemctl enable tomcat9
Download and Make the Guacamole Server
Guacamole Server needs to be compile from the source before it can be use.
Download the package from the Apache website, and then extract the contents.
wget https://downloads.apache.org/guacamole/1.5.1/source/guacamole-server-1.5.1.tar.gz
tar -xzf guacamole-server-1.5.1.tar.gz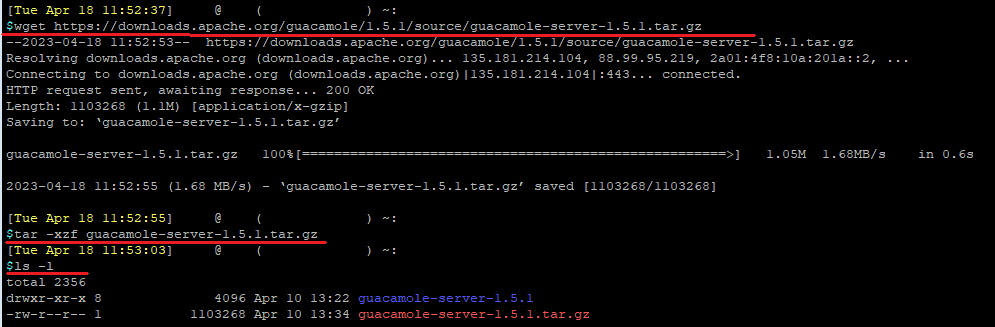
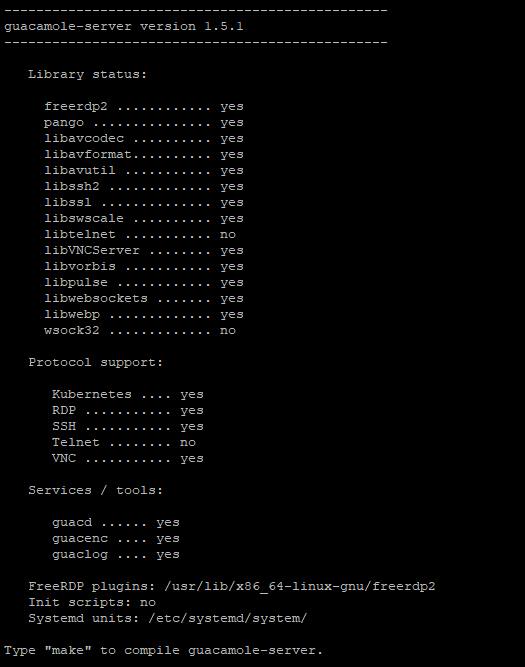
Change into the guacamole-server folder, and then run the ./configure command to run the pre-check process. This process will check your system to see if the conditions for compiling the Guacamole Server is satisfied or not.
cd guacamole-server-1.5.1
./configure --with-systemd-dir=/etc/systemd/system/
You should see the following check-list when the command finishes.
Compile the server.
make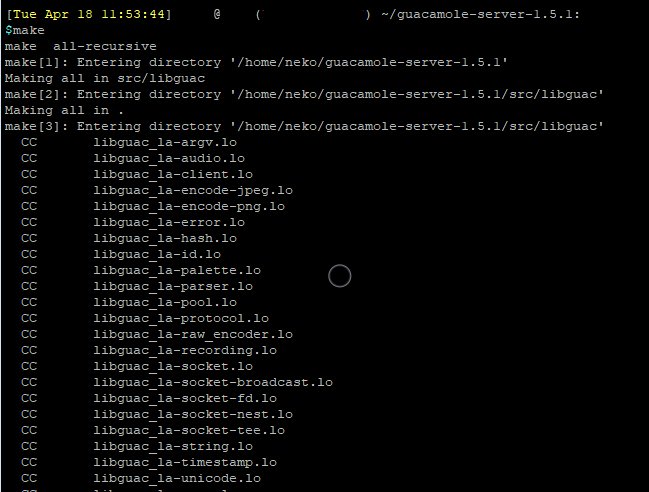
This will take a while. Once finished, we can install the application.
sudo make install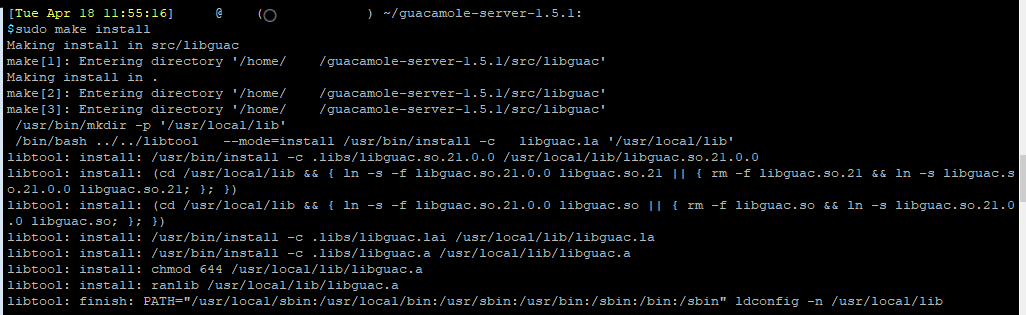
Update symbolic links of the system libraries, and enable Guacamole to start on boot
sudo ldconfig
sudo systemctl daemon-reload
sudo systemctl enable guacd
Download the Guacamole client .war file and copy it to the Tomcat folder
wget https://downloads.apache.org/guacamole/1.5.1/binary/guacamole-1.5.1.war
sudo mv guacamole-1.5.1.war /var/lib/tomcat9/webapps/guacamole.war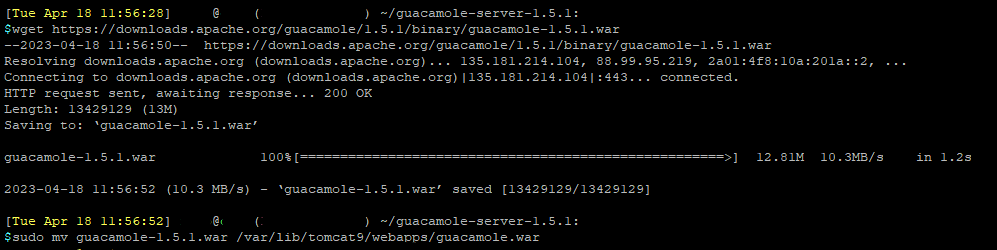
Create the configuration directory, tell Tomcat to look for GUACAMOLE_HOME directory in /etc/guacamole, and create the blank config files. We will edit the configs files later on.
sudo mkdir -p /etc/guacamole/{extensions,lib}
sudo sed -i "$ a GUACAMOLE_HOME=/etc/guacamole" /etc/default/tomcat9
sudo touch /etc/guacamole/{guacamole.properties,guacd.conf}


By default, the guacd service will run as the daemon user on boot. You can verify this by looking at the /etc/systemd/system/guacd.service file:
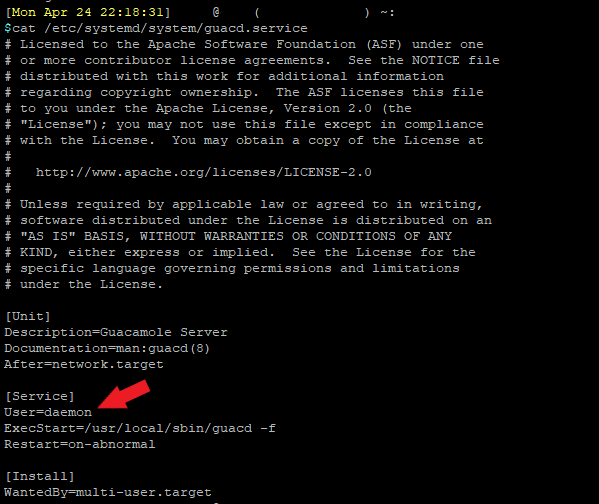
This will end up causing RDP to not authenticate properly later on. We will need to change this to run as the guacd user instead.
guacd user should already be present on the system from all the install steps previously.

Run the following to change the daemon user to the guacd user, and create a directory for guacd user.
#Change user from daemon to guacd
sudo sed -i 's/daemon/guacd/' /etc/systemd/system/guacd.service
#Create directory for guacd
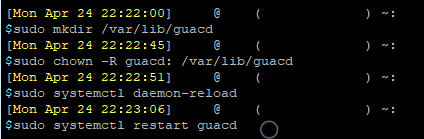
sudo mkdir /var/lib/guacd
#Change ownership to guacd for the new directory
sudo chown -R guacd: /var/lib/guacdAfterwards, reload and restart the guacd service.
sudo systemctl daemon-reload
sudo systemctl restart guacd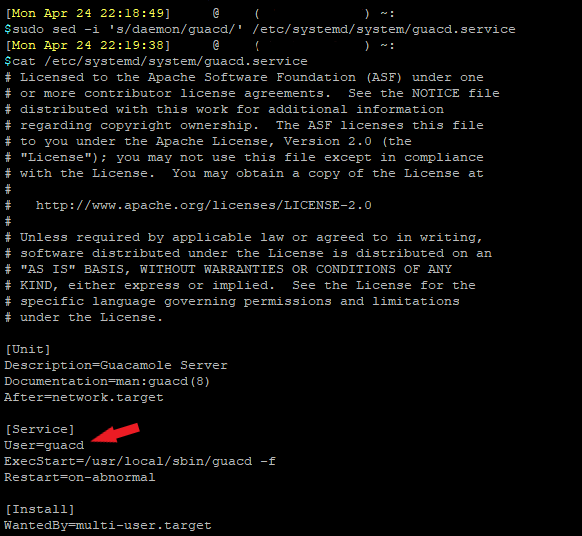
Install MariaDB for Database User Authentication
We will install MariaDB as the database for Apache Guacamole to use for user authentication and connection management.
Install MariaDB and start MariaDB on boot:
sudo apt-get install -y mariadb-server mariadb-client
sudo systemctl enable mariadb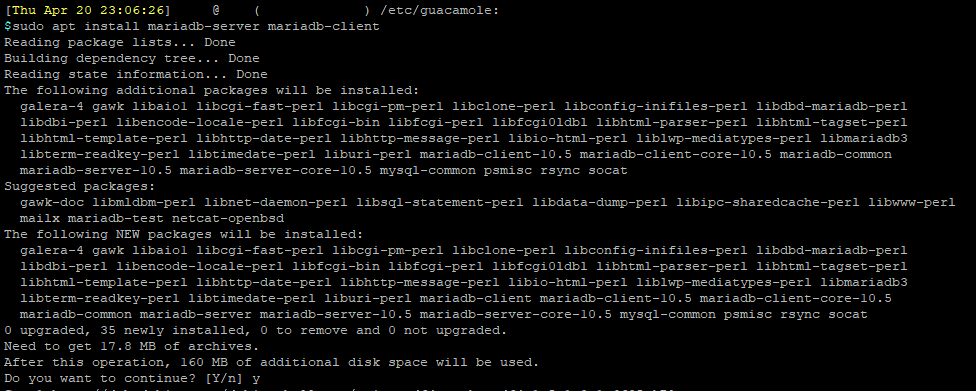
Create a Guacamole database. You can call this database anything you want. The below example uses "guacamole_db".
sudo mysql -u root -e "CREATE DATABASE IF NOT EXISTS guacamole_db"
Create a new database user for the Guacamole Server to use to connect to MariaDB, and give it a secure password. Grant this user access to the guacamole database you created earlier.
sudo mysql -u root --execute="CREATE USER 'guacamole'@'localhost' IDENTIFIED WITH mysql_native_password AS PASSWORD('YOUR_SECRET_PASSWORD');"
sudo mysql -u root --execute="GRANT ALL ON guacamole_db.* TO 'guacamole'@'localhost'"
Download the Guacamole Database Extension and extract the tar file. This extension allows Guacamole to utilize databases for some of the built-in functions.
wget https://downloads.apache.org/guacamole/1.5.1/binary/guacamole-auth-jdbc-1.5.1.tar.gz
tar -xzf guacamole-auth-jdbc-1.5.1.tar.gz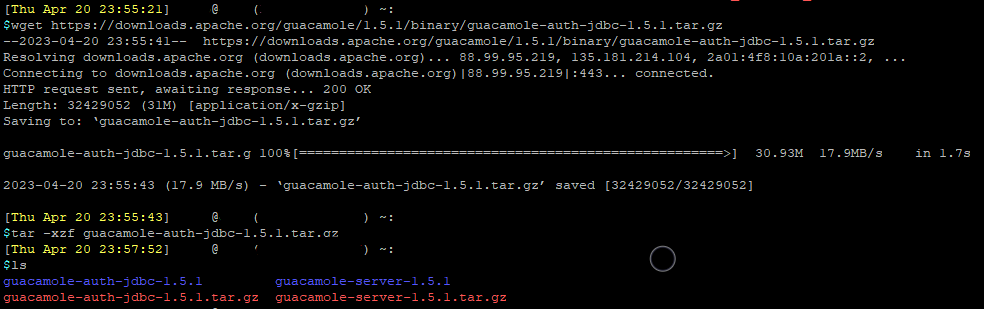
Copy the schema from the folder to the newly created database.
sudo cat ./guacamole-auth-jdbc-*/mysql/schema/*.sql | sudo mysql -u root guacamole_db
Copy the JDBC .jar file to the guacamole extensions folder
sudo cp ./guacamole-auth-jdbc-1.5.1/mysql/guacamole-auth-jdbc-mysql-1.5.1.jar /etc/guacamole/extensions/
Run mysql_secure_installation to secure the fresh MariaDB instance.
sudo mysql_secure_installation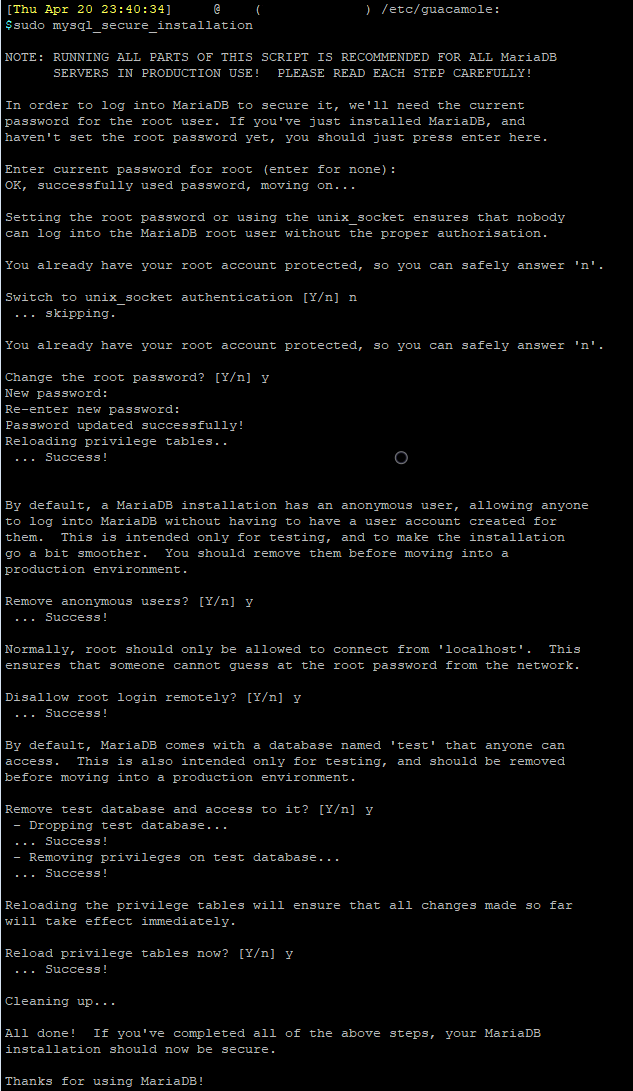
Download the MySQL Java connector and extract the file. The Java connector is needed for the Guacamole server to connect to the MariaDB database.
wget https://dev.mysql.com/get/Downloads/Connector-J/mysql-connector-j-8.0.33.tar.gz
tar -xzf mysql-connector-j-8.0.33.tar.gz
Copy the Java connector to guacamole extension folder
sudo cp ./mysql-connector-j-*/mysql-connector-j-*.jar /etc/guacamole/lib/Download and install the ToTP Extension
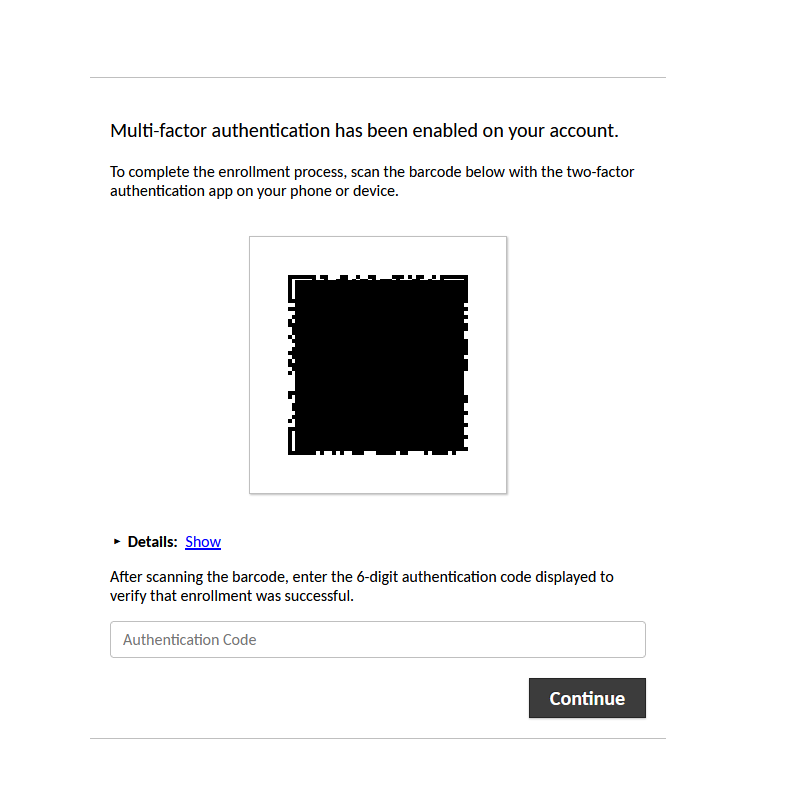
Multi-factor authentication is a must if available, for all accounts. Thankfully, Apache Guacamole have a ToTP extension to secure the Guacamole instance further.
Download and copy the extension to the guacamole extension folder.
wget https://downloads.apache.org/guacamole/1.5.1/binary/guacamole-auth-totp-1.5.1.tar.gz
tar -xzf guacamole-auth-totp-1.5.1.tar.gz
sudo cp ./guacamole-auth-totp-1.5.1/guacamole-auth-totp-1.5.1.jar /etc/guacamole/extensions/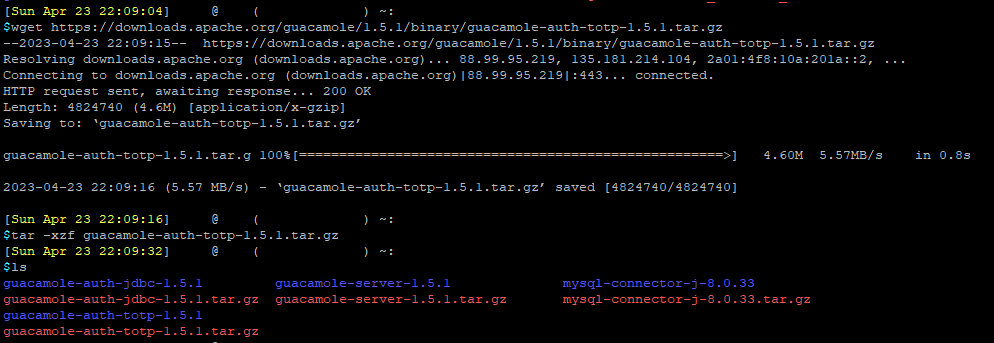

Edit Config Files
Use your favorite editor, edit and save the following to the /etc/guacamole/guacd.conf file.
[server]
bind_host = 0.0.0.0
bind_port = 4822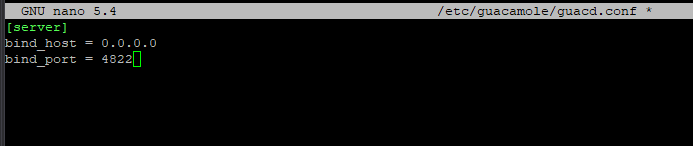
Use your favorite editor, edit and save the following to the /etc/guacamole/guacamole.properties file.
mysql-hostname: localhost
mysql-port: 3306
mysql-database: guacamole_db
mysql-username: guacamole
mysql-password: YOUR_SECRET_PASSWORD
Install NGINX
We will use NGINX as the front-end to access Guacamole, and for HTTPS.
Install and enable NGINX at boot.
sudo apt install -y nginx
sudo systemctl enable nginx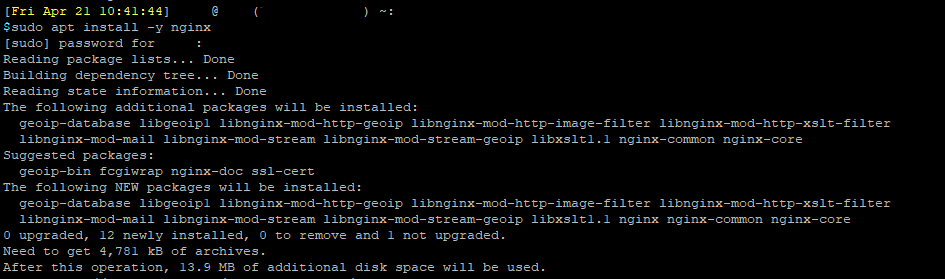

Unlink the default NGINX config
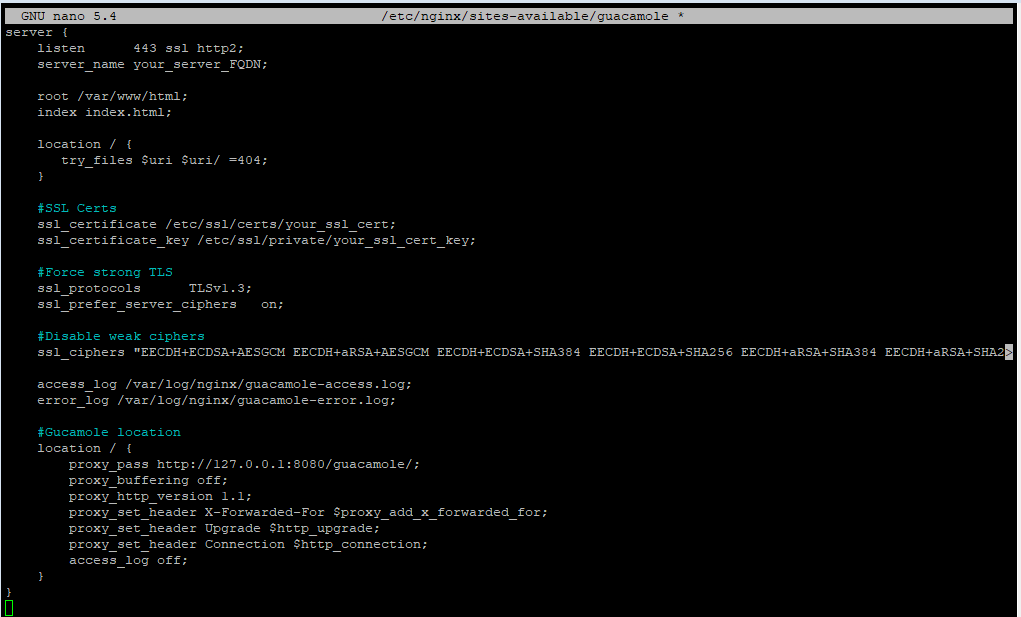
sudo unlink /etc/nginx/sites-enabled/defaultUse your favorite editor, create a nginx config file at /etc/nginx/sites-available/
You will need to have your self-signed internal certificate or public certificate ready and place into the NGINX config.
    server {
        listen      443 ssl http2;
        server_name YOUR_SERVER_NAME;

        root /var/www/html;
        index index.html;

        #SSL Certs
        ssl_certificate ssl_cert_path;
        ssl_certificate_key ssl_key_path;

        #Force strong TLS
        ssl_protocols      TLSv1.3;
        ssl_prefer_server_ciphers   on;

        #Disable weak ciphers
        ssl_ciphers "EECDH+ECDSA+AESGCM EECDH+aRSA+AESGCM EECDH+ECDSA+SHA384 EECDH+ECDSA+SHA256 EECDH+aRSA+SHA384 EECDH+aRSA+SHA256 EECDH+aRSA+RC4 EECDH EDH+aRSA HIGH !RC4 !aNULL !eNULL !LOW !3DES !MD5 !EXP !PSK !SRP !DSS";

        access_log /var/log/nginx/guacamole-access.log;
        error_log /var/log/nginx/guacamole-error.log;

        #Gucamole location
        location / {
            proxy_pass http://127.0.0.1:8080/guacamole/;
            proxy_buffering off;
            proxy_http_version 1.1;
            proxy_set_header X-Forwarded-For \$proxy_add_x_forwarded_for;
            proxy_set_header Upgrade \$http_upgrade;
            proxy_set_header Connection \$http_connection;
            client_max_body_size 1g;
            access_log off;
        }
    }
Link the configs
sudo ln -s /etc/nginx/sites-available/guacamole /etc/nginx/sites-enabled/guacamole
Test the NGINX configs
sudo nginx -t
Restart all services, and that's it!
Restart all services
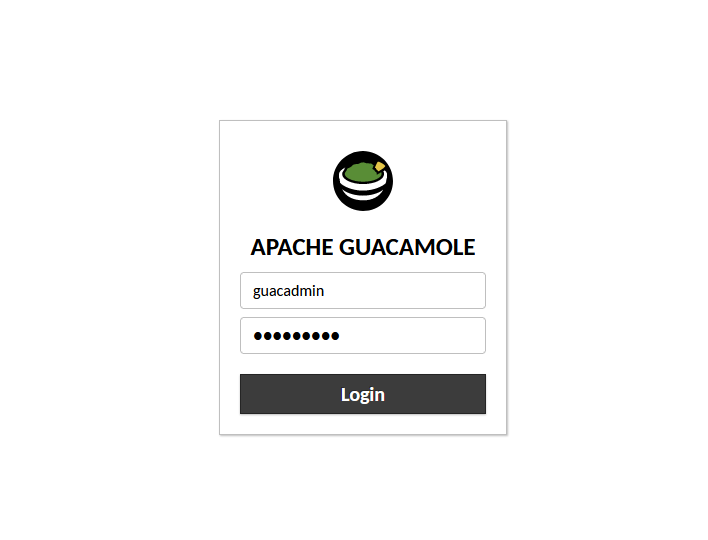
sudo systemctl restart guacd tomcat9 mariadb nginxThat's it! You can now access your Guacamole instance at https://your_server_FQDN, using user 'guacadmin' and password 'guacadmin'.
Remember to change your password upon login, and setup ToTP.