Script Installtion on Debian
Prerequisites for Debian Minimal Installations
Install Git
sudo apt install git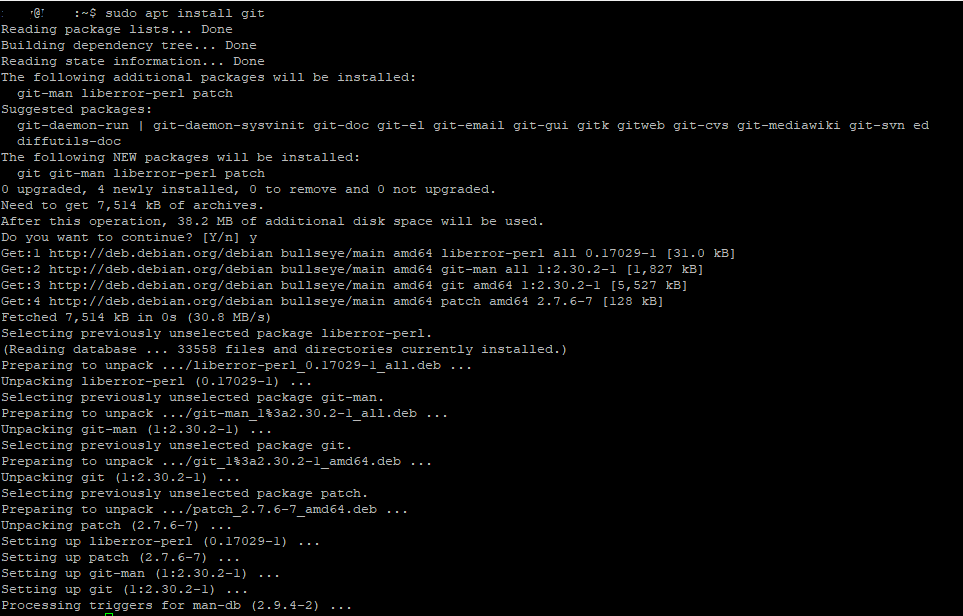
Install curl
sudo apt install curl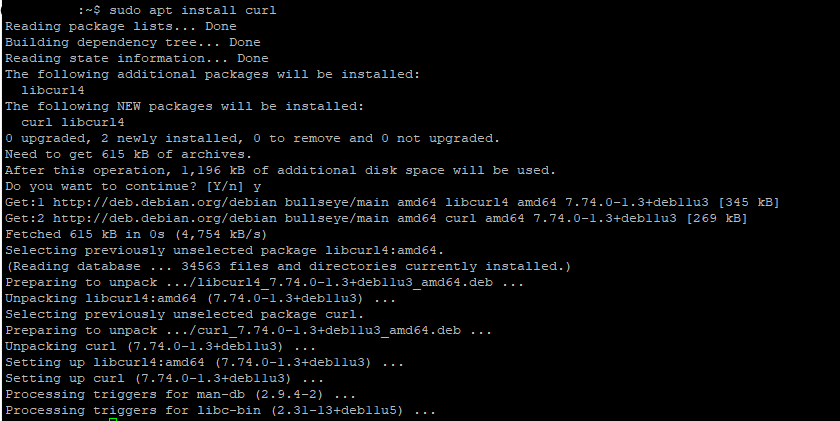
Install SearXNG
Clone the github repository to a local folder, that ALL users on the Linux system can read from. This is because a new user called searxng will be created by the script, and the new user will need to read from the cloned repository.
You can clone into the /var/tmp folder to avoid running into any read permission issues during the script installation.
cd /var/tmpThe official repository is at: https://github.com/searxng/searxng. Documentation can be found at https://docs.searxng.org/admin/installation-scripts.html#installation-scripts
git clone https://github.com/searxng/searxng.git searxng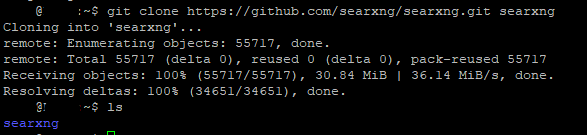
Change directory into the searxng folder.
cd searxng
Run the official script installer. Details of the script can be found at https://github.com/searxng/searxng/blob/master/utils/searxng.sh
sudo -H ./utils/searxng.sh install all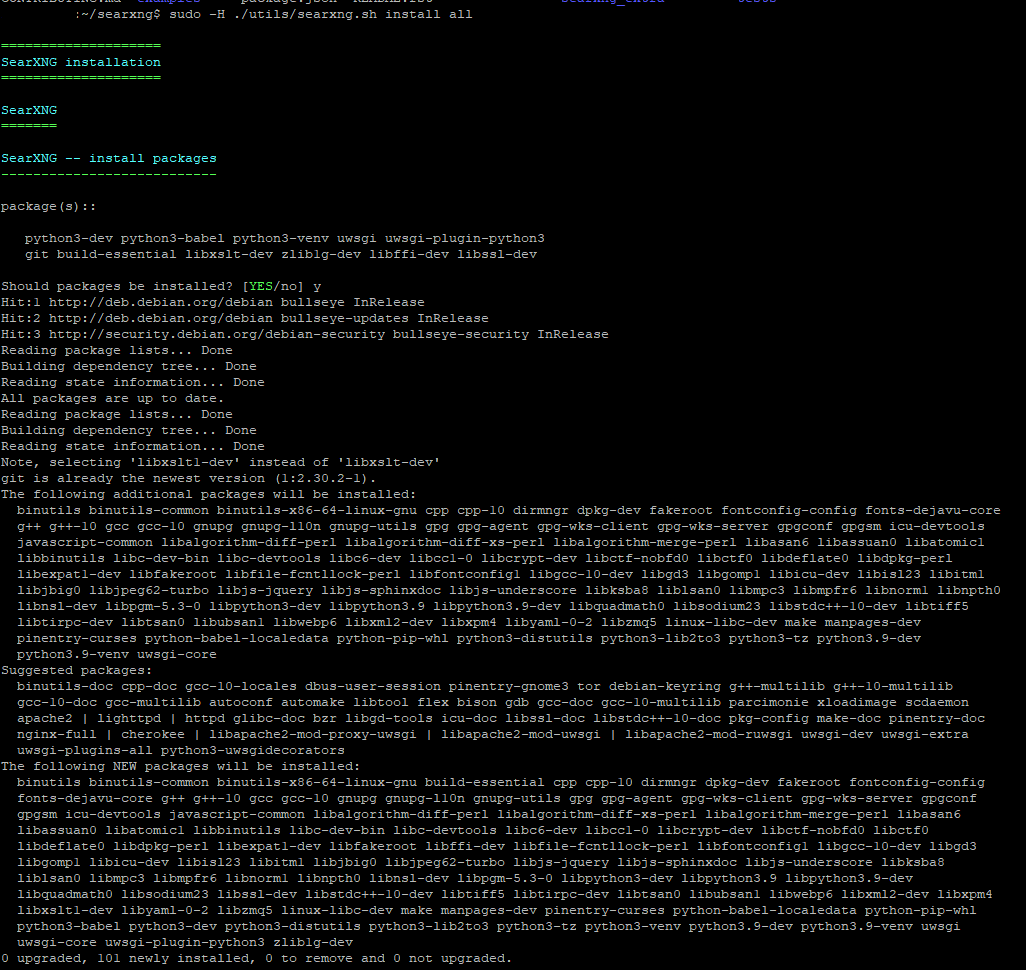
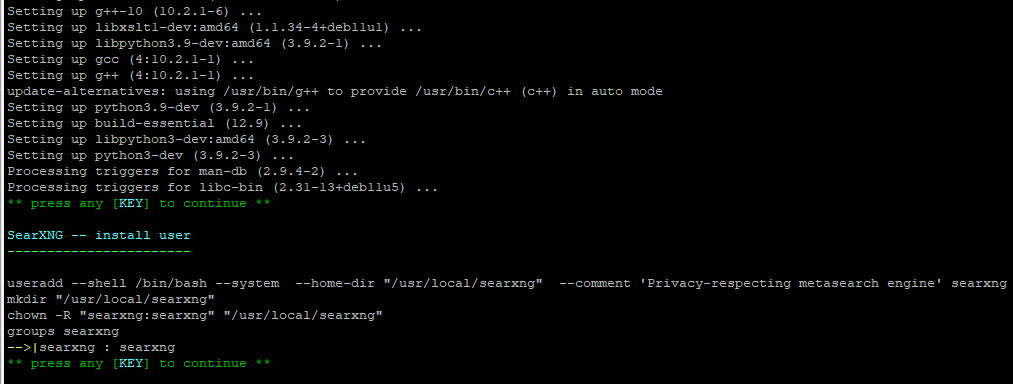
The script will start off by updating repository and installing the required packages. Once packages are installed, script will pause and ask for user interaction to continue to the next phase, which is creating a searx user.
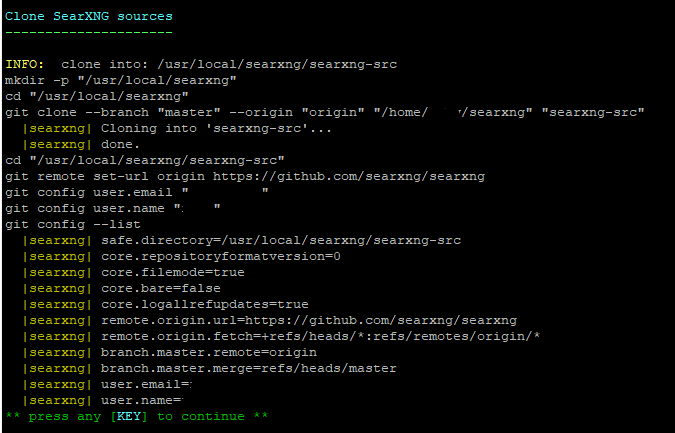
Press ANY Key to continue.
Cloning source into searx user directory.
Creating python virtual env.
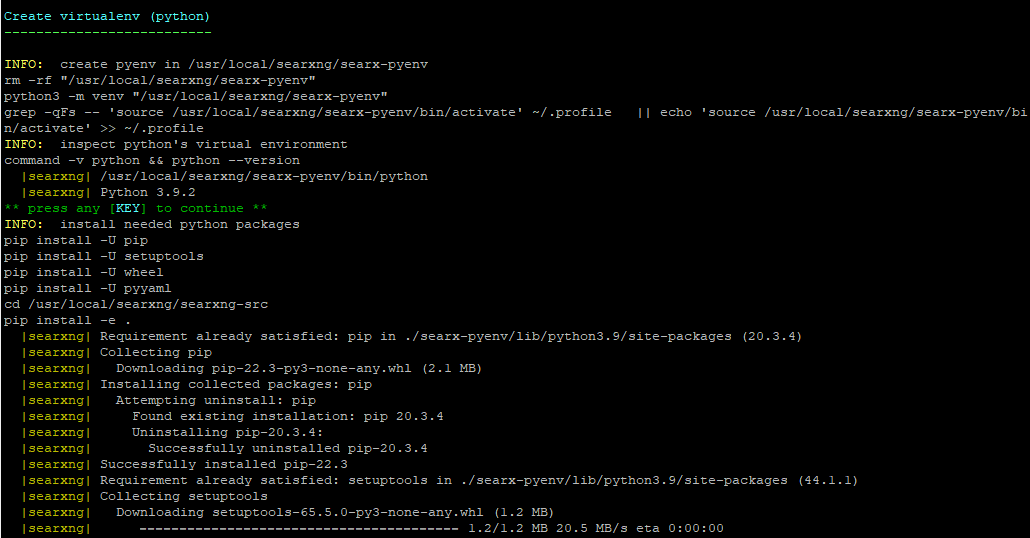
Create initial settings file.

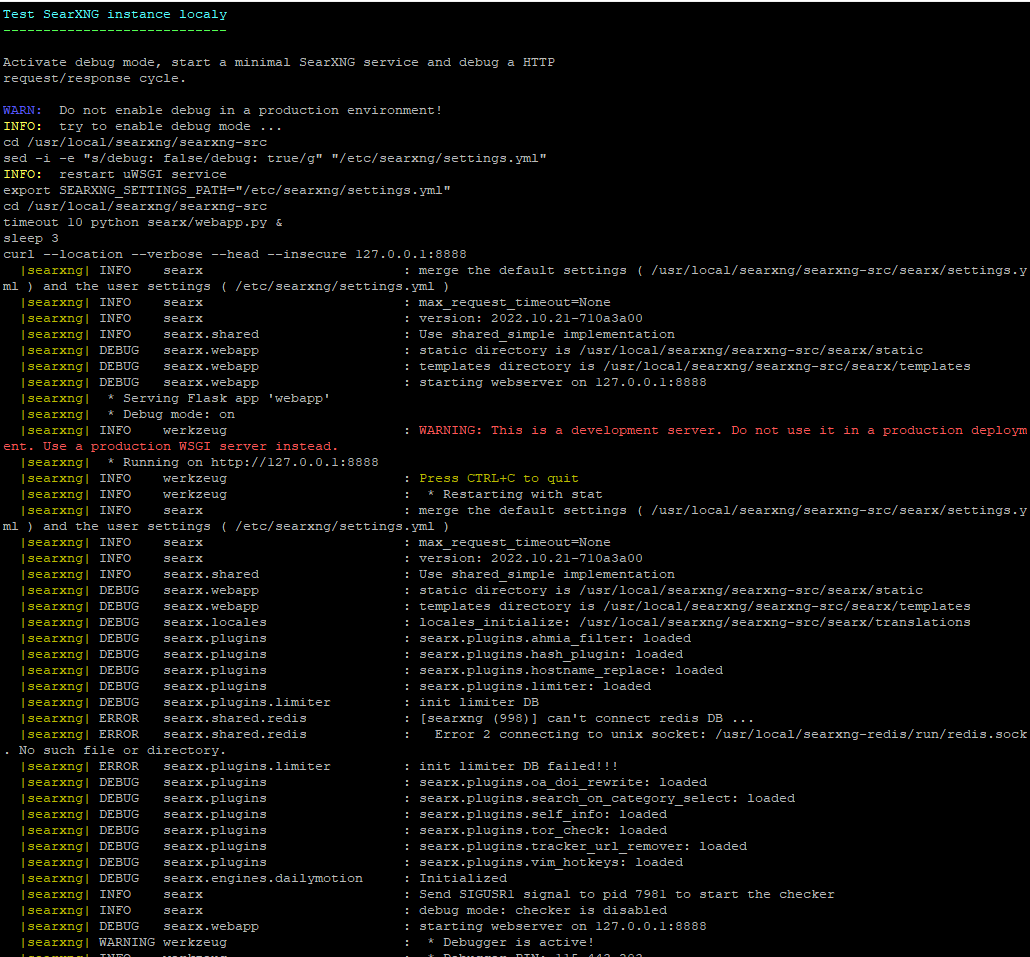
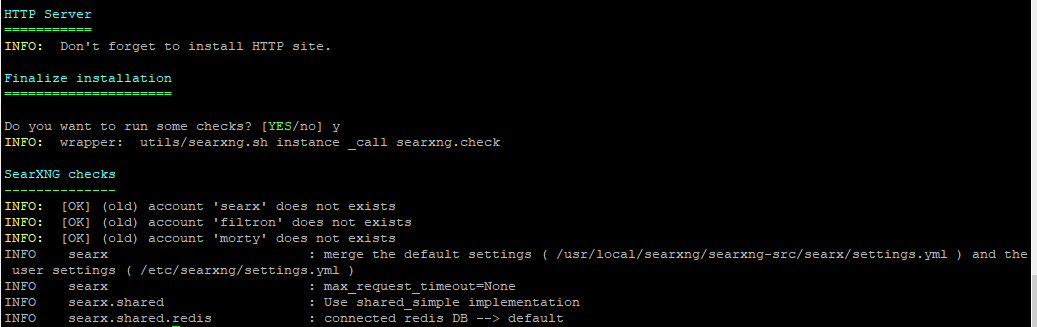
Automated initial testing.
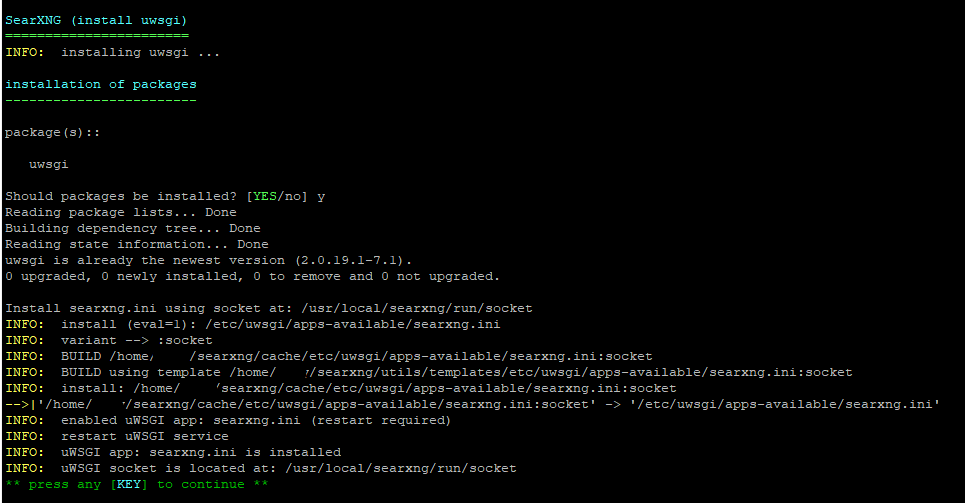
Install uwsgi
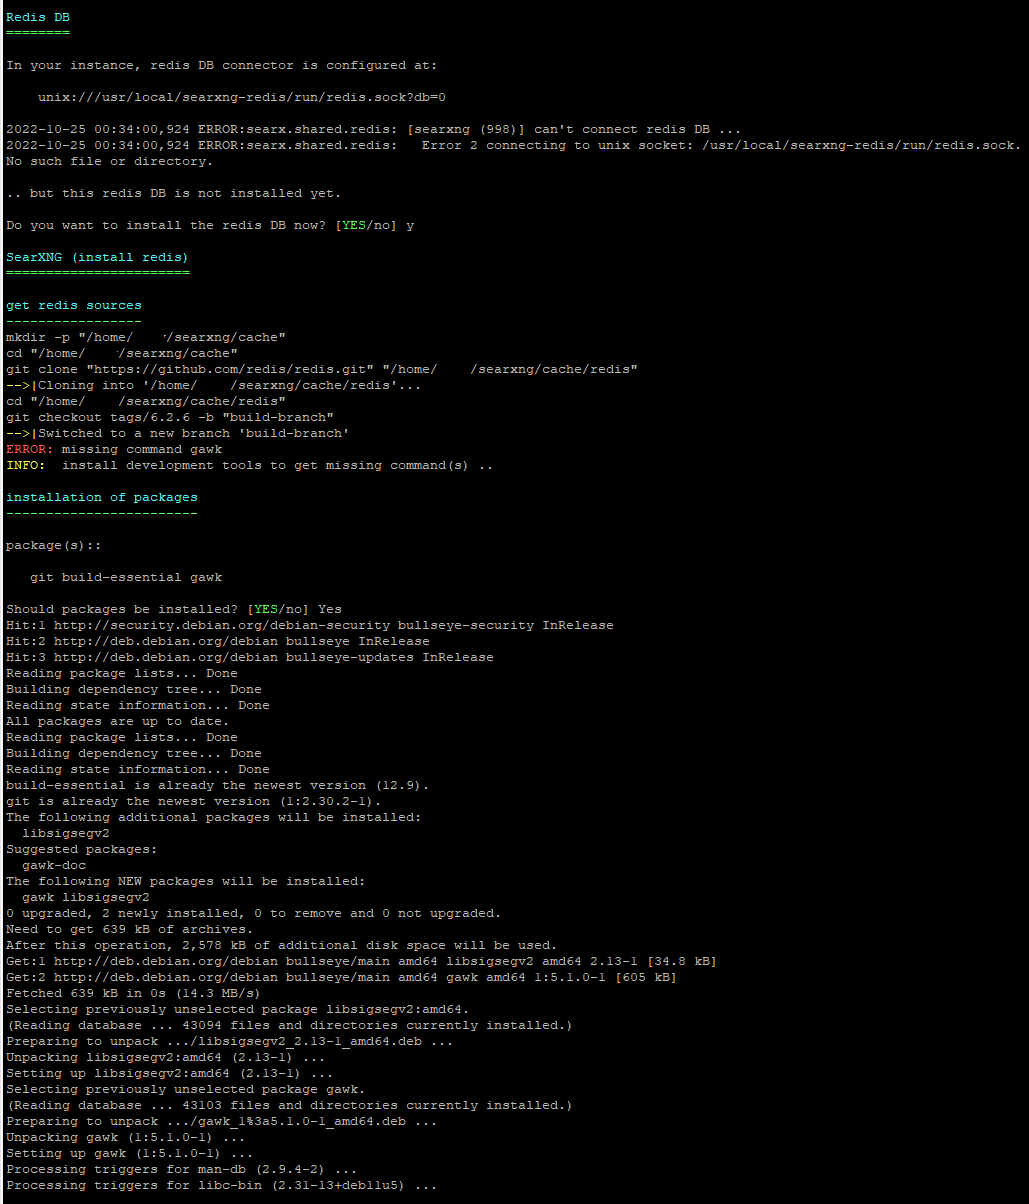
Install redis
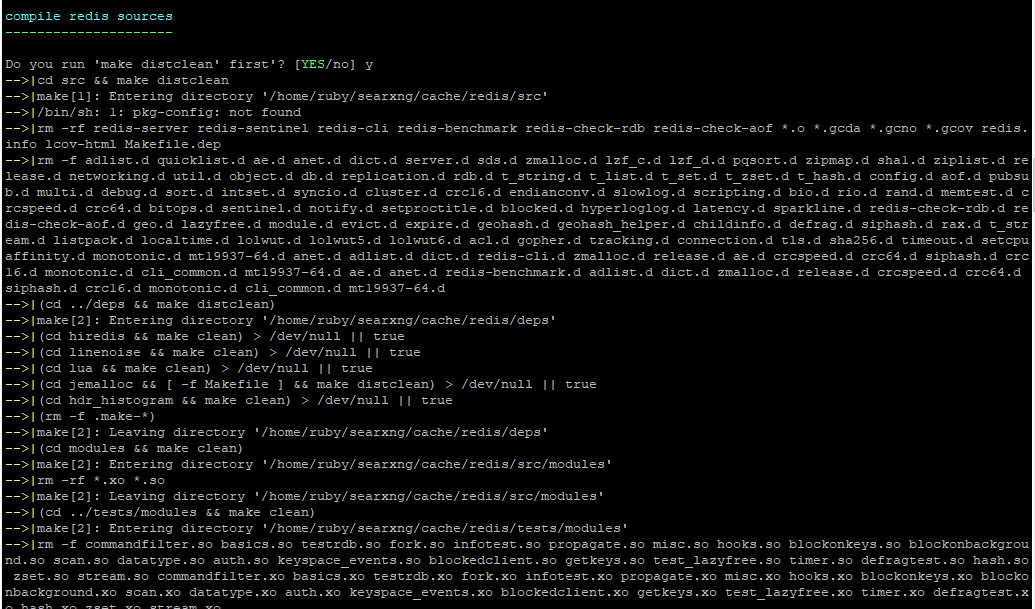
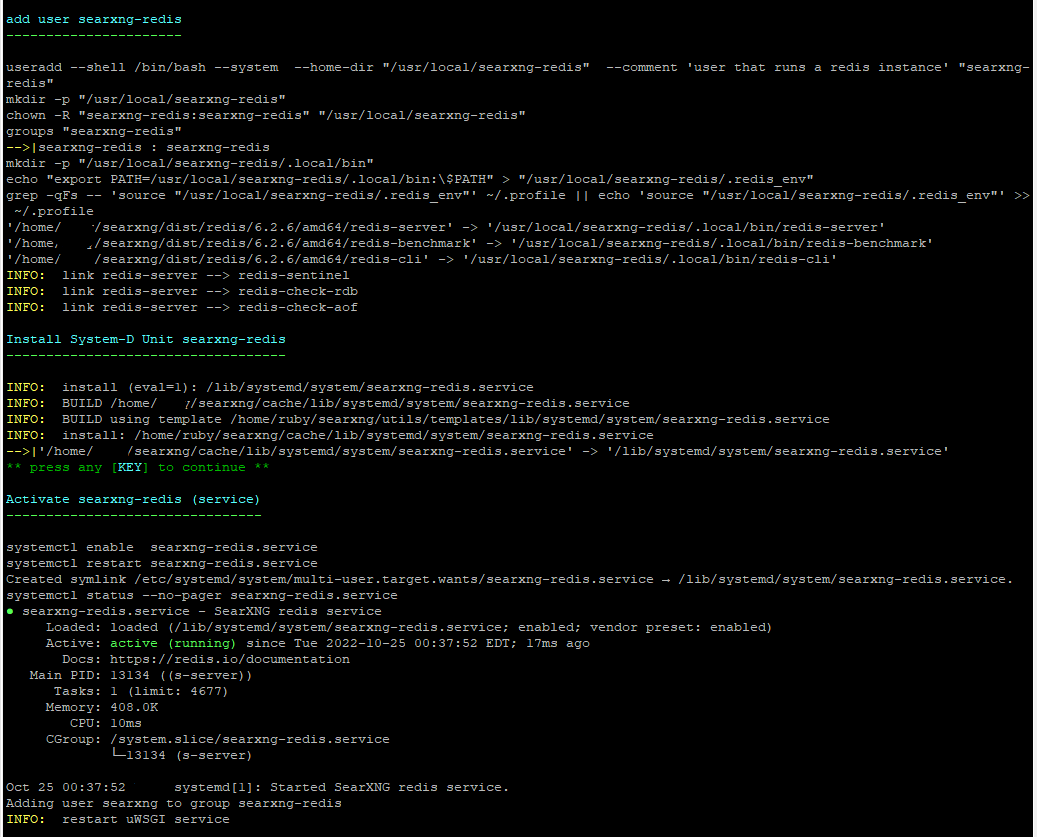
And finally, the script is finish.
Install Webserver
Before SearXNG can be use, we will need to install a webserver. SearXNG does not have any preference for which web server to use, so choose the web server you're most familiar with.
I am using NGINX as my web server, so for this guide, I will be going over setting up NGINX for SearXNG. SearXNG's official NGINX documentation can be found here: https://docs.searxng.org/admin/installation-nginx.html#installation-nginx
On Debian 11, you can run the following command to install NGINX from the stable package repository, As of 2022-10-25, the stable package repository contains NGINX version 18.0.
sudo apt install nginx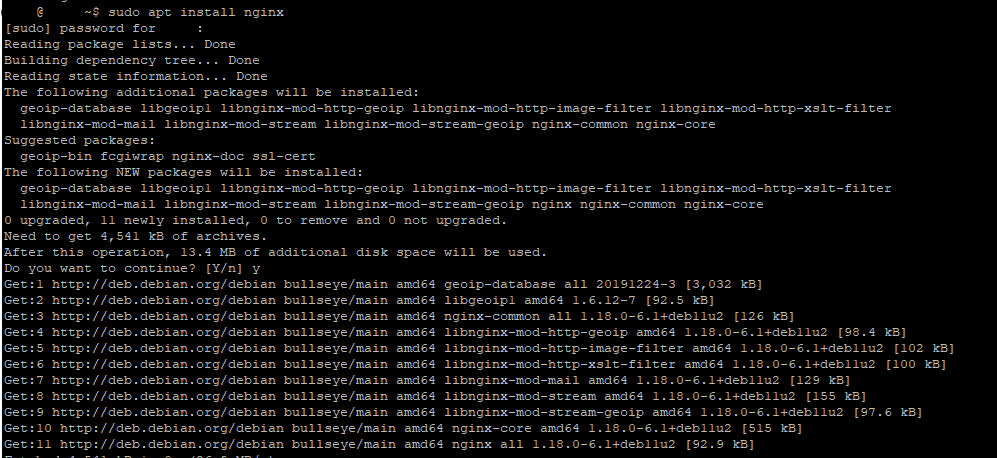
You can check that NGINX is successfully install by checking the NGINX version.
sudo nginx -v
Unlink the default NGINX config file.
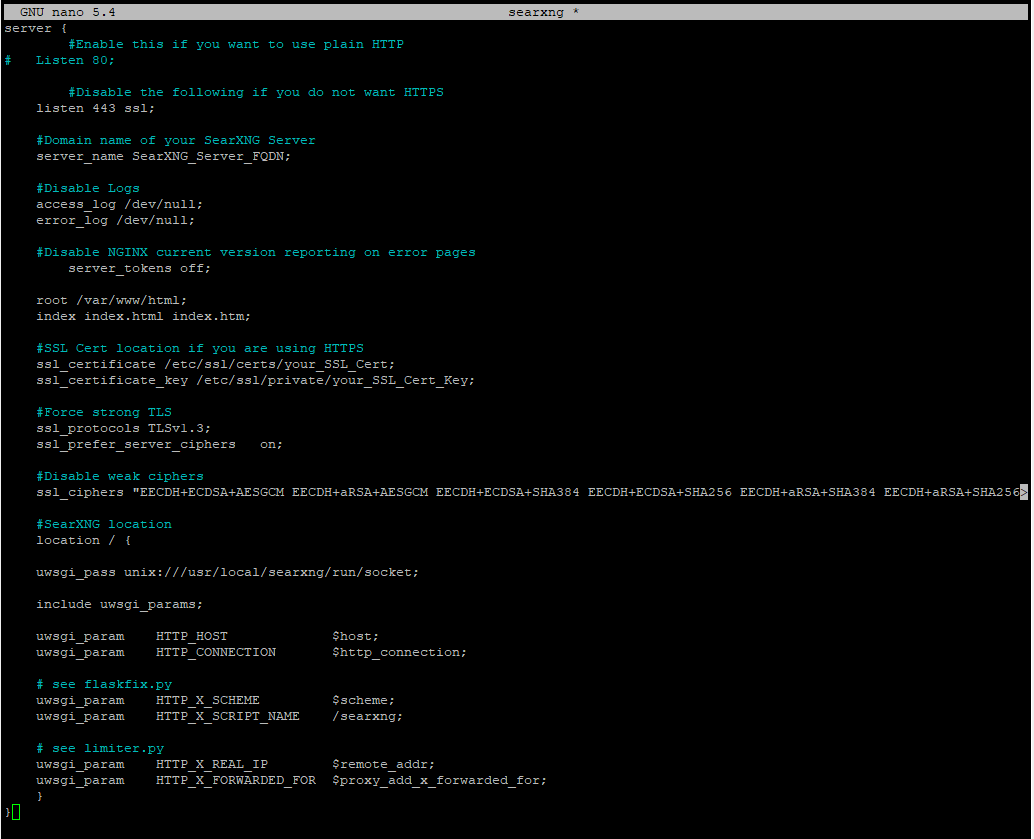
sudo unlink /etc/nginx/sites-enabled/defaultUsing your preferred text editor (like nano), create a new config file for SearXNG at /etc/nginx/sites-available/ , and paste the following:
server {
	#Enable this if you want to use plain HTTP
#   Listen 80;

	#Disable the following if you do not want HTTPS
    listen 443 ssl;

    #Domain name of your SearXNG Server
    server_name SearXNG_Server_FQDN;

    #Disable Logs
    access_log /dev/null;
    error_log /dev/null;

    #Disable NGINX current version reporting on error pages
	server_tokens off;

    root /var/www/html;
    index index.html index.htm;

    #SSL Cert location if you are using HTTPS
    ssl_certificate /etc/ssl/certs/your_SSL_Cert;
    ssl_certificate_key /etc/ssl/private/your_SSL_Cert_Key;

    #Force strong TLS
    ssl_protocols TLSv1.3;
    ssl_prefer_server_ciphers   on;

    #Disable weak ciphers
    ssl_ciphers "EECDH+ECDSA+AESGCM EECDH+aRSA+AESGCM EECDH+ECDSA+SHA384 EECDH+ECDSA+SHA256 EECDH+aRSA+SHA384 EECDH+aRSA+SHA256 EECDH+aRSA+RC4 EECDH EDH+aRSA HIGH !RC4 !aNULL !eNULL !LOW !3DES !MD5 !EXP !PSK !SRP !DSS";

    #SearXNG location
    location / {

    uwsgi_pass unix:///usr/local/searxng/run/socket;

    include uwsgi_params;

    uwsgi_param    HTTP_HOST             $host;
    uwsgi_param    HTTP_CONNECTION       $http_connection;

    # see flaskfix.py
    uwsgi_param    HTTP_X_SCHEME         $scheme;
    uwsgi_param    HTTP_X_SCRIPT_NAME    /searxng;

    # see limiter.py
    uwsgi_param    HTTP_X_REAL_IP        $remote_addr;
    uwsgi_param    HTTP_X_FORWARDED_FOR  $proxy_add_x_forwarded_for;
    }
}
Link the new config file to /etc/nginx/sites-enabled/
sudo ln -s /etc/nginx/sites-available/searxng /etc/nginx/sites-enabled/searxngTest the NGINX config file
sudo nginx -t
Enable NGINX service at boot, and restart NGINX.
#Enable NGINX at boot
sudo systemctl enable nginx

#Restart NGINX
sudo systemctl restart nginx
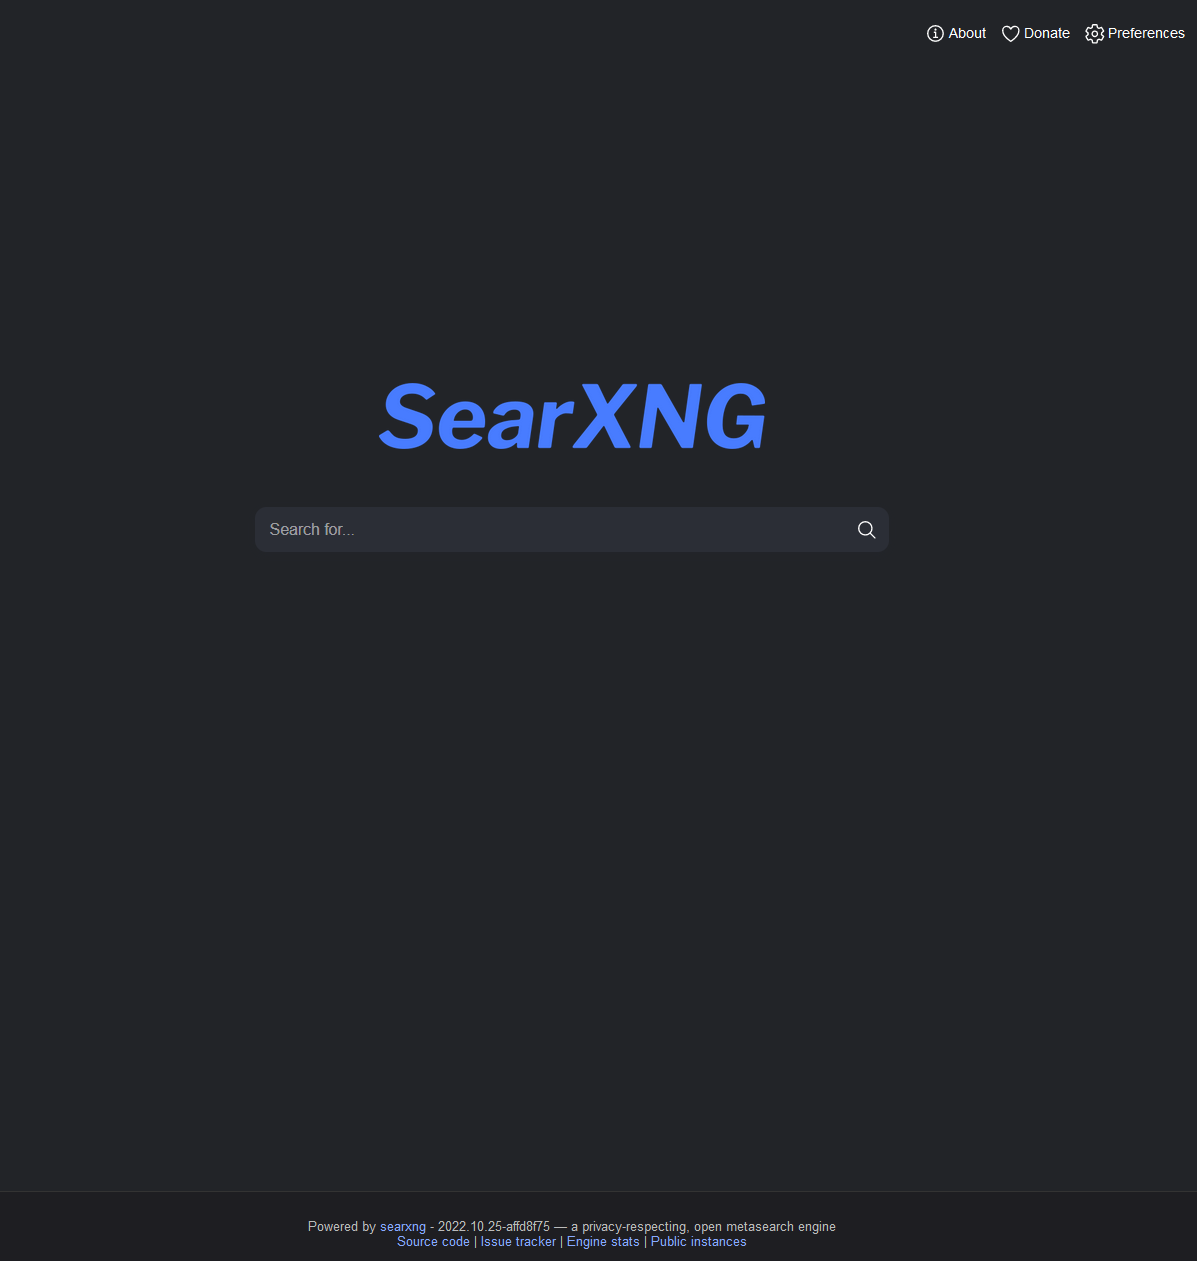
Testing SearXNG
Once you have your webserver setup, navigate to the website in the browser. You should see the SearXNG search bar now.