
Booting Raspberry Pi OS from SSD
By default, Raspberry Pi uses the MicroSD card as the boot storage device. MicroSD cards, even the ones rated for Class 10 and above, are not highly rated when it comes to write endurance. The more data you write onto a MicroSD card, the higher the likelihood the card will fail. For a Raspberry Pi, the MicroSD card can fail when you least expect it.
Fear not, for we have an alternative way that a Raspberry Pi can boot from – SSD (Solid State Drives)! We can use an USB SSD adapter to connect a SSD to a Raspberry Pi and have it boot from there. Even a low quality grade SSD will have much greater write endurance than a high end MicroSD card, and will outlast many MicroSD throughout its single lifetime.
In order for this to work, you will need a Raspberry Pi 3 or Raspberry Pi 4. Older Raspberry Pi models and the Raspberry Pi Zeros have different onboard processors that do not support booting from USB.
Required Materials
- Raspberry Pi 3 or Raspberry Pi 4
- SSD
- USB SSD Adapter
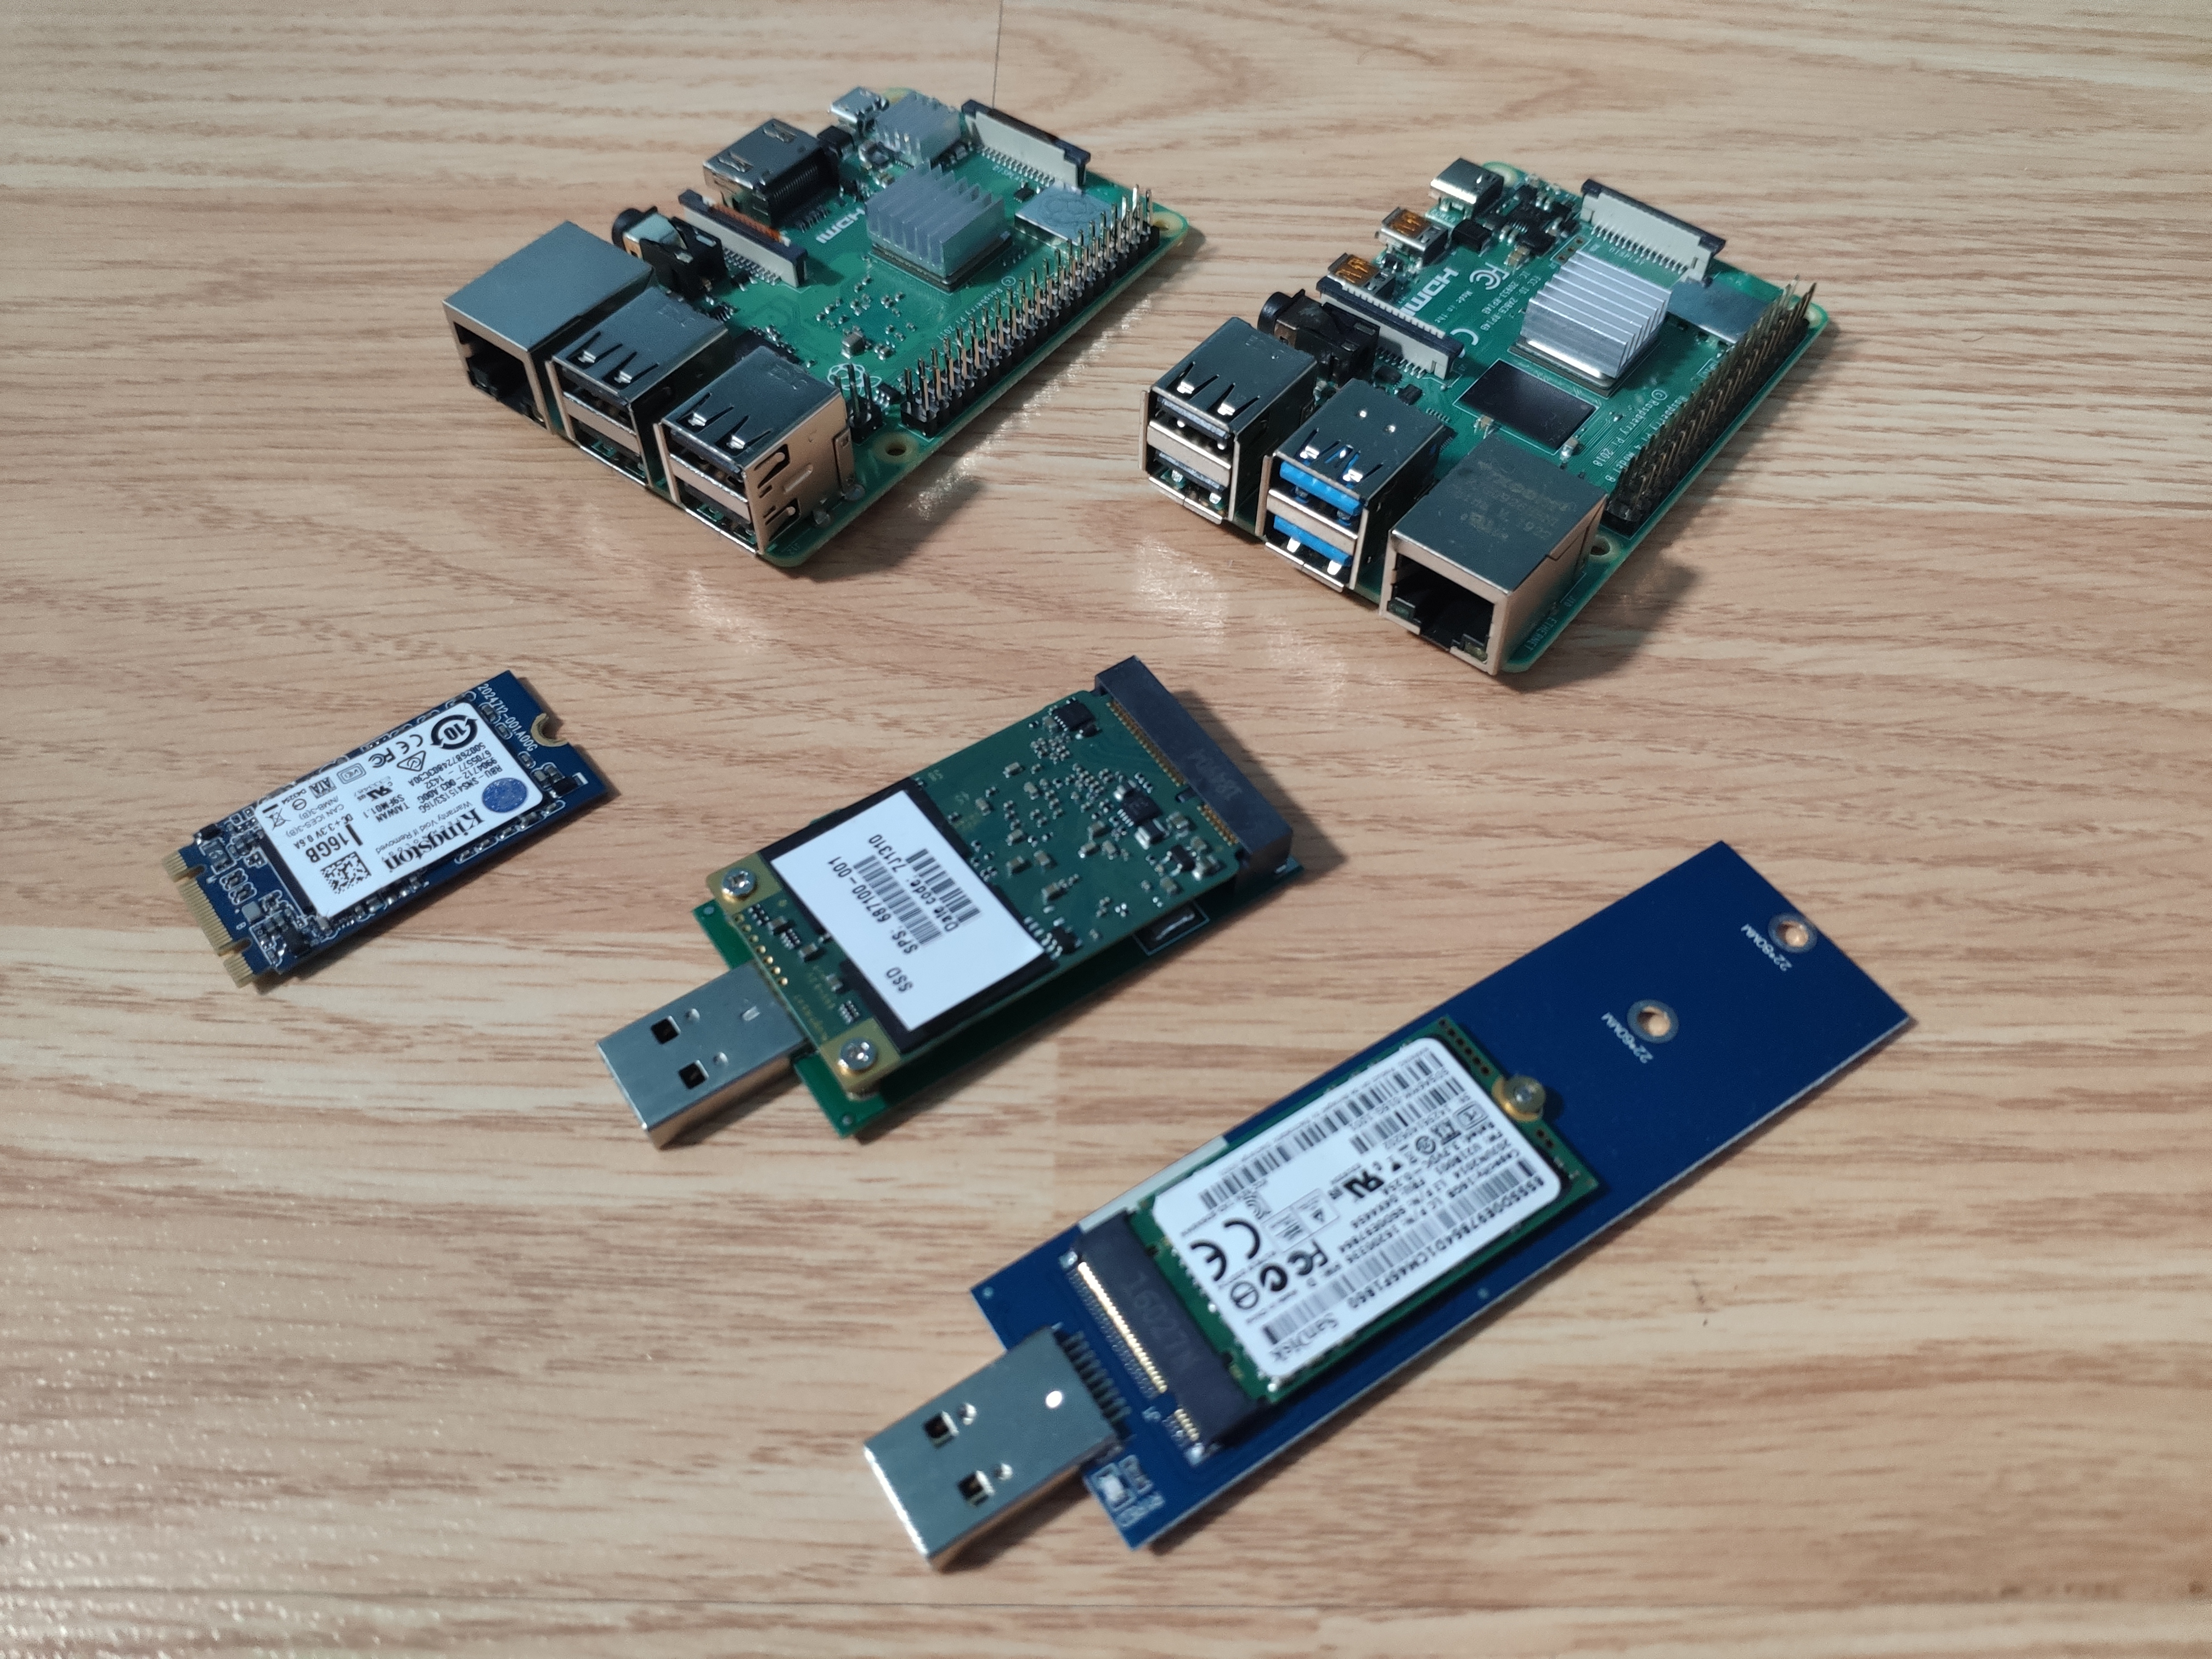
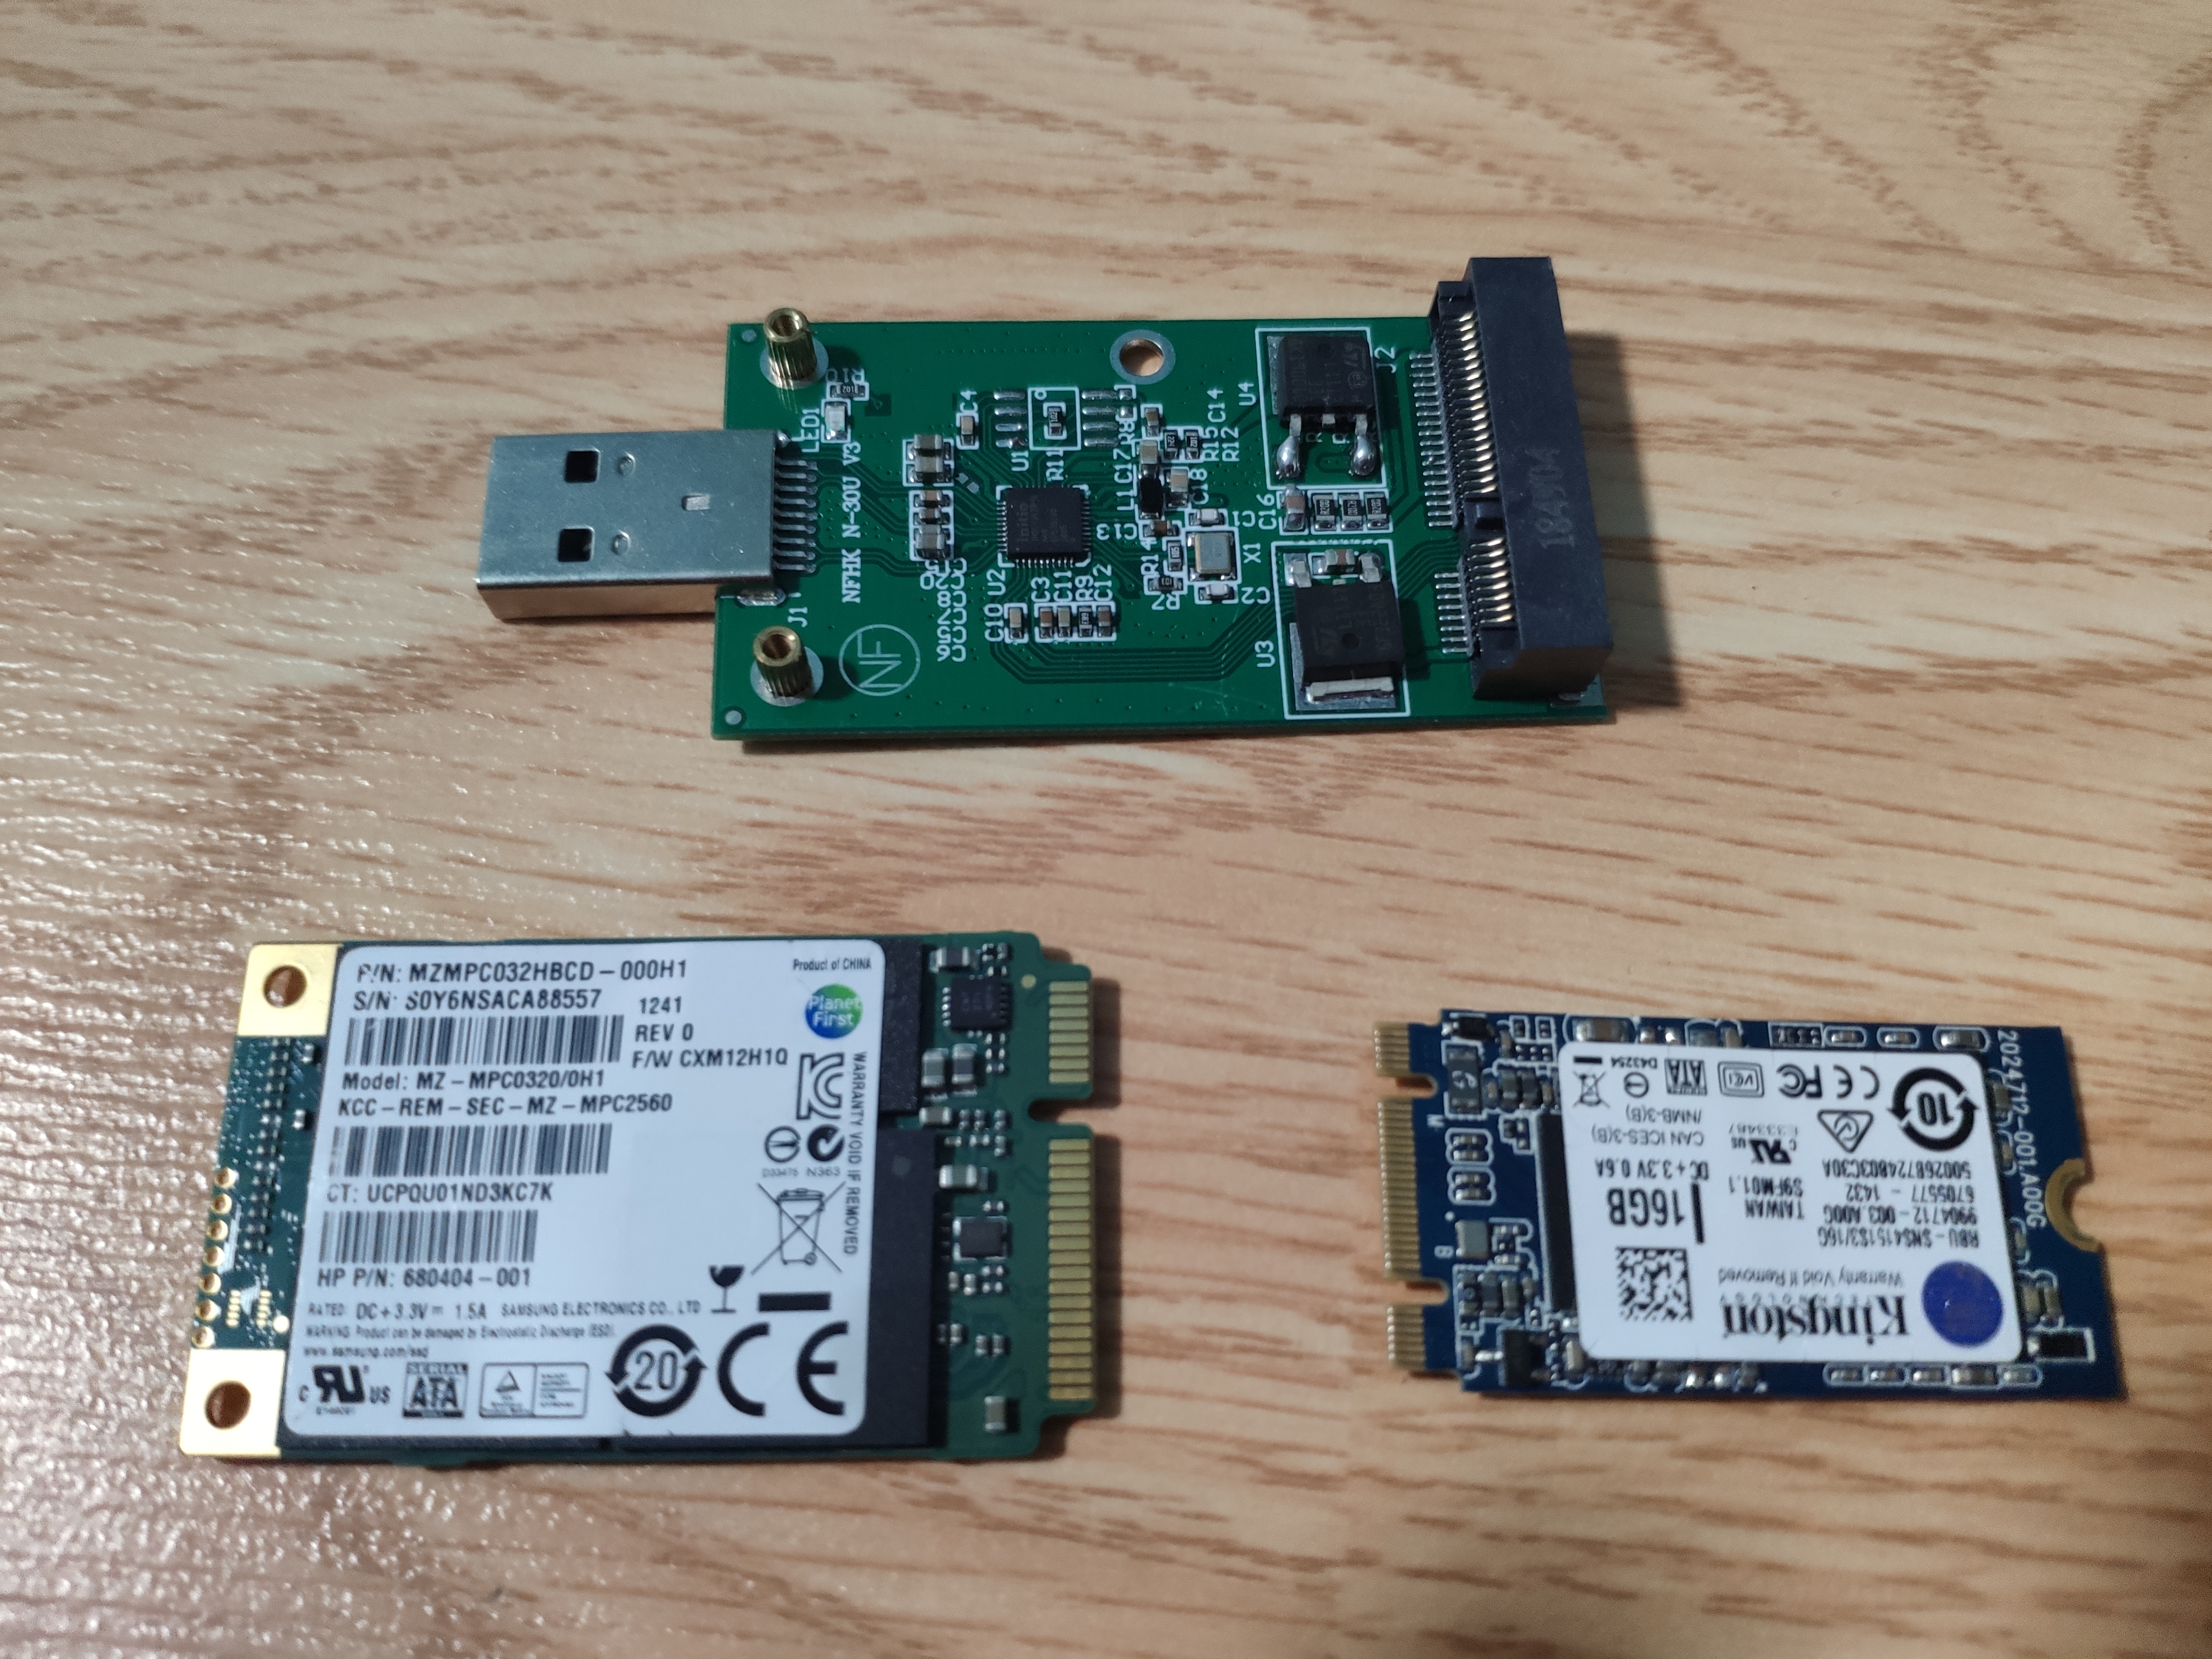
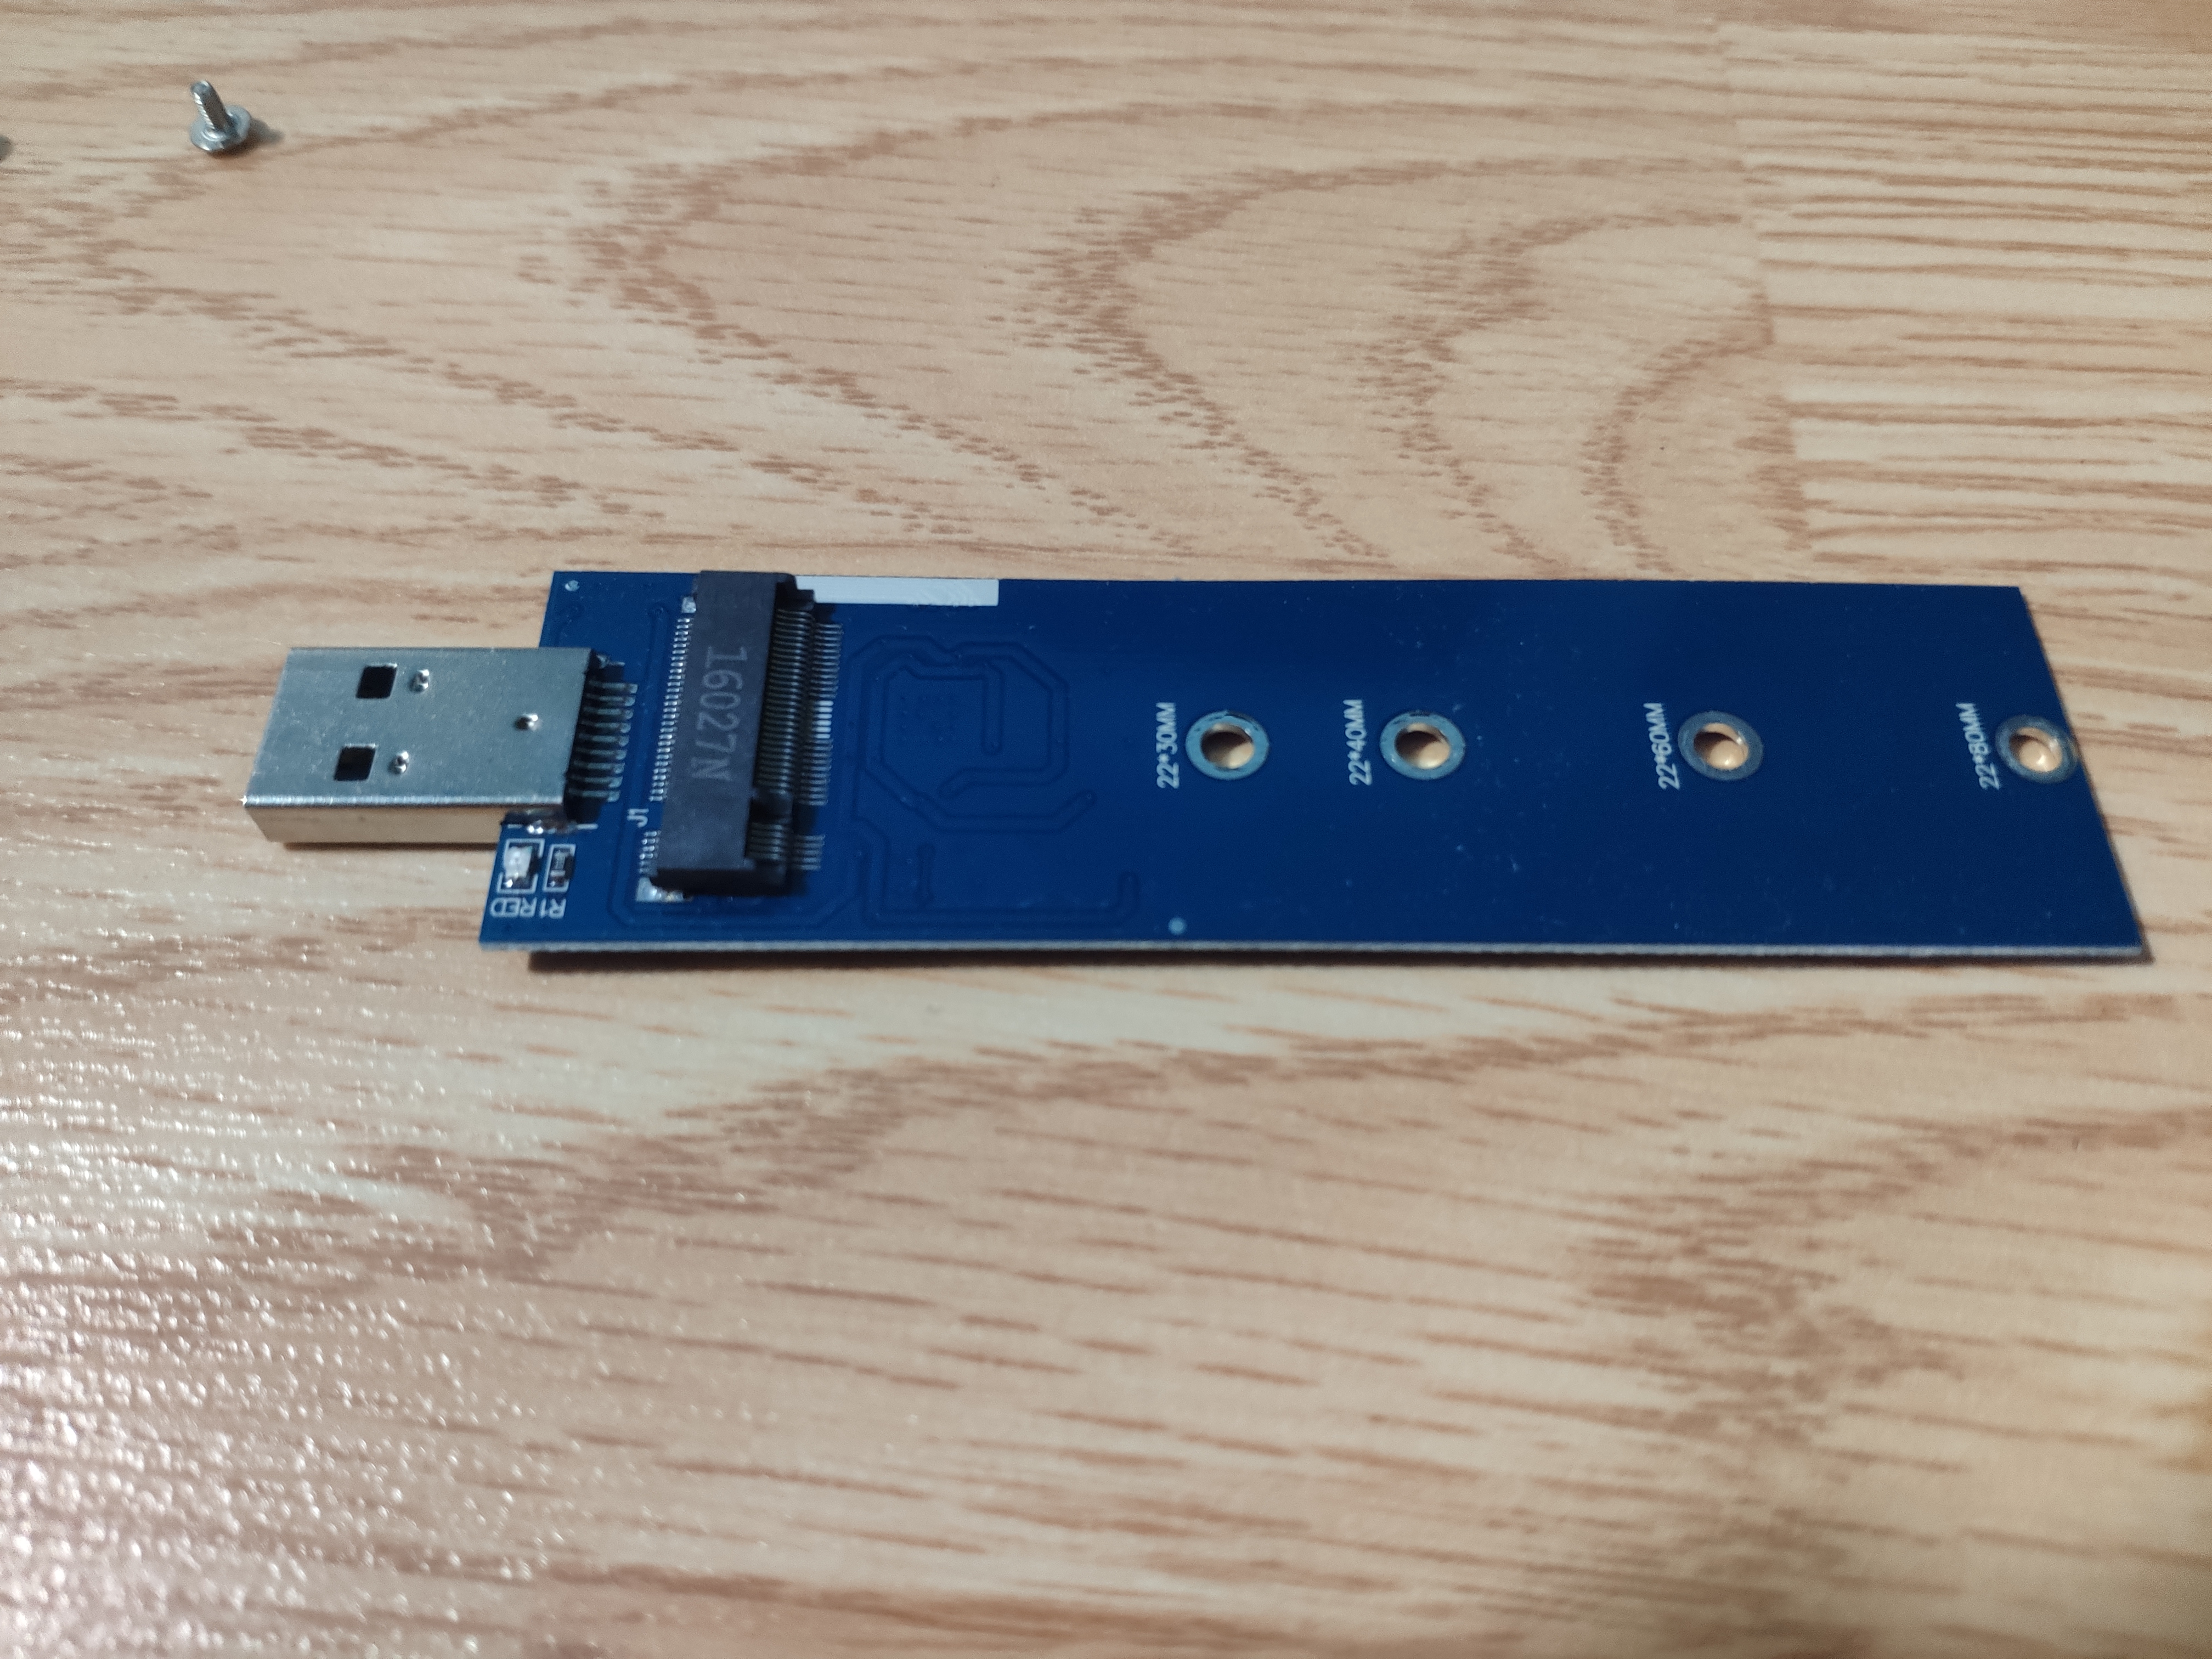
There are many kind of USB SSD adapters out there, depending on what type of SSD you use. 2.5″ SATA SSD are the most common, but they are also big and take up space. I personally use mSATA or M.2 SATA SSDs for my builds as they are much smaller than the 2.5″ SSD form factor. Low capacity (16GB or 32GB) versions can be found for cheap in bulk on sites like eBay. Once you choose a form factor for the SSD, you can go ahead and search for the corresponding USB adapter. Below are examples of the SSD and USB adapters I used for my Raspberry Pis.
Step 1: Flash the OS
Connect the SSD to the USB adapter and plug it into your computer. Use a program such as Etcher to flash an OS onto the SSD like you would with an MircoSD card.
You can follow my previous guide on how to flash Raspberry Pi OS Lite here: Download and Flash Raspberry Pi OS
The steps for flashing onto an SSD is the same as if you were to flash onto an MicroSD card.
Step 2A: For Raspberry Pi 3
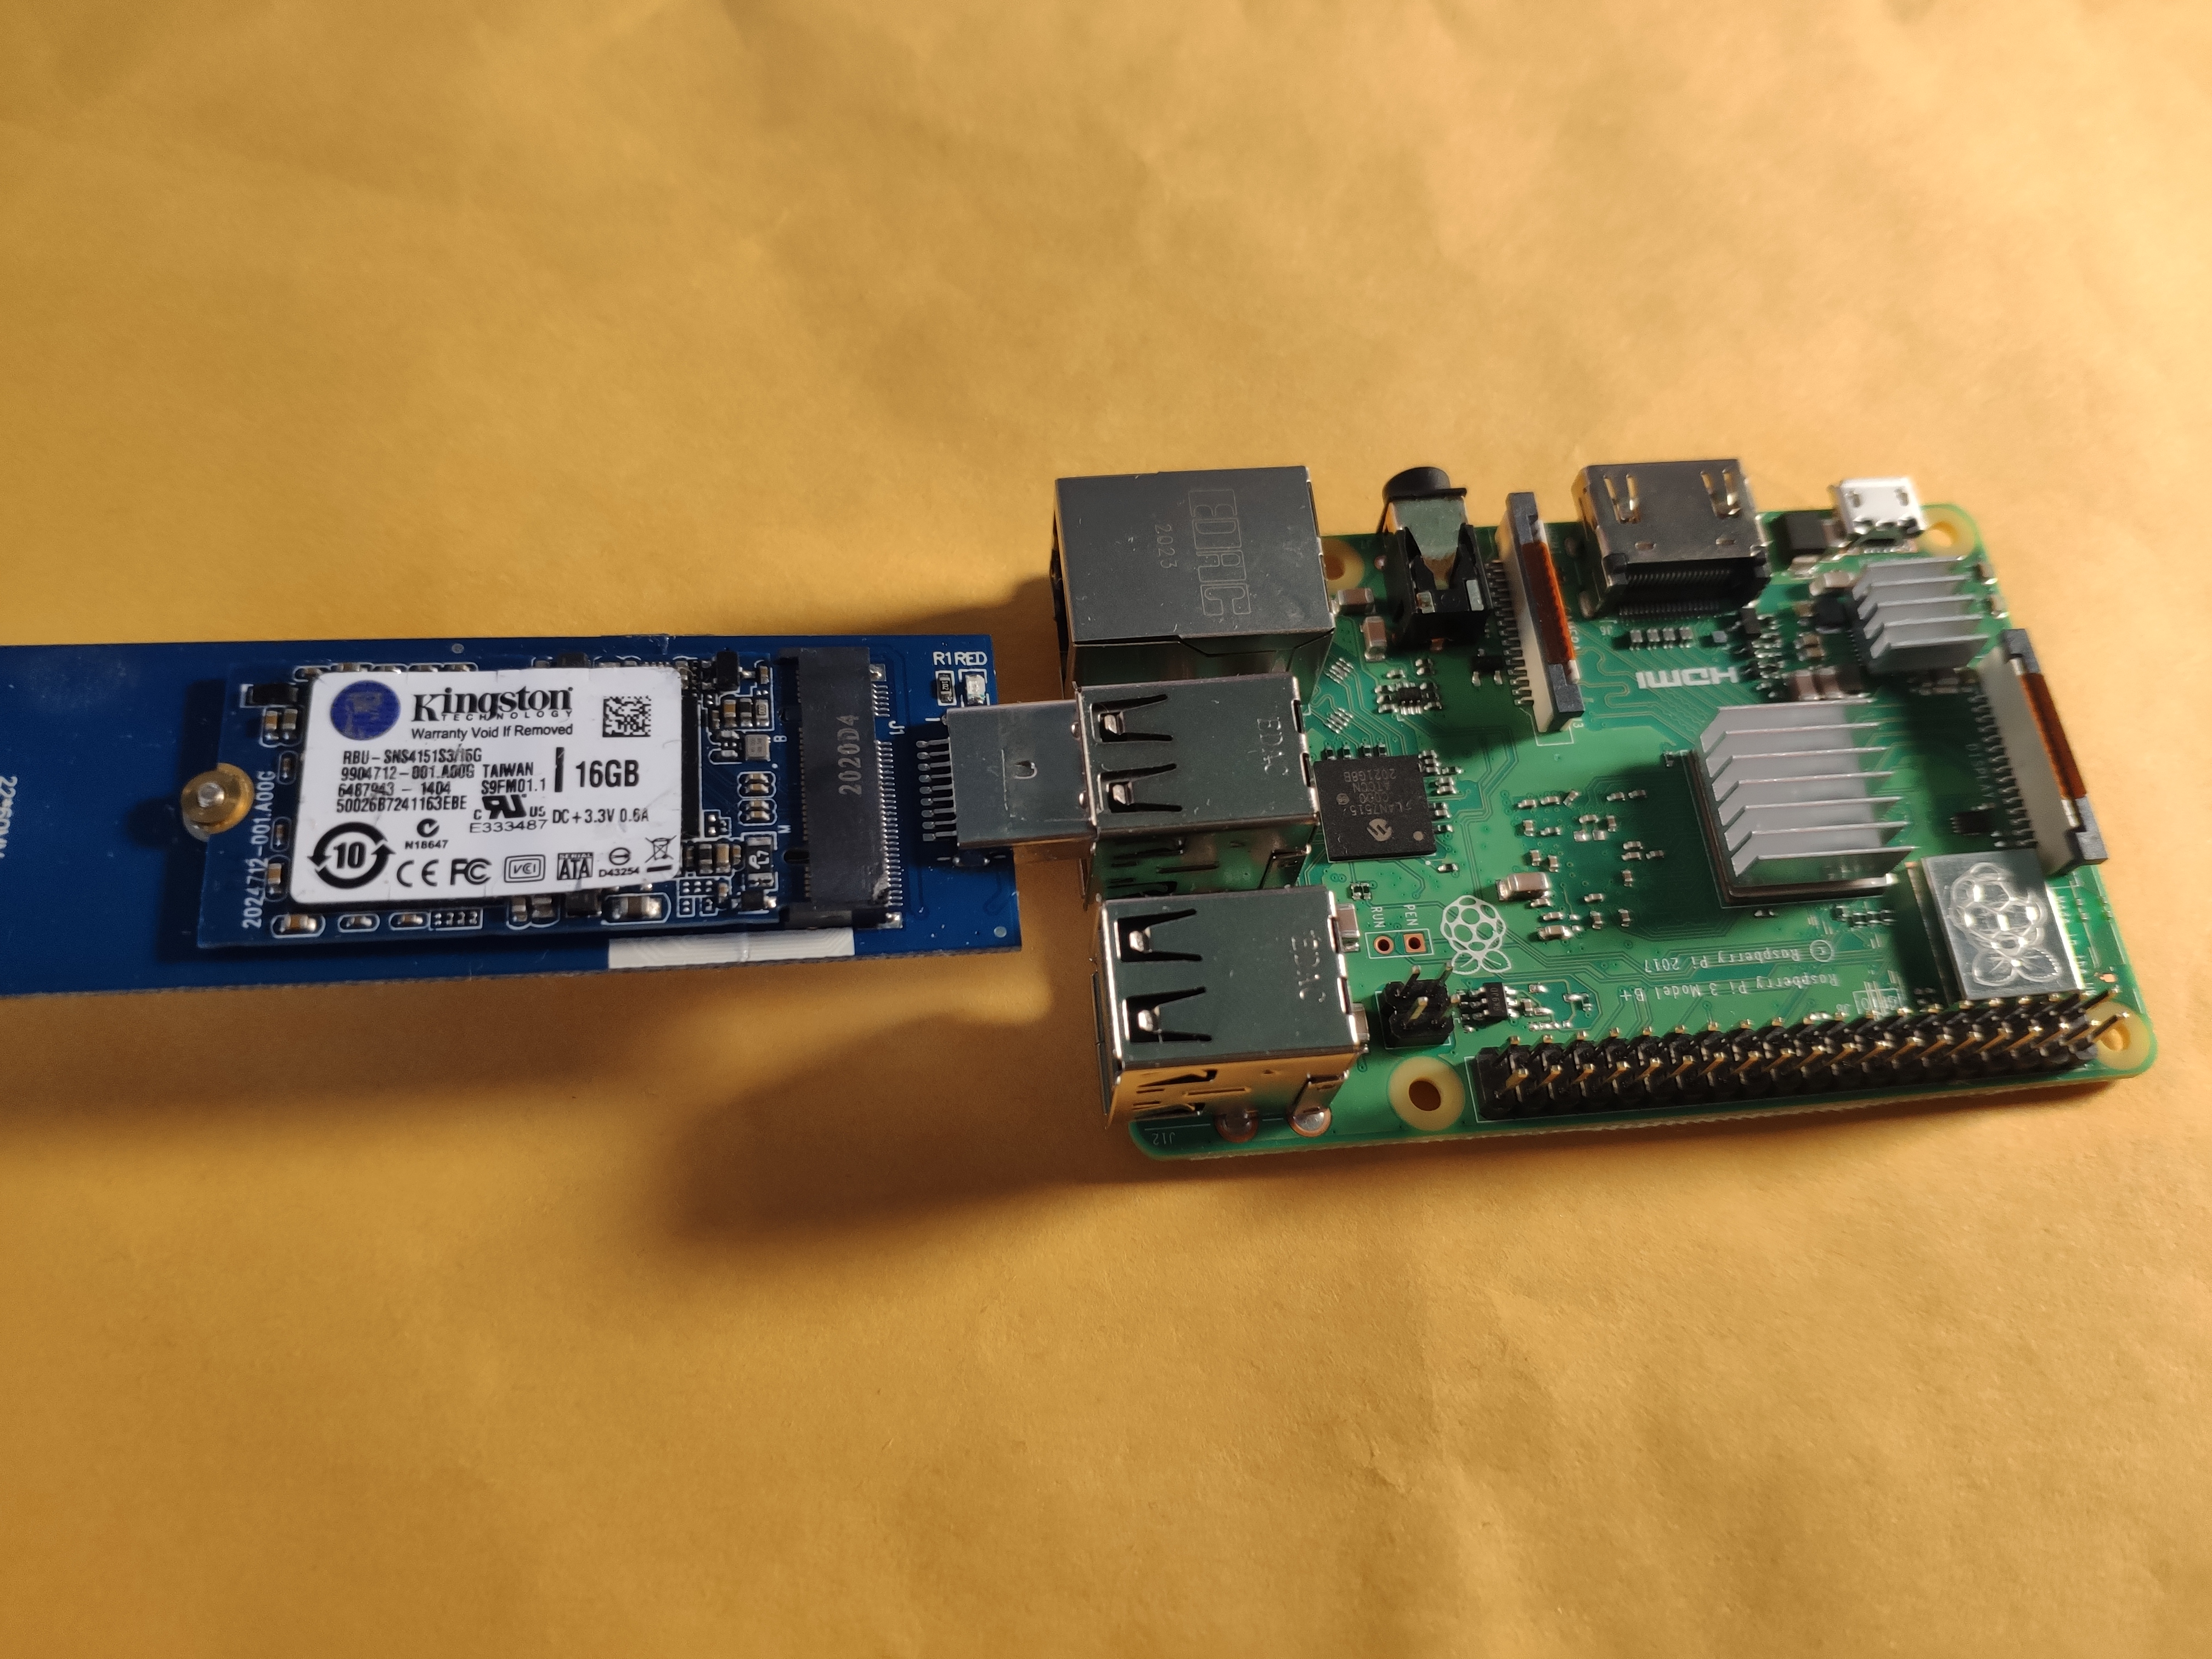
Plug in the SSD to the USB port on the back of the Raspberry Pi 3 and power it on. That’s it! The Raspberry Pi 3 will boot from USB by default when it detects that there are no MicroSD card presented. It will first check for a MicroSD card to boot from, and if there are no MicroSD card, it will try to boot from any USB storage device.
Step 2B: For Raspberry Pi 4
The Raspberry Pi 4 have a onboard EPROM that handles the boot configs. Before we can get a Raspberry Pi 4 to boot from a USB storage device, we have to check a few things.
Power on the Raspberry Pi 4 with Raspberry Pi OS on a MicroSD card, and either login or SSH into the console.
Make sure your current Raspberry Pi OS on the MicroSD card is fully up to date by issuing the following commands:
sudo apt update && sudo apt upgrade -y
Once the Raspberry Pi OS is fully updated, we can go ahead and update the EPROM Bootloader to the latest version using the following command:
sudo rpi-eeprom-update -d -a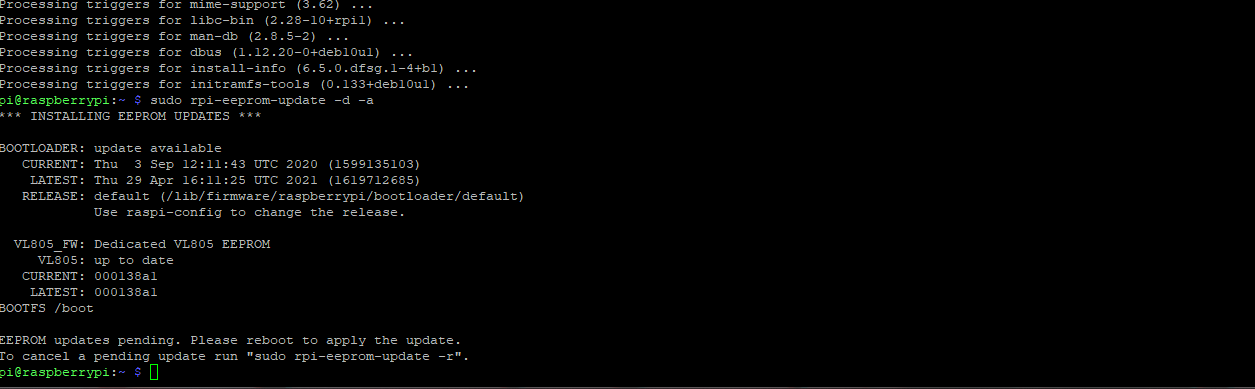
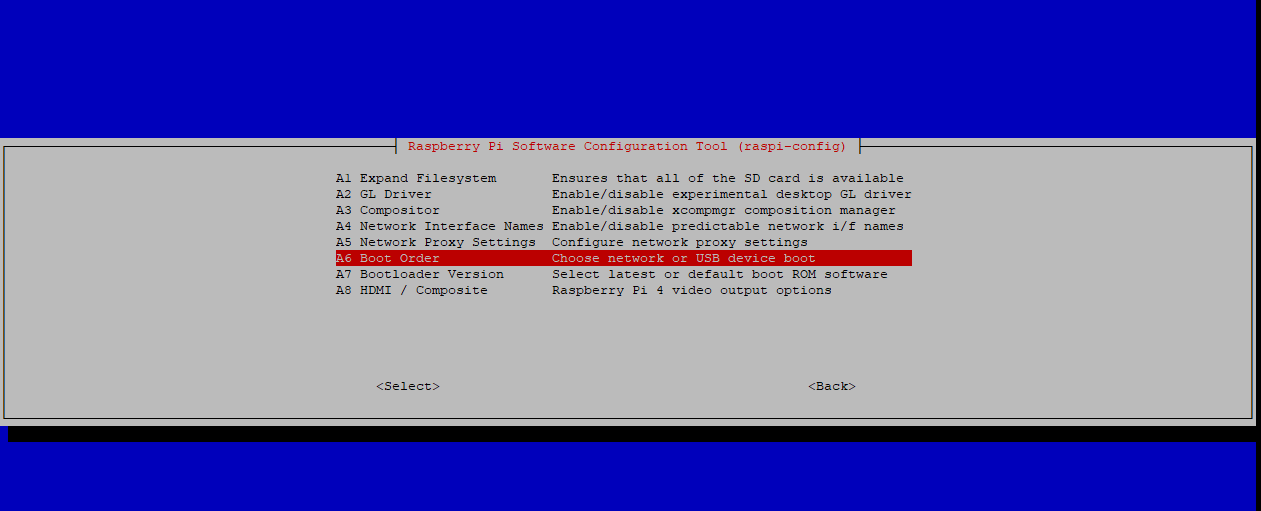
Next, we will use the simple raspi-config tool to configure the boot order
sudo raspi-config
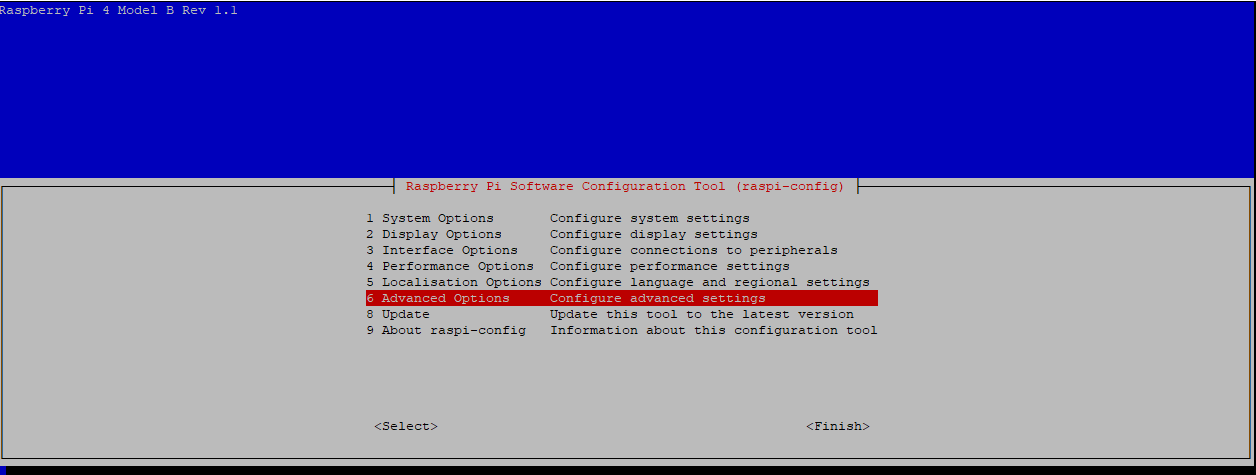
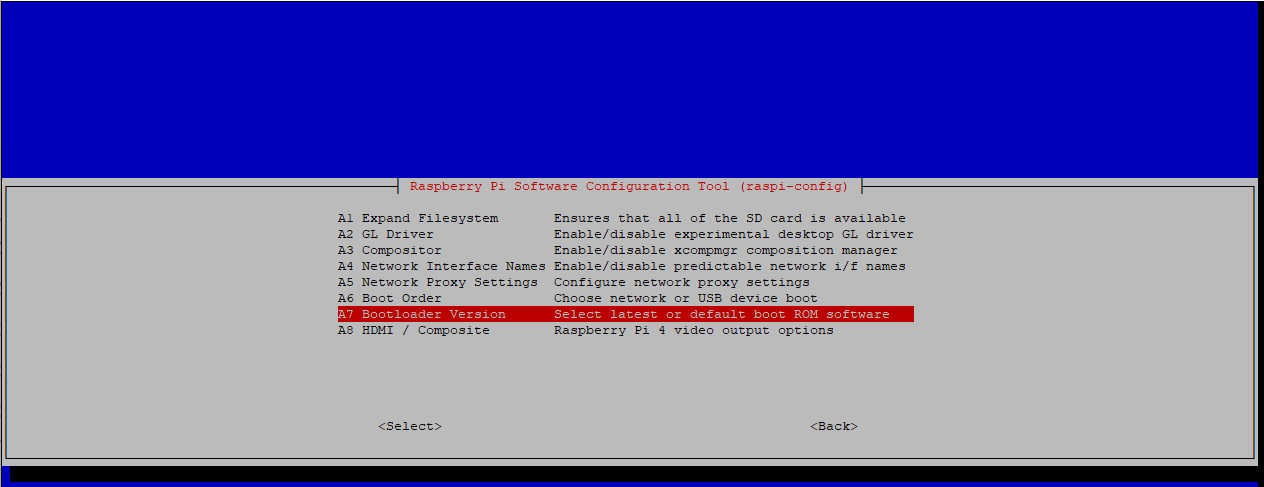


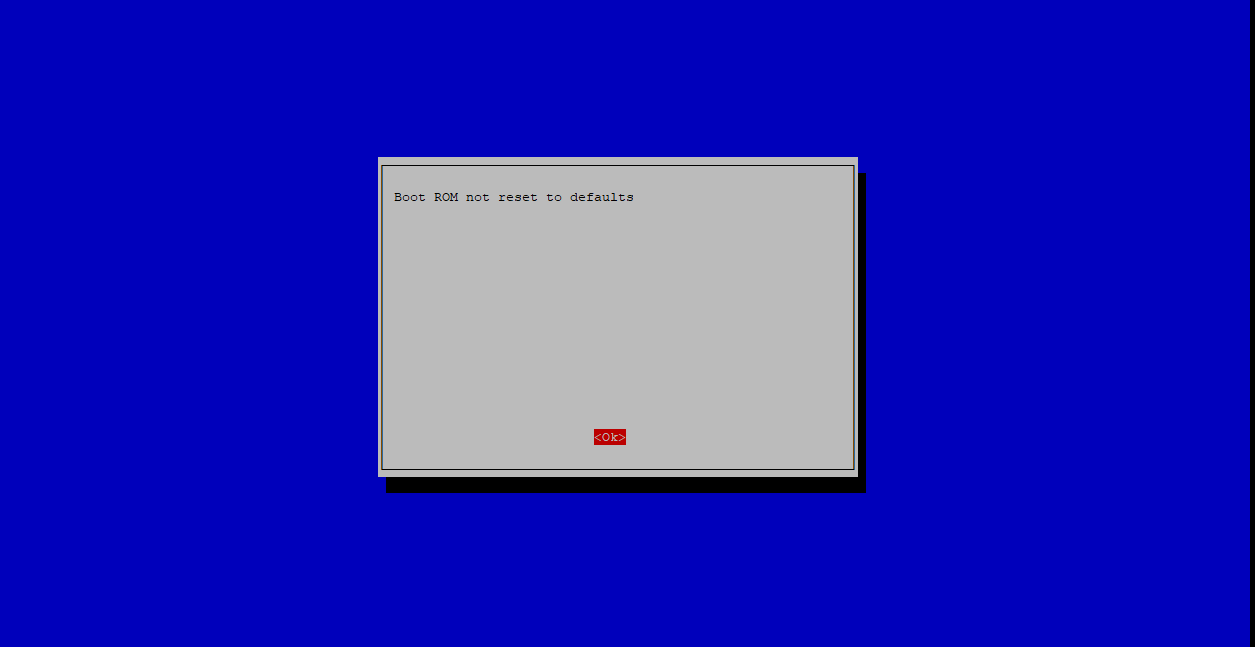
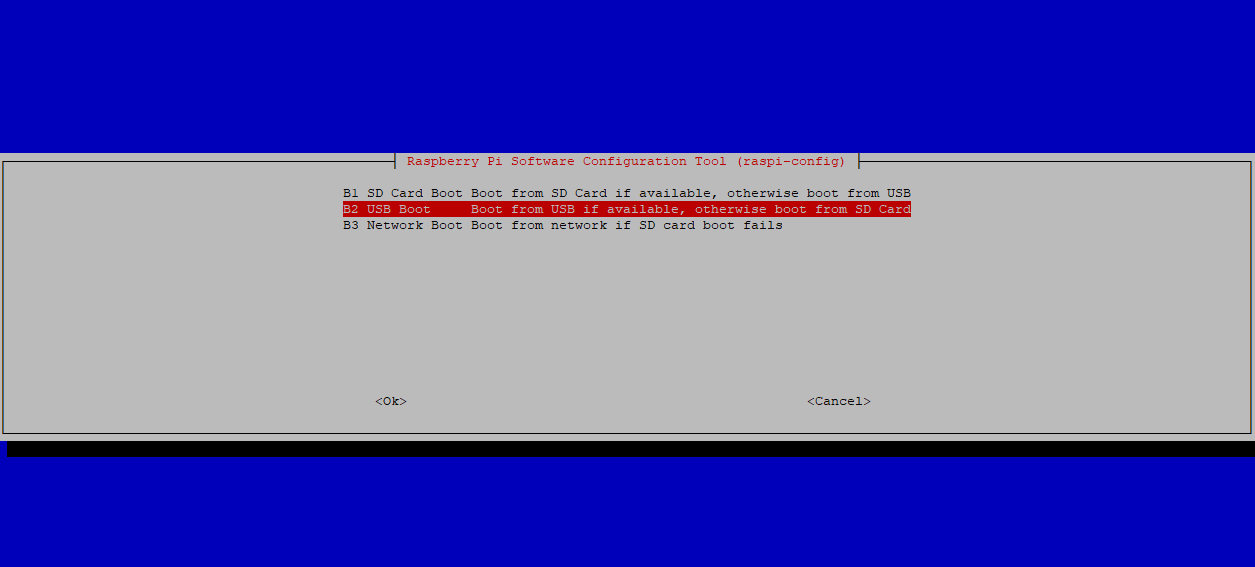
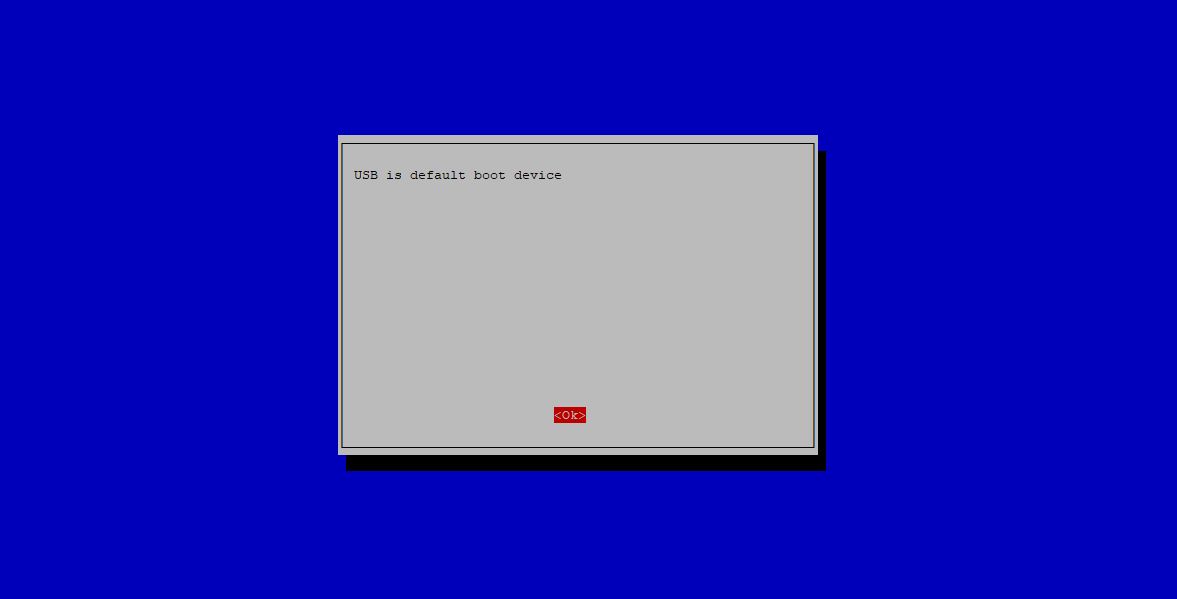
Next, we will go to Advanced Options -> Boot Order -> USB Boot. Hit Ok. Hit Finish to complete the raspi-config and reboot.
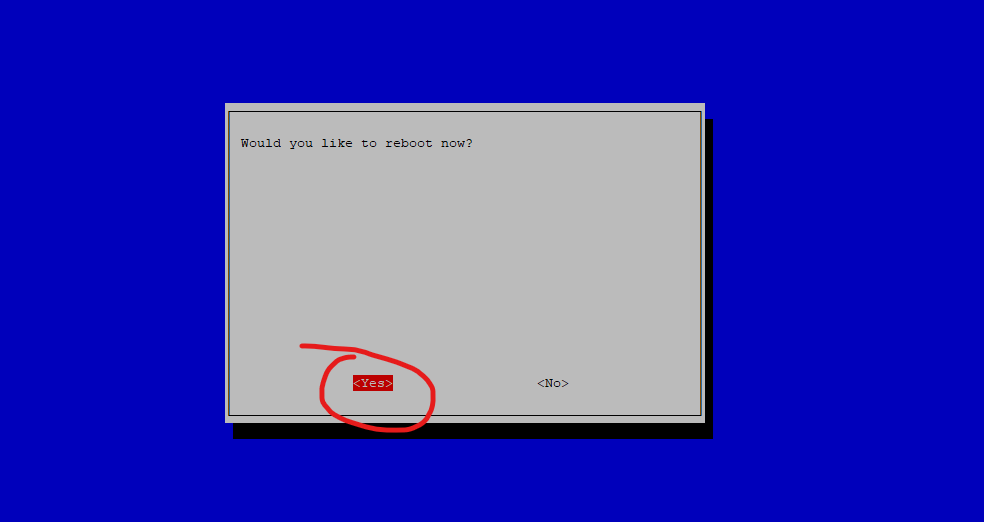
Now you can remove the microSD card, plug in the USB SSD, and power on the Raspberry Pi 4.